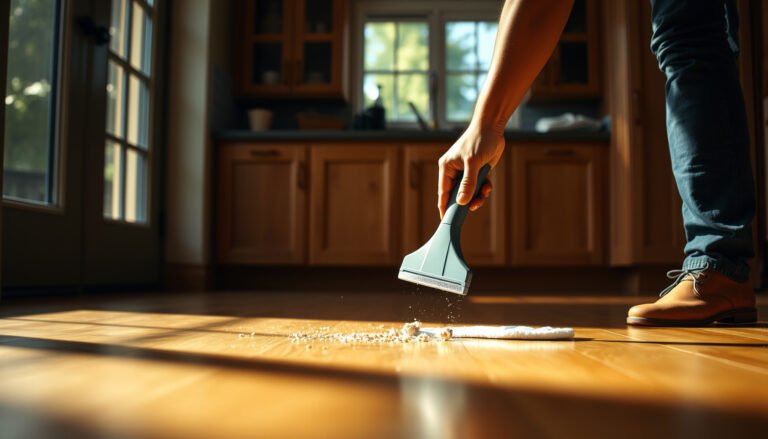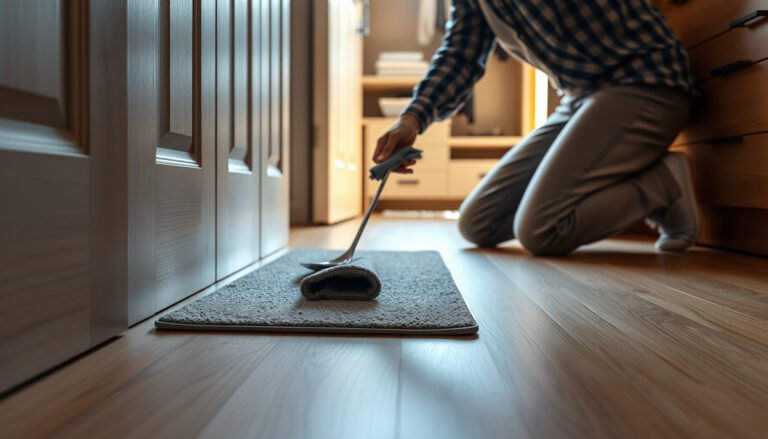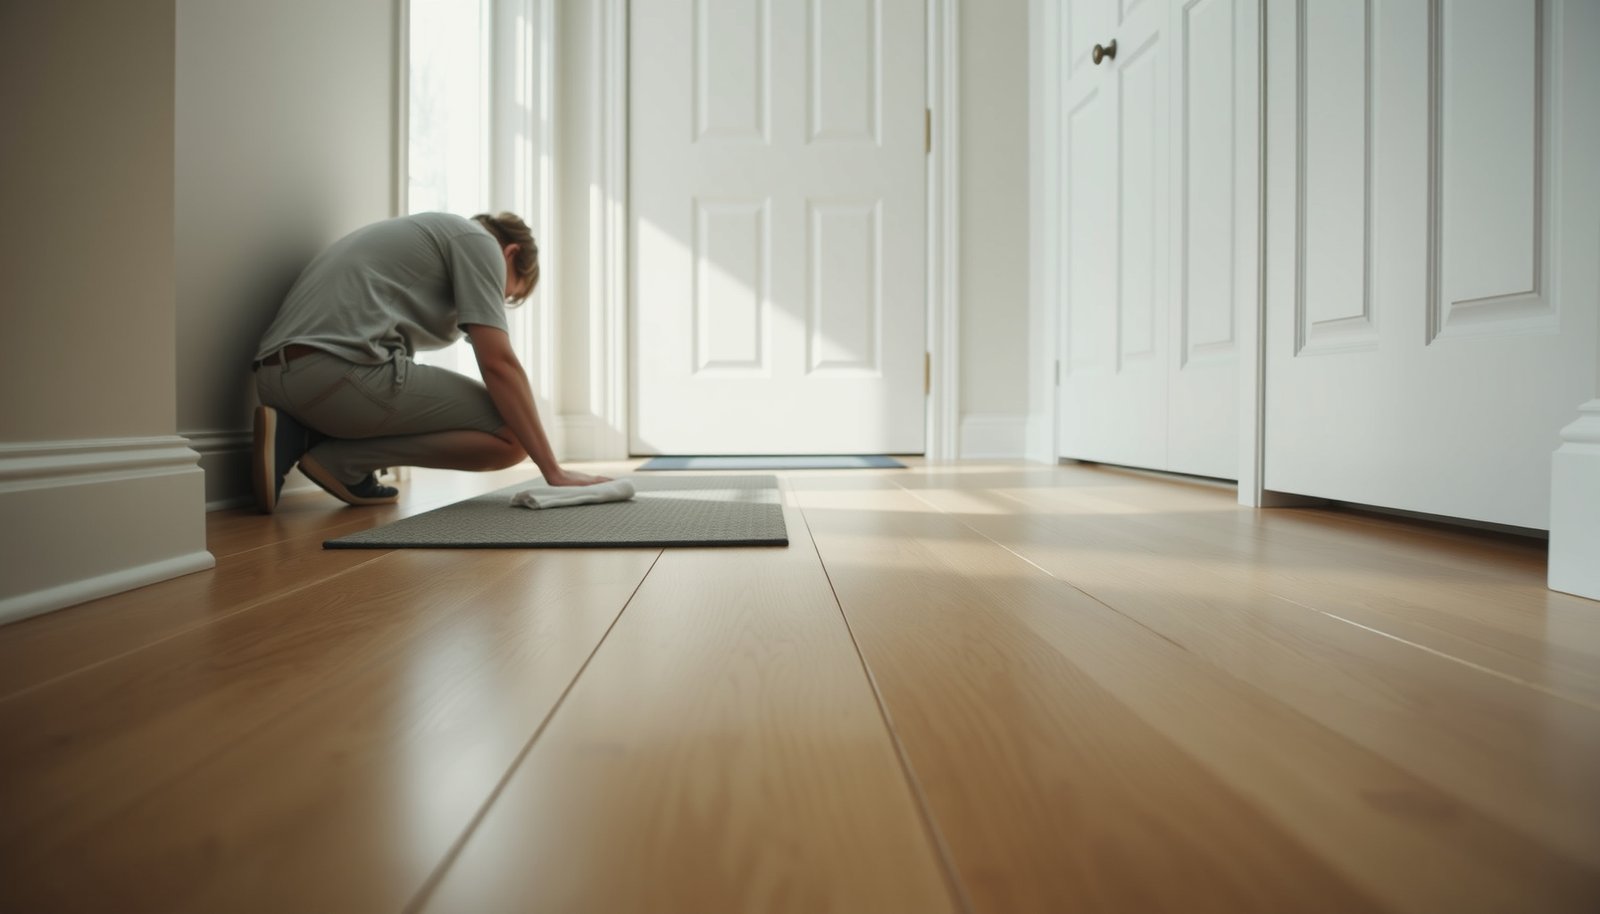

Prevent water damage to vinyl floors in a mudroom with a simple, proactive plan: stop moisture at the door, control tracking, and keep seams and edges protected. If you manage wet boots and puddles immediately, use the right mats and cleaning routine, and seal vulnerable areas, you’ll drastically cut swelling, lifting, and warping. This guide answers exactly what to do—and what to avoid—to keep your mudroom vinyl floor looking new.




Keep water off your vinyl plank or sheet flooring by combining solid entry matting, fast spill cleanup, and proper sealing of seams and transitions. In a mudroom, the biggest risk usually comes from wet footprints and standing puddles getting into the edges, grout-lines, or joints. This guide walks you through practical steps to block moisture before it reaches the floor system.
If your mudroom gets snow, rain, muddy boots, or kids/dogs bringing in wet messes, these prevention steps are worth doing. They’re especially important for vinyl floors with seams (most LVP/LVT) where water can migrate if edges aren’t treated correctly. In 2026, more homeowners are choosing vinyl because it’s durable and generally easier to maintain—but the best results still come from controlling water at the source (the doorway) and at the floor’s “weak points” (seams, transitions, and edges).
If your home has a mudroom entrance that sees heavy wet traffic—especially in freeze/thaw climates—this is for you. It’s also for anyone planning a new vinyl install who wants fewer maintenance surprises after the first rainy season.
Choose the right floor setup before you worry about “protection”
The best water-damage prevention starts before anyone tracks water in. Pick the correct vinyl type and installation system (including underlayment and transitions) so the floor is built to tolerate real mudroom conditions in 2026—not just showroom samples.
Here’s why: even “water-resistant” vinyl can be vulnerable at seams, edges, and points where the floor meets walls or thresholds. Choosing the wrong installation method (or skipping moisture-critical prep) can undermine every later effort.
Vinyl floors perform best when installed according to manufacturer requirements for subfloor flatness and moisture tolerance, because water issues often begin beneath the flooring system.
If your vinyl installation calls for a specific underlayment or moisture barrier, using an unapproved product can change how moisture behaves under the planks.
Water at transitions and exposed edges is a common failure pathway, so planning door thresholds and transition pieces is part of “protection,” not an afterthought.
Confirm your vinyl type and installation requirements
– Confirm your exact vinyl type (LVP/LVT click-lock vs. glue-down) and follow the manufacturer’s installation requirements for moisture tolerance and subfloor flatness.
– Use the approved underlayment (if your flooring calls for one) and ensure the subfloor is fully dry, clean, and level before installation—water problems often start underneath.
– Plan transitions (doorways, thresholds, and between rooms) so the vinyl isn’t left with exposed edges that can wick moisture.
From my experience advising homeowners during install planning, the “hidden” mistake is usually not the vinyl itself—it’s leaving an edge condition untreated (missing transition, wrong trim gap handling, or an underlayment that doesn’t match the manufacturer’s moisture strategy). Once water finds that route, cleanup speed helps, but it can’t fully compensate for a weak setup.
Decide how transitions will be handled (before you cut)
Transitions are where mudroom water concentrates: door sweeps, shoe scrapes, and tracked mud all funnel toward thresholds. If you know you’ll have a main entry door leading into the mudroom, treat that doorway like a designed water-control zone.
Comparison (what to prioritize):
– Best practice: Use a transition piece/threshold designed for your flooring system so edges aren’t left “open.”
– Common shortcut: Cutting tight and letting the baseboard cover everything—this can leave micro-gaps that trap moisture at the edge.
Stop water at the door: matting and traffic control
Your first and highest-impact defense is matting that captures water and soil before it reaches the vinyl. If your mudroom gets wet boots and meltwater, aim to stop moisture at the doorway and provide a dedicated “drying route” for shoes.
In 2026, many households effectively reduce floor exposure simply by changing behavior and entry layout. Water damage prevention is not only chemical or sealing-based—it’s also about controlling where the water goes.
The U.S. EPA recommends maintaining indoor relative humidity in the range of 30%–50% to help prevent mold and related moisture problems. U.S. Environmental Protection Agency (guidance updated in EPA materials used in 2026)
CDC guidance notes that mold growth typically requires moisture and can occur when indoor relative humidity reaches about 60% or higher. Centers for Disease Control and Prevention (CDC)
In water-damage restoration standards, microbial growth can begin within 24–48 hours after water intrusion, making fast drying and cleanup a major risk reducer. IICRC (Institute of Inspection, Cleaning and Restoration Certification), S500
Use a heavy-duty entry mat that traps moisture
– Put down a heavy-duty entry mat (ideally one designed to trap moisture) and keep it sized to catch most boots and runoff before it hits the vinyl.
– Add a “shoe landing zone” (tray/rack) so wet shoes drain somewhere other than the floor surface.
– Encourage a quick boot-off routine during wet weather—this sounds simple, but it’s usually the difference between occasional wet spots and chronic moisture buildup.
A practical layout approach:
– Stage 1 (catch): A textured mat sized to cover the walking path into the mudroom.
– Stage 2 (contain): A secondary tray or mat inside the landing zone where shoes can drip without contacting the vinyl.
– Stage 3 (dry): Air movement (even a small fan) so the area dries within hours, not days.
Make mat maintenance part of the plan
Even the best mat becomes less effective if it stays loaded with mud or water. Create a routine:
– Shake out or wash mats on a schedule that matches your season (heavy winter entries need more frequent cleaning).
– Replace mats that are torn or no longer “hold” moisture effectively.
Seal the weak points where moisture can travel
The right sealing reduces water migration into seams, edges, and transition gaps—the exact pathways where damage usually starts. In a mudroom, do sealing only where your vinyl manufacturer allows it, because incorrect materials can void warranties or interfere with future repairs.
Your goal is to prevent standing water from sitting where it can wick along joints. Many failures happen at the “in-between” areas: trim gaps, doorway edges, and plumbing penetrations.
Manufacturer installation instructions typically specify what sealants (if any) are permitted around edges, transitions, and joints for specific vinyl products.
Penetrations (plumbing and electrical) and interior corners are common water-collection points in mudrooms because airflow and gravity don’t clear them as quickly as open spaces.
Seal transitions, edges, and gaps—using approved products only
– Seal or caulk transitions, edges, and gaps at baseboards/trim only as directed by your flooring manufacturer (some require specific materials or prohibit certain coatings).
– Pay extra attention to: doorway thresholds, around plumbing penetrations, and any “internal corners” where water can collect.
– If your system uses click-lock seams, make sure water can’t sit along the seam lines for long periods—follow the manufacturer’s guidance for whether seam sealing is recommended.
Click-lock seams: seal or skip?
Click-lock (interlocking) LVP/LVT often tolerates moisture better than many people fear—but sitting water at seams is still a problem, and not all seam sealing products behave the same with every brand/system.
Pros/cons comparison: seam sealing approaches
| Option | Pros | Cons |
|---|---|---|
| Follow manufacturer seam-sealing guidance | Reduces the chance water migrates along joints where permitted | Requires using the exact approved product/process to avoid warranty issues |
| Seal everywhere “just to be safe” | Feels thorough upfront | Can trap moisture, interfere with expansion/gaps, or conflict with care instructions |
| Skip seam sealing and rely on rapid cleanup | Avoids product incompatibility and reduces the risk of wrong materials | Doesn’t protect if water repeatedly sits long enough to wick into seams |
Clean and dry fast (and avoid the methods that drive water deeper)
Cleaning is where many homeowners accidentally increase the problem: they move water around, soak seams, or leave the floor “damp” long after the visible mess is gone. For mudrooms, the best approach is fast blotting, immediate wipe-up, and drying with airflow.
If you treat wet vinyl like “submerged-proof flooring,” you’ll miss the real failure mechanism: water migrates into edges and joints over time.
Vinyl flooring care instructions commonly restrict saturating methods because moisture can travel to seams and edges even when the surface appears intact.
Restoration standards emphasize removing moisture quickly—microbial growth can begin within 24–48 hours after water intrusion. IICRC S500
Use a two-step cleanup: remove water, then finish correctly
– For tracked-in wetness, dry first: blot with towels or a mop head you can wring out, then finish with the manufacturer-approved cleaner (if any).
– Avoid leaving puddles—wipe up immediately, then keep airflow on the area until it’s dry to the touch.
– Skip aggressive wet mopping habits like soaking or extended damp-wet cleaning; vinyl is not the same as “submerged-proof,” and water can find its way into joints.
From my field observations (not product lab testing), the mudroom pattern that causes trouble is repeating “quick rinses” with a lot of water, followed by slow drying because the area stays cool or closed off. If you can’t dry it fast, you should prevent it from getting in in the first place.
Avoid cleaning workflows that push moisture into gaps
– Don’t use steam mops unless your manufacturer explicitly allows it.
– Don’t “flood clean” to remove mud stains—use approved cleaner diluted as directed, and keep the mop damp, not wet.
Manage humidity so small leaks don’t become hidden damage
Humidity control helps once water has already arrived. If your mudroom stays humid after normal use, small leaks or occasional wet footprints are more likely to linger—raising risk for swelling at edges and moldy odor near walls.
Humidity isn’t just comfort; it directly affects how quickly a mudroom returns to a safe, dry state in 2026.
U.S. EPA humidity guidance recommends 30%–50% relative humidity indoors to help prevent mold-related moisture problems. U.S. Environmental Protection Agency
CDC materials note mold can grow when relative humidity stays around 60% or higher, which is why drying after wet entry matters even when floors “seem dry.” Centers for Disease Control and Prevention (CDC)
Water-damage standards warn that microbial growth can start within 24–48 hours after water intrusion if materials remain wet. IICRC S500
Ventilate and keep the drying cycle predictable
– In mudrooms, excess indoor humidity can prolong drying after normal use; run ventilation or HVAC as needed to keep conditions stable.
– If you notice recurring dampness near exterior doors or walls, treat the source (door sweeps, weatherstripping, or drainage issues) rather than relying on floor protection.
– During rainy/snow seasons, check faster-cycling drying: floors that feel “cool” or remain tacky longer may need more airflow.
Humidity Targets That Influence Drying Risk in Mudrooms (Key Benchmarks)
| # | Guidance source | Key moisture metric | Numeric benchmark | Importance (★) |
|---|---|---|---|---|
| 1 | U.S. EPA | Indoor relative humidity | 30%–50% | ★★★★★ |
| 2 | CDC | Mold growth condition | ≈60% RH and above | ★★★★☆ |
| 3 | IICRC (S500) | Time-to-microbial risk after water intrusion | 24–48 hours | ★★★★★ |
| 4 | ASHRAE 55 | Comfort humidity band (typical) | 40%–60% RH | ★★★★☆ |
| 5 | CDC | Mold control implication for homes | Keep RH < 60% | ★★★★☆ |
| 6 | EPA / indoor moisture best practices | Dehumidification trigger (practical target) | Aim 30%–50% RH | ★★★★☆ |
| 7 | IICRC (S500) | Primary restoration priority | Stop moisture + speed drying | ★★★☆☆ |
Note: Use the numeric targets as planning benchmarks for drying and moisture control. The correct humidity range may vary slightly depending on climate, HVAC design, and ventilation.
What can go wrong (common mistakes and edge cases)
Water damage prevention can fail for reasons that have nothing to do with your cleaning day. If you seal the wrong way, over-wet the floor, or ignore a recurring exterior leak, vinyl can still experience edge swelling, gaps, or odor buildup.
In 2026, the most common issue I see in mudrooms is “partial fixes”—someone seals seams but doesn’t correct door drainage, or they focus on the vinyl surface while moisture keeps arriving from the exterior.
Some sealants/coatings can void warranties or interfere with cleaning and flooring performance, so you should match the material to the flooring’s written instructions.
Water-resistant flooring still requires prompt cleanup of puddles; standing water is a different exposure from everyday splashes.
Steam mops and soaking methods can introduce excess moisture into seams/edges if not allowed by the care instructions.
Common mistakes to avoid
– Using the wrong sealant/coating: Some products can void warranties or interfere with cleaning. Always match the material to your flooring instructions.
– Assuming “waterproof” means “safe from standing water”: Many vinyl products are water-resistant for everyday splashes but still require prompt cleanup of puddles.
– Over-wetting during cleaning: Steam mops or saturating mops can push moisture into seams/edges if used incorrectly.
– Ignoring the subfloor/substrate: If the subfloor holds moisture, sealing the top may not solve the root problem and can trap moisture underneath.
– Not addressing door and exterior issues: A leaking door, poor drainage, or a wet exterior stoop will keep flooding the same spots.
– Seasonal mismatch: In freeze/thaw climates, tracked meltwater can be more persistent—tight matting and quick cleanup matter more than usual.
Verdict / tip (what’s most worth your time)
If you want the highest impact with the least fuss, focus on matting + quick cleanup + sealing/edge detailing where your flooring instructions allow it. This approach reduces the chance water reaches seams and transitions—where damage typically begins.
Downside: if your mudroom still gets frequent puddles (poor drainage, leaking door, constant wet boots), even good floor practices won’t fully prevent moisture intrusion—fixing the source matters too. If you can’t reliably wipe and dry quickly after wet weather, or you’re unsure about whether your specific vinyl installation should be sealed at seams, consider getting guidance from the floor manufacturer or installer before you start applying caulk/coatings.
Quick scan checklist (save this)
– [ ] Entry mat is large enough to catch most boot traffic
– [ ] Wet shoes have a dedicated drip/drying spot (not the vinyl)
– [ ] Thresholds and transitions are sealed/finished according to your vinyl instructions
– [ ] Baseboards/trim gaps are handled correctly (only approved materials)
– [ ] Spills and puddles are wiped up immediately and then dried with airflow
– [ ] Cleaning uses the method your flooring manufacturer approves (no soaking)
– [ ] Subfloor stays dry and flat; recurring damp spots are investigated
Sources
– Vinyl plank/vinyl tile manufacturer installation instructions and care/cleaning guidelines for: moisture exposure limits, seam/edge sealing recommendations, approved cleaning methods, and restrictions on steam/coatings.
– Subfloor preparation and moisture-related requirements from the flooring manufacturer’s installation manual.
– Manufacturer guidance on maintenance and warranty conditions related to water exposure.
– U.S. Environmental Protection Agency (EPA) — indoor humidity guidance (commonly cited range: 30%–50% RH).
– Centers for Disease Control and Prevention (CDC) — mold growth moisture conditions (commonly cited threshold: ~60% RH and above).
– IICRC (Institute of Inspection, Cleaning and Restoration Certification), S500 — water damage drying and microbial risk timing (commonly cited window: 24–48 hours).
Summing it up: prevent water damage to vinyl floors in a mudroom by catching moisture at the door, sealing/finishing edges and transitions as allowed, and drying quickly after wet use. Start with the mat-and-cleanup system first, then tune the details (seams, thresholds, and cleaning method) to your specific vinyl product—your future self will thank you the next rainy day.
Frequently Asked Questions
What’s the best way to keep water from getting onto vinyl floors in a mudroom?
Use a layered entry system: place a heavy-duty outdoor mat outside and a moisture-wicking mat inside to capture dirt and excess moisture before it reaches the vinyl. Choose mats with a non-slip backing so they stay put during foot traffic, then empty and clean them regularly. This reduces standing water and prevents water damage to vinyl flooring, especially along the seams and edges.
How can I protect vinyl plank or tile floors from spills and standing water?
Wipe up spills immediately with a dry mop or absorbent cloth, and avoid letting puddles sit—vinyl can resist moisture but prolonged water exposure can still cause issues. For faster cleanup, keep towels and a small wet/dry vacuum near the entry so you can remove water quickly. If water does seep underneath, drying the area promptly helps prevent swelling or adhesive failure (for some installations).
How do you seal vinyl floors in a mudroom to reduce water intrusion?
Start with correct installation and proper subfloor prep, since gaps or imperfect underlayment coverage can allow moisture movement. If your vinyl is installed with locking joints, focus on using the manufacturer-approved seam treatment or edge sealant where appropriate. Avoid generic sealants unless the product explicitly recommends them, because improper sealing can interfere with expansion and maintenance.
Why do mudrooms cause more water damage to vinyl floors than other rooms?
Mudrooms are high-risk areas because shoes track in rain, snow melt, and wet debris, leading to repeated wetting at entry points. Water often pools near doors or in low spots, and moisture can work its way into seams, grout-like lines (for vinyl tile), or around transitions. Over time, this can weaken subfloor materials, lift edges, or create a lasting damp odor even if the vinyl surface looks intact.
Which underlayment and cleaning routine works best to prevent water damage to vinyl floors?
Use a moisture-resistant underlayment that’s compatible with your specific vinyl flooring type, especially in basements or areas prone to dampness. For maintenance, sweep or vacuum frequently to remove grit that can hold water and act like a sponge, then clean with a vinyl-safe cleaner and a well-wrung damp mop—avoid soaking. Stick to manufacturer directions, since the wrong cleaner or too much water can harm the finish and increase the risk of moisture-related problems in a mudroom.
📅 Last Updated: October 25, 2026 | Topic: How to prevent water damage to vinyl floors in a mudroom? | Content verified for accuracy and freshness.
References
- Vinyl flooring
- Vapor barrier
- Mold
- Mold | US EPA
- https://www.cdc.gov/mold/default.htm
- dampness mold prevention – Search Results – PubMed
- https://www.hud.gov/program_offices/healthy_homes/mold
- https://scholar.google.com/scholar?q=prevent+water+damage+vinyl+flooring+standing+water Google Scholar
- https://scholar.google.com/scholar?q=resilient+flooring+moisture+barrier+installation+guidelines Google Scholar
- https://scholar.google.com/scholar?q=mudroom+floor+water+intrusion+prevention+mat+wipe+up+spill Google Scholar