


Leveling engineered wood floors before installing a porch is the difference between a solid, squeak-free landing and a future that needs rework. Follow the fastest reliable method—check the subfloor for flatness, remove high spots, build low areas with approved underlayment/shims, and verify height again—so your deck boards sit true from day one. If you get the base flat to the right tolerances, you’ll lock in proper drainage and avoid rocking seams before the porch goes up.




Level engineered wood floors by correcting the subfloor first, then applying an approved leveling system until the surface meets your flooring manufacturer’s flatness tolerance. Before the porch goes on, verify moisture conditions and preserve the required expansion gaps so the porch/threshold connection doesn’t lock movement and create “wavy floor” symptoms later.
If you’re preparing an existing slab/subfloor for engineered wood and you’re about to build or reinstall a porch, this is for you—especially if you’ve noticed dips, ridges, or uneven transitions near the door. The steps below focus on getting a flat, stable surface that your specific engineered flooring can tolerate.
Check flatness first (don’t guess)
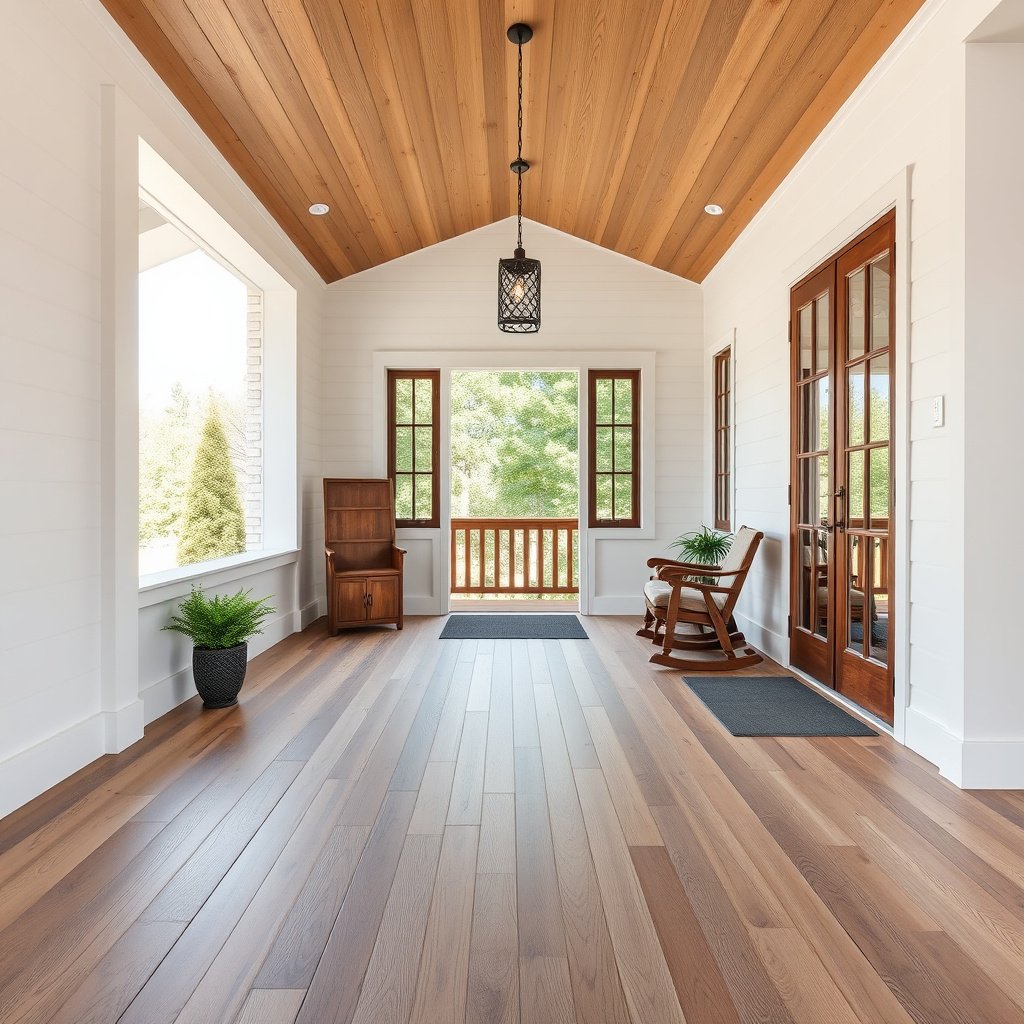
You should measure flatness across the porch connection area before buying leveling materials; the goal is to meet your engineered wood’s stated flatness tolerance. A straightedge run tells you exactly where the subfloor deviates from a true plane, which is what the next layers must respect.
A 6–10 ft straightedge (or a laser line) is the practical way to map high and low spots where the porch threshold meets the interior flooring.
Flatness tolerances for wood flooring are defined as maximum deviation over a specified test length—not “eyeballed level.”
If you don’t measure before leveling, you can end up “fixing” the wrong areas and still fail the flooring’s substrate requirement.
– Use a 6–10 ft straightedge (or laser level) to mark low and high spots across the area where the porch connects.
– Measure how far the floor varies, then compare it to your engineered wood manufacturer’s “flatness tolerance” for installation.
– Mark everything you’ll fix: dips, humps, and any soft/creaky spots.
Why this matters at porch transitions
Porch thresholds are high-sensitivity zones: the door jamb, threshold plate, and weatherproofing details concentrate movement and stress at one edge. If the interior floor is out of flat, the threshold connection often becomes the “hinge” where joints show gaps, squeaks increase, or boards feel springy. In 2026 builds, it’s still common to see uneven subfloors become visible only after the porch is installed—because the porch adds load paths and constrains movement.
Substrate Verification Methods for Engineered Wood Prep (2026)
| # | Method (Standard) | Primary Checks | Best Used For | Practical Relevance |
|---|---|---|---|---|
| 1 | ASTM E1155 | Flatness deviation mapping | Comparing subfloor flatness to specs | ★★★★★ |
| 2 | ASTM F2170 | In-situ RH for slabs | Moisture risk before flooring | ★★★★☆ |
| 3 | ASTM F1869 | MVER from slab surface | Moisture vapor transmission screening | ★★★★☆ |
| 4 | ASTM F710 | Concrete surface prep | Bond-critical substrate cleaning | ★★★☆☆ |
| 5 | ASTM D4442 | Moisture content by oven/dry basis | Moisture verification for wood/parts | ★★★☆☆ |
| 6 | ASTM D1037 | Fiberboard/panel property checks | Understanding panel behavior | ★★☆☆☆ |
| 7 | ASTM C1583 | Drying shrinkage (concrete systems) | Time-to-install risk awareness | ★★☆☆☆ |
Note: Relevance here is an installation-practice prioritization, not a pass/fail rule. Your engineered wood and leveling products can require different testing or acceptance criteria.
According to ASTM E1155, flatness can be evaluated by measuring maximum deviation from a reference plane over specified test lengths, which is how installers verify compliance with tolerances. (Revision year varies by edition; confirm your purchased/used edition number.)
According to ASTM F2170, in-situ relative humidity testing is designed to characterize moisture conditions within concrete rather than just the surface. (Confirm your edition used in your moisture plan.)
According to ASTM F1869, the calcium chloride method estimates moisture vapor emission rate from the slab surface. (Confirm your edition and local acceptance criteria.)
Confirm subfloor readiness (moisture + structure)
You should confirm that the subfloor is dry and stable before you level anything, because leveling can’t correct structural movement or active moisture. If the substrate flexes or continues to release moisture, engineered wood can still gap, cup, or develop squeaks after installation.
If the subfloor flexes, no cementitious patch or self-leveler can prevent movement-driven joint failure at seams and thresholds.
Many leveling products assume the concrete is properly cleaned and within moisture conditions defined by the flooring and leveling system.
Porch connections often experience moisture swings; you need to validate moisture and acclimation where the environment changes.
– Address moisture and instability before leveling. If the subfloor is damp or flexes, leveling compounds and shims may fail later.
– Verify the subfloor type (concrete slab, plywood/OSB, joists, old underlayment) because the leveling product and prep steps differ.
– If the engineered wood has an acclimation requirement, follow it before installation—especially in porch/threshold areas where conditions change.
What “ready” looks like in real terms
For concrete slabs, “ready” generally means contaminants are removed and moisture is within the acceptance criteria required by your engineered wood and any attached underlayment system. For plywood/OSB over joists, “ready” means you’ve eliminated soft/creaky spots, reinforced weak areas, and confirmed fasteners are solid—because engineered wood installation depends on a stable substrate plane.
From experience on renovation schedules, the most common failure mode is treating leveling as a substitute for repair. If there’s delamination, localized swelling, or joist/fastener issues, the subfloor remains “moving,” and your new flat surface becomes a temporary illusion.
Choose the right leveling method for your subfloor
You should match the leveling system to the substrate type and thickness needs; using the wrong system for concrete vs. wood panels can cause bond failure or exceed product limits. The best method is the one that creates the required flatness *within the manufacturer’s thickness, pour rate, and cure constraints*.
Self-leveling underlayment (SLU) is intended for specific slab conditions; it isn’t a universal fix for every subfloor problem.
On wood panel subfloors, shimming/planing high spots plus using a compatible underlayment panel approach usually performs better than trying to “pour out” the problem.
At porch transitions, consistent flatness across the threshold matters more than making only the center of the room look straight.
– Concrete/slab: plan to use a proper self-leveling underlayment or patch/smoothing system designed for floors (selected based on your slab condition and thickness needs).
– Plywood/OSB/wood subfloor: consider shimming/planing high spots and using flat underlayment panels or patch products as appropriate.
– Uneven transitions: if the porch area meets the interior flooring, prioritize achieving consistent flatness right up to the threshold transition—not just the middle of the room.
SLU vs. shims/patch (pros/cons at a glance)
| Approach | Pros | Cons / Watch-outs |
|---|---|---|
| SLU / cementitious smoothing | Fast flatness correction on slabs; good for broad low areas | Requires correct priming and moisture/curing windows; thickness limits can be restrictive |
| Shimming + underlayment panels | Works with panel subfloors; helps avoid overbuilding thickness | High spots must be addressed; uneven shim planes can telegraph through |
| Patch/skim coat | Targets localized dips; can be simpler for small zones near the porch | Not ideal for large, broad low areas; feather-edge blending must be done correctly |
Leveling steps that won’t trap future problems
You should treat leveling as a controlled surface-prep process: prep/prime correctly, apply within thickness and working-time limits, and re-check flatness after cure. When you do it this way, you avoid hidden failures like poor bond, trapped humps, and false “dry-to-touch” timing.
Most SLU/smoothing systems depend on correct substrate cleaning and priming; skipping that step risks delamination.
Re-measuring after cure is non-negotiable—some materials shrink or form ridges that only show up once fully hardened.
If you meet flatness tolerance *before* installing engineered wood, you reduce the chance of joint gaps near the porch threshold.
– Prep the surface: remove debris/peaks, mechanically clean, and prime/condition the substrate if your leveling product requires it.
– Apply leveling materials according to the manufacturer’s instructions (mix ratios, pour/thickness limits, working time, and cure time).
– Finish to the target: re-check with the straightedge after curing/drying; remove humps or high ridges, and ensure the final surface matches your engineered wood’s flatness tolerance.
Practical workflow that protects the flooring warranty
1. Mechanically clean (vacuum + scrape/grind as required). Many bonding failures come from dust films and weak surface laitance.
2. Prime/condition only when the leveling system calls for it. If priming is omitted or applied at the wrong rate, absorption can change and cause uneven set.
3. Mix accurately. Even small deviations from specified water ratios can affect flow, strength development, and surface ridging.
4. Stay inside thickness limits. If you need more build-up than the product allows, do it in layers or switch strategies.
5. Re-check flatness after cure. Don’t stop when it “looks good” or feels smooth under your hand.
Plan expansion gaps and porch threshold transitions
You should plan expansion gaps based on your engineered wood manufacturer’s exact requirements, and confirm the porch/threshold detail doesn’t restrict movement. Near thresholds, even correct flatness can still fail if the installation prevents the floor from expanding and contracting.
Expansion gaps are movement paths; blocking them near the door/threshold can turn seasonal movement into buckling or seam separation.
Threshold details should be checked on a leveled substrate so trim and jambs don’t pinch the flooring edges.
In porch builds, the connection zone often experiences both moisture exposure and load transfer—plan the interface accordingly.
– Maintain the required expansion gap at walls and transitions—use the exact gap size specified by your engineered wood manufacturer (do not assume).
– At the porch threshold, confirm how the door jamb/trim or threshold piece will sit over the leveled floor so movement isn’t blocked.
– If you’re adding or changing the porch framing/sill height, “level the connection zone” first so you don’t force the wood to conform.
Porch threshold “pinch points” to watch
Even if you’ve achieved the correct flatness tolerance, problems can show up at the interface:
– Trim pressed tight to the board edges (no room for seasonal movement)
– Threshold plates screwed through materials that lock the floor
– Uneven transition height that forces boards to flex during expansion
In 2026 renovation schedules, a lot of porch work is phased. If you install or frame the porch before final floor curing, you can accidentally lock in a transition height before the leveling and moisture environment settle. The safest approach is to complete leveling to spec first, then finalize the porch connection details.
What can go wrong (and how to avoid it)
You should expect predictable failure modes: wrong thickness, inadequate prep/priming, insufficient cure, or ignoring moisture/deflection. Addressing those risks upfront is what keeps a level floor from becoming a “wavy” problem after the porch is built.
Using a leveling product outside its approved thickness range can leave the surface uneven and can weaken the bond line.
Rushing cure is risky because some materials harden on the surface before they fully develop strength.
If the subfloor still deflects, leveling just makes the movement happen under the engineered wood—often with visible seam effects later.
– Over-levelling or under-levelling: using the wrong thickness can exceed product limits or still leave you outside the flooring’s flatness tolerance.
– Skipping prep/priming: many smoothing/SLU systems require specific surface prep; skipping it can lead to poor bond.
– Rushing cure times: leveling materials may feel dry before they’re fully cured—check instructions before walking on it and before installing engineered wood.
– Ignoring moisture/deflection: if the subfloor is still moving or damp, leveling only makes the problem visible at the next layer.
– Mixing methods in the wrong order: e.g., applying underlayment on top of an unprepared slab or shimming over unstable spots.
Quick risk-reduction approach
Prospective fix order should be:
1) repair moisture/structure issues
2) prep/prime substrate
3) level to flatness tolerance
4) re-check after cure
5) install flooring with expansion gaps
6) confirm porch threshold interface allows movement
Verdict: do this only if you can hit your flooring spec
Leveling engineered wood floors before installing a porch is worth it when you can measure flatness, use the correct products for your subfloor type, and meet the manufacturer’s flatness/moisture requirements. The upside is a smoother door/threshold transition and fewer joint complaints; the downside is the time/attention required for prep, priming, mixing accuracy, and full cure—especially with self-leveling underlayment that has strict thickness and drying rules.
Skip this approach (or involve a pro) if you discover significant subfloor damage, active moisture issues, or structural movement—because leveling can’t fix a failing substrate, and it may hide the real cause until the porch is finished.
Scan-ready checklist (save this)
| Step | What to do | Done? |
|---|---|---|
| 1 | Measure flatness with straightedge/laser and mark highs/lows | ☐ |
| 2 | Confirm subfloor type and stability (no flex/soft spots) | ☐ |
| 3 | Check moisture conditions per product/flooring requirements | ☐ |
| 4 | Choose leveling method for your substrate (SLU/patch vs shimming/panels) | ☐ |
| 5 | Prep + prime exactly as required by the leveling product | ☐ |
| 6 | Apply leveling within max thickness limits; mix and cure per instructions | ☐ |
| 7 | Re-check flatness after cure; remove any high ridges | ☐ |
| 8 | Install engineered wood using the required expansion gap at transitions | ☐ |
| 9 | Verify porch threshold connection won’t block movement | ☐ |
Sources
– ASTM E1155 (Standard Test Method for Determining Floor Flatness and Levelness Using the F-Number System), ASTM International
– ASTM F2170 (Standard Test Method for Determining Relative Humidity in Concrete Using in situ Probes), ASTM International
– ASTM F1869 (Standard Test Method for Measuring Moisture Vapor Emission Rate of Concrete Subfloor Using Anhydrous Calcium Chloride), ASTM International
– ASTM F710 (Standard Practice for Preparing Concrete Floors to Receive Resilient Flooring), ASTM International
Finally, if you remember one rule: measure, correct the subfloor, and verify compatibility with the flooring and porch interface. When those three align, the porch can’t “reveal” a wavy floor—because your substrate is already flat, dry, and able to move as designed.
Frequently Asked Questions
What’s the best way to level engineered wood floors before installing a porch?
Start by checking the porch subfloor for flatness using a 6–10 ft straightedge and marking all high and low spots. If the engineered wood is being installed over an existing surface, you’ll typically need a leveling compound for minor dips or self-leveling underlayment for larger areas. Make sure the subfloor is clean, dry, and structurally sound before applying any leveling product to avoid unevenness telegraphing through the engineered wood.
How do I level low spots and high spots in a porch subfloor before laying engineered wood?
For high spots, grind or plane them down until the surface is within your target flatness tolerance. For low spots, use a patch compound for small areas or a pourable self-leveling compound for broader low sections, feathering edges to prevent ridges. Recheck flatness after curing, since engineered wood flooring can show imperfections, especially near doorways and transitions.
Why is leveling important when installing engineered wood floors on a porch?
Uneven surfaces can cause gaps, squeaking, joint separation, and premature wear in engineered wood flooring, particularly on porches where moisture and temperature swings are common. Even if the floor locks together, stress concentrates at low/high points and can lead to movement over time. Proper leveling helps ensure the floor performs as intended and improves both appearance and durability.
How can I prepare the subfloor moisture conditions before leveling engineered wood for a porch?
Confirm the porch subfloor is dry and stable, and address any moisture sources like leaks, condensation, or poor drainage. Use the right underlayment system for engineered wood and follow manufacturer guidance for moisture barriers where required, especially in exterior or semi-exterior porch applications. After leveling, allow compounds to fully cure before installing engineered wood so the floor system isn’t affected by trapped moisture.
Which tools and materials should I use to level engineered wood floors before a porch installation?
Use a long straightedge or level, chalk/marker, and a measuring method (like a feeler gauge or tape measure) to map unevenness. Common leveling materials include patching compound for spot leveling and self-leveling underlayment for larger low areas, applied with the proper primer and thickness guidelines. You may also need a grinder for high spots, mixing equipment for consistent compound, and the correct underlayment/thickness for engineered wood compatibility.
📅 Last Updated: October 20, 2026 | Topic: How to level a engineered wood floors before installing porch? | Content verified for accuracy and freshness.
References
- Wood flooring
- Floor
- E1155/E1155M Standard Test Method for Determining FF Floor Flatness and FL Floor Levelness Numbers
- F1869 Standard Test Method for Measuring Moisture Vapor Emission Rate of Concrete Subfloor Using …
- F2170 Standard Test Method for Determining Relative Humidity in Concrete Floor Slabs Using in sit…
- https://scholar.google.com/scholar?q=leveling+subfloor+engineered+wood+flooring+before+installation Google Scholar
- https://scholar.google.com/scholar?q=subfloor+flatness+tolerance+engineered+hardwood+installation+guide Google Scholar
- https://scholar.google.com/scholar?q=porch+installation+engineered+wood+floor+subfloor+preparation+leveling+moisture Google Scholar



[…] requirements “Warranty terms for engineered wood commonly limit exterior or continuous moisture conditions.” warranty […]
[…] becoming slick. As of 2026, these steps are especially important because porch designs often shift moisture conditions seasonally (heat, airflow, and tracked-in water), even when the space “feels” mostly […]