
If you need engineered wood floors safer in a porch, the fastest path is to control moisture and wear with the right prep, flooring finish, and moisture barrier. This article explains the exact upgrades that make the biggest difference—subfloor preparation, sealing and edging, and using a porch-appropriate protective system—so you can prevent swelling, cupping, and premature failure. Follow these steps and your engineered wood porch floor will perform more reliably under the sun, humidity, and wet-weather swings it can’t avoid.



To make engineered wood floors safer on a porch, focus on moisture control and traction. In practice, that means confirming your porch is genuinely protected from standing rain, using the manufacturer-approved vapor/underlayment system, and then improving surface grip in wet-foot zones—so the floor can handle humidity and splashes without swelling, warping, or becoming slick. As of 2026, these steps are especially important because porch designs often shift moisture conditions seasonally (heat, airflow, and tracked-in water), even when the space “feels” mostly dry.
If your porch stays mostly dry but still sees humidity, wet shoes, or seasonal temperature swings, the steps below can meaningfully reduce swelling, warping, and slipping. If your porch is truly exposed to frequent rain/snow or puddles, engineered wood may not be the safest long-term option—check your specific product’s warranty and “wet/outdoor” limitations first.
Assess porch exposure and moisture sources first
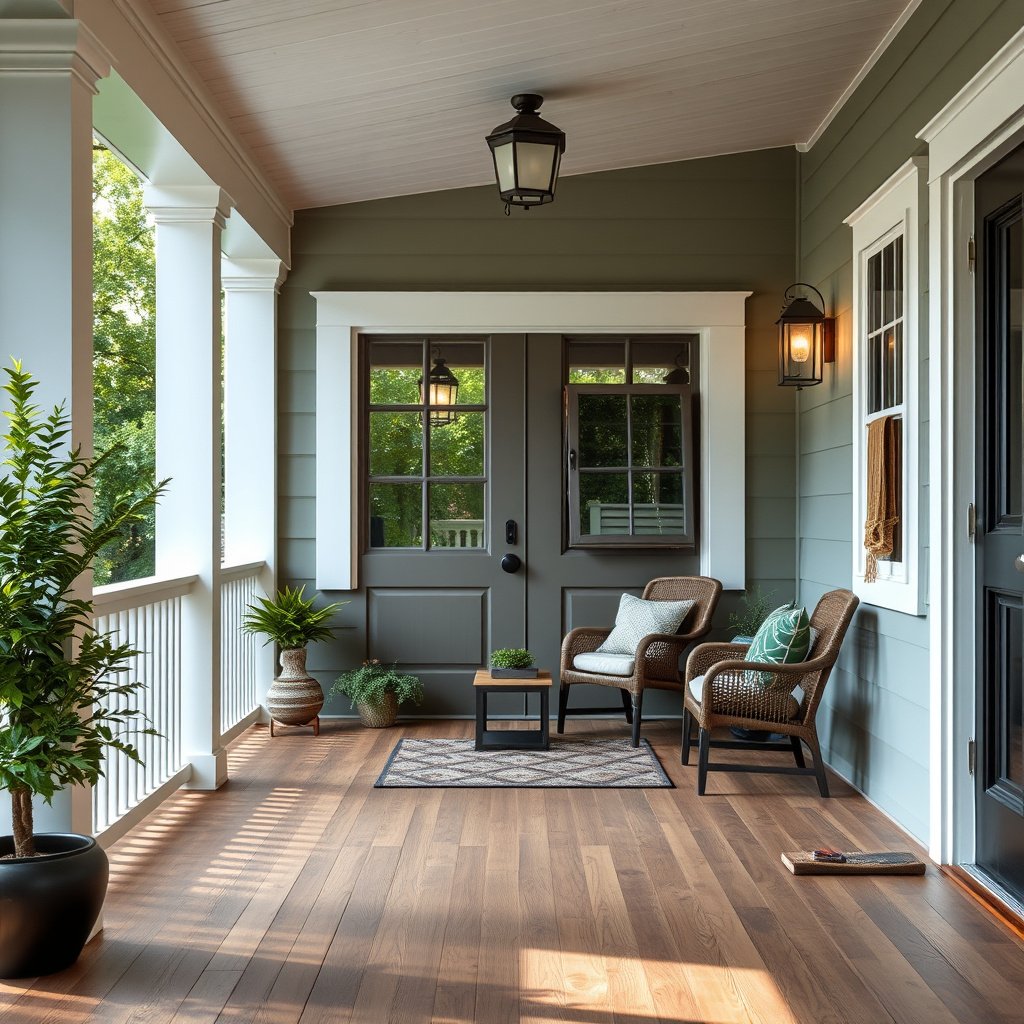
You improve safety fastest by determining whether the floor is facing intermittent dampness or repeated wetting—those are very different failure modes. If it’s intermittent, engineered wood can often be made more tolerant; if it’s frequently wet, even good installation details may not protect it.
First, verify that the porch is covered (no direct rainfall), especially at corners and near doorways where water “finds routes” under weather stripping or behind trim. Next, evaluate drainage: clogged gutters, downspouts positioned too close, and a slight ponding low spot can keep the subfloor damp longer than you’d expect. Finally, map the wet traffic zones (the path from the door to steps, railings, and any area where people wipe shoes) so you can target both sealing and non-slip traction.
Porch failures often come from water that arrives indirectly—through drainage problems, condensation, or wet footwear—rather than from obvious rainstorms.
Dimensional movement in wood is driven by moisture changes, so controlling the porch environment and the moisture path under the floor is central to safety.
If standing water or frequent puddling occurs, many engineered wood products fall outside their “exterior/wet location” limitations.
What to inspect during a quick site walk
– Confirm the porch is covered and protected from direct rain, especially near doors and corners where water sneaks in.
– Look for drainage problems (downspouts too close, poor slope, clogged gutters) that can leave damp patches or puddles.
– Identify the main “wet traffic” zones (entry door threshold, steps landing, path to grill/side door) so you can target sealing and slip-resistance.
Moisture reality check (why this matters): wood’s equilibrium moisture content (EMC) tracks relative humidity (RH). According to the USDA Forest Products Laboratory’s *Wood Handbook*, EMC is roughly ~8% at 30% RH, ~12% at 65% RH, and ~16% at 90% RH—a swing that can trigger noticeable expansion/contraction in wood products when porch humidity shifts. USDA Forest Products Laboratory, Wood Handbook (Wood as an Engineering Material): moisture equilibrium/EMC guidance That RH swing is common on porches during spring/fall and after rain, even under a roof.
Moisture targets you can use to judge “porch safety”
Moisture-Barriers & Wood EMC Levels That Drive Porch Engineered Wood Risk
| # | Moisture Parameter | Numeric Level | What It Helps You Control | Porch-Favorite Score |
|---|---|---|---|---|
| 1 | Class I vapor retarder perm | ≤ 0.1 perm | Limits vapor transmission under flooring | ★★★★★ |
| 2 | Wood EMC at 30% RH | ~8% EMC | Low-humidity equilibrium | ★★★★☆ |
| 3 | Wood EMC at 65% RH | ~12% EMC | Typical comfort-range equilibrium | ★★★★☆ |
| 4 | Class II vapor retarder perm | 0.1–1 perm | Moderate vapor control (often not enough for frequent damp porches) | ★★★☆☆ |
| 5 | Wood EMC at 90% RH | ~16% EMC | High-humidity equilibrium (more movement risk) | ★★☆☆☆ |
| 6 | Class III vapor retarder perm | 1–10 perms | High vapor transmission (higher porch risk) | ★☆☆☆☆ |
| 7 | Design intent: vapor control consistency | Aim for ≤ 0.1 perm class where specified | Keeps EMC swings smaller under porch humidity cycles | ★★★★★ |
USDA’s *Wood Handbook* shows wood EMC can roughly double when RH rises from ~30% to ~90%, which explains why porch humidity cycles matter.
ASTM E1745 classifies vapor retarders by perm rating, where Class I is ≤0.1 perm—commonly the target level for stronger vapor blocking.
Control moisture under and around the floor
Moisture control is the foundation for safety because slickness often comes from wet debris and surface haze, while swelling and warping come from hidden moisture movement under the floor. The best approach is to block vapor transmission per your engineered wood system and seal every likely water pathway you can reach.
Start with the moisture protection system your flooring manufacturer specifies. Many engineered wood products rely on an approved vapor barrier and/or underlayment/membrane designed for that floor’s wear layer, adhesive requirements, and board design. Then ensure the subfloor is dry, flat, and properly prepared—because trapped moisture plus movement is a repeatable recipe for gaps, edge lift, and surface changes. Finally, seal vulnerable edges: trim junctions, transitions, and penetrations (pipes/posts) using materials recommended for your product system.
When the correct vapor/underlayment system is omitted or mismatched, moisture can accumulate under wood flooring even if the porch surface looks dry.
Sealing only the visible top surface won’t solve porch moisture issues; the risky path is usually the vapor route under the installation.
A properly flat, dry subfloor reduces the mechanical stress that can turn minor moisture into buckling or cupping.
Moisture-proofing details that prevent both failure and slipperiness
– Use the moisture protection system your flooring manufacturer specifies (often this means an approved vapor barrier and/or underlayment/membrane designed for that floor).
– Make sure the subfloor is dry, flat, and properly prepared before installation—trapped moisture and movement are major drivers of failure.
– Seal all vulnerable edges: where boards meet trim, transitions, and any penetrations (pipes/posts) using materials recommended for your product system.
Inline definition (so you choose correctly): a vapor barrier limits water vapor flow through the assembly; an underlayment/membrane is the cushioning/decoupling layer (and sometimes part of the vapor-control system) that must be compatible with the engineered wood’s locking system or glue requirements. When these layers don’t match, the floor can move differently than the manufacturer assumes.
A practical note about transitions (where safety often breaks)
Transitions and thresholds are where water can wick (capillary action) and where flooring movement must be allowed. If you rigidly force a floor to stop at a fixed trim edge, porch temperature swings can create stress that compromises edges—then those edges become both a moisture entry point and a trip/slip hazard.
Install engineered wood the “porch-safe” way
The porch-safe installation is the one that preserves the floor’s designed movement while blocking the moisture route it can’t tolerate. If your assembly flexes correctly and still matches the manufacturer’s porch conditions, you substantially reduce both safety and performance problems.
First, follow the required expansion gap and don’t trap the floor rigidly at walls/columns. Porches see bigger seasonal swings and faster drying/wetting cycles, so engineered wood needs room to move. Next, choose the installation method the manufacturer allows for your porch conditions—floating (often with click-lock) versus glue-down has different moisture assumptions. Finally, pay extra attention to thresholds at doorways: design trim/transition details that resist water wicking and allow movement.
Wood flooring manufacturers require expansion space because wood dimensions change with moisture content and temperature cycling.
Mixing installation methods (e.g., using a floating system with glue-down instructions) can create stress and void warranty conditions.
Thresholds are high-risk points on porches because they combine movement joints with frequent wet-foot traffic.
Installation steps that matter most on porches
– Follow the required expansion gap and never trap the floor rigidly at walls/columns; porch heat/cold swings can move wood.
– Choose the installation method the manufacturer allows for your porch conditions (floating vs. glue-down), and don’t mix-and-match instructions.
– Pay extra attention to transitions at thresholds—use transitions/trim details that prevent water wicking and allow movement.
Porch temperature cycling changes how you should think about “dry”
Even under a roof, the porch deck can cool quickly after sun, then warm up again. That cycling encourages condensation in some climates—especially near doorways where warm indoor air leaks and then cools. The takeaway: “mostly dry” is not the same as “humidity-stable,” so you still need moisture control and correct installation clearance.
Improve safety: reduce slip and protect the surface finish
You improve porch safety by treating traction as a system, not a finish “hack.” The floor finish matters, but in a porch context the bigger slip risk is often water + tracked debris over time—so you need both surface protection and better wet-foot grip.
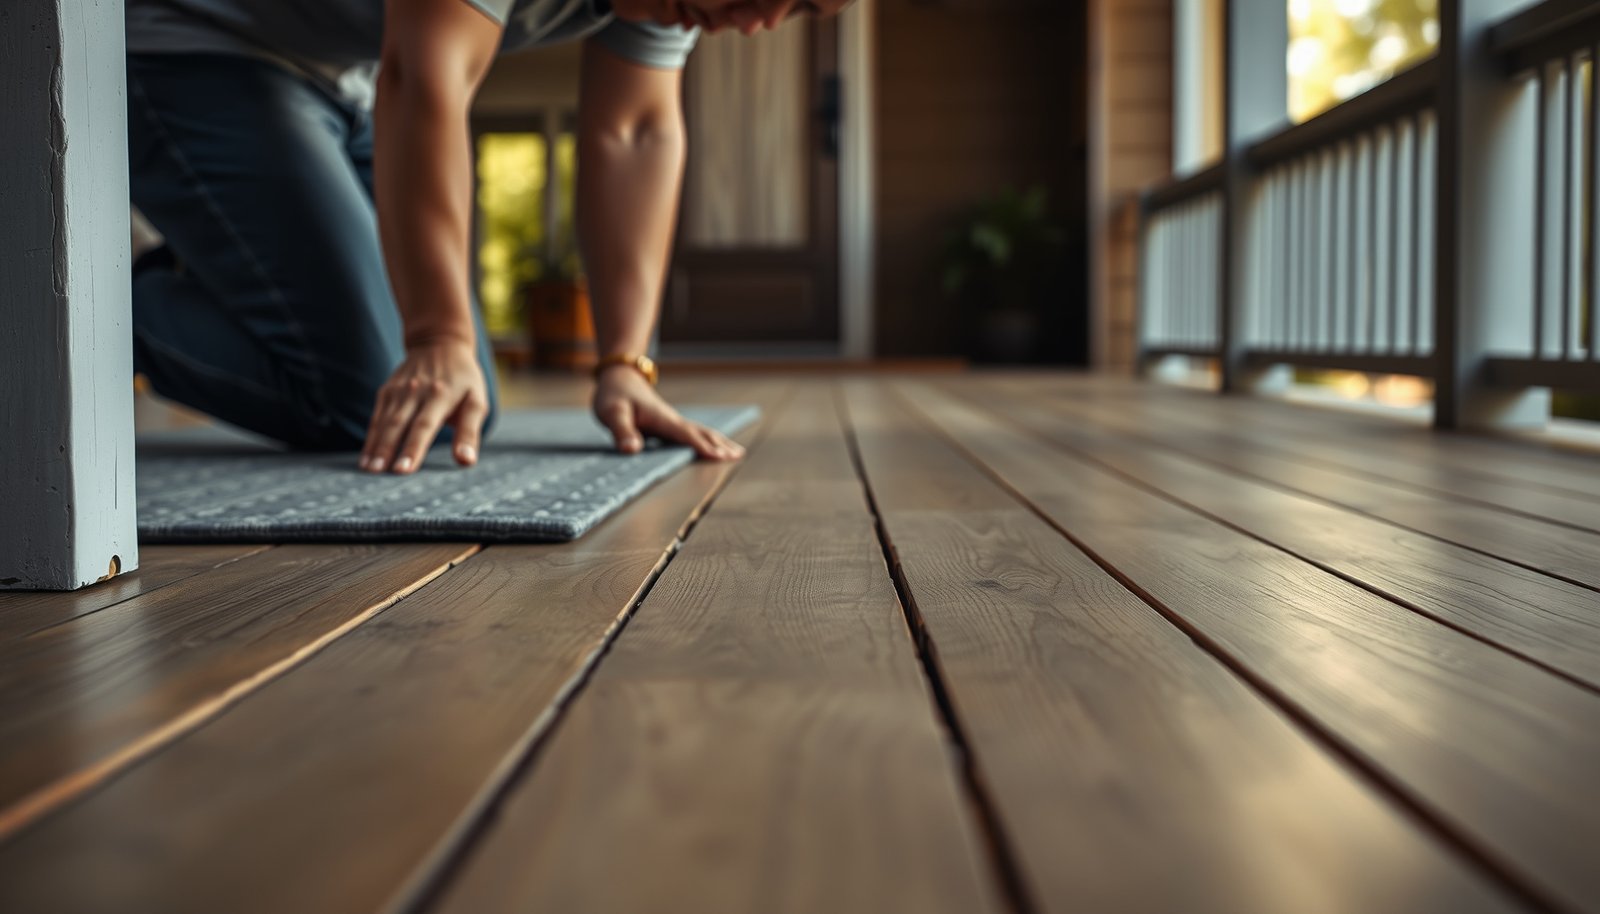
Increase traction with porch-appropriate floor mats or rugs that have non-slip backing. Place them in wet-foot areas—right where people step off the door zone or steps landing—and replace them when they wear or stop gripping. Next, use a finish/maintenance approach compatible with your floor’s wear layer. If you recoat or modify the surface, confirm it won’t void your warranty and won’t reduce traction when wet. Finally, keep the walking surface clean and dry: promptly wipe mud and sand, and don’t allow water to sit after storms or cleaning.
Non-slip mats reduce slip events at entry points, but they cannot replace vapor control under the flooring assembly.
Surface finishes that look “slightly slick” when wet can increase coefficient of friction-related hazards, so maintenance coatings should match manufacturer traction guidance.
Cleaning practices matter: removing sand and grit helps prevent micro-abrasive slickness that can make surfaces feel more dangerous.
A friction-first routine for porch living
– Increase traction with porch-appropriate floor mats/rugs (non-slip backing) placed in wet-foot areas; replace them when they wear.
– Use a finish/maintenance approach that’s compatible with your floor’s wear layer—if you recoat or modify the surface, confirm it won’t void the warranty and that it won’t reduce traction.
– Keep the walking surface clean and dry: promptly wipe mud/sand and don’t let water sit (especially after storms or cleaning).
Quick “finish compatibility” sanity check
If the manufacturer provides a listed maintenance product set (e.g., specific cleaners, refinish schedules, or approved coatings), treat that as part of your safety system. As of 2026, many slip-related complaints come from well-intentioned homeowner refinishing that changes sheen or hardness in ways the original specs didn’t account for.
Maintain and inspect on a simple schedule
Maintenance is what keeps your installation “porch-safe” after the first rainy season. The goal is to catch small edge problems early—before they become swelling, cupping, or a slip hazard.
After heavy weather, quickly check for gaps, edge lifting, or soft spots. Then keep sealants and transition points in good shape; cracks or missing caulk can turn occasional dampness into chronic moisture exposure. Finally, adjust habits: use door mats, wipe wet footwear before stepping fully onto the flooring, and avoid dragging wet items across the surface. This routine costs less than repairs and helps maintain traction consistency across the season.
Early detection of edge gaps or soft spots reduces the chance that moisture will migrate further into the assembly.
Seam failures and cracked caulk are common pathways for water wicking into wood flooring edges.
Simple habit changes (door mats, wiping footwear) reduce both water load and abrasive grit at the walking surface.
– After heavy weather, quickly check for gaps, edge lifting, or soft spots; early issues are much easier to correct than later cupping/warping.
– Keep sealants/transition points in good shape—cracks or missing caulk can turn “occasional dampness” into chronic moisture exposure.
– Adjust habits: use door mats, wipe wet footwear, and avoid dragging wet items across the floor.
What to watch for (and why it matters to safety)
If you notice boards separating, persistent peaking, or corners lifting, that’s not just cosmetic—those changes can create uneven footing. Uneven flooring becomes a slip risk, especially when people step on damp spots.
What can go wrong (and when to stop)
Engineered wood becomes unsafe or unreliable when moisture management is incomplete or when the porch conditions exceed the product’s intended limits. In those cases, you should stop treating the problem like a “small fix” and reassess installation compliance and product suitability.
The most common pitfalls are mismatching vapor protection/underlayment, skipping expansion requirements, and relying on traction upgrades that change the surface behavior when wet. Some coatings may also reduce traction or damage the wear layer. If you see repeated movement after install—separation, crown/cup, or edge lift within the first season—pause and verify that the system matches the manufacturer’s porch and warranty conditions rather than only patching visible areas.
Skipping the approved vapor/underlayment system can trap moisture under engineered flooring and accelerate edge failure.
Trying to “outsmart” expansion joints with over-sealing can increase buckling risk during porch temperature swings.
Repeated seasonal movement shortly after install is a strong indicator that moisture exposure or installation compliance is outside the manufacturer’s assumptions.
Common failure scenarios to avoid
– Relying on engineered wood in a frequently wet/exposed porch: if the surface gets regular rain, snow, or puddles, many engineered floors are not designed for that cycle.
– Skipping or mismatching vapor protection/underlayment: using the wrong underlayment or an unapproved membrane can trap moisture and void warranty.
– Over-sealing or sealing incorrectly: sealing the wrong joints can block movement and increase buckling risk.
– Trying traction fixes that change the finish: some “non-slip” coatings can make floors slippery when wet or damage the top wear layer—verify compatibility first.
– If you see movement after install: if boards repeatedly separate, crown/cup, or edges lift within the first season, pause and reassess moisture/installation compliance rather than just patching.
Porch type comparison (quick decision filter)
- Porch is covered and mostly splash-only
- Best fit: engineered wood with manufacturer-approved moisture protection and clear expansion/transition details.
- Porch is frequently wet or puddles
- Higher risk: engineered wood may fall outside warranty intent—consider an exterior-rated floor system designed for wet exposure.
Verdict + quick checklist (scan/save)
If your porch is covered and your main issues are wet shoes, humidity, and occasional splashes, you can make engineered wood floors safer by dialing in moisture control and traction—without fighting the product’s expansion needs. Downsides: this takes more up-front prep, stricter maintenance, and higher attention to transitions/mats than an indoor installation. Skip these changes (or reconsider the floor type) if your porch is frequently exposed to standing water or if your specific flooring’s manual says it’s not for exterior/wet locations.
Porch safety checklist
| Task | What it reduces | Do it when |
|---|---|---|
| Verify porch is covered/no puddles | swelling/warping | before install |
| Use manufacturer-approved moisture protection/underlayment | trapped moisture | before install |
| Maintain expansion gaps + correct transitions | buckling/gaps | during install |
| Seal edges and penetrations as specified | water wicking | during install/repairs |
| Add non-slip mats in wet-foot zones | slips | immediately after install |
| Inspect after storms and season changes | early failure | ongoing (quick checks) |
As of 2026, the safest strategy for engineered wood on porches is aligning three things: moisture barrier compatibility, correct expansion behavior, and traction in wet-foot zones.
If you can’t control standing water, treat engineered wood as a warranty-limited material rather than a durable exterior flooring solution.
Frequently Asked Questions
What should I check to make engineered wood floors safer on a porch?
Start by verifying the porch subfloor is structurally sound, level, and properly ventilated so engineered wood flooring isn’t trapped in moisture. Check that the surface is clean and dry before installation, and confirm you have the right underlayment and vapor control for your climate. Also inspect for gaps, drainage issues, or low spots where water can pool—these are common causes of cupping, buckling, and slippery surfaces.
How can I prevent water damage on engineered wood porch floors?
Use a porch-rated exterior approach: choose an engineered wood product with an appropriate exterior/porch rating (or ensure it’s intended for covered exterior use), and install moisture barriers as recommended by the manufacturer. Seal joints and edges carefully, and make sure the porch has effective drainage so water doesn’t sit on the boards. Consider adding door mats and maintaining gutters/flashings to reduce the amount of water reaching the engineered wood floor.
How do I improve traction so engineered wood floors are safer when wet?
Improve slip resistance by using non-slip entrance mats and keeping the walking surface clean of debris, algae, and soap residue. If your engineered wood has a smooth finish, consider refinishing or applying a slip-resistant coating designed for wood and exterior exposure. For areas that frequently get wet, you can also use outdoor-rated rugs or traction strips at high-traffic routes while still allowing the floor to breathe.
Why is proper acclimation and installation important for engineered wood safety on porches?
Engineered wood expands and contracts with temperature and humidity, and porch conditions often swing more than interior spaces. Acclimate the planks according to the manufacturer’s instructions, and follow spacing guidelines around perimeter walls and posts to allow movement. Using the correct fastening method (for example, glue-down vs. floating vs. nail-down) and the right subfloor prep reduces the risk of warping, lifting edges, and tripping hazards.
Which underlayment and sealants are best for safer engineered wood on a porch?
Look for underlayment that matches your installation type and provides moisture control suitable for exterior or covered porch conditions—often this means a vapor barrier/underlayment system specified by the flooring manufacturer. For sealants, use products made for engineered wood flooring in exterior or semi-exterior environments, and apply them to end joints, transitions, and exposed edges where water intrusion is most likely. Always follow the manufacturer’s compatibility guidance to avoid coating failures that can make the surface slippery or lead to premature wear.
📅 Last Updated: October 20, 2026 | Topic: How to make engineered wood floors safer in a porch? | Content verified for accuracy and freshness.
References
- Mold | Mold | CDC
- https://www.epa.gov/mold
- https://www.hud.gov/program_offices/healthy_homes/mold
- Mold – Overview | Occupational Safety and Health Administration
- dampness mold health – Search Results – PubMed
- Wood-decay fungus
- Wood flooring
- https://scholar.google.com/scholar?q=engineered+wood+flooring+porch+moisture+safety Google Scholar
- https://scholar.google.com/scholar?q=engineered+hardwood+outdoor+installation+moisture+vapor+barrier Google Scholar
- https://scholar.google.com/scholar?q=wood+porch+flooring+water+damage+mold+prevention Google Scholar