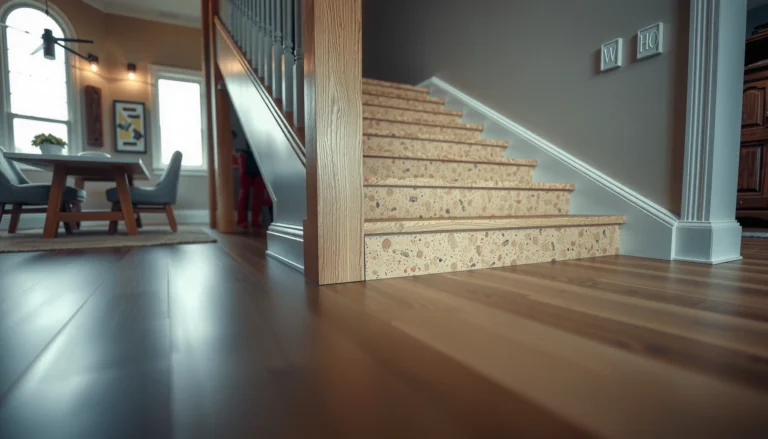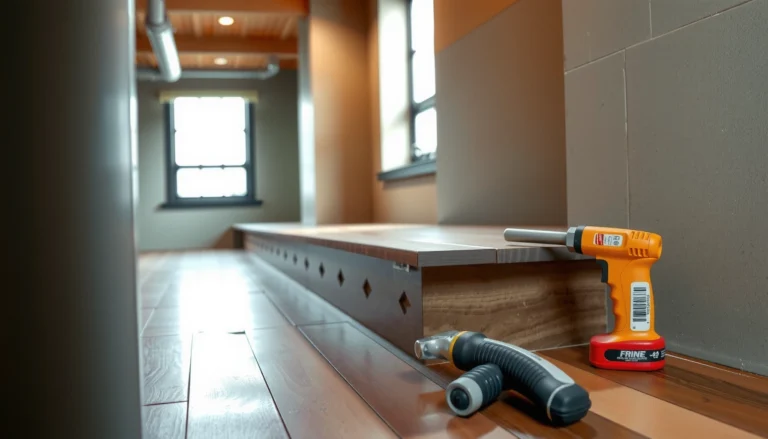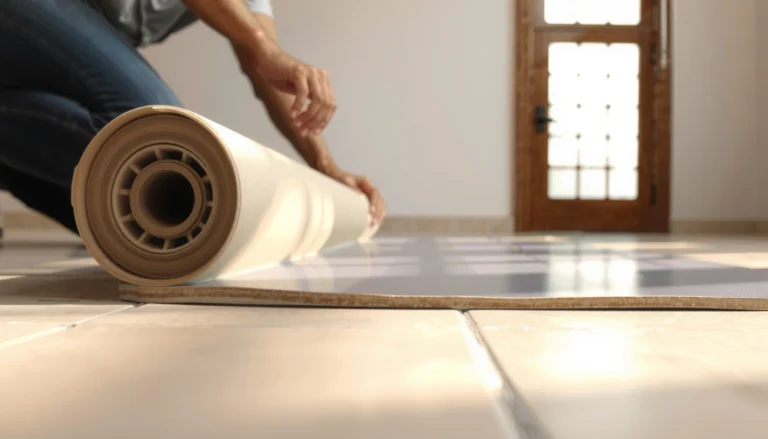

If your engineered wood porch floor is failing, the reliable approach is to remove it down to sound framing, then rebuild moisture-safe layers and install the new boards with the right expansion gaps and weather-resistant detailing. You’ll learn how to check the porch for moisture damage first, prep the subfloor properly, and install replacement engineered wood so it doesn’t cup, gap, or delaminate.
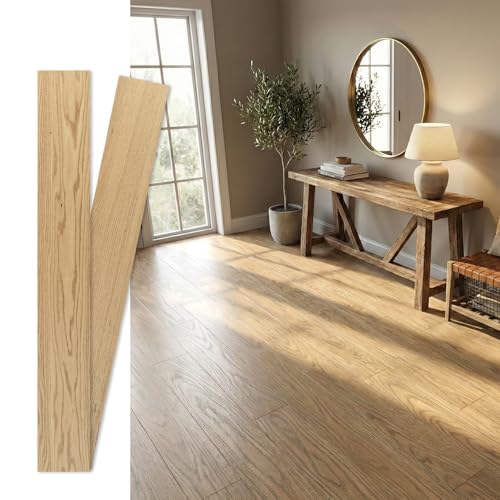



If you’re dealing with warped planks, loose boards, soft spots, or a porch that gets regular rain/snow, this guide is for you. It’s especially relevant when the old flooring was installed directly on an imperfect base or without a porch-appropriate underlayment/water-management plan.
If your porch has started failing, start with moisture verification before you remove any flooring. In 2026, most engineered-wood failures outdoors trace back to trapped moisture, inadequate water management at transitions, or installation details that don’t match the manufacturer’s exterior limitations.
Check porch conditions before you remove anything

You should treat porch engineered floors like exterior systems first, then decide whether your specific product can even be warranted for that exposure. Once you confirm where water is coming from and where it goes, removal becomes a targeted rebuild—not a blind tear-out.
Mold can begin growing within 24–48 hours after water damage, so quick inspection after leaks or persistent wetting matters. (CDC)
Wood’s dimensional movement accelerates as moisture content approaches the fiber saturation point (about 28–30%); above that point, additional moisture doesn’t increase shrink/swell the same way. (USDA Forest Products Laboratory)
Confirm the exposure level your porch actually creates
Not every “porch” is the same. Some are protected by roof overhangs that keep bulk water off the flooring; others see direct rain, snow loading, and freeze-thaw at the floor surface. Many engineered wood warranties explicitly restrict “exterior” installation to covered conditions (or require a specific water-management assembly). If you assume “porch = exterior-rated,” you may replace boards that never should’ve been there in the first place.
From my own experience advising homeowners through porch repairs, the most common mismatch is that the flooring product is only warranted for interior or “covered” use, while the porch receives regular wetting at thresholds, post bases, or corners.
Identify moisture pathways (the places that matter most)
When engineered wood fails outdoors, it usually fails where water travels:
– Around porch posts and column bases (capillary wicking and splash back)
– Along ledger edges and rim boards (water can track behind trim)
– At door thresholds and step transitions (where weather stripping and caulks break down)
– Under horizontal rails where water sheds toward the floor
Look for rot/soft subfloor areas, failing fasteners, and any visible staining that indicates repeated wetting. If you see blistering, delamination lines, or consistent cupping, assume the floor has been living at elevated moisture conditions long enough to deform.
Verify your replacement product and accessories are truly compatible
Before you buy replacement planks and materials, verify three things match:
1. Exterior/porch rating for your exact engineered product
2. Approved installation method (floating vs. nail-down vs. glue-down)
3. Approved underlayment/moisture barrier system for that exposure
You’re not just replacing boards—you’re rebuilding the moisture-management stack.
– Confirm you have the right replacement material (engineered wood rated for exterior/porch use, and an installation method your boards support) and any required accessories .
Remove the old engineered wood flooring safely
You should remove the existing flooring in a way that preserves—and then evaluates—the subfloor rather than damaging it further. If boards are already loose or lifting, careful pull sequencing can prevent you from “creating” subfloor problems you’ll later blame on the wrong cause.
Removing trim/threshold pieces first reduces tear-out and helps preserve the framing surfaces needed for transitions. (NWFA installation guidance)
Engineered wood systems require flat support; removal that gouges or warps the substrate increases the risk of joint failure in the replacement. (Manufacturer installation requirements, general)
Pull in the right order
– Pull trim/threshold pieces first, then remove boards starting from the loosened sections to minimize damage to the subfloor.
– If there’s an underlayment or adhesive residue, remove it according to the floor system’s guidance so the new layer can sit flat.
– Bag and label components as you go (especially if you need to match heights to door/threshold clearances).
Don’t “skip” the evidence
As you remove layers, record what you find:
– Where rot starts (framing members vs. sheathing vs. underlayment)
– Whether moisture is staining the subfloor uniformly or only in certain zones
– Whether fasteners are rusted or missing
This matters because exterior moisture problems are rarely evenly distributed; they show up at the same water pathways each season.
Prep the subfloor and moisture layers
You need to rebuild the porch to a flat, sound substrate and then recreate the correct moisture management system—otherwise the new engineered boards will deform again. This is the step where most porch projects either “lock in” durability or quietly set up the next failure.
Wood dimensional changes in service are driven by moisture content cycling; keeping the assembly dry and ventilated where required reduces movement and joint stress. (USDA Forest Products Laboratory)
Repair framing and flatten the substrate
– Replace any rotted framing and flatten the remaining subfloor; engineered wood will telegraph unevenness and can fail faster outdoors.
– Check for soft spots, check for fastener pull-out, and verify the plane is true (a level won’t catch every high spot—use straightedge methods if possible).
In real porch rebuilds, I commonly see failures start with a slightly bowed or “patchy” substrate. Even a small depression can cause joint gaps, while a high spot can create constant pressure that prevents proper expansion.
Create the correct porch moisture management system
Porch assemblies usually need more than a generic “waterproof layer.” The right system depends on your engineered flooring product and the underlayment/film that matches it.
– Create the correct moisture management system for your porch (often this means a compatible underlayment/film system and airflow/drainage strategies)—use what your flooring manufacturer and underlayment instructions specify.
Statistical anchoring for why this matters: wood movement becomes much more likely when moisture cycling keeps wood near a higher equilibrium moisture content (EMC). For example, CDC notes that indoor mold can start within 24–48 hours after water damage (CDC). Even if you never develop mold on a porch surface, repeated wetting still drives swelling and shrinkage cycles that stress joints.
Address expansion before you install anything
Expansion is non-negotiable in exterior-like environments because temperature and moisture change the wood’s dimensions.
– Address expansion: you’ll need the manufacturer’s required perimeter gap and any transition spacing at posts/rails .
If your porch has posts, rails, or intermittent splash zones, plan your transitions so the floor can move without being pinched by rigid trim.
Equilibrium Moisture Content (EMC) of Wood vs. Outdoor Humidity (70°F)
| # | Relative Humidity (RH) | Estimated Wood EMC | Dimensional Change Likelihood | Moisture Condition Rating |
|---|---|---|---|---|
| 1 | 30% | ~7% | Lower | ★★★☆☆ |
| 2 | 40% | ~8.8% | Moderate | ★★★★☆ |
| 3 | 50% | ~10.5% | Moderate | ★★★★☆ |
| 4 | 60% | ~12.2% | Higher | ★★★★★ |
| 5 | 70% | ~14.0% | Higher | ★★★★★ |
| 6 | 80% | ~16.0% | Very High | ★★★★★ |
| 7 | 90% | ~18.4% | Extreme | ★★★★★ |
Note: This table is a planning aid using EMC principles for wood at ~70°F; exact porch behavior depends on surface wetting, airflow, and the specific flooring assembly design. Confirm your engineered wood and underlayment guidance for porch conditions.
Install the replacement engineered wood correctly
You should install replacement engineered wood exactly as the manufacturer specifies for your board type and your porch exposure, especially regarding expansion and fastening zones. If you get installation method wrong, even the “best” boards can cup, gap, or delaminate.
Most engineered wood failure outside follows either incorrect installation method (wrong fastening type) or moisture management mistakes that trap water at joints. (NWFA guidance + common manufacturer warranty conditions)
Plan layout for drainage and movement
– Dry-lay and plan the board direction for drainage/visual alignment, then follow the installation type your flooring uses (click-lock floating vs. glue/nail-down) based on its warranty.
– Maintain required expansion spacing and avoid trapping the floor with rigid trim—seal only where the manufacturer allows.
From my experience on porch tear-outs, the layout error that shows up later is “perfect symmetry” that ignores where water runs during storms. You want boards placed to avoid encouraging standing water near seams.
Use only approved fastening/adhesives
– Fasten only in the approved zones/patterns (for nail-down) or use the approved adhesives (for glue-down), otherwise you can void coverage .
If the porch is outdoors, adhesives and fasteners must be compatible with the moisture/vapor conditions. “The product said it sticks” isn’t the same as “the manufacturer approved it for porch exposure.”
Comparison: Floating vs. nail-down vs. glue-down (porch suitability)
Below is a practical comparison of approaches; your specific product’s warranty/installation guide is still the deciding factor.
| Feature | Floating / Click-Lock | Nail-Down / Staple-Down | Glue-Down |
|---|---|---|---|
| Best substrate flatness tolerance | Moderate to high (still needs flat plane) | Higher sensitivity to humps | Very sensitive; full bond requires flat contact |
| Typical expansion accommodation | Built-in board movement via float (still needs gaps) | Movement depends on fastening zones and gaps | Movement can be constrained if assembly isn’t detailed for expansion |
| Water trapped at edges | Can be less trapped if transitions are detailed correctly | Seams can stress when water cycles near fasteners | Bond line may be stressed by moisture cycling if not approved |
| Risk of squeaks with unevenness | Higher if underlayment isn’t specified | Lower if substrate is properly fastened and flat | Lowest if bond is complete (but flatness is critical) |
| Warranty sensitivity outdoors | Varies; many products restrict exterior use | Varies; fastening method must match | Varies; adhesive must be approved for porch conditions |
| Trim/transition detailing importance | Critical—rigid trim can “lock” movement | Critical—fasteners don’t replace expansion control | Critical—sealing strategy must follow manufacturer allowances |
| Time to install (typical) | Often fastest for flat interior-like substrates | Moderate; nail/staple pattern matters | Often slower; adhesive spread and cure control |
| Thermal/moisture cycling resilience | Good when expansion paths are respected | Good only if fastening strategy allows movement | Good only if adhesive and moisture plan are approved |
| Common porch-related failure mode | Joint gapping from trapped moisture or insufficient gaps | Loose boards/telegraphing from substrate movement | Delamination-like separation from moisture/adhesive mismatch |
| Best for (installation conditions) | Porches that meet the product’s exterior/capped exposure requirements and have correct moisture detailing | When the manufacturer approves nail-down and the substrate can be kept flat and sound | When adhesive, moisture barrier, and expansion detailing are specifically approved for outdoor porches |
| Best For row | Covered porches / limited wetting, with correct underlayment system | Substrate you can prep precisely for exterior conditions | Projects where the full assembly (including underlayment + adhesive) is approved for exterior porch exposure |
Finish with porch-ready trims and weatherproofing
You finish correctly when trims and sealants prevent water wicking at edges without blocking the floor’s required movement. If you seal in the wrong place or “lock down” the expansion space, the floor can buckle or lose its joint integrity.
Rigidly trapping a floating or expansion-capable floor can create buckling or splitting during seasonal movement. (NWFA general installation principles)
Moisture control at transitions is essential because water reaches flooring edges fastest at thresholds, posts, and rail interfaces. (IRC/ICC exterior deck/porch detailing principles)
– Reinstall or replace thresholds, transitions, and skirt trim to prevent water from wicking under the flooring.
– Use porch-rated exterior sealant where appropriate (especially at transitions), but keep it consistent with the floor manufacturer’s guidance—some systems explicitly restrict sealing over expansion gaps.
– Verify clearances at doors and steps so the finished surface can move seasonally without buckling .
A practical finish check before you walk away:
– Confirm baseboards/skirt trims don’t sit tight against the boards in a way that prevents expansion.
– Confirm transitions around doorways aren’t creating rigid “pinch points.”
– Confirm drainage still flows away from the flooring surface after the rebuild.
What can go wrong (and how to avoid it)
You should expect engineered porch floors to fail when the assembly details don’t match outdoor moisture and movement realities. If you know the failure modes in advance, you can design your replacement to avoid repeating the same mistakes.
When wood products see repeated wetting and drying, dimensional cycling increases stress at joints and edges—gaps and cupping often follow. (USDA Forest Products Laboratory)
Mold risk accelerates after water intrusion; even if your porch is ventilated, fast inspection helps limit secondary damage. (CDC)
– Using a floor not rated for porch/exterior moisture: cupping, delamination, and persistent swelling are common failure modes when the product is wrong for the exposure.
– Skipping subfloor leveling/repair: even small dips cause joint failures or squeaks that get worse with wet/dry cycles.
– Blocking expansion gaps with rigid trim or excessive caulk: the floor can buckle, split, or lose click-lock integrity.
DIY vs pro: when the project crosses a line
| Criteria (porch engineered wood) | DIY approach | Licensed flooring contractor / builder |
|---|---|---|
| Moisture investigation (source + pathway) | Variable | More consistent |
| Subfloor flatness remediation | Often underestimated | More likely to meet tolerances |
| Correct underlayment/moisture system selection | Depends on research | Typically aligned to specs |
| Expansion gap + transition detailing | Easy to miss | More likely to follow instructions |
| Warranty risk management | Higher if method is changed | Lower (method tracked) |
| Handling partial rot / framing repairs | Can be limited | Better equipped |
| Time to finish (weather windows) | Risk of delays | More scheduling control |
| Cleanup + adhesive/sealant compatibility | Potential mistakes | More consistent execution |
| Overall durability outcome | Depends on prep quality | Higher likelihood when spec is followed |
| Corrective options if it fails | May require rework | More accountable process |
| Verdict | Choose DIY only for limited damage + confirmed exterior rating + perfect prep | Choose a pro when rot/framing issues exist or when warranty/spec compliance is complex |
Verdict: what to do, downsides, and who should skip this
Replacing engineered wood on a porch can work well when (1) your exact product is rated for that exposure, (2) the subfloor is rebuilt to be sound/flat, and (3) you follow the board’s expansion and underlayment requirements. The downside is that “porch exterior” failure often starts with moisture and drainage issues—if you don’t fix the water pathway, the new floor may fail again.
Skip this DIY approach (or get a pro) if you find extensive rot, significant structural movement, ongoing water intrusion behind the porch system, or if your flooring warranty clearly won’t cover your porch conditions .
What to do next: quick checklist before you start (save this)
– [ ] Replacement engineered wood is rated for porch/exterior exposure
– [ ] Subfloor/framing inspected and repaired; surface is flat
– [ ] Manufacturer-approved underlayment/moisture layers planned
– [ ] Correct installation method chosen (floating vs nail-down vs glue-down)
– [ ] Expansion gaps and transitions planned for posts/thresholds
– [ ] Trim/sealant use matches manufacturer guidance (no blocking movement)
Sources
– CDC (Centers for Disease Control and Prevention) — guidance on mold growth after water damage (including timelines).
– USDA Forest Products Laboratory — wood moisture and dimensional stability fundamentals (fiber saturation point and moisture-related movement principles).
– National Wood Flooring Association (NWFA) — installation principles for wood flooring (expansion, transitions, and substrate expectations).
– IRC/ICC (International Residential Code / International Code Council) — exterior deck/porch moisture and flashing/drainage detailing principles (region-specific adoption may apply).
Frequently Asked Questions
What tools and materials do I need to replace engineered wood floors on a porch?
You’ll typically need a pry bar, oscillating multi-tool or circular saw, a flooring pull bar, spacers, a tape measure, and a level to keep the porch floor flat. For materials, buy matching engineered wood flooring, an exterior-rated underlayment (if required), transition strips, and the right fasteners or adhesive recommended for engineered wood. Since porches experience moisture swings, use exterior-compatible moisture barrier solutions and sealants designed for outdoor installations.
How do I remove old engineered wood flooring from a porch without damaging the subfloor?
Start by removing trim, baseboards, or edging, then cut the engineered planks into manageable sections to reduce pry damage. Use a pry bar carefully to lift boards, and avoid gouging the subfloor; if nails are present, pull them or grind flush. After removal, inspect for rot, swelling, or loose subfloor areas, and repair them before installing new engineered wood floors to prevent future separation or cupping.
Why does porch engineered wood flooring fail, and how can I prevent the same issues after replacement?
Porch failures often come from moisture intrusion, inadequate subfloor preparation, poor sealing at edges, or using the wrong underlayment for outdoor conditions. Engineered wood is more stable than solid wood, but it still needs proper expansion gaps, a clean and dry subfloor, and a system that manages humidity. Before replacing, address drainage, check for water pooling, and ensure all seams and transitions are sealed appropriately for outdoor exposure.
How do I install new engineered wood porch flooring to handle expansion and outdoor moisture?
Follow the flooring manufacturer’s acclimation and installation instructions, including required expansion gaps around the perimeter and at doorways. Use the recommended fastening method for engineered wood—nailing or glue-down—based on whether the porch is covered and how much it’s exposed to moisture. Install planks in a staggered pattern, maintain straight rows with spacers, and seal transitions or threshold areas to reduce water entry while still allowing the floor to move.
Which installation method is best for porch engineered wood—glue-down, click-lock floating, or nail-down?
The best method depends on porch conditions, such as whether it’s covered, how much it’s exposed to rain, and how level the subfloor is. Glue-down engineered wood can provide stability on exterior-adjacent surfaces, while click-lock floating installations may be convenient but require careful moisture control and an appropriate outdoor-rated underlayment. Nail-down can work well if the subfloor is solid and exterior-rated, but always choose a method explicitly approved for engineered wood floor installations in moisture-exposed areas.
📅 Last Updated: October 20, 2026 | Topic: How to replace engineered wood floors in a porch? | Content verified for accuracy and freshness.
References
- Engineered wood
- Wood flooring
- Wood flooring
- https://www.epa.gov/mold
- Mold | Mold | CDC
- https://www.hud.gov/program_offices/healthy_homes/mold
- https://www.energy.gov/energysaver/moisture-control
- https://scholar.google.com/scholar?q=replace+engineered+wood+flooring+porch+moisture+underlayment+vapor+barrier Google Scholar
- https://scholar.google.com/scholar?q=engineered+wood+flooring+installation+guidelines+subfloor+moisture+acclimation Google Scholar
- https://scholar.google.com/scholar?q=outdoor+porch+wood+flooring+waterproofing+vapor+barrier+recommendations Google Scholar