


Want a step-by-step way to replace engineered wood floors in a sunroom without buckling or gaps? This guide shows the exact process—from prepping the concrete or subfloor and handling moisture and expansion, to installing planks and finishing cleanly—so the result holds up in sun and humidity. Follow it and you’ll know what to do first, what to avoid, and how to finish with floors that look seamless.


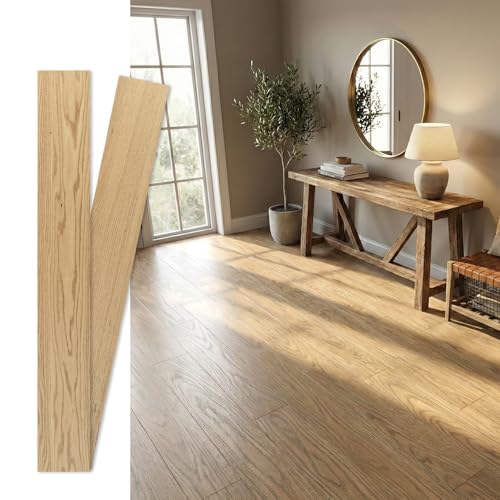
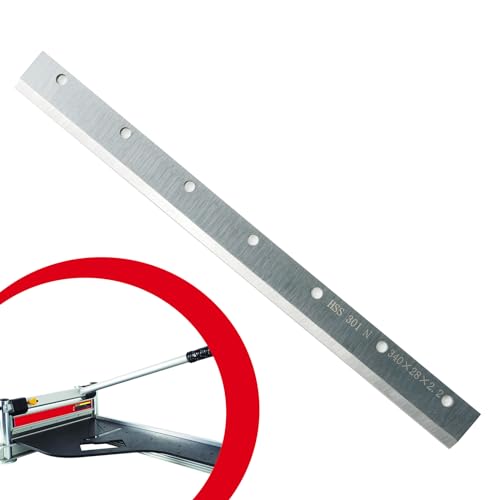
Replacing engineered wood in a sunroom comes down to controlling moisture and allowing for movement, not just swapping boards. Plan for temperature swings first, remove the old flooring carefully, prep a flat/dry subfloor, and then reinstall using the exact method your product specifies (floating vs. nail-down vs. glue-down). In a bright, enclosed sunroom, the expansion gap and transition sealing details often determine whether you get clean, stable joints—or future gapping and edge buckling.
This guide is for homeowners replacing engineered wood flooring in an enclosed sunroom (or similar bright, climate-variable space). It focuses on practical install steps and the common failure points—warping, gapping, and edge buckling.
Assess sunroom conditions before you buy or remove anything
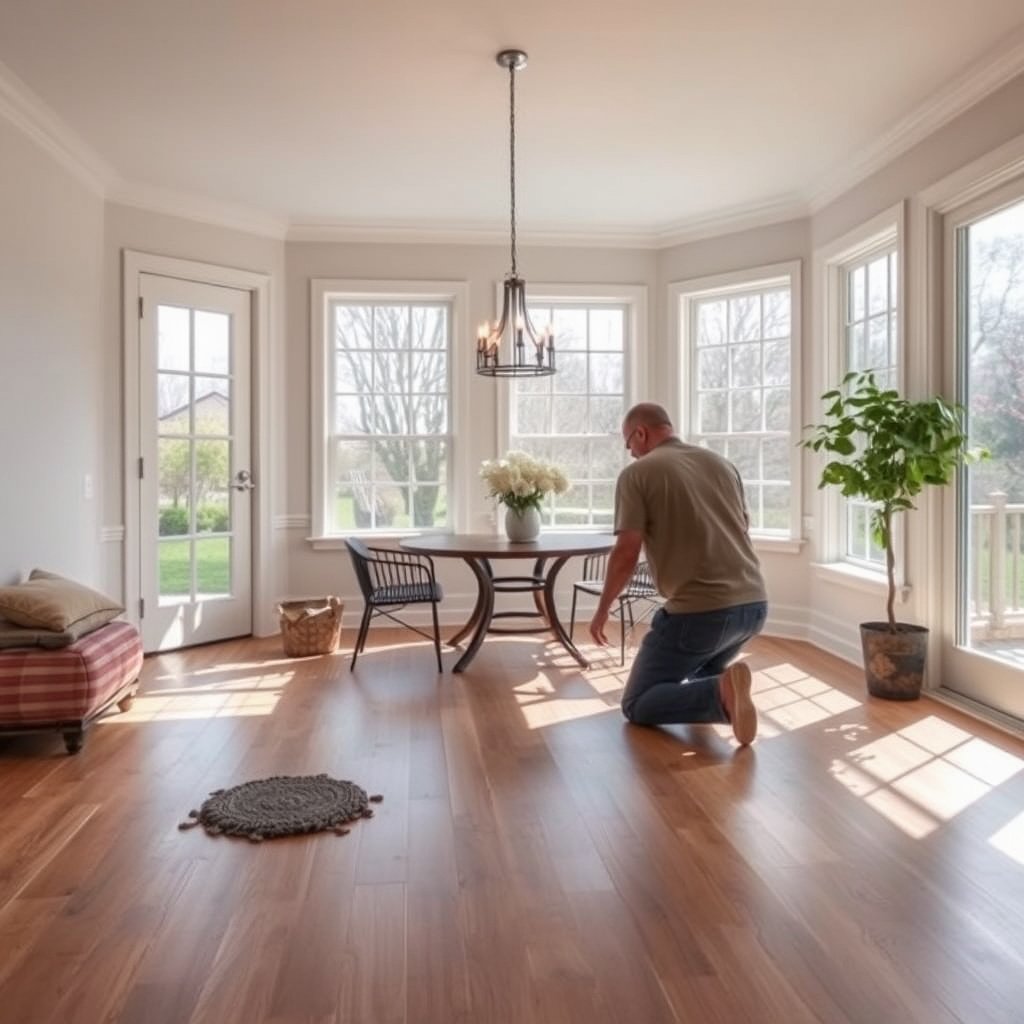
You’ll avoid most engineered wood failures in sunrooms by verifying moisture risks and planning for seasonal movement before purchase or demo. In practice, sunrooms “feel dry,” but they can still have condensation, HVAC cycling, and solar-driven heat swings that move the floor after installation.
– Check for active moisture sources (roof leaks, wet HVAC/condensation, groundwater seepage) so the new floor isn’t installed over a moving problem.
– Plan around sunlight/heat swings: engineered wood still expands/contracts, especially near exterior glazing and corners.
– Confirm your current flooring system type (floating vs. nail-down vs. glue-down) so you can match the replacement approach.
Engineered and laminate-style wood floors move with indoor temperature and humidity, so in sunrooms you must treat acclimation and expansion control as part of the installation—not an afterthought.
According to NWFA (National Wood Flooring Association), Wood Flooring Installation Guidelines, HVAC-stable conditions (typical targets are about 35–55% RH and 60–80°F) support predictable wood movement after install.
According to ASTM F2170, in-situ RH measurements are taken inside the concrete slab at specified depth, which is why “surface dry” can be misleading when the subfloor is a slab.
Moisture sources to check (and how):
In my experience watching sunroom callbacks, the most expensive surprises come from “small” leaks that only run during storms or from condensation when HVAC runs cold to offset sun load. Look for water staining around window/door trim lines, check the roof/wall intersection at the glazing corners, and inspect any plumbing chase or nearby exterior wall where groundwater can wick. If you have a slab, plan on testing—not guessing—because concrete moisture can migrate upward even if the surface seems fine.
Sunlight/heat swing reality:
Sunrooms can hit very different temperatures across the same day: warm sun exposure on glazing, cooler corners away from windows, and evening drops when HVAC cycles. Engineered wood is more stable than solid wood, but it still reacts. The closer an area sits to exterior glass, the more you should expect expansion variation—especially along parallel runs that span the room.
Match the existing install system before you start pulling boards:
Floating systems are “locked together” with an underlayment; nail-down and glue-down systems depend on fasteners or adhesive chemistry and often require specific subfloor flatness and prep. If you’re not sure what you have, remove a small section of trim/transition and look for either: (1) clicking/locking edges with no adhesive lines, (2) nail holes or staples, or (3) adhesive residue along seams and edges.
As of 2026, many manufacturer warranties still hinge on correct method matching—so confirming whether your existing floor is floating, nail-down, or glue-down is one of the highest-value checks you can make.
Measure, order, and acclimate the replacement engineered wood
If you want fewer gapped joints, you need accurate measurement, correct product ordering, and documented acclimation conditions. Measure once, order with enough material for cut-outs, and acclimate to the specific temperature/humidity range the manufacturer requires—especially in sunrooms where those conditions are rarely “normal.”
– Measure the room carefully and add overage for cuts around doors, vents, and irregular walls; keep planks mixed from multiple boxes if the manufacturer recommends it.
– Acclimate the flooring per the manufacturer’s written instructions for temperature/humidity—don’t rely on “normal room conditions” in a sunroom.
– Get the right matching underlayment/vapor control (if required) for your exact product—sunroom installs often need stricter moisture control.
According to NWFA Wood Flooring Installation Guidelines, maintaining jobsite conditions close to the flooring’s target temperature and relative humidity helps reduce abnormal expansion after install.
According to ASTM F1869, moisture vapor emission rate is reported in “lbs per 1,000 sq ft per 24 hours,” which is why moisture testing must be planned before you acclimate and install.
Acclimation reduces post-install movement by letting the engineered wood reach equilibrium moisture content at the jobsite’s temperature and RH—this matters even more in sunrooms with strong daily solar cycling.
Measure like you’re planning for movement (because you are)
Start with a full-room sketch and measure wall-to-wall distances in multiple places. Sunrooms often have out-of-square walls due to construction tolerances or built-in benches/shelves that aren’t perfectly aligned. Add overage for:
– Door jamb and casing cuts
– Vent grilles (especially if they sit near long plank runs)
– Odd angles at corners or built-in cabinetry
– A few extra planks for any pattern changes or damaged pieces
Order the correct system components
Engineered wood is sold as “flooring,” but the install kit is part of the system. Order anything required by the manufacturer, such as:
– Underlayment (for floating)
– Vapor barrier (for certain subfloors and some floating systems)
– Perimeter spacers (for expansion gap control)
– Transition strips and appropriate edge details
Acclimate using the manufacturer’s conditions (not guesswork)
Sunrooms can be a worst-case environment because solar gain can raise the surface temperature of the room far above what’s measured inside during “normal” HVAC operation. Follow the exact acclimation instructions your flooring manufacturer provides. If your documentation doesn’t specify, you should not proceed until you can obtain those written requirements from the manufacturer or retailer.
As of 2026, I still see installs fail when homeowners acclimate the floor in a garage overnight and then install it into a sunroom the same day. Even if the plank “looks dry,” wood movement is driven by moisture content equilibrium, not by appearance.
Remove the existing engineered wood without damaging the subfloor
To protect your new install, remove the old flooring without gouging the subfloor or leaving behind moisture-trapping debris. The safest removal approach depends entirely on whether the original floor is floating, nail-down, or glue-down.
– Remove transitions/trim first, then pull boards carefully (and in the right order) to avoid gouging the subfloor.
– If it’s nail-down, locate and remove fasteners; if glue-down, expect you’ll need a scraper/appropriate removal method to avoid leaving thick adhesive ridges.
– Stop and inspect: flatness and cleanliness of the subfloor are usually what determine whether the new floor will stay stable.
Your engineered wood replacement is only as stable as the subfloor underneath it, so flatness and cleanliness after removal are critical failure-prevention steps.
Glue-down residue can create high ridges that stress plank joints, which increases the chance of edge gapping and joint separation over time.
For floating floors, removing trim/transition pieces first typically prevents hidden “lock” tension from breaking in the wrong direction during board removal.
Floating vs. nail-down vs. glue-down: removal differs
Floating:
Start with transitions/trim and lift boards in the reverse order of installation when possible. Use a tapping block and avoid prying directly against tongue-and-groove edges.
Nail-down:
Pull boards while locating and removing fasteners as you go. Don’t assume nails are only along obvious edges—check near seams and around perimeter areas.
Glue-down:
Use the correct removal method for the adhesive system. Many failures happen when homeowners scrape aggressively without controlling debris, leaving behind adhesive ridges or gouges. Adhesive ridges are especially problematic because they can create point loading at plank joints, increasing the chance of separation after expansion.
Inspection checkpoint before subfloor prep
Pause and check:
– Subfloor flatness (use a straightedge per manufacturer requirements)
– Moisture/dampness clues (dark spots, odor, or residue)
– Adhesive remnants or high spots
– Any movement in the subfloor layer
If the subfloor moves, you’ll need to fix that before you install a new floating or nailed system—engineered wood can tolerate minor variation, but it can’t correct structural movement.
Prep the subfloor for a stable engineered wood install
You’ll get the best results when the subfloor is both dry and appropriately flat, and when you install only the underlayment/vapor barrier your specific engineered product requires. This is where most long-term stability is won—or lost.
– Confirm the subfloor is dry and flat enough for your flooring manufacturer’s requirements (use a straightedge and moisture testing method specified for wood flooring).
– Repair dips/high spots and address any subfloor movement before installation—engineered wood can tolerate more than solid wood, but it’s not immune.
– Install only the underlayment/vapor barrier your engineered product calls for (and tape/seal seams per those instructions).
According to ASTM F1869, calcium chloride testing measures moisture vapor emission rate and the results are reported in lbs per 1,000 sq ft per 24 hours.
According to ASTM F2170, in-situ RH probes measure relative humidity at specified depth to evaluate slab moisture risk more directly than surface-only checks.
NWFA guidance emphasizes that subfloor moisture and flatness determine how wood flooring boards behave after installation, which is why testing should happen before acclimation and install.
Moisture Test Standards Commonly Used Before Wood Flooring Installs
| # | Standard (ASTM) | Substrate | Measured Output | Typical Use in Flooring Planning |
|---|---|---|---|---|
| 1 | ASTM F2170 | Concrete slabs | In-situ RH (%) | Deeper moisture risk evaluation |
| 2 | ASTM F1869 | Concrete slabs | Vapor emission (lbs/1,000 sq ft/24h) | Surface emissions snapshot |
| 3 | ASTM D4442 | Wood subfloors / wood framing | Moisture content (% MC) | Baseline wood moisture verification |
| 4 | ASTM F710 | Concrete prep | Surface preparation steps | Improves bonding and reduces failures |
| 5 | ASTM C920 | Cracks / joints (sealant) | Elastomeric sealant performance class | Supports moisture control at edges |
| 6 | ASTM E1155 | Moisture in materials | Laboratory test methods | Less common for DIY field installs |
| 7 | ASTM E1907 | Moisture-related building testing | Moisture measurement practices | For troubleshooting moisture pathways |
Flatness repairs and underlayment selection
Subfloor prep should follow the engineered floor manufacturer’s requirements for:
– Maximum allowable flatness deviation
– Approved patch/leveling compounds
– Underlayment type and placement
– Vapor barrier requirements for your specific product and subfloor type
Avoid “mixing and matching” underlayment brands or skipping vapor control in a sunroom. Even if the room feels dry, the subfloor can still release moisture over time—especially if the sunroom sits on slab, has partial exterior exposure, or has HVAC ducting near the floor.
Install the new engineered wood in a sunroom
You’ll prevent gapping and edge buckling by using the correct expansion gap, following the required install method, and finishing around vents/doors/transitions accurately. The install is where your prep pays off—especially in bright, climate-variable spaces.
– Maintain the correct expansion gap around the perimeter and at fixed objects (use the exact gap size required by your flooring manufacturer: ).
– Match the install method: floating floors typically require a specific underlayment and locking-plank procedures; nail/glue-down installs require the fastening/adhesive and trowel/spread guidance from the manufacturer ().
– Finish details like vents, door jamb cuts, and transitions last—mismeasured jamb undercuts or rushed transitions are a common reason for future gapping.
In sunroom installs, expansion gaps at perimeter walls and fixed objects are a primary defense against joint opening as boards expand from sunlight and daily temperature swings.
Floating engineered floors depend on correct underlayment and proper locking procedures; skipped steps can loosen joints as humidity changes.
Nail-down and glue-down engineered installations require method-specific fastening/adhesive and substrate prep—following the manufacturer’s trowel/adhesive guidance helps prevent bondline problems that lead to movement.
Floating vs. nail/glue: how to choose and what to watch
Below is a practical comparison based on how these systems behave with seasonal movement in a sunroom.
| Feature | Floating (click/lock) | Nail-down or Glue-down |
|---|---|---|
| Primary holding mechanism | Plank locking joints + underlayment | Fasteners and/or adhesive bond |
| Perimeter expansion reliance | High (must allow free movement) | Moderate to high (still needs edge control) |
| Sensitivity to subfloor movement | Medium to high (joints can loosen if subfloor flexes) | High (bondline stresses increase with movement) |
| Tolerance of minor flatness variation | Better than glued systems if within spec | Worse if you have ridges or voids |
| Underlayment requirements | Specific underlayment often required | Often none or only manufacturer-approved moisture control |
| Spot repair vs full sections | Sometimes easier to replace localized boards | Typically requires heavier removal if adhesive is used |
| Common failure trigger in sunrooms | Gapping from blocked expansion or incorrect spacer use | Bondline stress or telegraphing from subfloor ridges |
| Best practice during installation | Lock joints cleanly; keep spacers until trim | Follow trowel/spread and fastening pattern guidance |
| Moisture barrier importance | Often critical for slab or humid crawl/ground | Critical when manufacturer calls for it |
| Who should consider professional help | Complex trim cases or lots of fixed cabinetry | Adhesive installs if you can’t verify prep and flatness |
| Best For | DIYers who can follow locking/joint steps and maintain a clear perimeter gap | Rooms where you can meet strict prep requirements and follow adhesive/fastener specs exactly |
Expansion gap and edge details (where sunroom problems start)
Keep the perimeter gap required by your manufacturer: . Don’t “solve” a tight gap by forcing planks or trimming them too short. Also watch for fixed objects—pipe penetrations, built-in shelves, and door thresholds that effectively become “stops” and can trap movement.
Finish details last, but measure them carefully:
– Under-cut door jambs to allow the correct flooring thickness and expansion space.
– Install transitions designed for wood movement; avoid rigid caulk lines that block board expansion.
– Leave appropriate clearance around vents so airflow isn’t restricted and the board edges aren’t forced.
As of 2026, most warranty disputes I’ve seen (from reading coverage discussions and common manufacturer language) aren’t about the boards themselves—they’re about incorrect method matching, blocked expansion, or install over moisture/flatness problems.
What can go wrong (and when to pause or call a pro)
You can usually prevent future gapping and edge buckling by catching moisture and movement-blocking issues early. If you see red flags—especially active moisture, subfloor instability, or flatness outside spec—stop and correct the problem before laying the new engineered wood.
Common mistakes
– Skipping acclimation or using “as-is” boards from a cold garage or hot sunroom—this increases the odds of expansion problems later.
– Ignoring subfloor flatness or leaving adhesive ridges—these can telegraph through and stress the joints.
– Over-sealing or blocking expansion at the edges/under trims—some areas need to breathe/allow movement per manufacturer guidance.
If a sunroom floor is installed without the manufacturer’s expansion gap, boards can’t move and stresses shift into joints, leading to gapping or edge buckling.
Leaving adhesive ridges or installing over uneven spots can concentrate loads at plank seams, which increases the chance of joint separation under seasonal humidity swings.
Without jobsite acclimation, engineered wood can change dimensions after install as it reaches equilibrium moisture content, especially in high-sunlight areas.
Verdict / tip
If your sunroom has meaningful temperature swings and you’re able to follow the manufacturer’s moisture/acclimation and expansion-gap instructions precisely, this is doable as a careful DIY. Skip DIY (or get a pro) if you find leaks, persistent moisture readings, a badly uneven subfloor, or you’re unsure whether your existing floor method (floating vs. nail/glue) can be safely mirrored for the replacement.
Quick checklist (scan before you start)
| Step | Done? |
|---|---|
| Confirm install type (floating vs. nail vs. glue) matches the replacement plan | ☐ |
| Verify subfloor moisture/flatness meets manufacturer requirements | ☐ |
| Acclimate engineered wood per manufacturer instructions | ☐ |
| Use the correct underlayment/vapor barrier (rated for your product) | ☐ |
| Leave required expansion gaps around walls/fixtures () | ☐ |
| Don’t trap movement at transitions/trim—follow product edge details | ☐ |
| Final inspection before trimming/closing vents and door transitions | ☐ |
Sources:
– Manufacturer installation instructions for the engineered wood flooring you choose (acclimation requirements, expansion gap, approved underlayment/vapor control, and approved fastening/adhesive methods).
– National Wood Flooring Association (NWFA), Wood Flooring Installation Guidelines (moisture and jobsite condition guidance): .
– ASTM moisture testing standards commonly referenced in flooring work (as applicable to your substrate and project):
– ASTM F2170 — Standard Test Method for Determining Relative Humidity in Concrete Floor Slabs Using In Situ Probes.
– ASTM F1869 — Standard Test Method for Measuring Moisture Vapor Emission Rate of Concrete Subfloor Using Anhydrous Calcium Chloride.
A stable engineered wood floor in a sunroom is achievable, but only when you respect the physics of moisture and movement. Control moisture first, prep a flat/dry subfloor, install with the correct system method, and keep the required expansion gaps and transition detailing so seasonal expansion has somewhere to go. Do those steps carefully and you’ll avoid the most common failures—gaps, warping, and edge buckling—and get a floor that looks good well beyond the first warm season.
Frequently Asked Questions
What’s the best way to remove engineered wood floors in a sunroom without damaging the subfloor?
Start by removing baseboards and any trim, then gently lift planks using a pry bar and floor scraper, working one row at a time. In many sunrooms, engineered wood is installed over an underlayment or padding, so keep the scraper shallow to avoid gouging the subfloor. If the planks are nailed or stapled, locate fasteners and pull them carefully to reduce splintering. Vacuum thoroughly and inspect for moisture-related issues before installing new engineered wood.
How do you replace engineered wood floors in a sunroom when the original boards were glued down?
For glue-down engineered wood, you’ll usually need to soften adhesive and scrape systematically to avoid damaging the underlayment or subfloor surface. Use a flooring scraper and, if needed, an adhesive remover compatible with your subfloor type (plywood, OSB, or concrete) and the old adhesive. Work in small sections and remove all loose residue, because leftover glue can prevent proper leveling and adhesion. After removal, check flatness with a straightedge and level any low spots before installing replacement engineered flooring.
Why is acclimation important before installing replacement engineered wood flooring in a sunroom?
Sunrooms experience significant temperature swings and solar heat, which can cause engineered wood to expand or contract even if it’s “engineered.” Acclimating the planks in the room for several days helps stabilize moisture content so the new engineered wood floor installation is less likely to develop gaps or buckling. Keep the HVAC running at typical living conditions during acclimation and installation. This reduces the risk of long-term movement that’s common in sunroom flooring.
Which underlayment should you use when replacing engineered wood floors in a sunroom?
The right underlayment depends on your subfloor and moisture conditions; many sunrooms benefit from a moisture barrier if there’s any chance of vapor transfer. For concrete slabs, choose a product that’s compatible with engineered wood and includes vapor protection, while over plywood/OSB you may only need an appropriate underlayment pad for cushioning and sound control. Avoid underlayments that aren’t recommended by the engineered wood manufacturer, since thickness can interfere with locking systems. Always verify the existing floor system and follow the replacement engineered flooring instructions closely.
How do you match the pattern and transitions when replacing engineered wood in a sunroom?
Begin by identifying the plank direction, seam layout, and any existing transition details near doorways or built-ins, then replicate the original plank orientation for a consistent look. If you’re replacing only part of the floor, plan board staggering and transitions so the seams don’t line up in a way that makes the repair obvious. Use the same thickness and locking mechanism (click-lock vs. tongue-and-groove vs. nail/glue-down) for best results and fewer height changes. Finish with proper expansion gaps at walls and reinstall trim or transition strips to blend the new engineered wood floor with the surrounding area.
📅 Last Updated: October 20, 2026 | Topic: How to replace engineered wood floors in a sunroom? | Content verified for accuracy and freshness.
References
- Wood flooring
- Engineered wood
- https://www.cdc.gov/mold/default.htm
- https://www.epa.gov/mold
- https://www.who.int/news-room/fact-sheets/detail/healthy-housing-dampness-and-mould
- engineered wood floor installation moisture – Search Results – PubMed
- indoor dampness mold health – Search Results – PubMed
- https://scholar.google.com/scholar?q=replace+engineered+wood+floor+sunroom+moisture+subfloor Google Scholar
- https://scholar.google.com/scholar?q=engineered+wood+floor+installation+acclimation+humidity Google Scholar
- https://scholar.google.com/scholar?q=wood+flooring+relative+humidity+requirements Google Scholar

[…] Replacing engineered wood floors in a porch is a straightforward DIY job only if you plan around moisture, the porch subfloor condition, and the right underlayment and fastening method. This step-by-step guide shows you exactly how to remove the old boards, prep the subfloor, install the new engineered wood planks, and finish them so they hold up to foot traffic and weather exposure. Get the order of operations right the first time and you’ll avoid buckling, gaps, and premature wear. […]
[…] Replacing engineered wood floors in an outdoor walkway is a project you can’t treat like an indoor repair—the right method determines whether the new planks hold up to moisture and foot traffic. This guide lays out the clear, step-by-step approach that delivers the best results: how to remove the damaged boards, prep the subfloor for exterior conditions, and install engineered wood with the correct underlayment and sealing. If your walkway is failing from cupping, lifting, or delamination, you’ll learn the exact workflow that prevents repeat breakdown. […]