
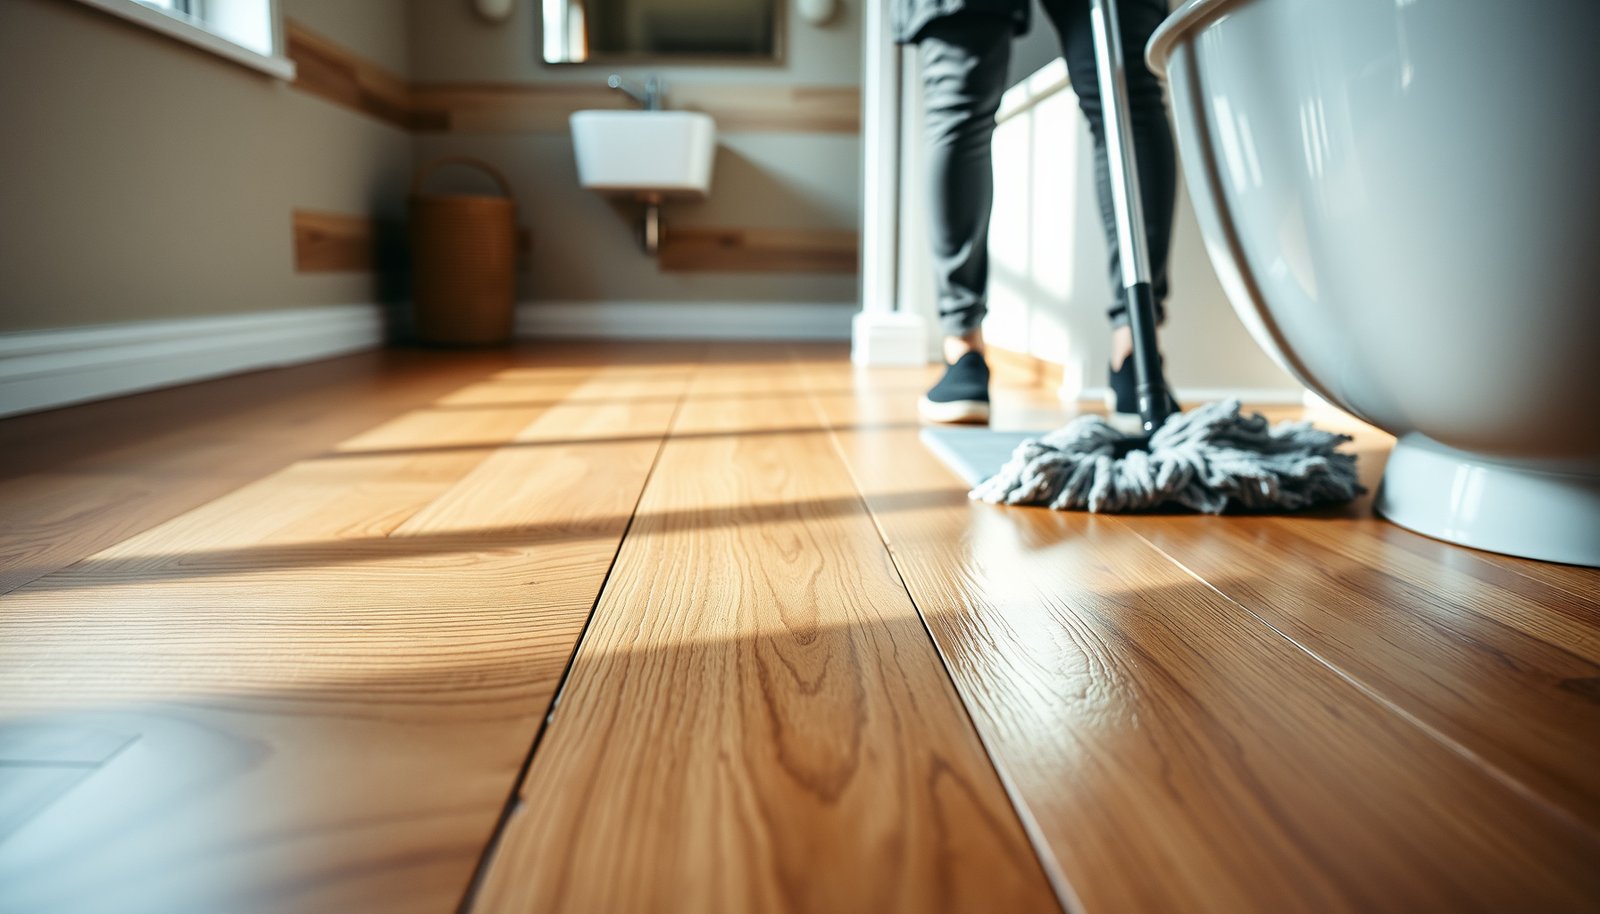

How do you clean engineered wood floors in a bathroom without warping them? Use a barely damp, pH-neutral cleaner and quick, thorough drying to remove grime without saturating the surface—this is the safest winning method when moisture is the main risk. Skip steam, harsh detergents, and soaking mops, because they can drive water into seams and finish.



If you keep engineered wood “damp-clean only” (not wet) and dry it right away, you can remove bathroom grime without swelling or warping. Use a pH-neutral cleaner, clean with a well-wrung microfiber mop/cloth, then wipe any moisture off the surface and edges.
Engineered wood holds up better to everyday bathroom humidity than many solid woods, but it’s still vulnerable to prolonged water exposure—especially near showers, tubs, and slow leaks. This guide focuses on practical, bathroom-safe cleaning habits you can use between deeper cleanings.
If you have an engineered wood floor in a bath (or you’re planning one), these steps help you clean effectively while minimizing the moisture that drives cupping, gaps, and finish failure. As of 2026, more homeowners are using engineered wood in “mixed-humidity” rooms, but the bathroom rules remain the same: prevent standing water, control humidity, and dry fast.
Pre-clean setup for a bathroom (no soaking)

You should remove grit first and set up a “no soaking” workflow before any cleaner touches the engineered wood floor. This short prep step reduces scratching and prevents abrasive particles from grinding into the wear layer.
Microfiber cleaning helps, but grit removal first matters because sand and debris act like abrasives against the engineered wood finish.
Bathroom cleaning should treat engineered wood like a “damp-clean” surface: apply liquid to the mop/cloth, not directly to planks or seams.
Edges and transitions (to tile, cabinets, and baseboards) are where moisture concentrates, so keeping prep debris off the floor reduces dragged contamination.
Sweep or vacuum without scratching the finish
– Sweep or vacuum first using a soft brush attachment. This removes sand, hair, and tiny particles that can scratch the protective wear layer when you later wipe.
– Keep the vacuum setting gentle and avoid aggressive suction heads that can catch loose finish.
Clear debris around the highest-splash zones
– Remove loose debris around the toilet/shower area so you aren’t dragging particles across the engineered wood floor.
– If you have a drain pan or a bath mat that’s shedding sand/dirt, shake and spot-clean those areas before you mop the planks.
Build a “barrier habit” for wet items
– Place a quick barrier habit: keep wet items (like towels/mats) from staying on the planks long-term. Even engineered wood can lose shape when moisture sits against seams for hours.
– If you use bath mats, choose ones that you can lift and dry fully; damp mats that remain put overnight create a repeating moisture “hot spot” on engineered wood.
According to National Wood Flooring Association (NWFA), routine maintenance starts with dry cleaning methods (sweeping/vacuuming) to avoid wear from grit (accessed 2026).
Safe daily/weekly cleaning steps for engineered wood
You can clean engineered wood floors in bathrooms safely by using a lightly damp microfiber and a pH-neutral cleaner—then drying immediately. This approach lifts grime while limiting the amount of water that reaches joints, seams, and the underside.
pH-neutral cleaners are repeatedly recommended for wood floors because strongly acidic or alkaline solutions can damage finish chemistry.
Applying cleaner to the mop/cloth (not pouring onto the engineered wood) reduces the risk of puddling at seams and edges.
Wiping up moisture right after damp mopping is a key control step for engineered wood because seams and edges hold water longer than broad plank faces.
Use the right cleaner chemistry
– Use a pH-neutral cleaner suitable for wood floors. Avoid pouring directly onto the engineered wood floor—apply to your mop/cloth instead.
– If you’re unsure, check your specific engineered wood product’s care sheet (brand/model varies, especially for wear-layer coatings and sealing).
Mop in small sections and remove excess moisture
– Clean in small sections, then immediately wipe with a dry or nearly dry microfiber to remove excess moisture.
– The “nearly dry” part matters: a dripping microfiber turns into a wetting tool, and engineered wood is not designed for standing water.
Use gentle technique: no aggressive scrubbing
– Focus on high-contact spots first (bath mat edges, doorways, sink splash zones).
– Avoid scrubbing with stiff pads. Pressure plus trapped moisture can wear the finish faster and can force water into micro-gaps over time.
According to NWFA, wood flooring care guidance emphasizes damp mopping (not soaking) and immediate drying for routine cleaning (accessed 2026).
Also, NWFA states indoor relative humidity should be maintained roughly in the mid-range (often cited around 35–55%) to limit excessive wood movement (accessed 2026).
And NWFA notes cleaners should be pH-neutral (commonly around pH 7) to reduce the risk of finish damage (accessed 2026).
Bathroom-specific moisture control (drying and protection)
You protect engineered wood in a bathroom mainly by controlling humidity after showers and drying any residual moisture where seams meet fixtures. Bathroom moisture management often matters as much as the cleaner choice.
Ventilation after showers reduces how long bathroom humidity “hangs,” which helps engineered wood avoid repeated swelling cycles.
Checking seams, edges, and around fixtures immediately after cleaning is essential because these areas retain more moisture than flat surfaces.
Bath mats can help, but if they stay wet for hours, they create localized moisture exposure on engineered wood planks.
Dry seams, edges, and fixture perimeters right away
After cleaning, check:
– Seams between planks
– Edges near baseboards and transitions
– Around fixtures (toilet base, vanity toe-kick edges, and tub/shower boundaries)
Wipe lingering dampness off immediately. If your cleaning cloth picks up visible moisture at seams, that means your cleaning process is leaving water behind—even if the floor “looks dry.”
Keep airflow moving (especially after showers)
– Keep airflow moving (bath fan or window) after showers to reduce humidity “hang time.”
– If you run the fan only during showering, humidity can peak and linger afterward. Aim for a short “after-run” period so engineered wood isn’t drying too slowly between humidity spikes.
Use rugs/mats intelligently—dry them, don’t just relocate water
– Use rugs/mats where water is likely, but don’t let them trap moisture underneath the same spot for hours.
– If water splashes beyond the mat, wipe the engineered wood area quickly rather than letting the mat “buffer” it for long periods.
Typical Cleaner pH and Relative Wood-Floor Safety (Engineered Wood)
| # | Cleaner type | Typical pH | What it implies | Wood-floor safety score (0–10) |
|---|---|---|---|---|
| 1 | pH-neutral wood-floor cleaner (formulated) | 7.0 | Finish-compatible chemistry | 9.5 |
| 2 | Dish soap solution (typical household) | 8.5 | Mildly alkaline; can leave residue if overused | 4.5 |
| 3 | White vinegar (5% acetic acid, typical) | 2.4 | Acidic; can dull/strip certain finishes | 1.0 |
| 4 | Hydrogen peroxide (3% solution) | 3.5 | Oxidizing; can affect finishes over time | 2.5 |
| 5 | Household ammonia (typical) | 11.5 | Alkaline; can damage/whiten finishes | 1.5 |
| 6 | Sodium hypochlorite bleach (typical) | 12.5 | Strongly alkaline/oxidizing; finish risk | 0.5 |
| 7 | Baking soda paste (typical) | 8.3 | Mildly alkaline and can be abrasive as a paste | 3.0 |
What can go wrong
You’ll usually get problems when engineered wood gets over-wet, exposed to harsh chemicals, or subjected to steam/heat plus moisture. The common thread is that the engineered wood’s protective finish may look fine while moisture still reaches seams.
Over-wetting engineered wood—dripping mops or puddles—can lead to swelling and cupping even if the floor dries later.
Steam cleaning combines heat and moisture, increasing the likelihood of long-term finish and joint problems in wood flooring systems.
A cleaner’s pH and formulation matter: bleach, ammonia, and abrasive scrubbing can degrade finishes faster than everyday grime.
Over-wetting: the fastest path to dimensional movement
– Over-wetting includes a dripping mop, puddles, or leaving cleaner on the surface.
– Engineered wood floors can experience cupping, swelling, or wear-layer failure when water lingers at seams.
Harsh chemicals: finish damage you may not notice immediately
Avoid bleach, ammonia, strong degreasers, and abrasive “scrubbers.” Even when engineered wood feels dry after cleaning, chemical residue can dull the finish and reduce its protective performance.
Steam cleaning: heat + moisture is a high-risk combination
Steam introduces both moisture and elevated temperature. In bathroom conditions, it can amplify the very mechanisms that engineered wood floors try to resist.
Ignoring the floor’s limits
Engineered wood is not all the same. Some floors have tighter tolerances or a wear layer designed for specific cleaning methods. Always follow your product and warranty care instructions (and stop if you see early signs like persistent gaps).
Pros/cons comparison: what helps vs. what backfires
| Approach | Why it’s safer for engineered wood | Main downside if misused |
|---|---|---|
| Microfiber + pH-neutral cleaner (lightly damp) | Minimizes water penetration; supports routine grime removal without soaking. | If you leave residue or don’t dry seams/edges, moisture accumulation can still occur. |
| Steam cleaning | None for bathroom-engineered wood maintenance—risk outweighs benefit for most floors. | Heat + moisture can stress the finish and joint system, especially in frequently humid bathrooms. |
| Wet mopping / leaving puddles | May “look” effective for removing streaks and grime quickly. | High likelihood of swelling/cupping and finish failure around seams. |
Verdict / tip (what we’d do)
Start with gentle, manufacturer-aligned cleaning: dry removal first, then lightly damp microfiber with a pH-neutral cleaner, followed by prompt drying. If your bathroom sees frequent standing water, has ongoing leaks, or your engineered wood already shows gaps or buckling, you should address moisture at the source before intensifying cleaning.
The most defensible “bathroom method” for engineered wood is dry cleaning first, then lightly damp pH-neutral cleaning, then immediate surface and seam drying.
If engineered wood gaps widen or edges lift after cleaning, the process is still delivering too much moisture—reduce wetting and verify the product’s care instructions.
In 2026, I’d treat engineered wood bathroom care as two workflows: (1) keep water exposure limited (no puddles, manage mats, run ventilation) and (2) keep cleaning residue low (pH-neutral, small sections, dry wipe after). This combination reduces both the “water” and “chemistry” risks.
Downsides and when to skip DIY cleaning:
– Skip DIY if you have an active leak (under-sink, toilet seal, shower pan) or recurring standing water; cleaning won’t solve the root cause.
– Pause any DIY damp-mopping if your engineered wood floor is already buckling, gapping aggressively, or separating near seams—there may be a moisture intrusion issue that needs inspection.
Quick scan checklist (save this)
| Task | Do this | Avoid this |
|---|---|---|
| Routine dirt removal | Sweep/vacuum with a soft head | Dragging grit with a wet mop |
| Cleaner | Use pH-neutral, applied lightly to mop/cloth | Pouring liquid directly on planks |
| Cleaning method | Microfiber, small sections, gentle pressure | Scrubbing pads, abrasives |
| After cleaning | Wipe up moisture and dry edges/seams | Leaving dampness to “air-dry” |
| Bathroom moisture | Run vent after showers; use mats smartly | Steam cleaning; letting mats stay wet |
Sources
Engineered wood in a bathroom stays in good shape when you remove grit dry first, clean with a lightly damp (not wet) microfiber and pH-neutral cleaner, and dry everything quickly—especially seams and edges. If you also control bathroom humidity (ventilation) and prevent prolonged mat/water contact, you reduce the real drivers of engineered wood failure in 2026 and beyond.
Frequently Asked Questions
How do you clean engineered wood floors in a bathroom without damaging the finish?
Use a soft microfiber mop or cloth and a cleaner specifically labeled safe for engineered wood and polyurethane/sealed finishes. Lightly mist the cleaner onto the mop (not directly on the floor) and wipe in the direction of the grain. Avoid soaking, steam cleaning, and harsh chemicals because excess moisture and abrasive cleaners can cause swelling or finish wear.
What’s the best way to remove water spots and soap scum from engineered wood in a bathroom?
Start by wiping the area with a damp microfiber cloth to remove residue, then dry immediately with a clean towel. For spot treatment, use a manufacturer-approved wood floor cleaner or a mild pH-neutral cleaner diluted per the label, applying it lightly and wiping dry. If residue persists, gently repeat the process—don’t scrub aggressively, since abrasion can dull the surface.
Why is it important to control moisture when cleaning engineered wood flooring in a bathroom?
Engineered wood is more dimensionally stable than solid wood, but it can still be affected by prolonged water exposure. Bathrooms create higher humidity and splashes, and standing water can seep into seams or edges over time. Keeping cleaning methods dry and controlled—like damp mopping instead of wet mopping—helps prevent warping and cupping.
Which cleaning products are safe for engineered wood floors in bathrooms?
Choose pH-neutral, manufacturer-approved cleaners formulated for engineered hardwood or sealed wood floors. Avoid ammonia-based cleaners, vinegar, bleach, and abrasive detergents because they can damage the finish and make the surface more vulnerable to moisture. If you’re unsure, test the cleaner in a small hidden area first and stop if you notice discoloration or cloudiness.
How should you mop engineered wood floors in a bathroom to prevent scratches and water damage?
Sweep or vacuum with a soft floor attachment first to remove grit that can scratch the finish. Use a microfiber mop that’s only slightly damp—wring it thoroughly—and clean small sections so you can dry promptly. After mopping, run a dry microfiber cloth across the area to eliminate residual moisture, especially near the sink, shower door, or toilet.
📅 Last Updated: October 19, 2026 | Topic: How to clean engineered wood floors in a bathroom? | Content verified for accuracy and freshness.
References
- Wood flooring
- Engineered wood
- https://www.armstrongflooring.com/support/care-and-cleaning/hardwood.html
- MohawkFlooring
- Hardwood | DIY Wood Flooring | Bruce
- https://scholar.google.com/scholar?q=how+to+clean+engineered+wood+floors+bathroom Google Scholar
- https://scholar.google.com/scholar?q=engineered+hardwood+floor+care+maintenance+moisture+water+avoidance Google Scholar
- https://scholar.google.com/scholar?q=hardwood+floor+cleaning+techniques+for+wet+areas+bathrooms Google Scholar


