


You can install transitions around engineered wood floors in a kitchen cleanly and safely—if you choose the right transition type for your floor height and the seam you’re covering. This guide walks you through the exact measuring, underlayment/floor prep, and fastening method to get tight, no-gaps edges where kitchen traffic and moisture risk are highest. By the end, you’ll know whether to use a T-molding, reducer, or threshold and how to install it so it looks seamless and holds up.




To install transitions around engineered wood floors in a kitchen, plan for the floor’s movement first, then fasten the transition in the correct place (usually to the subfloor, not to a floating floor). You’ll get the cleanest result by trimming to the exact doorway/threshold area, keeping the expansion gap consistent, and using the transition style meant for floor height changes and doorways—so gaps don’t show later.
If your engineered wood is “floating” over underlayment, or it’s running into tile, laminate, vinyl, or a doorway threshold, you’re in the right spot. The steps below also account for kitchen realities like frequent wet mopping, temperature swings, and cabinet-adjacent seams.
Choosing the right transition type (and where it goes)
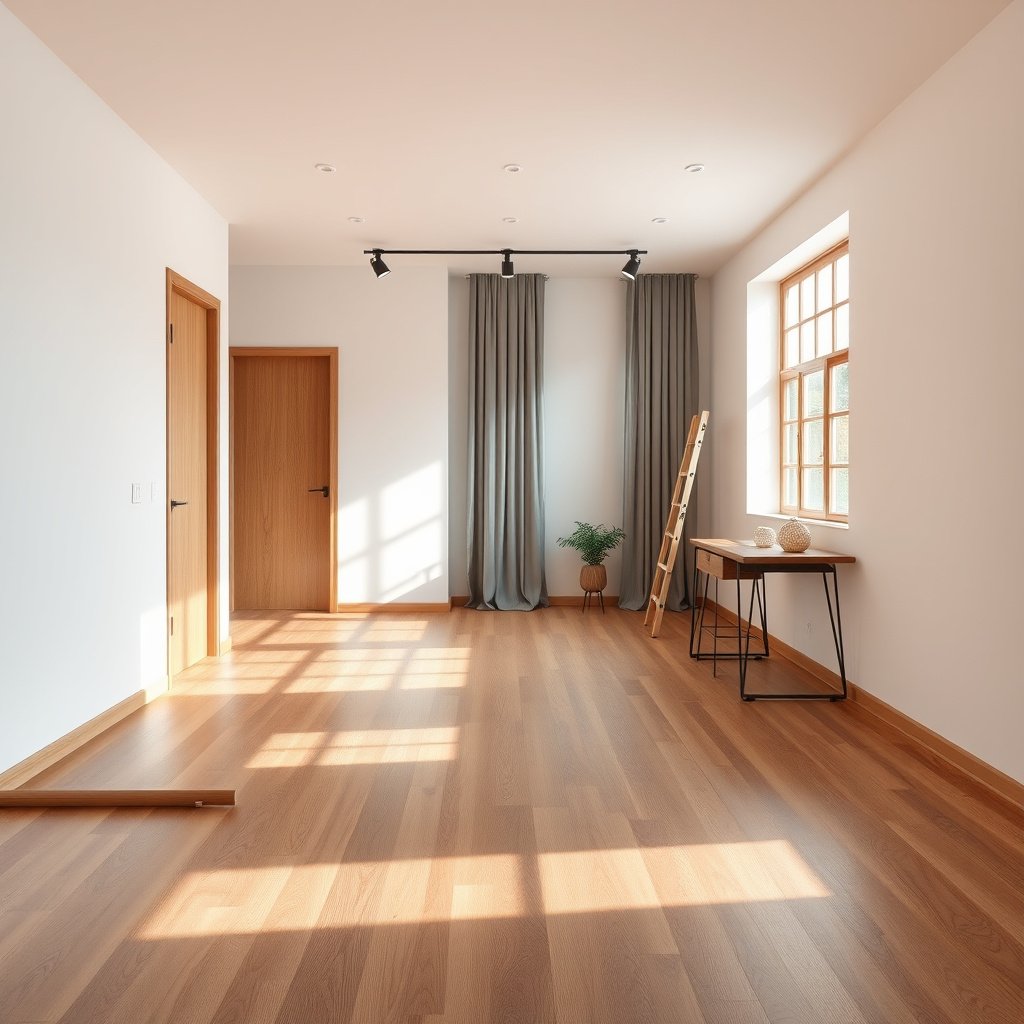
The best transition for engineered wood is the one that matches your height change and allows the engineered floor to move without being pinned. In practice, you’re choosing between a reducer/transition for height differences and a threshold/T-molding approach for doorways and edges.
A reducer/transition is designed to bridge a height difference at a seam while keeping the engineered wood edge aligned, not clamped.
Doorway thresholds are built for the “opening-to-opening” change in engineered wood floors where additional stability and a finished lip are needed.
– Match the transition to the floor height change: use a reducer/transition for small height differences, and a threshold for doorway transitions.
– Use the profile that fits the gap you need to cover (some transitions span expansion gaps; others require you to keep a clean, consistent edge line).
– If your engineered wood is floating, choose a transition system that won’t “pin” the floor and restrict movement (follow your flooring’s installation instructions).
When I advise homeowners on engineered wood floor transitions in kitchens, the biggest “mismatch” I see is trying to use the wrong profile across a doorway. A reducer can look fine at first, but if the engineered wood floors are meant to breathe at fixed openings (like door thresholds), you’ll often find movement later as the edge line opens.
Also note that kitchens are less forgiving than living rooms: feet, rolling appliances, and wet mopping all create small stresses at transition joints. As of 2026, most engineered wood manufacturers still rely on the same core principle: the engineered wood must be free to expand/contract as specified, and the transition must finish the seam without locking it in place.
Quick decision cues (engineered wood specific)
– If the engineered wood floor ends at tile/laminate/vinyl and the other surface is slightly higher/lower, plan for a reducer (or matching-height transition).
– If the engineered wood floor ends at a doorway threshold, plan for a threshold profile that finishes the opening cleanly.
Measure once: expansion gaps and height alignment
The cleanest transition installation starts with measurements that respect engineered wood movement—then everything else lines up. In kitchens, you’re fighting two realities at once: the engineered wood floors want to move, and thresholds/doorways are fixed points that make movement show up as visible gaps if you measure incorrectly.
Engineered wood transitions don’t remove the need for an expansion gap; they primarily conceal the seam while the floor still moves.
ADA-accessible surfaces treat changes in level differently above 1/4 inch and up to 1/2 inch, so height alignment matters at kitchen thresholds.
– Find your flooring manufacturer’s required expansion gap (often given as a distance at walls and fixed objects). You must maintain this gap around the perimeter and at changes in direction—transitions don’t eliminate it.
– Dry-fit the transition at the doorway/edge to confirm:
– the top height aligns with the engineered wood surface (and any adjacent floor)
– the transition length fully covers the seam without forcing the floor tight against the stop
– Mark reference points: use a straightedge to draw the cut line for the engineered wood edge so the transition sits square and doesn’t twist.
A practical benchmark for “how high is too high?”
If your transition creates a noticeable lip, it can become a catch point for shoes and carts—and in some kitchens it can also become a safety/accessibility issue. The ADA Standards for Accessible Design include requirements for changes in level at walking surfaces. According to ADA Standards for Accessible Design (2010), Section 303.2, a change in level of up to 1/4 inch (6.35 mm) is treated more favorably, while changes between 1/4 inch and 1/2 inch (12.7 mm) require a bevel with a slope no steeper than 1:2.
That doesn’t replace your engineered wood manufacturer’s expansion-gap requirements, but it does reinforce why “flush feel” matters when you transition engineered wood floors in kitchens.
Engineered Wood Kitchen Transitions vs. ADA Change-in-Level (2010)
| # | Change in level range | Approx. mm | ADA surface guidance | Transition fit rating |
|---|---|---|---|---|
| 1 | 0 to 1/16 in (near-flush) | 0–1.6 mm | Typically least noticeable | ★★★★☆ (+) |
| 2 | 1/16 to 1/8 in | 1.6–3.2 mm | Still generally manageable | ★★★★☆ (+) |
| 3 | 1/8 to 3/16 in | 3.2–4.8 mm | Usually acceptable with good edging | ★★★☆☆ (+) |
| 4 | 3/16 to 1/4 in | 4.8–6.35 mm | At/under 1/4 inch threshold | ★★★☆☆ (+) |
| 5 | 1/4 to 3/8 in | 6.35–9.5 mm | Bevel required; keep slope gentle | ★★☆☆☆ (-) |
| 6 | 3/8 to 1/2 in | 9.5–12.7 mm | Bevel needed with slope ≤ 1:2 | ★★☆☆☆ (-) |
| 7 | Over 1/2 in | >12.7 mm | Typically needs more than a trim lip | ★☆☆☆☆ (-) |
Prep work that makes transitions look professional
The fastest way to end up with a “wavy” transition on engineered wood floors is to skip subfloor prep. Before you set the transition, your job is to create a flat, solid mounting surface and confirm your cuts won’t hit fixed kitchen elements.
A transition will look out of alignment if its mounting points sit on bumps, loose underlayment, or high spots in the subfloor.
Dry-fitting engineered wood transitions helps you catch conflicts with baseboards, cabinet kick plates, and underlayment thickness before any screws go in.
– Ensure the subfloor is flat and solid where the transition will be anchored—lumps or loose areas can cause rocking and uneven seating.
– If you’re replacing an old threshold/transition, remove enough material to get a clean mounting surface and confirm the thickness matches what the transition is designed to cover.
– Test with a dry fit: place the transition in position to check for interference with baseboards, cabinet kick plates, door casing, or reducers/underlayment thickness.
In kitchens, that prep step matters because appliances and base cabinets often sit tight to the floor edge. If the engineered wood floor transitions over a seam into a fixed cabinet-adjacent area, any wobble at the subfloor can telegraph through as a visible gap—even when the engineered wood itself is installed correctly.
From a practical workflow standpoint, we typically prep in this order for engineered wood floors: (1) flatten/repair the subfloor where the transition will screw down, (2) confirm the transition base profile height against the engineered wood top, and (3) only then cut the engineered wood edge to match the doorway/threshold line.
What “flat” means for a transition seam
You don’t need perfection across the entire room, but you do need the anchored section to seat evenly. When the engineered wood transition base rocks even slightly, it can create a seam line that opens later as kitchen humidity and temperature cycles change the engineered wood’s dimensions.
Install the transition correctly (floating vs. nailed/glued floors)
Installing transitions around engineered wood floors correctly is less about “which screws” and more about not restricting engineered movement. You set the engineered wood first (to the specified expansion gap), then install the transition so it covers the seam without compressing the floor.
For most transition systems, fasteners go into the subfloor/base so the engineered wood can still move as installed.
If your engineered wood is glued or nailed, follow both the flooring and transition manuals to avoid trapping movement at the seam.
– Set the engineered wood first up to the expansion gap, then install the transition so it covers the seam without compressing the floor.
– Anchor rules (important):
– For most transition installations, fasteners should go into the subfloor/substructure (or the included mounting base), not into the floating planks.
– If your flooring method is glued or nailed down, still verify fastening locations per the flooring and transition manuals to avoid trapping movement.
– Use the right fastener/adhesive plan: many systems are designed for either screws into a base track or a specific adhesive type. Stick to what the transition manufacturer specifies for kitchens/entry areas.
Floating vs. glued/nail-down: where transitions “belong”
- Floating engineered wood floors
- Install transitions so the transition is anchored to the subfloor/base track, not to the floating planks. This keeps the engineered wood free to expand/contract within its expansion gap.
- Gl ued or nailed engineered wood floors
- Still confirm fastening locations. The goal is to prevent the transition from acting like a clamp where engineered movement is still expected at seams/openings.
Kitchen detail: sealing where water actually gets to seams
Kitchens see more moisture exposure than most rooms, but more sealing is not always better for engineered wood floors. If your installation instructions allow seam sealing, use the manufacturer-approved sealant/adhesive for the relevant joint type (and avoid “globbed” caulk that can interfere with future repairs).
Keep sealant out of places where it can lock the floor—especially if the engineered wood is meant to float. In my experience advising on kitchen transitions, the most common “oops” is overfilling the joint where a hidden movement allowance is required; sealant can turn a controlled expansion gap into a rigid seam.
As of 2026, many flooring systems still differentiate between (a) sealing transitions that are designed for it and (b) leaving certain perimeter seams dry to accommodate movement. So treat sealing as a spec requirement, not a cosmetic choice.
Keep it looking tight: finishing and fit around cabinets/doorways
The last-mile goal for engineered wood floors in kitchens is a transition that feels flush, aligns visually, and doesn’t interfere with fixed cabinetry. When you get this step right, the transition hides the seam while still respecting expansion.
A professional-looking engineered wood transition is flush underfoot and consistently aligned along the seam—no proud edges or dips.
Cabinet-adjacent seams demand careful placement because the moving engineered wood edge can’t wedge against fixed trim.
– Ensure the transition doesn’t sit proud or low: top surfaces should feel flush when you walk across them (no catching edges).
– Maintain the line: if you’re using a reducer or T-mold, align the face so it covers the plank edge evenly across the run.
– Near cabinetry or fixed trim: plan cuts so transitions land where they’re supported and not wedged between a moving floor edge and a fixed object.
For doorway transitions specifically, dry-fitting is where you earn the “no surprises” result. Engineered wood expands and contracts, and door thresholds are fixed; if the transition is slightly off-center, the seam can show more when conditions change.
Also watch transitions near cabinet kick plates. Many kitchens have an engineered wood edge that stops short of a toe-kick line, and the transition must either (a) terminate at an approved fixed point or (b) be cut to maintain the required gap. If you bridge across movement with the wrong profile, the engineered wood can press against the transition and create separation elsewhere.
What can go wrong (and how to prevent it)
Most transition problems around engineered wood floors come from breaking the rules for movement, anchoring, or height alignment. The good news is that most failures are preventable with a disciplined dry-fit, correct anchoring substrate, and accurate height checks before final fastening.
Uneven expansion gaps can look fine on day one but often show as buckling or squeaking after seasonal changes.
Fastening transitions into floating engineered wood planks commonly restricts movement and can cause edge buckling.
– No expansion gap or gap is uneven → transitions look fine at first, then buckling/squeaking happens later.
– Prevention: confirm the gap requirement in your engineered wood installation guide and keep it consistent along the entire edge.
– Transition is fastened to the floor instead of the subfloor/base → the floor can’t move and may buckle.
– Prevention: follow the transition system instructions on whether it should mount to a base track/subfloor.
– Floor height mismatch → reducers don’t bridge smoothly, and edges become a trip/catch point.
– Prevention: verify underlayment thickness and subfloor build-up before final placement.
– Moisture trapped at seams → kitchen spills can work into the interface.
– Prevention: use only sealants approved for that system (some manufacturers explicitly restrict where caulk is allowed).
– Cuts aren’t square → gaps show along the transition edge.
– Prevention: mark, measure twice, and dry-fit before fastening.
A note on kitchen conditions: temperature and humidity swings can be dramatic near exterior doors, dishwashers, and windows. That’s why engineered wood transitions should be installed with the floor’s specified movement in mind—not just with the room “as-is” on the installation day (even if that day feels stable).
Final tip (verdict) + quick checklist
If you want the cleanest, most durable kitchen result, the “right” transition installation is mostly about following your flooring’s expansion/movement instructions and mounting the transition so it doesn’t restrict the floor. The work is straightforward for a careful DIYer, but if you’re unsure whether your installation method is floating vs. glued/nail-down (or you can’t access the subfloor for mounting), consider hiring a flooring installer—getting this wrong can lead to buckling and rework.
Scan checklist (save this):
– [ ] Confirm your engineered wood’s required expansion gap and where it applies (walls + fixed objects + openings)
– [ ] Choose the transition style for your height change and seam location (doorway/edge/threshold)
– [ ] Dry-fit for: square edges, correct length, correct top height, no interference with trim
– [ ] Prep a flat, solid mounting surface for the transition base/fasteners
– [ ] Fasten transition to the intended structure (typically subfloor/base), not into a floating floor
– [ ] Use any sealing method only if your flooring/transition manuals allow it
Sources to check before you start (primary):
– Your engineered wood manufacturer’s installation instructions (expansion gap, floating vs. glue/nail-down behavior, approved sealants)
– Your transition/threshold manufacturer’s installation guide (fastener/adhesive requirements, approved substrates, kitchen/entry-area guidance)
Carefully match the transition to your floor height and seam location, keep the required expansion gap, and mount the transition in the way the manuals specify so the engineered wood can still move. If you double-check those points before you fasten anything, you’ll avoid the most common kitchen issues (gaps, squeaks, and movement-related buckling). When you’re ready, go measure your doorways/edges one last time and do a full dry-fit before installing screws or adhesive.
Frequently Asked Questions
What transition types work best for engineered wood floors in a kitchen?
In kitchens, the best transitions are the ones that handle height differences and protect the edges from moisture and foot traffic. Common options include T-moldings for joining rooms at similar heights, reducers for stepping down/up to tile or thicker flooring, and flush stair nosings or overlapping transition strips for tighter gaps. If you’re transitioning to tile behind a kitchen sink or entry, consider a waterproof-rated reducer and use a flexible sealant at the perimeter to accommodate movement.
How do I measure and plan the spacing for transitions around engineered wood floors?
Start by measuring the exact door openings and transitions needed, then calculate the flooring expansion gap required around the perimeter and at fixed objects like cabinets. Typically you’ll leave a small gap along the edges (often about 1/4 inch, but verify your engineered wood manufacturer’s specs) and cover it with the transition strip. Dry-fit the trim, confirm the finished floor heights, and adjust the plan so the transition lands square and doesn’t pinch the engineered wood boards.
How do I install a reducer or T-molding transition at a tile-to-engineered wood kitchen joint?
First, undercut the tile edge if needed and ensure both surfaces are clean, dry, and level within reason; then test-fit the transition to confirm it sits flush without rocking. Apply a construction adhesive if the manufacturer recommends it, or predrill and fasten according to the transition type (some use screws with caps). Set the transition so it covers the engineered wood expansion gap, and use a thin, flexible sealant where appropriate (especially near sink areas) to help prevent moisture intrusion.
Why is it important to leave an expansion gap before installing transitions in a kitchen?
Engineered wood can expand and contract with temperature and humidity, and transitions need to accommodate that movement rather than lock the boards in place. If you install transitions tightly against the planks, the floor may buckle or separate from the joint as conditions change—especially in kitchens where humidity fluctuates from cooking and dishwashing. Always follow your engineered wood manufacturer’s recommended expansion gap, then use the transition strip to cover the gap while still allowing the floor to move.
Which tools and materials do I need for clean, professional-looking transitions on engineered wood in a kitchen?
You’ll typically need a pull bar or tapping block for fitting boards, a miter saw or oscillating multi-tool for precise cuts, a measuring tape and chalk line, and a drill for any screw-based transition strips. Plan on using appropriate fasteners or adhesive recommended by the transition manufacturer, plus a flexible flooring sealant for moisture-prone areas. For best results, use spacers to maintain the expansion gap while installing the engineered wood, then secure the transition so it aligns cleanly and sits flat over the joint.
📅 Last Updated: October 19, 2026 | Topic: How to install transitions around engineered wood floors in a kitchen? | Content verified for accuracy and freshness.
References
- Engineered wood
- Wood flooring
- Expansion joint
- Threshold
- F1869 Standard Test Method for Measuring Moisture Vapor Emission Rate of Concrete Subfloor Using …
- F2170 Standard Test Method for Determining Relative Humidity in Concrete Floor Slabs Using in sit…
- https://scholar.google.com/scholar?q=engineered+wood+floor+transition+strip+installation Google Scholar
- https://scholar.google.com/scholar?q=wood+flooring+expansion+gap+transition+T-molding Google Scholar
- https://scholar.google.com/scholar?q=kitchen+engineered+wood+floor+transition+tile+threshold Google Scholar


