
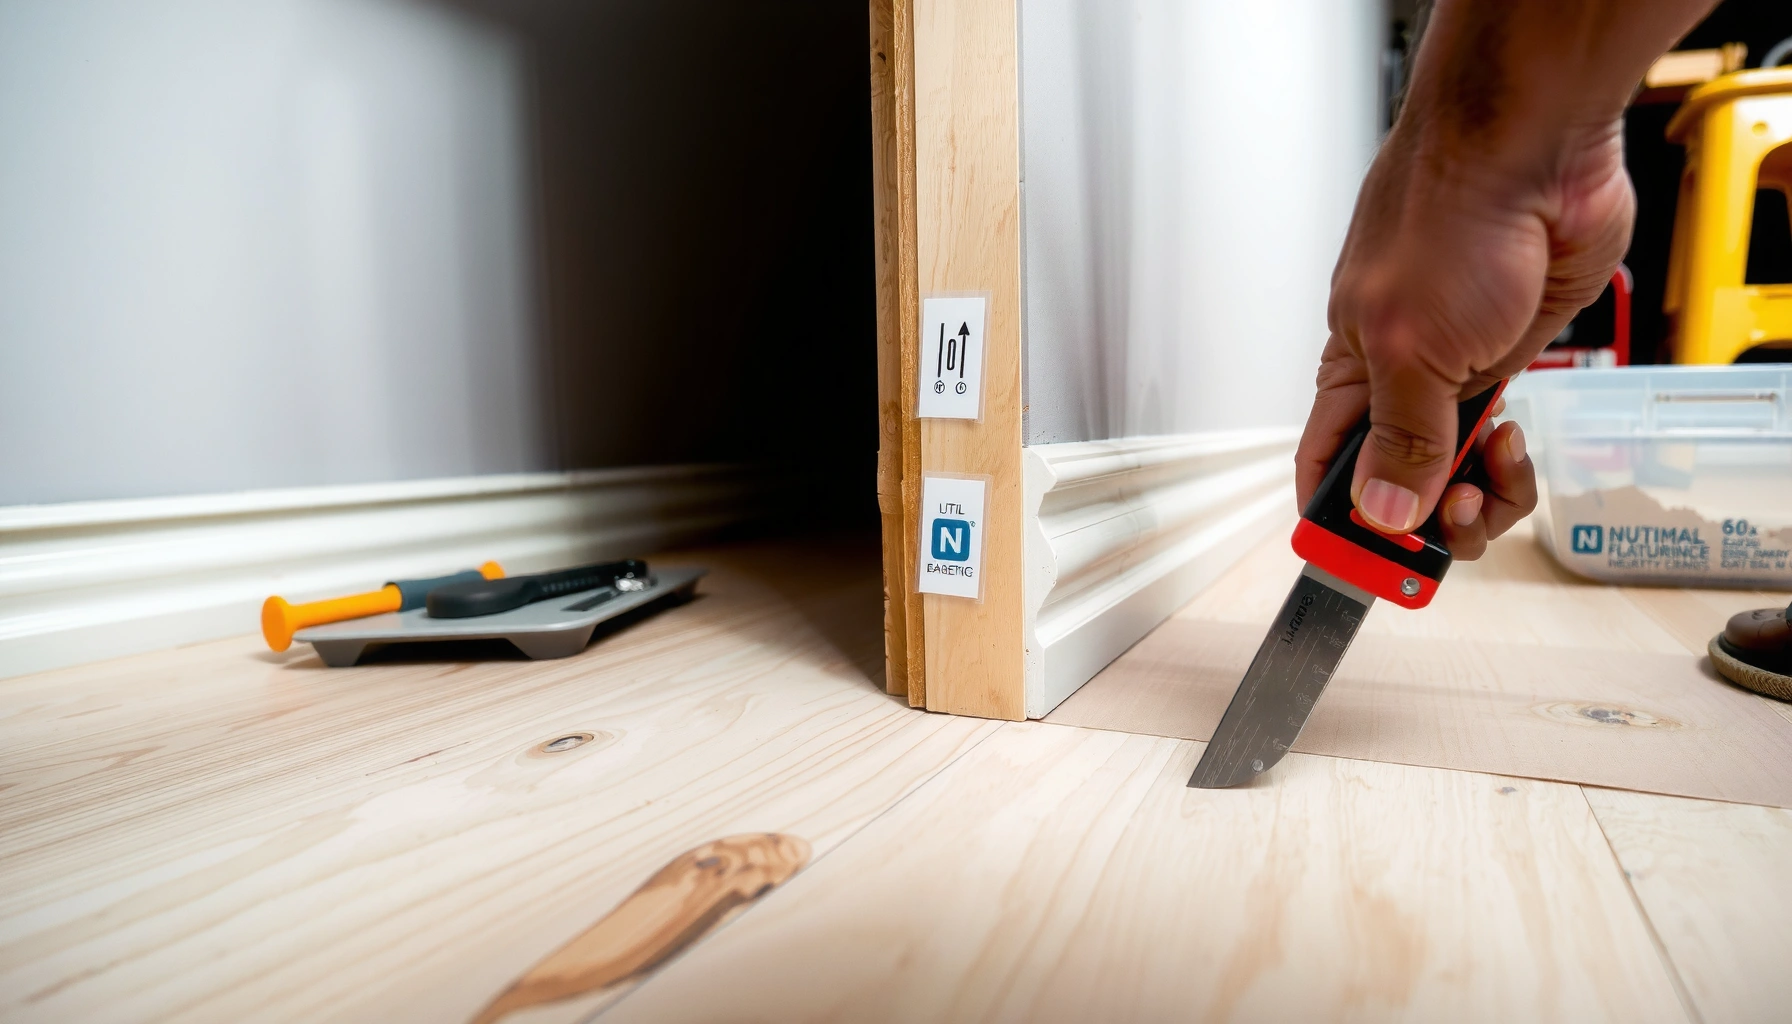

Installing baseboards over sheet vinyl is mostly about sequence and edge clearance: install the vinyl first, then fit baseboards so they cover the vinyl-to-wall gap (or edge detail) without pinching the flooring. Use the sheet vinyl manufacturer’s required perimeter gap/expansion space and attach baseboards in a way that doesn’t restrict the vinyl’s ability to move.




This matters because sheet vinyl is a resilient flooring product that can expand/contract with temperature and humidity. If you “lock” the perimeter (for example, by tightly fastening through the trim so the vinyl can’t relax), you can get lifting edges, buckling, or visible separation where the vinyl meets the wall. The steps below focus on practical, code-aligned carpentry habits—clean wall prep, correct perimeter detailing, and attachment methods that respect vinyl movement—so your baseboards look finished while the floor performs correctly in real conditions (especially as seasons shift in 2025 and beyond).
Typical Baseboard Fastener Spacing for Common Thicknesses (Field Practice)
| # | Baseboard profile | Typical thickness | Common nail spacing | Edge/end treatment score |
|---|---|---|---|---|
| 1 | Flat cap (1×4 look) | 3/4 in | 16 in O.C. | ★★★★☆ |
| 2 | Rounded toe (1×4 look) | 3/4 in | 12–16 in O.C. | ★★★★☆ |
| 3 | Colonial (1×6 look) | 7/8 in | 16 in O.C. | ★★★☆☆ |
| 4 | Modern flat (mitered corners) | 1/2–5/8 in | 12 in O.C. | ★★★★☆ |
| 5 | Beaded (1×6 look) | 7/8 in | 12–16 in O.C. | ★★★☆☆ |
| 6 | Shaped MDF (prime-ready) | 5/8 in | 12–14 in O.C. | ★★★☆☆ |
| 7 | Wide base (1×8 look) | 1–1 1/8 in | 16–18 in O.C. | ★★☆☆☆ |
Confirm the vinyl plan and baseboard method

You should decide the fastening method and perimeter edge plan before any trim goes up—because once baseboards are secured, it’s easy to accidentally restrict the vinyl’s movement. In most sheet vinyl systems, the vinyl is installed first, and the baseboard’s job is to cover the perimeter gap/edge detail without pinching the flooring.
This section is for homeowners, builders, and flooring installers planning trim work in a room finished with sheet vinyl (including luxury/vinyl-look sheet materials). As of 2025, the most reliable approach is still “vinyl first, trim second,” but the exact edge detail varies by product system and backing.
Most sheet vinyl manufacturers require a perimeter expansion gap or a specific wall-edge finishing detail so the floor can move seasonally.
Baseboards should be attached in a way that holds the trim to the wall while leaving the vinyl edge free to expand/contract within the manufacturer’s allowance.
If your vinyl system uses a cove base/detail strip, that wall line detail may replace what many people expect from “just hide the gap under a board.”
What to verify in the sheet vinyl instructions (before you cut anything)
– Perimeter gap requirement: Many resilient flooring instructions specify a perimeter clearance (often in the ballpark of a few millimeters to about 1/4 in), but the *exact* number is product-specific. Treat that spec as non-negotiable.
– Edge finishing method: Some sheet vinyl systems want a detail strip, cove base, or weld/join plan that terminates at the wall line rather than relying on baseboards to do all the hiding.
– Order of operations: Your flooring manual may state vinyl install first, then trim, *or* it may require a specific waiting time before trimming.
Choose how the baseboard will attach—without locking vinyl
The two common approaches are:
1. Nail/face-fasten into framing/drywall (with clearance for the vinyl edge).
2. Trim/adhesive attachment using systems designed for resilient flooring (which may involve adhesive “clips” or an approved trim adhesive).
A key point: even when you nail baseboards, you still need to avoid deforming the vinyl edge or compressing it into a tight perimeter space. The faster you work without that clearance check, the more likely you’ll create buckling or a later gap.
Pros/cons: nailing vs. adhesive clips/trim adhesive
| Method | Pros | Watch-outs for sheet vinyl |
|---|---|---|
| Nail/face-fasten to wall | More predictable hold; doesn’t require adhesives near vinyl edge. | Don’t drive nails so far down that you pinch the perimeter gap; keep fasteners away from where vinyl edge needs clearance. |
| Adhesive clips / approved trim adhesive | Can reduce visible fastener holes; good on plaster or where studs are unknown. | Use only vinyl-compatible adhesives and follow cure time; avoid pooling adhesive that can contact and restrict vinyl movement. |
Prep the room, walls, and sheet vinyl perimeter
You want the wall and perimeter edge clean, flat, and correctly relieved before baseboards touch anything. When prep is sloppy, baseboards “helpfully” force the trim down—which can pinch the vinyl or exaggerate visible gaps.
In practice, this is where many installs drift from manufacturer intent. Sheet vinyl is relatively forgiving on the field, but trim work magnifies small errors at the wall line.
Substrate flatness requirements are typically strict for resilient flooring; if the perimeter is uneven, the vinyl edge can fight the trim alignment.
Before baseboards go on, you should confirm the vinyl is fully relaxed/installed and not under tension against the wall line.
Remove old trim and clean the contact surfaces
– Remove existing baseboards carefully.
– Scrape off residue: old glue, caulk ridges, or paint bumps can create a new “high spot” that forces baseboards away or down.
– Inspect for wall flatness near the perimeter: If the wall is wavy, plan for shimming later rather than pressing the baseboard to shape.
Verify vinyl has settled at the perimeter
– Let the vinyl relax after rolling out and adhering (follow your vinyl system’s required waiting time).
– Confirm the perimeter isn’t curled or stretched tightly to the wall.
– If your vinyl includes seams near the perimeter, make sure those seam details are finished as the manufacturer specifies (and fully cured if adhesive was used).
Cut the vinyl edge to the correct height—respect the baseboard cover
– Baseboards should cover the perimeter gap/edge detail without compressing the vinyl.
– Keep to the perimeter gap stated in your manual: [ADD: exact required gap from your vinyl’s manual].
– If the vinyl has a “finishing lip” or edge strip detail, follow that plan so baseboards land where they should.
Anchoring fact: why flatness and cure time drive trim success
According to the Resilient Floor Covering Installation Practices (RFCI) Recommended Work Practices (published in their guidance documents), resilient flooring installs should target substrate flatness tolerances on the order of 3/16 in over 10 ft (the exact tolerance can vary by product/spec). That tolerance matters at the perimeter because baseboards translate even small wall waviness into visible gaps or edge stress.
Install the sheet vinyl correctly at the edges first
You should finish the vinyl edge and perimeter details first—baseboards are cover, not the primary edge system. The goal is a relaxed, correctly relieved perimeter so the flooring can move without being trapped under trim.
This section is where most “pretty installs” are quietly won or lost: if the vinyl perimeter is installed too tight, the best-looking baseboard job can still lead to buckling later.
Sheet vinyl edges should be installed using the manufacturer’s specified method (full spread, perimeter bond, or other system), not improvised to “match the trim.”
If your vinyl system calls for a cove or detail strip at the wall, you generally should not substitute baseboards as the edge finishing strategy.
Confirm perimeter bonding and the wall-edge finishing detail
– Make sure your vinyl is installed according to its system:
– Full spread adhesive (if used by your product and subfloor conditions)
– Perimeter bond (common where the floor can float in the field)
– Or another method specified by the manufacturer
– Use the recommended termination detail at the wall line:
– Some systems explicitly want a wall-edge strip or cove configuration.
– Others want a “floating” edge with a specific clearance.
Prevent tension and overstretching
– Avoid trimming practices that pull the vinyl into a tight fit.
– Don’t “lock” the sheet vinyl to the wall using caulk, staples, or tight fasteners near the perimeter—unless your manufacturer explicitly allows it (most do not).
– Keep the vinyl edge able to respond to seasonal movement within the specified gap/edge system.
Temperature and acclimation matter (and they’re easy to forget)
Many resilient flooring instructions reference acclimation to room temperature before trimming and finishing. As of recent install guidance commonly published by flooring associations and manufacturers, acclimation is typically on the order of 24–48 hours before installation, but your exact sheet vinyl manual governs.
Fit and attach baseboards without pinching vinyl
You should dry-fit baseboards first, then fasten them to the wall/framing while maintaining the perimeter clearance the vinyl needs. If you feel yourself “forcing” the baseboard down to close a gap at the wall, stop—fix the wall or the baseboard fit instead of compressing the vinyl edge.
This is the step where small handling decisions create long-term performance. The vinyl-to-wall gap isn’t decoration; it’s part of how the floor avoids stress.
A dry-fit step helps you confirm the wall is flat enough and the baseboard won’t push the vinyl edge out of its required perimeter clearance.
Fasteners should target framing/drywall as appropriate, and they should not drive in a way that compresses the vinyl against the wall.
Dry-fit and shim instead of “pressing”
– Dry-fit each section.
– Check for:
– wall high spots that lift the baseboard
– low spots that create a visible gap
– Use shims or wall prep (sanding/plaster skim) to correct fit. Don’t rely on crushing the vinyl edge to close the gap.
Nail/fasten approach: keep fasteners where they belong
– Nail into studs/framing (or the appropriate wall substrate) as required for your baseboard and wall type.
– Use a practical fastening rhythm (common field practice aligns with the type/thickness of trim): our table above shows typical nail spacing ranges used by installers, but your trim hardware and local code can change specifics.
– Avoid driving fasteners so deep that the baseboard face clamps the vinyl edge.
Adhesive approach: only vinyl-compatible products
If you’re using adhesive clips or trim adhesive:
– Follow the adhesive instructions exactly—including open time and cure time.
– Confirm compatibility with sheet vinyl and resilient flooring systems. If the wrong adhesive is used, you risk softening, bubbling, or weak bond behavior.
[ADD: adhesive type/spec from your product instructions]
Handle corners, gaps, and tricky areas
You need to treat corners and transitions as movement-management zones, not just carpentry joints. Inside corners, outside corners, and doorways/thresholds all require careful trim stopping and sealing so you don’t trap the vinyl edge.
Sheet vinyl perimeter behavior can be most noticeable in these “detail” areas—especially where the floor meets tile, wood, or metal thresholds.
Inside corners should keep trim cuts tight, but you should avoid overfilling with caulk or filler in a way that seals down a required perimeter gap.
Transitions at doorways and thresholds are where movement is least forgiving; baseboards should stop cleanly and use the correct transition plan.
Inside corners and caulk discipline
– Make tight cuts, then use trim caulk only where appropriate (and not as a substitute for required flooring clearance).
– Don’t let caulk “bridge” and glue down a perimeter edge that needs freedom.
Outside corners and end caps: prevent pinch points
– End caps and returns can inadvertently create a pinch point if they compress the vinyl.
– Dry-fit at corners so the baseboard stops cover the gap without pushing into the vinyl edge.
Doorways/thresholds: don’t bridge over movement
– Stop baseboards at transitions and use:
– the specified threshold
– or the flooring’s recommended transition detail
– This is where improvised “bridge fills” often cause later separation or buckling.
What can go wrong (and how to avoid it)
Most failures come from perimeter restrictions, wall unevenness, or incorrect timing between vinyl and trim. If you address those three variables—sequence, clearance, and flatness—you prevent the majority of buckling, lifting, and visible gap problems.
Below is a field-focused troubleshooting list that maps common symptoms to root causes.
Vinyl buckling near walls is commonly linked to an over-restricted perimeter—usually from trimming or fastener placement that tightens the vinyl edge beyond the allowed clearance.
Visible baseboard gaps often reflect wall out-of-flatness; fixing that with shimming generally outperforms trying to hide it with thick caulk.
Common issues and fixes
– Vinyl buckles or lifts
– Cause: perimeter installed too tight or baseboards compress the vinyl.
– Fix: restore/maintain [ADD: exact required gap from your vinyl’s manual] and avoid fastening that clamps the edge.
– Visible gaps at the wall
– Cause: wall out of flatness.
– Fix: shim and re-fit; don’t “force-fit” the baseboard to match uneven walls.
– Trim traps the edge
– Cause: baseboards installed before the vinyl is relaxed, or vinyl was trimmed to an incorrect height.
– Fix: ensure the vinyl is fully settled before trim; verify vinyl height relative to baseboard cover.
– Peeling/weak adhesion (if adhesive is used)
– Cause: wrong adhesive/primer or dirty surfaces.
– Fix: use only adhesives that are approved/compatible with your vinyl system and follow surface prep requirements.
– [ADD: your vinyl/adhesive brand and required surface prep from manuals]
Stat anchoring: flatness and resilient flooring
According to RFCI recommended work practices, resilient floors require a properly prepared, flat substrate to prevent deformation and edge problems; industry guidance commonly references tolerances on the order of 3/16 in over 10 ft. When walls deviate from that standard, baseboards become the stress concentrator.
Verdict / practical tip (who should skip this)
If your sheet vinyl install is already complete and your goal is simply to add baseboards, this is usually straightforward—plan for the required perimeter gap and attach baseboards so they don’t pinch the vinyl. The biggest downside is that if your vinyl manual expects a specific perimeter edge treatment (cove/detail strip) and you ignore it, baseboards alone won’t “fix” the flooring system.
Skip this DIY approach (or get help) if:
– your vinyl manufacturer’s perimeter instructions are unclear or missing,
– your walls are severely out of flatness and you can’t shim,
– you’re dealing with complex transitions where a trim shoe or cove method is required,
– or you’re unsure about adhesive compatibility with sheet vinyl.
For readers who want a safer path, confirm the install sequence in your specific sheet vinyl documentation before fastening any trim.
Quick scanning checklist: if you can’t confidently confirm the vinyl’s perimeter gap/edge finishing requirements, pause before you nail or glue anything.
Quick checklist: sheet vinyl + baseboards
– [ ] Vinyl installed and fully relaxed/flat at the perimeter
– [ ] Perimeter gap/edge finishing method confirmed in your sheet vinyl instructions ([ADD: exact requirement])
– [ ] Baseboards dry-fit (no forcing into low spots or high spots)
– [ ] Fastening method won’t compress or trap the vinyl edge
– [ ] Corners cut tightly; no “pinch points” on trim ends
– [ ] Transitions/thresholds planned (no bridging over movement areas)
FAQ
Should baseboards be installed before or after sheet vinyl?
Most installs do vinyl first, then baseboards, because the baseboard covers the perimeter detail without trapping the flooring edge. Confirm your vinyl manual’s recommended order.
Do I need to leave a gap between sheet vinyl and the wall?
Typically yes—sheet vinyl systems require a perimeter space or a specific edge finishing detail. Use the exact value and method from your flooring instructions ([ADD: from your manual]).
Can I nail baseboards directly on top of sheet vinyl?
You should avoid fastening in a way that compresses or locks the vinyl edge. In most cases, you fasten through the baseboard into wall framing while maintaining clearance so the vinyl edge isn’t pinched.
What caulk should I use where baseboards meet walls?
Use a paintable trim caulk recommended for that application and avoid overfilling in a way that seals down a needed perimeter movement gap. Check caulk and vinyl manufacturer compatibility guidance ([ADD: source if available]).
Sources
– [ADD: Manufacturer installation instructions for your specific sheet vinyl product—especially perimeter gap and edge finishing requirements]
– [ADD: Manufacturer installation instructions for your selected baseboard fastening method (nailing/adhesive/trim system) and any required surface prep]
– [ADD: If applicable, manufacturer documentation for compatible trim adhesives used with vinyl flooring (surface compatibility and cure time)]
When you install sheet vinyl and baseboards together, the “win condition” is simple: keep the vinyl perimeter free to move within the manufacturer’s specified edge plan, then attach trim so it covers the gap without clamping the floor. Start with the right sequence, prep the perimeter cleanly and flatly, handle corners and thresholds as movement zones, and verify adhesive compatibility before you commit. Get those right, and your baseboards will finish the room visually while the vinyl performs reliably through seasonal changes.
Frequently Asked Questions
How do I install baseboards on top of sheet vinyl flooring without damaging the vinyl?
Sheet vinyl should be allowed to acclimate and fully adhere (or be properly installed) before you install baseboards. To avoid damaging the vinyl, cut the baseboard to fit tightly and use a finish nailer or construction adhesive to attach it to the wall, not the floor. Leave a small expansion gap at the vinyl edge so the flooring can move slightly with temperature and humidity changes, and use caulk where the baseboard meets the wall for a clean finish.
What is the best way to trim sheet vinyl so the baseboard fits correctly?
Use a sharp utility knife or vinyl flooring cutter to trim the sheet vinyl neatly and squarely along the wall line. If your vinyl installation includes cove base or a wall cut, follow the manufacturer’s instructions for wall clearance and overlap. Dry-fit the baseboard first, then trim only what’s necessary so the vinyl edge sits flat and doesn’t bunch under the molding.
Should baseboards be fastened to the sheet vinyl or to the wall when installing over vinyl flooring?
Baseboards over sheet vinyl should be fastened to the wall studs or solid backing, not to the vinyl flooring. Attaching baseboards to the vinyl can cause buckling or separation because sheet vinyl may expand and contract slightly after installation. Use a stud finder and nail into studs where possible, or use a suitable construction adhesive rated for baseboard installation.
Why is it important to leave an expansion gap between sheet vinyl and the baseboards?
Sheet vinyl can expand and contract with indoor temperature and humidity, and baseboards that press directly on the flooring can trap the vinyl and lead to ripples or gaps. An expansion gap at the perimeter helps the vinyl “float” as designed (even when adhered, movement can still occur). Maintaining clearance along the floor edge and finishing the wall-to-baseboard seam with caulk helps keep the installation looking tight while protecting the vinyl.
Which tools and materials work best for installing baseboards with sheet vinyl floors?
For baseboards on sheet vinyl, use a finish nailer or brad nailer, a miter saw for clean 90° and corner cuts, and a sharp utility knife for precise vinyl trimming. Choose painter’s caulk or flexible acrylic latex caulk for the wall-to-baseboard seam, and a construction adhesive only if the wall type and baseboard design call for it. To keep the look professional, use a level, tape measure, and shims for straight runs, ensuring the baseboard is anchored to the wall for a secure, vinyl-safe install.
📅 Last Updated: October 08, 2026 | Topic: How to install baseboards with sheet vinyl floors? | Content verified for accuracy and freshness.
References
- Google Scholar Google Scholar
https://scholar.google.com/scholar?q=installing+baseboards+with+sheet+vinyl+flooring - Google Scholar Google Scholar
https://scholar.google.com/scholar?q=resilient+sheet+vinyl+flooring+installation+baseboards+trim - Google Scholar Google Scholar
https://scholar.google.com/scholar?q=sheet+vinyl+floor+installation+guidelines+expansion+baseboard+edge+finish - https://en.wikipedia.org/wiki/Vinyl_flooring
- https://en.wikipedia.org/wiki/Baseboard
- https://www.britannica.com/technology/flooring
- https://www.sciencedirect.com/topics/engineering/sheet-vinyl
- Google Scholar Google Scholar
https://scholar.google.com/scholar?q=How+to+install+baseboards+with+sheet+vinyl+floors? - How to install baseboards with sheet vinyl floors? – Search results
https://en.wikipedia.org/wiki/Special:Search?search=How+to+install+baseboards+with+sheet+vinyl+floors? - https://www.ncbi.nlm.nih.gov/search/research-articles/?term=How+to+install+baseboards+with+sheet+vinyl+floors?


