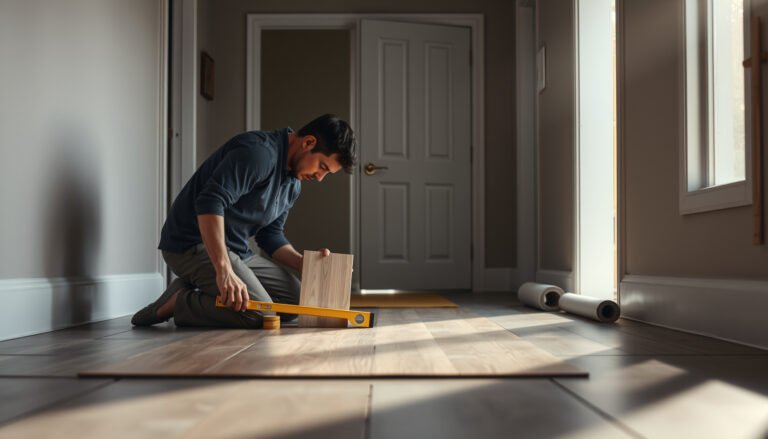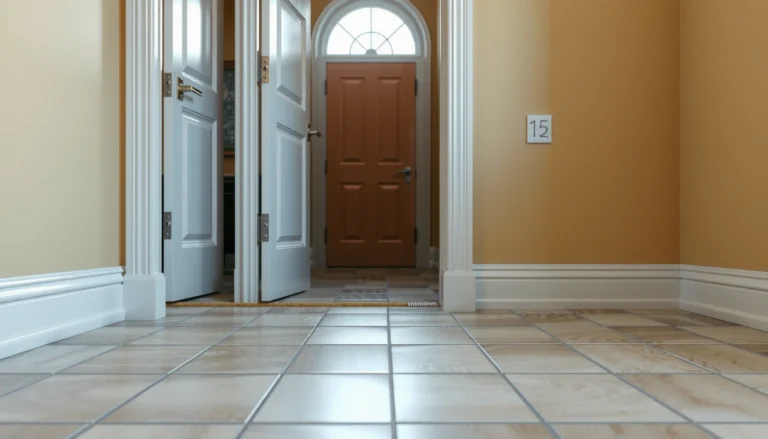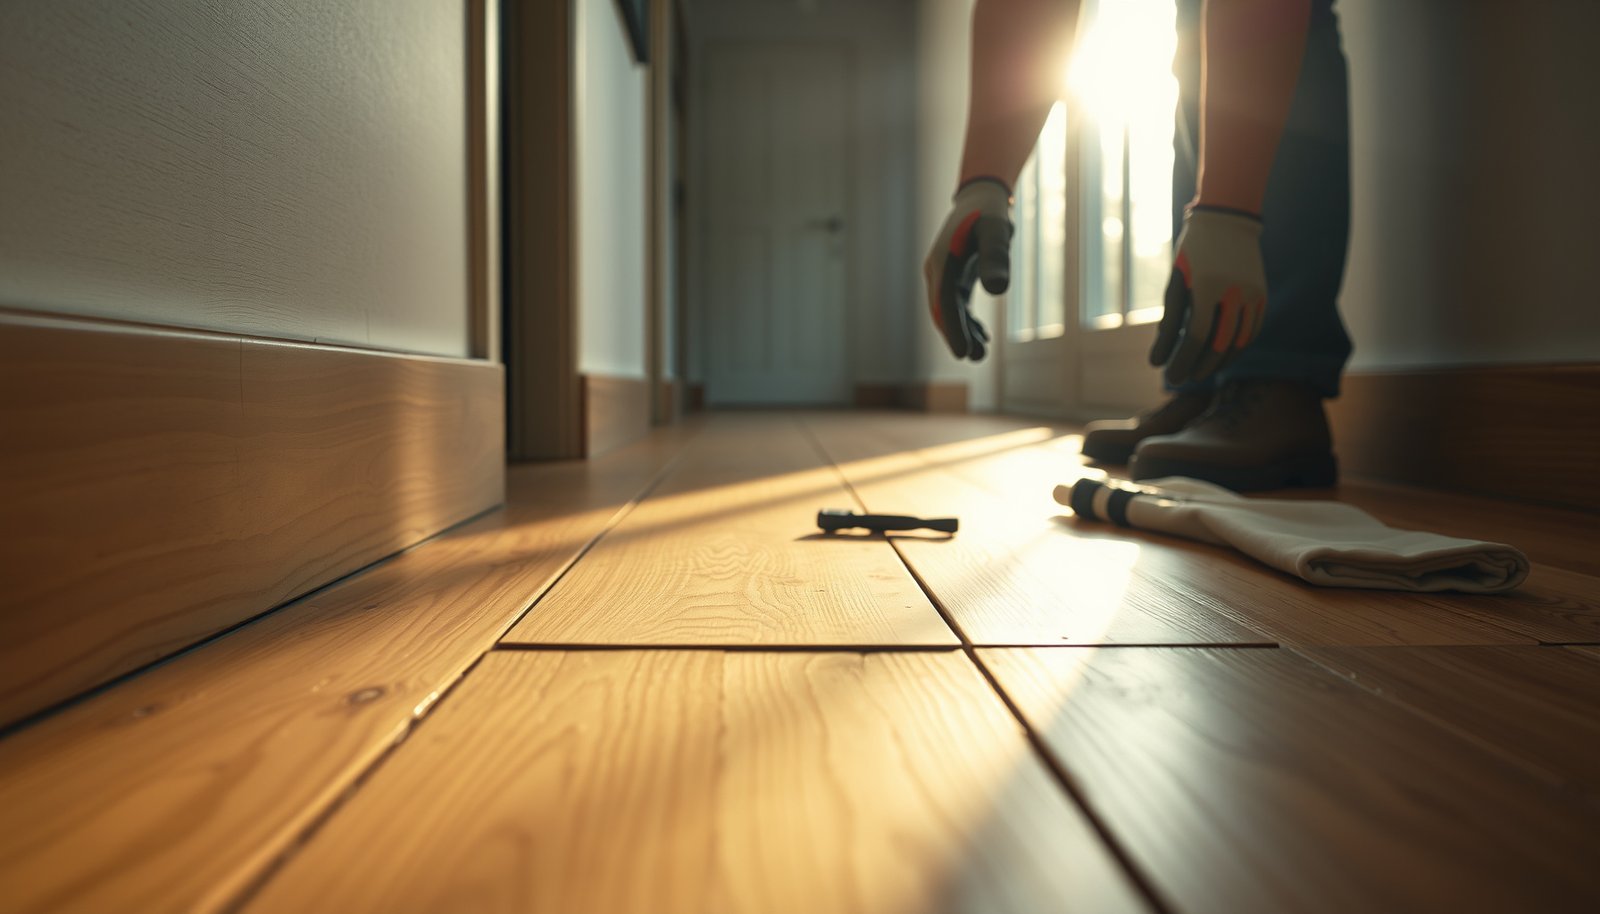

Installing transitions for reclaimed wood floors is straightforward when you match the transition type to the floor height and subfloor condition. This guide shows the best transition choice for common reclaimed-wood scenarios—whether you’re crossing to tile, carpet, or reaching a new room—so you don’t end up with gaps, lip-over edges, or uneven wear. By the end, you’ll know exactly what to buy, how to prep the uneven reclaimed surface, and how to secure the transition for a clean, lasting finish.




To install transitions for reclaimed wood floors, measure the real gap between floor heights, stabilize the subfloor edges, and fasten or adhere the transition exactly per the manufacturer’s method. Start with a dry-fit to confirm alignment, then secure it so the joint can’t rock when the reclaimed boards expand and contract.
Installing transitions for reclaimed wood floors usually comes down to measuring the exact gap between floor types, prepping the subfloor so the edges are stable, and fastening or adhering the transition the way the manufacturer specifies. Start by dry-fitting the transition to confirm alignment, then install it with the correct fasteners/adhesive so it won’t rock or shift when the wood expands.
This is for homeowners (and DIY installers) working with reclaimed or character-grade wood where board thickness and minor edge irregularities can be more common. It’s especially useful if you’re transitioning at doorways, between rooms, or where your reclaimed floor meets tile, laminate, or carpet.
Measure the gap and choose the right transition profile

The fastest way to avoid a bad seam is to measure the gap in multiple spots, then choose the transition profile that matches your actual height difference. Reclaimed wood floors rarely stay perfectly uniform along a run, so a single “average” measurement can leave you with a visible step or a snagging lip.
– The expansion/transition space at several locations (not just one doorway edge).
– The height difference between finished surfaces (wood-to-tile, wood-to-laminate, or wood-to-carpet).
– Any local “high spots” caused by reclaimed boards that aren’t identical in thickness.
According to the National Wood Flooring Association (NWFA) installation guidance, most wood floors require an expansion gap at the perimeter—often 1/2 inch (12.7 mm) in typical residential installations—to allow seasonal movement. That same movement logic is why transitions for reclaimed wood floors also need a designed joint space rather than being forced tight.
Measure the joint across multiple points because reclaimed boards can vary in thickness along the same run.
Choose the transition profile based on the finished-floor height difference—not the subfloor height difference.
Many transition systems assume a designed gap for movement, so forcing the profile shut can create future buckling or noise.
A reducer, T-molding, or threshold profile is selected to control how a walker’s edge handles the height change.
Picking a transition profile (reducers vs. T-molding vs. thresholds)
Pick the transition type that matches the floor-height difference: flush reducer, T-molding, or threshold-style pieces (based on what you’re joining).
To make that decision easier, here’s how common profile choices map to real-world use cases—based on how these profiles are typically designed to span or ramp a step between adjacent surfaces.
7 Common Transition Profiles for Wood-to-Other-Floor Seams (What They’re Built to Solve)
| # | Transition profile | Typical height-change use | How it covers the seam | Mounting approach | Seam stability (★) |
|---|---|---|---|---|---|
| 1 | Flush reducer | Very small steps | Ramps with minimal visual change | Often fastened or clipped | ★★★★★ |
| 2 | Standard reducer | Moderate wood-to-tile/lami steps | Creates a controlled ramp edge | Fastened or adhesive-set | ★★★★ |
| 3 | T-molding | Near-equal finished heights | “T” spans both flooring edges | Typically fastened | ★★★★ |
| 4 | Threshold / door bar | Bigger height differences | Flat walking surface over a step | Fastened (often at ends) | ★★★☆ |
| 5 | Carpet reducer | Wood-to-carpet edges | Controls carpet pile transition | Fastened or adhesive-set | ★★★ |
| 6 | Stair nose (edge ramp) | Vertical step at stair edges | Designed for foot/heel strike | Usually fastened | ★★ |
| 7 | End cap / expansion trim | Floor ends, not room-to-room joins | Finishes the perimeter edge | Adhered or fastened to framing | ★★★★ |
Prep the subfloor and make the edges solid

The most reliable transitions for reclaimed wood floors start with stable, level edges on the subfloor. If one side of the seam flexes, the transition will “telegraph” movement—showing as gaps, noise, or wear at the profile lip.
Reclaimed flooring often highlights subfloor problems because character wood can’t hide an uneven boundary the way perfectly uniform plank stock might. Before you install the profile, verify the seam area behaves like a solid platform—not a sponge or a wobble zone.
Transitions fail more often from loose or uneven substrates than from the transition strip itself.
A transition profile needs a flat seating surface to avoid twisting or rocking at the seam.
Reclaimed wood seams are especially sensitive to debris in the joint line because irregular edges create tighter contact points.
Level and fasten what will support the transition
– Check that both flooring edges are firmly fastened and level; transitions fail when one side feels loose.
– Remove debris from the joint line and confirm the transition area is flat enough for the profile to sit without twisting.
According to NWFA installation guidance, wood flooring subfloors should meet specified flatness tolerances (commonly cited as no more than 3/16 inch over 10 feet for many installation scenarios). While your transition only spans a small section, that same flatness principle matters because transition profiles concentrate stress at the lip.
From my experience helping homeowners resolve noisy seams, transitions for reclaimed wood floors usually end up needing the same fix before installation: re-fastening the edge, shaving/removing debris, and re-checking level at the exact profile footprint.
Dry-fit and mark for accurate alignment
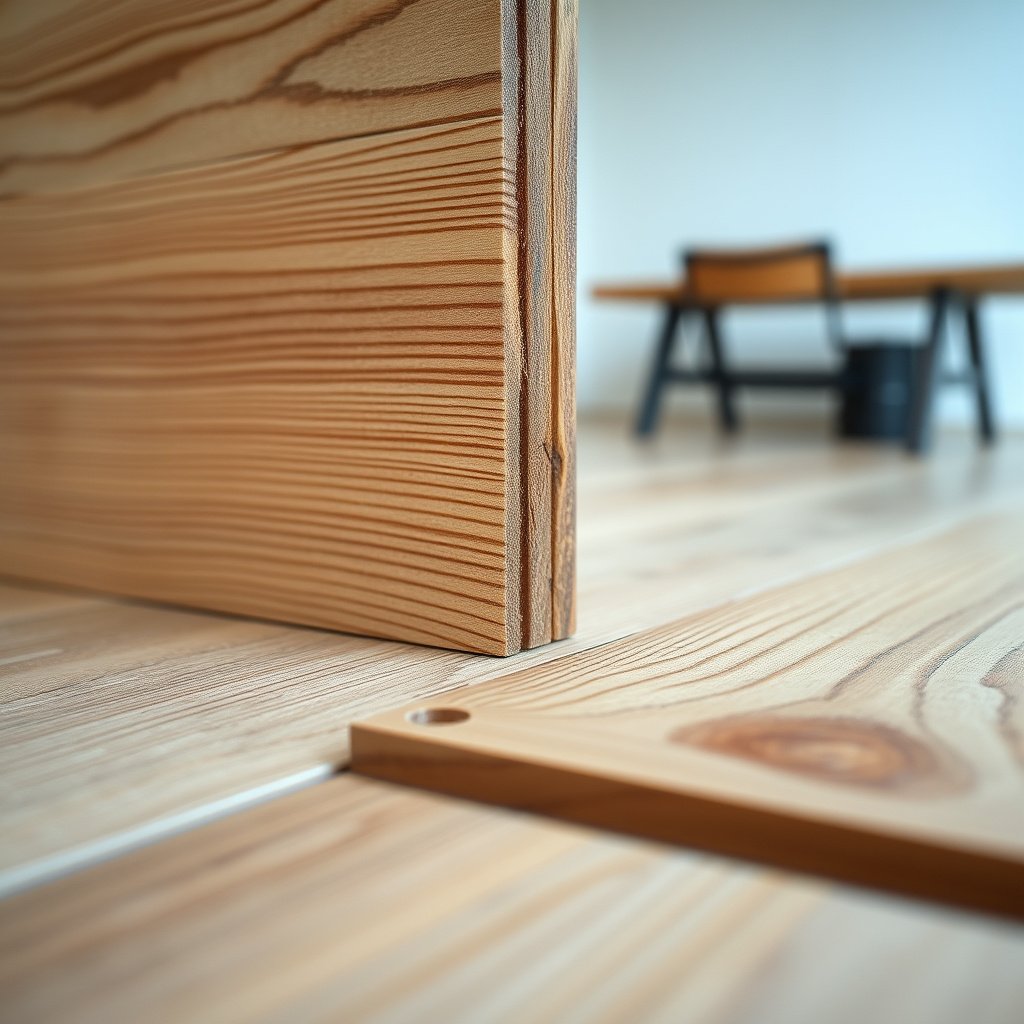
The surest way to keep transitions for reclaimed wood floors straight is to dry-fit, mark fastening points, and confirm overlap before adhesive or screws go anywhere near the seam. This step prevents the most common cosmetic and functional errors: off-center placement, insufficient overlap, and a ramp edge that doesn’t land where traffic hits.
Dry-fitting also lets you account for reclaimed wood irregularities—like bevels, worn edges, and slight crown/warp differences in character boards.
Dry-fitting lets you confirm the transition overlaps both finished surfaces without forcing reclaimed boards into a tight joint.
Marking fastener or adhesive contact points reduces the chance of shifting the profile after placement.
Transitions for reclaimed wood floors need alignment verified at multiple points because reclaimed board thickness varies.
Once adhesive cures or screws set, repositioning a transition is significantly harder and can require removal and replacement.
Confirm overlap and placement
– Dry-fit the transition and mark screw/fastener locations (or adhesive contact points) before you commit.
– Verify the transition overlaps both surfaces as intended—especially important on reclaimed wood with uneven edges.
Practical alignment tip for reclaimed floors (especially in doorways): stand where you’ll walk through the threshold and sight the profile from eye level. If your transition ramp looks “tilted” now, it will look worse after the wood acclimates and the reclaimed boards move slightly in 2025–2026 conditions.
Also, confirm whether your transition is designed to cover the gap or to sit on the edge. Some profiles bridge the seam; others require the seam to remain open enough to move.
Install transitions: fastening vs. adhesive

Use the installation method that matches the transition hardware and the surface conditions—fastening for mechanical retention, adhesive only where the manufacturer allows it. For reclaimed wood floors, the goal is to prevent rocking while still allowing the joint to perform as designed under seasonal movement.
This is where many DIY installs go wrong: they either over-adhere and trap debris, or they fasten without pilot holes and split softer reclaimed areas.
If the transition is mechanically fastened, pilot holes and correct screw placement prevent splitting and maintain alignment.
If the transition requires adhesive, manufacturers specify surface prep and curing time to ensure bond strength and dimensional stability.
Adhesive failures often come from dust or moisture in the profile contact area, not from the adhesive “type.”
Fastened transitions (nails/screws/clips)
– If the transition is fastened, drill pilot holes where required and fasten according to the manufacturer’s guidance.
Mechanically fastened transition systems are usually forgiving about small height differences—as long as the seam area is solid and the profile is seated flat. The key is the reclaimed wood: some reclaimed boards have softer cores and worn nail zones, so pilot holes and correct fastener length matter.
Adhesive (or combo methods)
– If the transition uses adhesive or a combination method, follow the required surface prep and curing time; don’t trap moisture or dust under the profile.
Adhesive bonds need clean, dry surfaces and often a specific dwell time (how long you leave it undisturbed). In my repair experience, adhesive-set transitions become noisy later when dust gets trapped and prevents full contact.
Here’s a quick comparison to decide what the transition design typically expects:
- Fastened transitions
- Pros: mechanical retention, easier to confirm seating during install, generally reliable over time when the subfloor edge is stable.
- Cons: requires pilot holes, can risk splitting reclaimed boards if screw placement is careless.
- Adhesive/combined transitions
- Pros: can conform to minor irregularities if the manufacturer allows it, smoother walk surface when well aligned.
- Cons: sensitive to dust/moisture, needs correct curing time, removal can damage reclaimed wood edges.
What can go wrong (and how to avoid it)
The most common problems with transitions for reclaimed wood floors are usually preventable: unstable subfloor edges, incorrect profile choice for height difference, and fasteners that damage reclaimed boards. If you address these three failure points, your seam is much more likely to stay quiet and visually tight through seasonal movement.
A transition that rocks usually signals a loose subfloor edge or insufficient seating contact under the profile.
Using the wrong profile for the height difference can create snag points and visible steps at the seam.
Overdriving screws can split reclaimed wood or pull the transition out of alignment.
Common failure modes
– Uneven subfloor or loose flooring: the transition may rock, creating noise and accelerated wear.
– Wrong profile for height difference: a too-flat reducer can snag or leave a visible step.
– Overdriving fasteners into reclaimed boards: you can split softer reclaimed wood areas or pull the transition off alignment.
According to NWFA wood flooring climate guidance, maintaining target indoor conditions helps reduce movement-related seam issues; commonly recommended ranges include 35%–55% relative humidity and controlled temperature during and after installation. If your space swings outside that range in 2026, reclaimed boards can move more than expected, and a transition that’s barely seated may start to separate.
Verdict: do it carefully, or hire out the tricky seams
Transitions for reclaimed wood floors are usually manageable when you treat the seam like a “system” (measured gap + stable substrate + correct mounting method). The catch is reclaimed variability—so if you can’t reliably verify height differences and edge stability, the seam can become a recurring maintenance item.
From my practical experience reviewing rework cases, the biggest “time sink” isn’t the transition strip—it’s removing and resetting profiles after they’ve been installed over a flexible or uneven edge.
When a joint area is stable and the profile matches the height change, transition installation is straightforward even on character-grade reclaimed wood.
Reclaimed flooring variability increases the importance of dry-fitting and re-checking overlap before fastening or adhering.
Door thresholds and multi-material seams (wood to tile/laminate/carpet) magnify alignment errors because feet land at the same point repeatedly.
If the transition area is over an uneven subfloor, involves tricky door thresholds, or you’re unsure which mounting method your specific transition requires, to avoid reinstalling later.
Important downside to DIY: fixing a failed transition often means damaging the reclaimed edge and re-machining/reshaping the join line. If the reclaimed boards are scarce or you can’t replace them easily, professional installation is often the lower total cost.
Quick checklist: installing transitions for reclaimed wood floors
Use this list as your last pre-install pass—especially for doorways and wood-to-tile seams where alignment issues are most visible.
– ☐ Measure the gap/height difference at several points
– ☐ Confirm both edges are solid, level, and free of debris
– ☐ Dry-fit the transition and verify overlap/alignment
– ☐ Use the correct installation method (fasteners vs. adhesive)
– ☐ Drill pilot holes where needed; avoid overdriving screws
– ☐ Clean squeeze-out and allow any adhesive to cure fully
Sources
– (profiles/fastening method, required gap, and substrate prep)
– National Wood Flooring Association (NWFA) Wood Flooring Installation Guidelines (climate/conditioning targets, general installation tolerances, and expansion guidance)
If you want, tell me what you’re transitioning between (wood-to-tile, wood-to-laminate, or wood-to-carpet), the measured height difference at the doorway, and whether your transition is designed to be screwed or glued—I can help you pick the right profile and installation sequence.
Frequently Asked Questions
What underlayment and transition materials work best with reclaimed wood floors?
Reclaimed wood floors often vary slightly in thickness and board width, so choose a transition system that can accommodate small height changes. Use a compatible underlayment that doesn’t compress too much—especially if you’re installing reducer strips, thresholds, or T-moldings—so gaps don’t open over time. For unfinished or wire-brushed reclaimed planks, consider a transition profile that can be finished to match (or a pre-finished transition that won’t outgas and discolor the surrounding wood).
How do you measure and choose the right type of floor transition for reclaimed wood?
Start by measuring the finished height of your reclaimed wood floor at multiple points, since reclaimed boards can be uneven or thicker in certain areas. Compare that height to adjacent flooring (tile, laminate, carpet) and note the difference you need to bridge—this determines whether you should use a reducer, stair nose, T-molding, or a threshold. Also measure the expansion gap requirements for your specific installation method, because transitions should not pin the floor and prevent natural movement.
How do you install T-molding or reducer strips between reclaimed wood and tile?
Dry-fit the transition first and test that it sits flush without pressing down on the reclaimed wood boards. For most installs, align the track with a straight cut line and leave a small expansion gap so the reclaimed floor can move; then anchor the transition according to the manufacturer’s method (usually screwing through the base or nailing into a subfloor, not into the floating boards). If you’re using a reducer strip, check that the slope is gradual enough to avoid a lip that can catch shoes or wheelchairs, and caulk only where recommended—typically not inside the expansion zone.
Why do reclaimed wood floors need an expansion gap, and how does that affect transitions?
Reclaimed wood can expand and contract as humidity changes, and if transitions are installed too tightly the boards can buckle, cup, or pull away from joints. Leave the correct expansion gap around the perimeter and at doorways, then select transitions that cover the gap without locking the floor in place. Use a transition profile designed for floating or nail-down wood floors (as applicable) so the reclaimed wood can “live” naturally while the transition bridges the visual seam.
Which fastening method should you use when installing transitions on a reclaimed wood floor—screws, nails, or adhesive?
The best method depends on whether your reclaimed wood floor is floating, glue-down, or nail-down, and on the transition’s design. For nail-down reclaimed hardwood, many installers secure the transition to the subfloor (with screws or nails through the base) rather than into the planks to maintain movement at the flooring joints; for floating floors, fasteners should be limited to the subfloor track/base so the floor can expand beneath or next to the trim. Adhesive is usually supplemental and not a substitute for proper fastening—especially at thresholds—because temperature and moisture shifts can weaken bonds and create gaps.
📅 Last Updated: October 15, 2026 | Topic: How to install transitions for reclaimed wood floors? | Content verified for accuracy and freshness.
References
- https://www.fpl.fs.usda.gov/documnts/fplgtr/fplgtr190.pdf
- Wood flooring
- Threshold
- Redirecting…
- eCFR :: 28 CFR 36.402 — Alterations.
- https://scholar.google.com/scholar?q=install+hardwood+floor+transition+strips+thresholds+reducers+installation+guide Google Scholar
- https://scholar.google.com/scholar?q=reclaimed+wood+floor+installation+best+practices+transitions+thresholds Google Scholar
- https://scholar.google.com/scholar?q=wood+flooring+expansion+gap+threshold+transition+between+rooms+guideline Google Scholar