
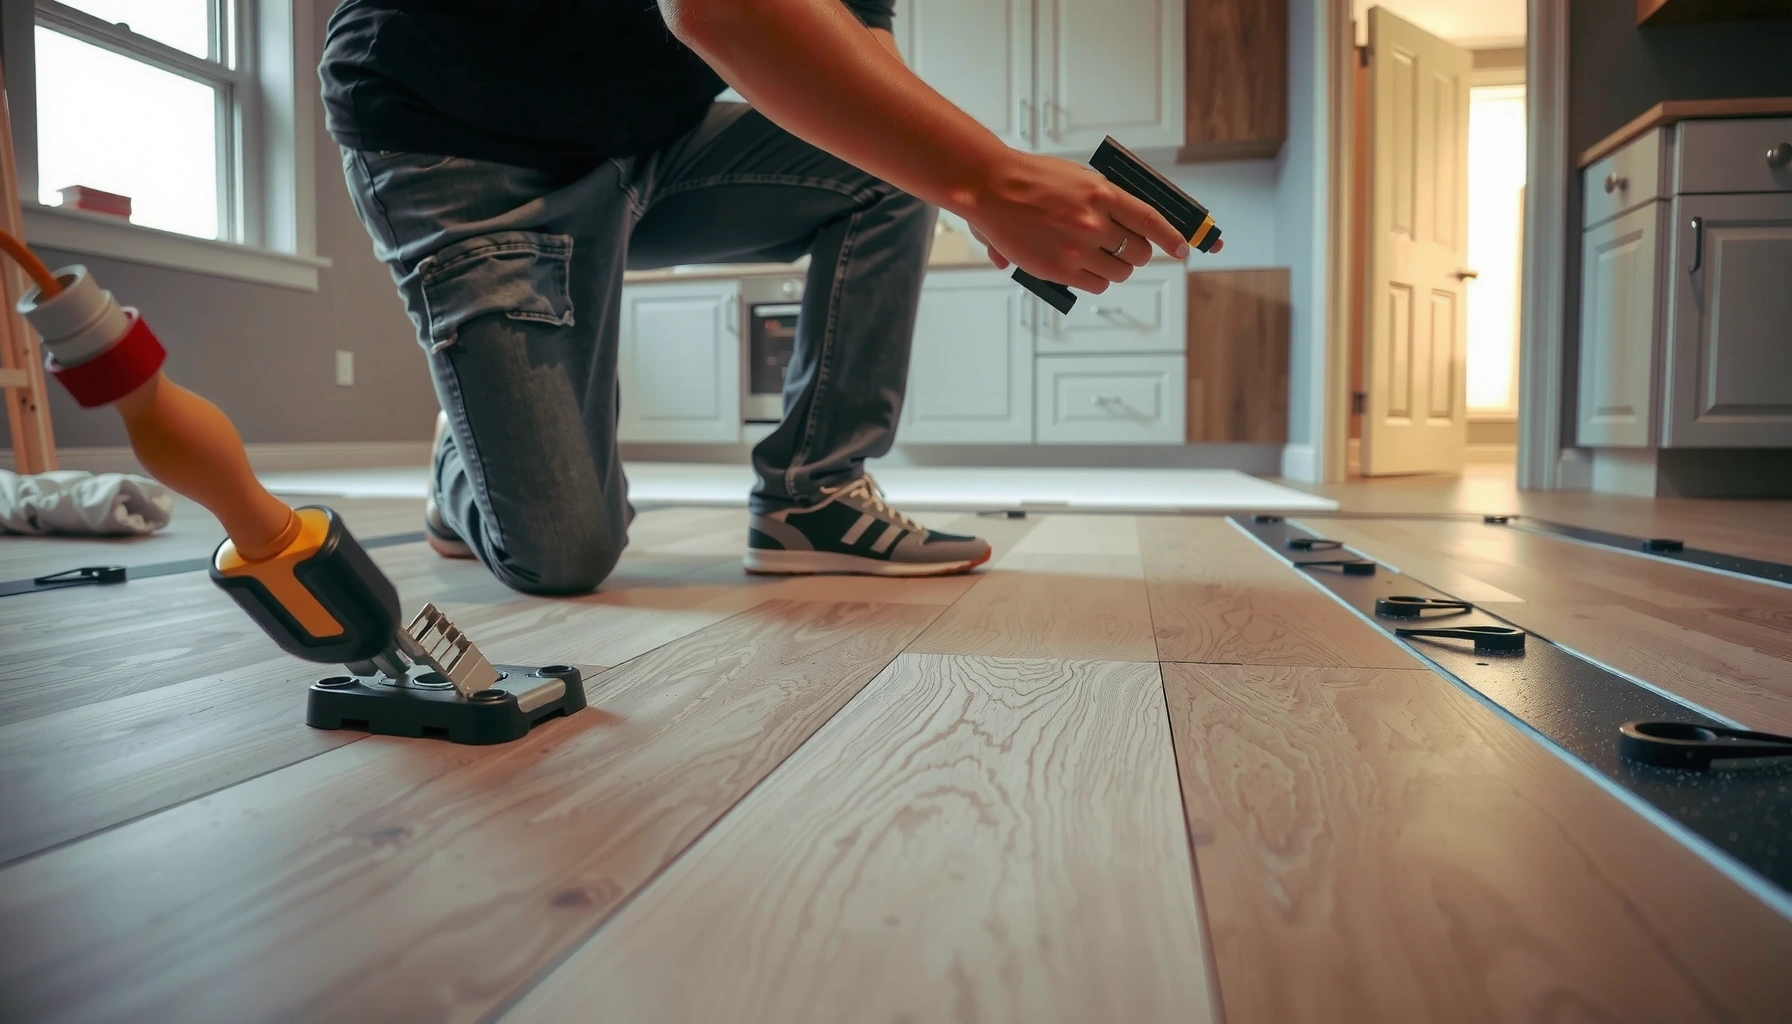

Installing bedroom kitchen floors is a straightforward DIY project when you follow the right sequence from prep to final finish. This step-by-step guide walks you through subfloor prep, leveling, layout, cutting, and installation, so the flooring goes down level, tight, and durable. You’ll also learn the key “measure twice, install once” checks that prevent the most common failures in bedrooms and kitchen spaces.



Plan the subfloor prep first—leveling, moisture control, and the right underlayment—and then install the correct flooring type using its required layout, acclimation, and finishing steps. If you get those fundamentals right, bedrooms and kitchens both end up looking even and staying tight under real daily use.
This guide is for homeowners, DIYers, and contractors planning new or replacement floors in either a bedroom or a kitchen. It’s also a practical workflow if you’re comparing common options like vinyl, laminate, tile, or engineered wood and want an install sequence that reduces callbacks.
Pick the Right Flooring for Bedroom vs. Kitchen
Choose flooring based on moisture exposure, spill resistance, and how the room is used day-to-day. Kitchens typically demand more moisture tolerance and easier cleanup than bedrooms, even when both areas share the same subfloor.
In practice, “bedroom vs. kitchen” is less about the room label and more about the floor’s exposure profile: kitchens have more incidental water (spills, wet mopping, humidity swings near exterior doors) and higher traffic (appliance movement, chair legs, dropped items). From the install standpoint, that means you match the flooring system—planks/tiles, underlayment (if allowed), and attachment method—to the subfloor conditions (flatness and moisture risk). If your subfloor is marginal, the wrong system can create squeaks, gaps, or edge lifting long before the surface wears out.
Kitchen floors typically need tighter moisture and spill management than bedrooms because routine incidents include water from cooking, cleaning, and tracked-in moisture.
Whether a product is floating (click-lock) or mechanically/adhesive installed strongly affects what subfloor conditions it can tolerate.
Laminate and many vinyl systems rely on proper expansion gaps to prevent buckling during temperature and humidity changes.
A useful way to think about selection is “installation method first, product second.” Floating floors (common in laminate and some vinyl) want a stable, flat base and controlled movement at the perimeter. Glue-down floors (certain vinyl/LVT systems) want correct adhesive selection and compatible surface prep. Tile floors want an appropriate substrate, a cementitious backer or approved waterproofing system when required, and a grout/thinset system designed to work together.
Quick comparison: what typically fits bedrooms vs. kitchens
– Bedroom-friendly (usually lower moisture risk): laminate, engineered wood (installed per system requirements), many click-lock vinyl products.
– Kitchen-friendly (higher moisture & spill risk): kitchen-rated vinyl (often with waterproof core), properly installed tile, engineered wood only if the manufacturer’s kitchen moisture guidance is satisfied.
Decision factors to verify before purchase
1. Moisture tolerances for your subfloor type (concrete slab vs. wood subfloor).
2. Installation method required by the manufacturer (floating vs. glue-down vs. underlayment plus nail/staple).
3. Waterproofing/water-resistance limits, especially for kitchens.
4. Underlayment allowances—some systems require a specific underlayment or prohibit adding thickness that changes movement and lock geometry.
Prep the Subfloor (The Step That Prevents Most Problems)

Most install failures start with subfloor problems, not the top surface. Leveling, moisture control, and correct underlayment selection (only when required/allowed) are the best predictors of long-term performance.
For tile, resilient, and floating plank systems alike, flatness and moisture determine whether the floor can sit flush and move correctly. In my experience reviewing jobsite issues, the most repeatable root cause is an uneven slab/subfloor—high spots create stress concentrations (leading to clicking, joint separation, or cracked tile), while low spots trap unsupported areas (leading to voids, hollow sounds, and premature wear). Moisture risk is the next common factor: even “water-resistant” floors can fail if moisture migrates into adhesives, underlayments, or substrate layers.
According to industry flatness testing standards, resilient and floating floors require sufficiently flat substrates to avoid localized stress and premature joint failure.
For moisture-sensitive floor systems, manufacturers typically require verification of moisture conditions using specified tests and limits.
Using an underlayment not approved by the flooring manufacturer can void warranties and alter how a floating system locks and supports joints.
Step-by-step subfloor prep
1. Remove old flooring where required.
Follow the product’s instructions for whether you can install over existing material. Many systems allow only specific “approved” layers, like certain intact, well-bonded subfloors—not loose carpet pad, damaged underlayment, or poorly adhered glue residue.
2. Check flatness with a straightedge (and measure).
Don’t rely on “looks level.” Use a straightedge/level and record high/low areas across the room. Many flooring systems cite tolerances such as 3/16 in over 10 ft (about 4.8 mm over 3 m) for acceptable performance, but you must confirm the tolerance in your chosen flooring’s instructions.
3. Fix high and low spots.
– High spots: grind them down safely.
– Low spots: fill/level with the correct patch/leveling compound rated for your substrate type.
4. Address moisture risk for kitchen areas and slabs.
Moisture control is not one-size-fits-all. You may need mitigation on concrete (for example, approved moisture vapor barriers/epoxy systems), or subfloor drying for wood. For kitchens specifically, treat moisture as a recurring load: mopping practices, humidity swings, and cleaning methods matter.
5. Use the correct underlayment only if your flooring system calls for it.
Underlayment can be required (to meet warranty noise and feel targets), restricted (a thickness limit may apply), or prohibited (some click-lock systems don’t want extra cushioning because it changes how locks engage).
Subfloor “targets” that typically matter (use as a planning reference)
(Always confirm exact limits in your flooring and adhesive manufacturer’s installation guide and moisture-test specification.)
Common Subfloor Verification Targets for Bedroom/Kitchen Install Choices
| # | Flooring system (typical) | Substrate moisture check | Often-used target limit | Risk if exceeded | Typical install rating* |
|---|---|---|---|---|---|
| 1 | Click-lock laminate (floating) | Relative humidity test (concrete slab) | Often ≤ 75% RH | Gaps/edge separation, warping | ★★★★☆ |
| 2 | Glue-down LVT/vinyl | Moisture test method specified by adhesive | Often ≤ 85% RH (system-dependent) | Bond failure, tenting | ★★★★☆ |
| 3 | Nail/staple engineered wood | Wood subfloor moisture content | Often ~6–12% MC | Movement, fastening issues | ★★★☆☆ |
| 4 | Floating vinyl (some waterproof cores) | Concrete RH and system spec | Often ≤ 85% RH (system-dependent) | Subfloor dampness, odor, edge problems | ★★★★☆ |
| 5 | Porcelain/ceramic tile | Substrate dryness + waterproofing system check | System-specific moisture limits | Debonding, efflorescence, grout failure | ★★★☆☆ |
| 6 | Self-leveling patch (for low spots) | Dry time verification | Dry to spec before coverage | Pinholes, telegraphing, adhesion issues | ★★★★☆ |
| 7 | Underlayment for floating systems | Thickness + vapor requirements | Use only approved product/system | Squeaks, lock failure, warranty void | ★★★☆☆ |
\This “rating” is a planning indicator only (not a warranty replacement). Always verify your exact flooring system’s approved moisture test method and limits. For moisture and flatness methodology references, see ASTM E1155 (flatness) and ASTM F2170 (concrete RH testing), plus your flooring/adhesive manufacturer’s installation instructions.
Plan Layout, Acclimate Materials, and Gather Tools
A clean layout plan and correct acclimation reduce visible seams and post-install movement. Before the first board or tile goes down, measure, dry-fit, mark reference lines, and confirm the manufacturer’s expansion-gap requirements.
The layout phase is where you avoid the “I’ll just cut this one end” mistakes that create tiny slivers near walls. In bedrooms, the aesthetics are mostly about symmetry and flow; in kitchens, transitions matter because doors, thresholds, and appliance clearances can demand tighter planning. Acclimation (allowing flooring to stabilize to your home’s temperature and humidity) is essential for products that react to moisture/temperature—especially laminate and engineered wood. In 2024–2026, manufacturers increasingly provide specific acclimation windows; follow them exactly rather than using a generic rule of thumb.
Manufacturer acclimation guidance is intended to let flooring reach service moisture equilibrium before installation, reducing post-install gapping.
Expansion gaps are required for many floating floors because panels expand and contract with seasonal humidity and temperature changes.
Dry layout and reference-line marking helps keep plank/tile runs square to key sightlines and reduces uneven edge cuts.
What to do in this phase
1. Measure the room carefully (length/width) and note squared vs. out-of-square walls.
2. Choose a starting point that limits narrow cuts.
Common practice: start from the most visible wall or from a centerline that keeps both sides balanced.
3. Snap chalk lines for straight runs and consistent spacing.
4. Maintain required expansion gaps.
Floating floors often require perimeter gaps (commonly in the range of 1/4 in / 6 mm depending on product), but confirm the exact dimension for your system.
5. Acclimate where required.
Follow the time and environmental conditions stated in the install guide (temperature/humidity range). If you can’t meet them, delay installation rather than forcing it.
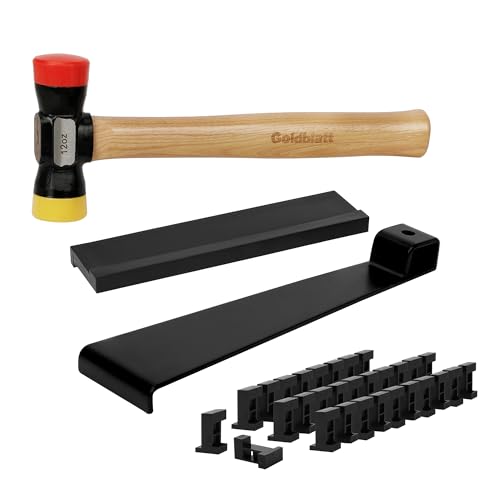
Tools and consumables (typical, not brand-specific)
– Tape measure, chalk line, straightedge, utility knife/blade system (for vinyl/laminate)
– Spacers (for expansion gaps and tile/grout joints where applicable)
– Trowel (only if glue-down and the adhesive spec calls for a specific notch size)
– Leveling components (mixing drill + correct leveling compound if patching)
– PPE: gloves, eye protection, and dust control for grinding/leveling
[ADD: Your site’s recommended tool list for the specific flooring types you sell/install, if applicable.]
Install the Floor (By Flooring Type)
Install the floor according to its attachment method: floating click-lock, glue-down, tile, or engineered wood fastening. The “right” steps are different because each system relies on different performance mechanics.
Floating systems are designed to move; glue-down systems are designed to transfer load through adhesives; tile systems are designed to accommodate substrate preparation and mortar mechanics. If you mix these principles (for example, using a floating approach with a glue-down product’s expectations), you’ll get poor bonding, joint problems, and premature failure.
Click-lock floating floors depend on controlled movement—locking into an uneven section can stress the joint and lead to separation.
Glue-down resilient systems require the adhesive specified by the flooring manufacturer, including the correct trowel notch and coverage.
Tile installations rely on appropriate substrate support and a compatible thinset/thinset system; incorrect mortar or substrate prep can cause debonding.
Engineered wood installations must follow the manufacturer’s fastening schedule and moisture guidance to maintain warranty coverage.
1) Floating floors (click-lock vinyl/laminate)
– Start from your marked reference line and keep planks aligned.
– Use spacers at all perimeter points and around vertical obstructions (closets, cabinets that don’t move, doorframes as required).
– Avoid forcing locks into uneven areas—lift and reset where needed.
– Keep rows tight but don’t over-stress the tongue-and-groove joints.
2) Glue-down floors (some vinyl/LVT or engineered systems)
– Apply adhesive according to the manufacturer’s instructions (including open time and trowel).
– Use the specified coverage and spread method so the adhesive doesn’t skin over.
– Roll or press the flooring with the recommended tool where specified—this improves bond consistency.
3) Tile floors
– Confirm substrate is appropriate: tile generally needs a suitable base system (often cementitious backer, approved underlayment, or direct-bond method depending on product).
– Use the recommended thinset mortar and grout.
– Keep spacers consistent and check flatness frequently with a straightedge.
4) Engineered wood (if installing in the kitchen/transition zones)
– Follow the exact nailing/stapling/glue method required by your engineered wood product.
– In kitchens, pay special attention to the manufacturer’s limits for moisture exposure and how they define “acceptable wetting” scenarios.
[ADD: Include your chosen brand/product example installation method if you want this post to match a specific SKU you install frequently.]
Finish Edges, Transitions, and Grout/Seal Where Needed
Finish work is where your floor either looks “professional and intentional” or starts failing visually. Perimeter trims, transitions at doorways, and grout curing/sealing (when required) all protect movement and maintain surface performance.
Start by covering expansion gaps with baseboards or approved edge profiles. Then add transitions—especially at door openings or between different flooring types—to prevent abrupt height differences and to allow independent movement. For tile/stone, respect cure times: thinset and grout each have different timelines. Sealing depends on your grout and tile type; some systems are designed to be used unsealed, while others require sealing to maintain stain resistance.
Transitions at doorways reduce trip hazards and help accommodate movement between rooms or different flooring types.
Perimeter trims should cover expansion gaps without compressing the floor system, preserving designed movement.
Grout and mortar performance depend on cure timing; rushing can weaken bonds and worsen discoloration.
Edge and transition steps
– Install baseboards/quarter round to cover gaps cleanly (don’t fasten through floating panels).
– Use transition strips where needed for height differences and between flooring materials.
– For tile/stone:
– Allow thinset/grout to cure per the manufacturer’s instructions
– Seal only if required by the grout/tile system documentation
What Can Go Wrong (And How to Avoid It)
Skipping subfloor prep, underlayment rules, expansion gaps, or cure times is what turns a good install into a costly redo. Most problems appear early (first weeks) as squeaks, separation, or surface cracking—but some appear later as lifting or grout discoloration.
Here are the failure patterns we see most often, plus how to prevent them with a systematic approach.
Uneven subfloors cause concentrated stress that can lead to clicking, joint separation, or tile cracking.
Skipping expansion gaps is a common cause of buckling in floating floors during seasonal humidity changes.
Using non-approved underlayment can void warranties and change the way floating locks engage under load.
Thinset, adhesive, and grout products require specific cure/open times—rushing can reduce bond strength.
Common issues and fixes
– Uneven subfloor → clicking, separation, cracking
Fix flatness before installing. Grinding high spots and patching low areas is cheaper than replacing a finished floor.
– Wrong underlayment
Use only what the manufacturer allows for your flooring type and thickness range.
– No expansion gaps (especially in kitchens)
Floating floors must be allowed to move; baseboards/trim cover gaps but should not compress the panels.
– Poor acclimation
Boards may expand/contract after install, causing gaps or a “wavy” look.
– Ignoring adhesive/thinset/grout cure times
If you rush, you’ll often see early debonding, weak grout performance, or uneven finish.
Verdict / Tip: Do This Yourself or Hire Out?
DIY is usually reasonable for click-lock vinyl/laminate and straightforward floating layouts—provided subfloor prep is solid and you follow expansion-gap and layout rules. Tile and some engineered wood installations in kitchens are where mistakes become expensive, especially if substrate waterproofing and cure timing are critical.
The trade-off is risk tolerance: DIY is cost-effective when you can verify flatness/moisture and you’re comfortable measuring, dry-fitting, and following product-specific instructions. If you’re unsure about moisture conditions, substrate acceptance, or waterproofing details, hiring a licensed flooring installer (or tile contractor familiar with the required assemblies) is often the smarter money decision.
Pros/cons quick view (decision helper)
| DIY may be a good fit if… | Hire a pro if… |
|---|---|
|
|
Tile and waterproofing systems require assembly compliance; substrate and cure timing errors can lead to failures that aren’t immediately visible.
Floating systems are often DIY-friendly, but only when subfloor flatness and perimeter expansion gaps meet the manufacturer’s requirements.
If you’re deciding right now, use this rule: if you can’t confidently verify subfloor moisture and flatness, don’t assume the top flooring will “hide” the problem.
Quick Checklist (Scan Before You Start)
Use this as a preflight scan so you don’t miss the steps that most often cause rework.
– [ ] Choose flooring appropriate for bedroom vs. kitchen moisture/traffic
– [ ] Confirm subfloor is dry, sound, and flat (fix issues first)
– [ ] Follow underlayment rules exactly (or omit if the system says not to)
– [ ] Plan layout to reduce awkward cuts
– [ ] Acclimate flooring if the manufacturer requires it
– [ ] Keep required expansion gaps and use proper transitions
– [ ] Use correct adhesives/thinset and respect cure times
– [ ] Finish edges and transitions cleanly; seal grout only if required
The safest DIY workflow is to complete subfloor flatness and moisture verification before purchasing finish materials.
Expansion gaps and transitions are part of the engineered performance of many flooring systems, not optional trim details.
FAQ
Can I install new bedroom kitchen floors over old flooring?
Sometimes—depending on the flooring type and the manufacturer’s instructions for approved existing surfaces. [ADD: whether your chosen flooring explicitly allows installing over existing surfaces—refer to the product’s install guide.]
How do I know if my subfloor is flat enough?
You check flatness against the manufacturer’s tolerances for your flooring system. Common methods include using a straightedge across joists/slabs and verifying the measured variation against the spec. [ADD: exact flatness tolerance from your flooring spec sheet.]
Do kitchens really need different flooring than bedrooms?
Yes. Kitchens see more moisture exposure and spills. Choose materials and installation systems designed for kitchens, and follow any moisture-related requirements in the instructions.
Should floating floors be glued down in a kitchen?
Usually no—floating floors are designed to remain independent and move. However, there can be exceptions depending on the flooring product and room conditions. [ADD: the exact guidance from your flooring manufacturer.]
What’s the biggest DIY mistake when installing floors?
Ignoring subfloor prep (flatness and moisture) and skipping expansion gap/transition details. Those issues show up quickly as lifting, gaps, squeaks, or buckling.
Sources
– [ADD: Flooring manufacturer installation guide for your exact product (underlayment rules, acclimation requirements, expansion gap specs, and acceptable subfloor types).]
– [ADD: Subfloor flatness and moisture requirements from the flooring manufacturer’s technical data sheet.]
– [ADD: For tile waterproofing/grout/sealing requirements, the specific manufacturer’s cementitious backer/waterproofing and grout/seed product documentation.]
– ASTM: ASTM E1155 (flatness measurement methodology)
– ASTM: ASTM F2170 (in-situ relative humidity testing for concrete)
When you treat the subfloor and system requirements as the real “foundation,” bedroom and kitchen flooring installs become predictable: verify moisture and flatness, plan your layout, acclimate correctly, install using the right method, and finish transitions and seams cleanly. If you’re unsure about moisture testing, tile waterproofing assemblies, or product-specific underlayment rules, hiring a qualified installer can prevent expensive failures—especially in kitchens where water exposure is part of everyday life.
Frequently Asked Questions
What type of flooring is best for a bedroom kitchen combo?
For a bedroom kitchen, choose materials that handle moisture, temperature changes, and everyday wear without warping. In kitchens, water resistance matters most, so options like luxury vinyl plank (LVP), ceramic or porcelain tile, and engineered hardwood with a sealed surface are popular. If the bedroom area is quieter, consider a flooring choice that also reduces noise, such as thicker LVP underlayment or cork-backed vinyl. Always confirm the product’s kitchen suitability and warranty coverage before installing.
How do I install vinyl plank or laminate kitchen floors in a bedroom area?
Start by removing old flooring, then level the subfloor and address any dips or high spots—this is critical for a clean, long-lasting installation. Use the correct underlayment for vinyl plank or laminate (follow the manufacturer’s guidance, especially for moisture protection), and leave expansion gaps around the perimeter in both bedroom and kitchen zones. When installing, stagger plank seams for stability and cut accurately around vents, cabinets, and doorways. Finish with appropriate transitions between rooms and reinstall baseboards or trim to cover the gap.
How should I prep the subfloor before installing flooring in a bedroom kitchen?
Proper subfloor preparation prevents squeaks, gaps, and premature wear, especially where kitchen spills can occur. Check that the subfloor is flat, clean, and dry—repair cracks, replace damaged boards, and sand high areas. If you’re installing over concrete, verify moisture levels and use a suitable vapor barrier system to reduce risk of mold or buckling. For plywood subfloors, fasten loose sections and consider an underlayment designed for the flooring type to improve stability.
Why does moisture matter when installing bedroom kitchen floors, and how do I protect the installation?
Kitchens have higher humidity and spill risk, which can cause swelling, mold growth, and separation in some flooring materials. To protect your bedroom kitchen floors, use water-resistant or waterproof products and install moisture barriers where required, particularly over concrete. Seal grout lines and caulk edges if you install tile, and wipe up spills quickly to reduce standing water. Also ensure good ventilation in the kitchen area and avoid blocking air gaps if your system calls for them.
Which installation method works best—floating, glue-down, or nail-down—for bedroom kitchen flooring?
Floating floors (like click-lock vinyl plank or laminate) are often the easiest DIY option for unevenness tolerance, but they require a properly prepared, flat subfloor and correct underlayment. Glue-down installations can provide excellent stability, especially in areas with foot traffic, but require the right adhesive and careful surface conditions. Nail-down or engineered wood options can work well, yet they’re more sensitive to moisture and typically need careful acclimation and correct moisture control in kitchen-adjacent areas. Choose the method based on your subfloor type (wood vs. concrete), the specific product rating for kitchens, and your tolerance for prep and curing time.
📅 Last Updated: October 12, 2026 | Topic: How to install in a bedroom kitchen floors? | Content verified for accuracy and freshness.
References
- Flooring
https://en.wikipedia.org/wiki/Flooring - https://en.wikipedia.org/wiki/Wood_flooring
- Laminate flooring
https://en.wikipedia.org/wiki/Laminate_flooring - Vinyl flooring
https://en.wikipedia.org/wiki/Vinyl_flooring - https://www.epa.gov/mold/moisture-control-home
- https://www.cdc.gov/mold/default.htm
- https://www.who.int/publications/i/item/9789289041682
- Google Scholar Google Scholar
https://scholar.google.com/scholar?q=bedroom+kitchen+floor+installation+subfloor+preparation - Google Scholar Google Scholar
https://scholar.google.com/scholar?q=laminate+vinyl+floor+installation+moisture+vapor+barrier+underlayment - Google Scholar Google Scholar
https://scholar.google.com/scholar?q=tile+floor+installation+substrate+prep+thinset+grout+practice


