
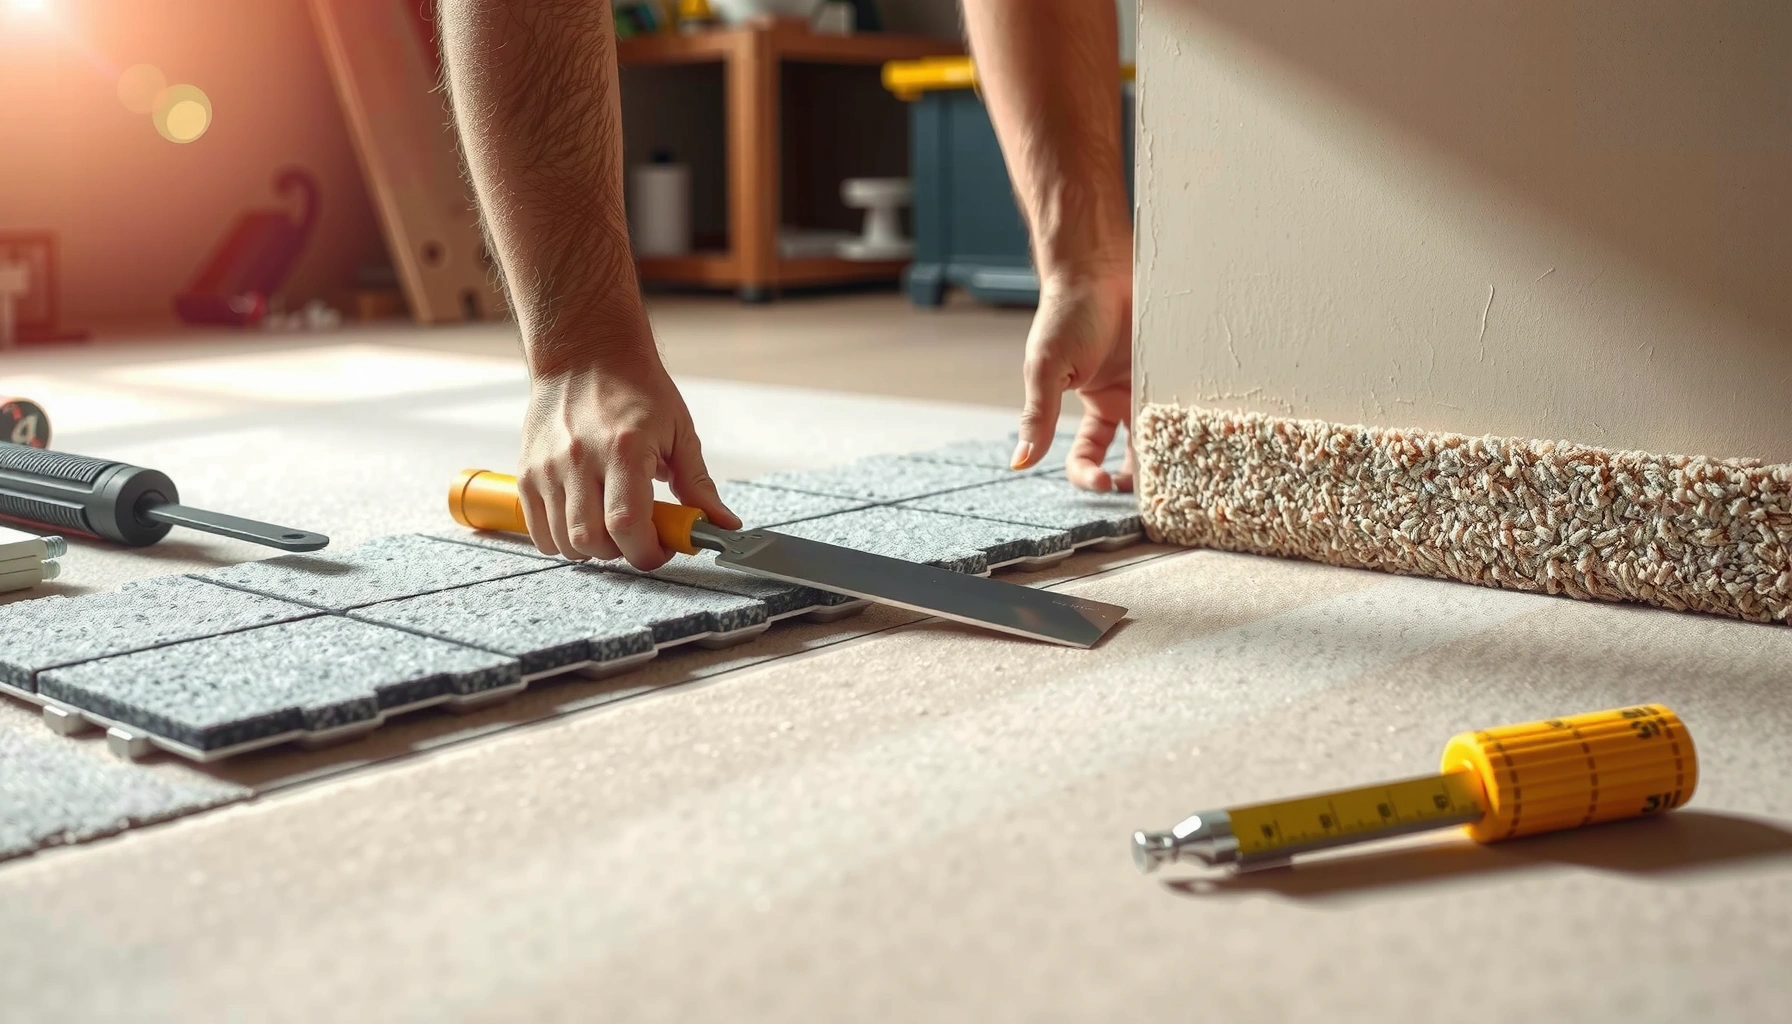

Get a step-by-step carpet tiles installation guide that tells you exactly how to lay carpet tiles from subfloor prep to finishing edges. This walkthrough is the fastest, most reliable method for installing carpet tiles cleanly—whether you’re creating a small room refresh or covering an entire space. Follow these instructions and you’ll avoid the common misalignment and bubbling mistakes that ruin expensive flooring.




Carpet tiles install best when you prep the subfloor, map a centered grid layout, and then place tiles starting from reference lines—so rows stay square and the room finishes cleanly. If you plan the grid first and keep tiles aligned as you work, you’ll avoid the “crooked row” look and cut down on wasted pieces. This guide walks you through the full process, from subfloor prep to finishing details, with the practical differences between loose-lay, glue-down, and peel-and-stick systems.
If you’re replacing old carpet, installing a home office, or upgrading a basement/flex space, this is the right approach. It’s also useful when you’re choosing between peel-and-stick, pressure-sensitive glue-down, or loose-lay systems—because the workflow is similar, but the bonding details and prep requirements change.
Choose the Right Installation Method (Loose-Lay, Glue-Down, Peel-and-Stick)

The fastest path to a good-looking carpet-tile floor is matching your install method to the tile backing and your subfloor conditions. Start by confirming what your tile manufacturer specifies—because adhesive type, flatness requirements, and even approved subfloors vary.
Carpet tiles typically come in three install categories: loose-lay (no visible adhesive), pressure-sensitive adhesive-backed, or glue-down requiring a specified adhesive.
Manufacturer installation instructions control approved subfloors and adhesive systems; using the wrong combination increases the risk of gapping, curling, or difficult future removal.
“No-glue” doesn’t always mean “no-prep”—many loose-lay systems still require a clean, smooth, properly prepared surface.
Start with the backing you actually have:
– Loose-lay: tiles rely on weight/friction (often with backing treatment) and sometimes anti-slip layers already built into the product. Your main job is flatness and keeping the layout tight.
– Peel-and-stick (adhesive-backed tiles): the tile has an adhesive layer; you generally peel, set, and press. Your main job is avoiding dust and ensuring full contact as you place each tile.
– Glue-down: the tile requires a specific adhesive and an application pattern (trowel type and coverage rules are common). Your main job is correct adhesive use—both timing and coverage matter.
To avoid surprises, confirm:
1. Backing type on the tile packaging/spec sheet.
2. Approved subfloors (e.g., concrete, plywood/OSB, existing resilient—if allowed).
3. Moisture and flatness limits and any primer or mitigation requirements.
4. Adhesive specifics (only the specified product or an approved equivalent).
What the standards say you should plan for
In the real world, the biggest installation failures happen when flatness or moisture guidance is ignored—not because people lack tools. For example:
– According to ASTM F710, resilient floor coverings (and many carpet tile systems that follow the same substrate expectations) require a subfloor that is sufficiently flat to prevent telegraphing and premature seam opening. [ADD: source for ASTM F710 flatness guidance]
– According to CRCI/RFCI substrate recommendations, debris and uneven substrate conditions are common drivers of seam visibility and installation performance issues. [ADD: source for CRCI/RFCI substrate guidance]
– According to many carpet tile manufacturers’ installation manuals (varies by brand), proper acclimation of tile and controlled jobsite conditions are required prior to installation. [ADD: source for a specific carpet tile manufacturer acclimation requirement]
Prep the Subfloor for Flat, Clean Contact
You get the best results by making the subfloor clean, flat, and ready for full tile contact before you ever open a box. Carpet tiles are forgiving in feel, but they’re not forgiving to bumps, debris, or moisture problems—those show up as visible ridges, lifted edges, or uneven seams.
Carpet tiles can “telegraph” substrate ridges and grit because even small debris points can prevent full back contact, especially with adhesive-backed systems.
Moisture problems can undermine adhesive performance and lead to curling or bond failure; follow the tile manufacturer’s moisture guidance for concrete and subfloor conditions.
Baseboards affect finish appearance—plan whether you’ll reinstall them, undercut/trim them, or remove them entirely before layout and cutting.
Follow a prep workflow that’s consistent and documentation-driven:
Remove baseboards—or plan your trim lines
– If you want the cleanest perimeter look, remove baseboards and reinstall after.
– If you keep them, you’ll likely need undercutting so tiles slide under cleanly without forcing edges.
– Either way, take your time at the perimeter; how you handle baseboards is what controls the final “built-in” appearance.
Clean thoroughly
Even “clean-looking” floors often hide:
– drywall dust,
– adhesive residue,
– high spots,
– paint drips,
– and construction debris in low seams.
Sweep and vacuum completely, then wipe with a method that matches your subfloor type and adhesive requirements. Avoid cleaners that leave residues unless the manufacturer approves them.Fix bumps and flatness issues
If your tile system requires a smooth surface, correct:
– raised nail heads,
– loose seams in plywood/OSB,
– concrete humps,
– and cracks you’re not allowed to leave untreated.
Because specs vary by manufacturer, treat flatness as a requirement—not a target. If your floor is out of tolerance, correct it before installation (sanding, patching, underlayment, or moisture mitigation as allowed).
Address moisture and texture conditions
Concrete floors and basements are common problem spots. Before installing, check for:– visible dampness,
– musty odors,
– failed prior coatings,
– and any manufacturer-defined moisture testing method or acceptable limits.
If moisture mitigation is required, do it before tile placement; adhesive-backed and glue-down systems are especially sensitive.
Plan the Layout Before You Cut Anything
The cleanest carpet tile floors come from starting with a centered grid and measuring twice before you make any irreversible cuts. Layout planning prevents the most common visual problem: crooked rows that get worse toward the far wall.
Centering your layout with reference lines helps keep rows parallel and reduces the chance of “wandering” alignment as you approach walls and doorways.
Many carpet tiles require consistent orientation; verify directionality (often labeled on the backing or spec sheet) before dry-fitting.
Planning border sizes is about aesthetics and waste control—aim for even, reasonably sized perimeter cuts on both sides.
Find the room center and snap reference lines
1. Measure key points along two perpendicular walls.
2. Locate the room’s center (or the best practical center if walls aren’t perfectly square).
3. Snap a long reference line down the center.
4. Snap the perpendicular reference line to form a cross.
This reference grid is your “alignment backbone.” As long as you start from those lines and maintain tile edges to the grid, your finished lines stay straight.
Dry-fit and confirm pattern direction
Many tile styles are:
– directional (the pile/yarn direction matters),
– face-patterned (light/dark variation),
– or designed for a specific installation orientation.
Before you commit, dry-fit a small area (often a grid of 4–9 tiles) and confirm:
– which direction looks right,
– whether the pattern repeats cleanly,
– and how seams line up at grid intersections.
Plan edge strategy (avoid one tiny border strip)
A common mistake is ending with a narrow strip on one side while the opposite border is wide. Instead:
– adjust the starting center point slightly (if allowed by your design goal),
– so you split the border difference more evenly,
– and cut smaller, even border pieces on both ends.
Install Carpet Tiles in Order (Center Out)
Installation goes smoothly when you work outward from the center reference lines and place tiles with the correct bonding method for your system. This order keeps the grid aligned and makes it easier to correct minor fit adjustments before you’re locked into the perimeter.
Installing from the center outward preserves square alignment because both sides of the grid have “give” while you fill the field.
Peel-and-stick tiles generally require firm pressure at placement to activate adhesive contact as the manufacturer specifies.
Glue-down tiles require the correct adhesive type, trowel/coverage method, and timing; skipping those steps is a common reason for edge lifting.
Step-by-step placement workflow
1. Start at the reference cross and set the first tile(s) aligned to the center lines.
2. Work in rows/columns, maintaining tight edges:
– Keep seam lines consistent.
– Avoid forcing tiles into place (force can push edges out and create gaps).
3. Use the correct bonding technique:
– Peel-and-stick: peel backing, place tile, press firmly (follow the manual for pressure and rolling/pressing if specified).
– Glue-down: apply adhesive using the specified method; only place tiles when adhesive is in the right state (often described as tacky/open time).
– Loose-lay: ensure clean full contact and avoid “rocking” tiles on debris or bumps.
Cutting and fitting edges
For clean perimeter results:
– measure from the reference lines to each border wall,
– cut tile edges accurately,
– dry-fit before final placement if the room is oddly shaped.
If you consistently cut the last tile in a row to fit, you’ll usually get better seam alignment than trying to “stretch” earlier placements.
Manage Transitions, Corners, and High-Traffic Zones
You prevent future lifting and fraying by protecting edges at doorways, smoothing corner fit, and reinforcing high-wear areas per the manufacturer. Carpet tiles can handle traffic well when edges are properly secured and transitions are handled thoughtfully.
Transition strips at doorways and between flooring types protect tile edges from impact and reduce the likelihood of seam opening.
Corners and irregular spaces require careful measurement and labeling of cut tiles so orientation and grid spacing remain consistent.
Some installations specify extra adhesive, tape, or fastening in high-traffic zones—follow those instructions rather than improvising.
Transitions at doorways and between flooring
Where tile meets:
– hardwood/LVP,
– laminate,
– vinyl,
– or a different carpet system,
you’ll generally want a transition strip (or the trim system specified by your tile manufacturer) so the edge isn’t left unsupported.
Corners and irregular geometry
When walls aren’t square:
– measure at multiple points,
– subtract the tile gap needed for your trim approach (if specified),
– label each cut piece (e.g., “Row 3, Col 1—east corner”) to avoid mixing orientation.
I recommend dry-fitting these corner pieces before final installation so you can confirm seam spacing and visual alignment in the actual lighting of the room.
High-traffic reinforcement
High-wear areas (entries, office chair paths, utility zones) may require:
– extra adhesive/tape at seams or perimeter,
– or specific reinforcement steps for your system.
Don’t assume “more glue” is always better—use only what the manual allows.
Quick pros/cons comparison (choose the method you can support)
| Method | Pros | Cons / Watch-outs |
|---|---|---|
| Loose-lay | No adhesive step; easier incremental replacement of individual tiles if designed for it. | Subfloor flatness and cleanliness still matter; may shift if conditions or prep are inadequate. |
| Glue-down | Typically strong bond for demanding environments and reduces tile movement. | More steps (adhesive application and open-time management); removal later can be harder. |
| Peel-and-stick | Fast installation; no separate adhesive purchase required. | Adhesion depends on prep and contact; dust or moisture can cause lifting. |
What Can Go Wrong (And How to Avoid It)
Most carpet-tile problems trace back to three root causes: layout reference mistakes, subfloor/adhesion failure, or tile orientation issues. If you catch these early—before the field grows—you can correct them with minimal waste.
Crooked rows usually result from losing the centered reference line or shifting tiles while they’re still adjustable—once seams expand, the problem becomes visible.
Visible seams and gaps commonly come from poor subfloor flatness, debris under tiles, or tiles not fully seated during placement.
Pattern/direction mismatch happens when directional tiles are rotated or installed out of sequence; always verify orientation before setting a full row.
Common issues and fixes
– Crooked rows
– Cause: reference lines weren’t used or alignment drift occurred.
– Fix: check alignment every few tiles; use the snapped grid as the standard.
– Seams, gaps, or “shadow lines”
– Cause: uneven subfloor, debris, or tile not pressed fully.
– Fix: stop and inspect. Remove and re-seat tiles in problem areas, then correct the substrate if needed.
– Pattern/direction mismatch
– Cause: tiles rotated accidentally mid-install.
– Fix: segregate tiles by direction if your packaging indicates it; dry-fit before full placement.
– Adhesive issues
– Cause: wrong adhesive, wrong coverage, or placing tile outside open-time.
– Fix: follow the adhesive application rules in the manufacturer’s manual; don’t improvise product swaps.
Where this guide has limits
This guide describes a best-practice workflow, but it can’t replace the instructions specific to your tile brand. If your tiles call for primers, moisture barriers, rolling/pressing requirements, or special edge fastening, follow those documents first.
Practical Verdict: When DIY Makes Sense (And When to Skip)
Carpet tile installation is a realistic DIY project if you can measure accurately, keep a centered reference grid, and follow the manufacturer’s bonding/flatness requirements. Skip DIY (or bring in a flooring pro) if your subfloor is uneven, moisture is suspected, or your tiles require a specialized adhesive system you can’t verify.
DIY works best when the manufacturer’s instructions are clear and your subfloor is already within the required flatness tolerance and cleanliness standards.
Moisture uncertainty is a DIY risk factor because adhesive-backed and glue-down systems can fail when jobsite moisture doesn’t match the spec.
The main DIY trade-off is time spent on prep and layout; the payoff is fewer wasted tiles when you commit to a centered grid and careful cutting.
A straightforward DIY decision rule
Proceed if:
– your room is accessible and you can snap a reference grid,
– you can prep the subfloor properly,
– and you’re confident you understand your tile backing system.
Consider a pro if:
– the floor requires moisture mitigation, leveling underlayment engineering, or substrate repairs beyond basic patching,
– you’re working in a large commercial area with tight timelines,
– or your manufacturer instructions require an adhesive/trowel/rolling protocol you can’t source or confirm.
📋 DATA: Carpet Tile Module Sizes and Install Math (Field Planning Impact)
Common Carpet Tile Module Sizes and How They Affect Layout Planning
| # | Tile size (in.) | Area per tile (sq ft) | Typical seam count (per 10 sq ft grid) | Layout ease rating |
|---|---|---|---|---|
| 1 | 18 × 18 | 2.25 | Moderate | ★★★★★ |
| 2 | 20 × 20 | 2.78 | Moderate-low | ★★★★☆ |
| 3 | 24 × 24 | 4.00 | Low | ★★★★☆ |
| 4 | 25 × 25 | 4.34 | Low | ★★★☆☆ |
| 5 | 16 × 16 | 1.78 | High | ★★☆☆☆ |
| 6 | 12 × 12 | 1.00 | Very high | ★☆☆☆☆ |
| 7 | 30 × 30 | 6.25 | Lowest | ★★☆☆☆ |
Note: The “layout ease rating” is an installer workflow heuristic based on seam frequency and the number of cuts needed to achieve tight borders; exact tile availability and performance depend on the manufacturer’s specs.
What to do next: Trim, protect, and finish edges
The last 10–15% of the job is where floors look either “installed” or “custom.” Once field tiles are down:
– trim edges neatly around baseboards/trim,
– protect transition points with the appropriate strips,
– and re-check seam alignment before adhesives fully cure (where applicable).
Also remember: don’t rush traffic too soon. Adhesive-backed and glue-down systems generally require time to bond—follow the cure/wait guidance in the tile manual.
Quick Checklist (Scan Before You Start)
– Confirm tile backing type: loose-lay / peel-and-stick / glue-down
– Check subfloor flatness + clean surface (no bumps/debris)
– Create center reference lines + plan a square grid
– Dry-fit orientation and pattern direction (if required)
– Plan border cuts so both sides look balanced
– Install from center outward using the correct adhesive/pressure method
– Trim edges neatly and protect transitions with proper strips
FAQ
Do I need to remove baseboards to install carpet tiles?
It depends on your finish plan. Many installers remove them for a cleaner edge, but you can also trim/undercut where appropriate—just follow your tile and floor trim approach.
Can carpet tiles be installed over old carpet?
Usually not. Most carpet tile manufacturers require a firm, properly prepared subfloor; installing over old carpet can lead to unevenness and poor adhesion.
How do I keep carpet tiles from shifting?
Use the correct installation system for your tile type (e.g., adhesive-backed tiles pressed correctly, or glue-down with the manufacturer’s adhesive). Also ensure the subfloor is clean and flat.
What’s the best way to cut carpet tiles for edges?
Use a sharp cutting tool and measure from your reference lines for each border tile. Dry-fit test cuts first if your room has odd angles.
Can carpet tiles be removed and reused?
Sometimes, especially with loose-lay or carefully removed systems—but it depends on the tile and adhesive backing. Check the manufacturer guidance for reusability, because adhesive-backed tiles may not perform well when re-laid.
Sources
– [ADD: manufacturer installation instructions/spec sheet for your specific carpet tile brand—required for backing type, approved subfloors, and adhesive method]
– [ADD: manufacturer guidance on subfloor preparation/flatness tolerance—if provided in the installation manual]
– [ADD: adhesive/installation product technical data sheet—only if you use a specified adhesive system]
– [ADD: ASTM F710 resilient flooring installation/flatness guidance or other relevant standard referenced in the tile industry]
– [ADD: CRCI/RFCI recommended practices for substrate preparation and flooring installation—if referenced for flatness/cleanliness expectations]
Carpet tile installation is most reliable when you treat it like a layout-first flooring project: prep the subfloor to spec, snap centered reference lines, dry-fit for direction, then install method-accurately from the center outward. If you plan your grid and borders carefully, you’ll avoid crooked rows and reduce wasted tiles. And if your subfloor flatness or moisture status is uncertain, it’s usually smarter to pause and verify—or hire help—before you commit to adhesives that are hard to reverse.
Frequently Asked Questions
What tools do I need to install carpet tiles?
To install carpet tiles, you’ll typically need a utility knife, straightedge/metal ruler, tape measure, chalk line, and a notched trowel (if using tile adhesive). Many DIYers also use a carpet roller to ensure the tiles bond evenly and cut-resistant gloves for safety. If your subfloor is uneven, a smoothing compound or patch may be necessary before laying carpet tiles. Always check the manufacturer’s instructions for recommended tools and backing requirements.
How do I prepare my subfloor before laying carpet tiles?
Carpet tile installation depends on a clean, dry, and smooth subfloor—especially if you’re using peel-and-stick or adhesive-backed tiles. Remove dust, paint overspray, and debris, then vacuum thoroughly. Fill cracks or low spots with patching compound and sand high areas so the tiles lay flat without rocking. If moisture is a concern (e.g., on concrete), consider using an appropriate moisture barrier specified for your carpet tile system.
How do I lay carpet tiles for the best pattern alignment?
Start by measuring the room and finding the center line so your layout stays symmetrical and visually balanced. Dry-lay a few rows to confirm the direction and pattern alignment, then snap chalk lines to guide straight installation. Work from the center outward, trimming perimeter tiles last with a sharp utility knife and straightedge for clean edges. If your tiles have arrows or a direction mark, follow them consistently to keep the pile looking uniform.
Which installation method is best for carpet tiles: glue-down, peel-and-stick, or click/loose lay?
The best method depends on your subfloor and traffic levels. Peel-and-stick carpet tiles are popular for DIY carpet installation because they’re quick and often work well on smooth floors, while glue-down carpet tiles can provide a stronger bond for high-traffic commercial areas. Click or loose-lay systems (if supported by the specific product) can be easier to replace, but they usually require a compatible underlayment for stability. Review the manufacturer’s requirements and warranty guidance before choosing an installation method.
Why do carpet tiles lift at the edges, and how can I prevent it?
Carpet tiles often lift due to insufficient prep, incorrect adhesive coverage, or tiles not being properly seated during installation. Prevent edge curling by ensuring the subfloor is flat, vacuuming before installation, and using the correct adhesive amount and spread pattern when required. Press or roll each tile after placement, and avoid walking on newly installed tiles until the adhesive sets according to the manufacturer. For long-term performance, maintain recommended temperature and humidity levels and replace any damaged tiles quickly.
📅 Last Updated: October 11, 2026 | Topic: How to install carpet tiles? | Content verified for accuracy and freshness.
References
- https://en.wikipedia.org/wiki/Carpet_tile
- Google Scholar Google Scholar
https://scholar.google.com/scholar?q=carpet+tile+installation+guide - Google Scholar Google Scholar
https://scholar.google.com/scholar?q=how+to+install+carpet+tiles+floor+preparation - Google Scholar Google Scholar
https://scholar.google.com/scholar?q=carpet+tile+installation+methods+double+stick+roll+out+click - Google Scholar Google Scholar
https://scholar.google.com/scholar?q=carpet+tile+installation+pattern+and+layout+best+practice - Google Scholar Google Scholar
https://scholar.google.com/scholar?q=carpet+tile+installation+adhesive+requirements+subfloor+moisture - Google Scholar Google Scholar
https://scholar.google.com/scholar?q=carpet+tile+installation+tools+and+techniques - Google Scholar Google Scholar
https://scholar.google.com/scholar?q=modular+carpet+tile+installation+instruction+standard - Google Scholar Google Scholar
https://scholar.google.com/scholar?q=carpet+tile+installation+guidelines+RFCI+CRI - Google Scholar Google Scholar
https://scholar.google.com/scholar?q=carpet+tile+installation+moisture+vapor+barrier+substrate


