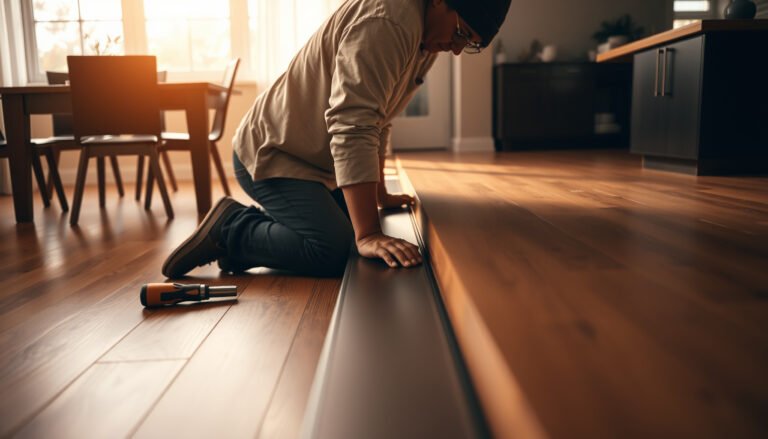

Estimating the cost of engineered wood floors in a kitchen is easiest when you budget per square foot and then add the real drivers: subfloor prep, underlayment, installation, and any stair or trim work. This guide answers your bottom-line question—what you’ll pay for the finished floor—using the typical ranges homeowners and contractors rely on. You’ll leave with a quick cost model you can plug your kitchen measurements into, so surprises don’t eat your budget.


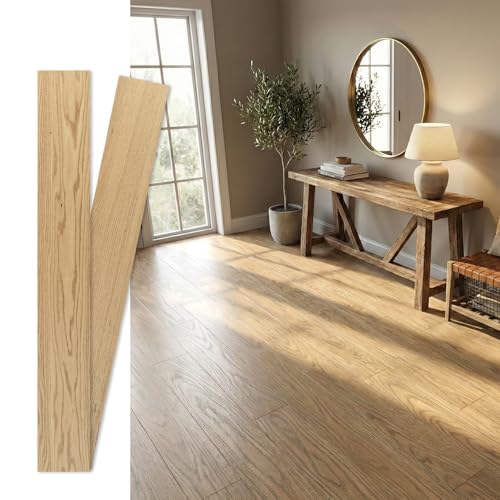
To estimate the cost of engineered wood floors in a kitchen, start by calculating the square footage and then add material, prep, underlayment/moisture control, and installation labor. The fastest way to budget is: (planned coverage area × total material cost per sq. ft.) + (labor per sq. ft. or hourly) + (site-prep/demolition extras). You’ll learn how to break the estimate into line items so you can compare quotes without missing hidden costs.
This applies if you’re replacing existing kitchen flooring or laying engineered wood over a subfloor where moisture and flatness matter (most kitchens do). It’s also a good fit when you need a realistic budget before calling installers or checking retailer pricing.
Who this is for / when it applies: If you’re budgeting as a homeowner (or property manager) in 2026 and you want apples-to-apples pricing, this approach works best when you expect some mix of: tile/vinyl removal, transition/threshold work, and subfloor moisture testing. It’s also ideal when you’re trying to understand why “per square foot” quotes vary so widely in kitchens.
Break down engineered wood floor costs into line items
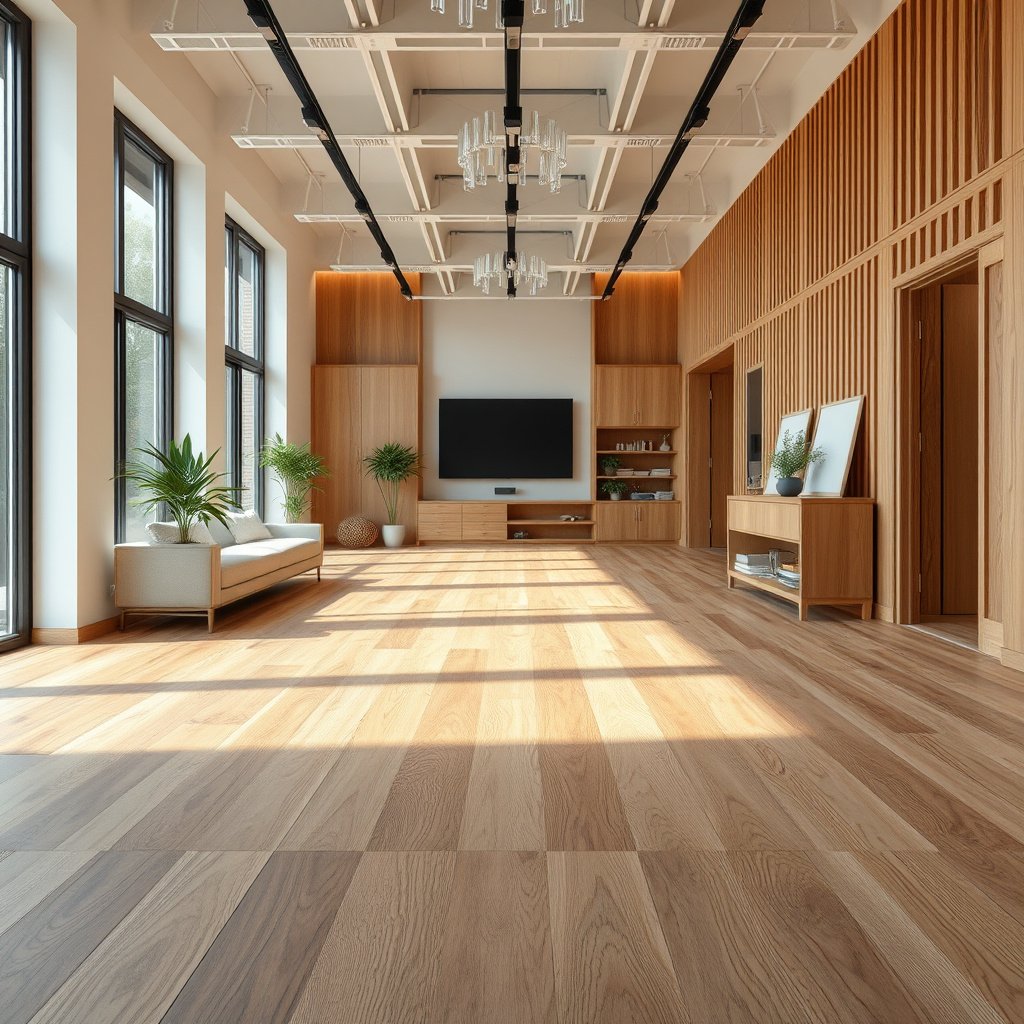
The best way to estimate engineered wood floor costs in a kitchen is to separate “what you buy” from “what the installer must do to make it work.” Kitchens tend to magnify differences between quotes because moisture mitigation, subfloor prep, and precise layout around cabinets are often where line items hide.
Engineered wood flooring budgeting becomes much clearer when you track three buckets: Materials, Prep/Extras, and Labor. In my experience with flooring estimates, the biggest quote surprises usually come from subfloor flatness correction and moisture documentation requirements—often after you’ve already assumed the “basic install” price would cover everything.
“Per square foot” pricing is only meaningful after you confirm whether underlayment/vapor control and transitions are included in the materials or carved out as separate line items.”
“Kitchens commonly require moisture-related scope items (testing and mitigation) because engineered wood flooring performance depends on jobsite moisture and subfloor conditions.” NWFA (National Wood Flooring Association), Wood Flooring Installation Guidelines
“Subfloor prep scope (patching, leveling, flattening) directly affects the labor hours required to install engineered wood flooring.” NWFA, Wood Flooring Installation Guidelines
What to include (and what not to bundle blindly)
– Materials
– Engineered planks (including the correct installation system for your product: click-lock/floating vs glue-down)
– Underlayment if the manufacturer requires it (not all engineered systems use the same layers)
– Vapor/moisture components if required by the manufacturer/system
– Transitions/trim (T-moldings, reducer strips, stair nosing, baseboard adapters, etc.)
– Installation & site costs
– Labor for layout, installation, and finishing/cleanup
– Demo (remove old flooring) and haul-away
– Subfloor prep (sanding, grinding, patching, leveling compounds)
– Misc. shop supplies and consumables (fasteners, spacers, blades, leveling aids—scope varies)
Kitchen-specific add-ons that change the total fast
Engineered wood floors in kitchens often involve:
– Moisture mitigation and testing documentation (especially over concrete)
– Threshold/transition work at doorways and where rooms change flooring types/heights
– Layout “fit” around cabinets/appliances—engineered wood may require a more complex cut plan than you’d expect from a simple rectangle
Use a simple budgeting formula: Total = Materials + Prep/Extras + Labor (then apply your waste factor to the material portion).
Measure the kitchen floor area (and plan for waste)
The most accurate cost estimate starts with the correct square footage—and then adjusting for waste caused by kitchen layout. For engineered wood flooring, waste is driven by plank width, room geometry, and how many openings/doorways you must match cleanly.
Step 1: Measure usable area correctly
Measure the usable length × width of the area to be floored, then subtract permanent obstructions you truly won’t cover (if any); when unsure, treat it as covered and clarify with your installer. When cabinets are full-height and you’re not installing under them, you may subtract that footprint—but many kitchens have toe-kicks, appliance recesses, or partial-height cabinetry that still complicate the “subtract vs include” decision.
Step 2: Add waste/overage for cuts and layout
Add waste/overage for cuts and layout—use if they specify one (common layouts vary). If you don’t have an installer yet, use the product’s installation guide and your layout complexity to inform the waste assumption—then confirm during inspection so the estimate stays realistic.
Step 3: Don’t forget transitions
Don’t forget transitions: estimate extra flooring/trim for doorways, openings, and adjoining rooms if the wood run will continue.
“For engineered wood flooring, the number of door openings and irregular edges is a direct driver of cut waste and labor time.”
“In kitchen installs, transitions at doorways and height changes frequently require additional materials beyond the core plank square footage.”
“If you treat ambiguous areas as ‘included,’ you avoid underbuying engineered wood flooring and delaying installation.”
Estimate material costs without guessing the wrong version
The easiest way to keep material pricing accurate is to price the exact engineered wood system you plan to install, including underlayment, vapor layers, and transitions. Most quote discrepancies happen because “engineered wood” can mean several construction/installation variants with different accessory requirements.
Start with the correct engineered wood price per sq. ft.
Price engineered wood per sq. ft. based on what you’ll actually install (click-lock vs glue-down, plank thickness, wear layer, and finish). Even when two products look similar in photos, their installation method and compatible systems can change:
– whether you need a specific underlayment
– how much moisture control is required
– how much labor effort the installer must spend preparing the surface
Include all system accessories (not just planks)
Include required accessories: underlayment (if the product/system calls for it), vapor/moisture components, and matching transition pieces where heights change.
If you’re removing old flooring, plan for disposal and patching materials (even when labor covers part of it, you may still be billed for certain materials).
“Engineered wood flooring warranties often hinge on using the manufacturer-specified underlayment and meeting moisture/flatness requirements at installation.” Manufacturer installation instructions & warranty terms
“A click-lock (floating) engineered floor generally relies on an appropriate underlayment/underpad system for performance, but the exact requirements are product-specific.”
“Transitions and trim are frequently priced as materials even when the labor is quoted per square foot—confirm both.”
A quick reality check on “optional” add-ons
Underlayment and moisture barriers can feel like upgrades until a contractor (correctly) points out they’re part of a system. As of 2026, more engineered wood brands emphasize documented moisture conditions over “best effort” estimates—especially in kitchens where spills and humidity swings are common.
Price labor and kitchen-specific extras that change the total
The labor budget should reflect not only installation hours but also the prep and fit work kitchens demand. In most cases, labor varies more than homeowners expect because prep complexity can turn a straightforward install into multiple trips for leveling, testing, and rework.
Choose the installation type (it drives labor scope)
Decide which installation type you’re budgeting for:
– Floating/click-lock often costs differently than glue-down (more prep steps).
Add kitchen prep items that affect labor time
Add likely kitchen prep items:
– Subfloor flatness corrections (self-leveler/patching)
– Moisture testing
– Acclimation for the engineered wood product (often required by the manufacturer’s instructions)
Scope “gotchas” that are often separated in quotes
Include scope “gotchas” installers quote differently:
– Moving appliances/cabinets (often limited), removing baseboards, and reinstalling/finishing transitions
– Stairs/closets/adjacent rooms if the flooring ties in—some quotes price “kitchen only,” others bundle the run
“If the installer must correct subfloor flatness beyond the ‘typical’ scope, labor hours and materials (patch/leveler) can increase substantially.” NWFA, Wood Flooring Installation Guidelines
“Moisture testing is commonly treated as a separate scope item from plank installation, even though it directly supports the engineered wood flooring system.”
“Transitions at doorways and height changes often require extra cutting, finishing, and alignment time compared with open-field flooring.”
Floating (click-lock) vs glue-down: what typically differs
| Factor (engineered wood flooring) | Floating / click-lock (typical) | Glue-down (typical) |
|---|---|---|
| Subfloor prep intensity | Often moderate, still requires flatness | Often higher; surface condition and adhesive compatibility matter |
| Underlayment/vapor control | Frequently required by system | May be different or more limited depending on product system |
| Install speed | Usually faster per square foot once prepped | Often slower due to adhesive/rolling/working time |
| Quote risk to watch | Flatness claims vs actual prep | Moisture/adhesive readiness requirements |
What can go wrong with your kitchen floor estimate
The biggest estimate failures usually come from missing prep/mortgage-control requirements and comparing quotes that don’t include the same line items. In kitchens—especially those with concrete slabs—moisture and flatness are not “nice-to-have” details; they can directly change both cost and warranty eligibility.
“ASTM F1869 measures moisture vapor emission rate, reported in pounds per 1,000 square feet per 24 hours (lb/1,000 sq. ft./24 h).” ASTM F1869
“NWFA installation guidance emphasizes subfloor flatness as a critical requirement to support stable engineered wood flooring performance.” NWFA, Wood Flooring Installation Guidelines
“If one quote includes transitions and underlayment while another does not, the per-square-foot comparison will be misleading.”
Common problems that inflate costs after you sign
– Underestimating prep: a rough or uneven subfloor can turn a “per sq. ft.” labor quote into extra patching/leveling charges.
– Missing moisture requirements: kitchens are prone to spills and humidity changes—if moisture testing and mitigation aren’t addressed in the scope, the installed floor warranty may be at risk.
– Comparing quotes incorrectly: one installer may include underlayment and transitions while another treats them as separate line items.
– Ignoring layout complexity: irregular rooms, many door openings, or flooring that must snake around cabinets can increase cut waste and labor.
Moisture testing methods (why documentation can affect your budget)
Moisture testing isn’t just a checkbox—different test methods produce different documentation that manufacturers may accept. Below is a practical snapshot of common testing approaches used before engineered wood flooring installs over concrete or other moisture-sensitive substrates.
Common Moisture-Assessment Standards Used for Slabs Under Wood Flooring
| # | Test standard / method | What it measures | Typical output | Documentation usefulness |
|---|---|---|---|---|
| 1 | ASTM F2170 | In-situ relative humidity | % RH at depth | ★★★★★ |
| 2 | ASTM F1869 | Moisture vapor emission rate | lb/1,000 sq. ft./24 h | ★★★★☆ |
| 3 | ASTM C566 | Total moisture content (drying method) | % moisture by weight | ★★★☆☆ |
| 4 | ASTM E96/E96M | Water vapor transmission through materials | Perms (or metric equivalent) | ★★★☆☆ |
| 5 | ASTM C1152/C1152M | Water vapor transmission of materials | MVT rate (method-defined units) | ★★★☆☆ |
| 6 | ASTM D4263 | Plastic sheet moisture test | Qualitative pass/fail | ★☆☆☆☆ |
| 7 | NWFA moisture guidance (spec selection) | Manufacturer-acceptable documentation | Accepted RH/MVER approach varies | ★★☆☆☆ |
Three concrete data points to anchor your estimate
– According to ASTM F1869, moisture vapor emission rate is commonly reported in lb/1,000 sq. ft./24 h (standard method definition).
– According to ASTM F2170, in-situ measurements produce relative humidity (% RH) values at specific depths for slab/subfloor evaluation (standard method definition).
– According to NWFA (National Wood Flooring Association), subfloor flatness is a key installation requirement (exact tolerance varies by product and installation method; confirm the tolerance cited in your NWFA edition and your installer’s checklist).
If you’re pricing in 2026 and want to avoid quote churn, ask installers to name the specific moisture test type (e.g., ASTM F2170 vs ASTM F1869) they plan to use and whether they will provide documentation you can keep for warranty support.
Verdict and tip: a realistic way to budget (and who should skip DIY-style estimates)
For most homeowners, the best approach is a line-item estimate rather than a single lump-sum guess—because engineered wood costs swing most due to prep scope, moisture/underlayment requirements, and installation method. If you don’t have a way to measure subfloor condition (flatness) and humidity, keep your early budget conservative by using and verify assumptions when you request quotes.
Downsides to watch: this process can feel slower than asking for a “ballpark,” and it may still change after installers inspect the subfloor. You should skip trying to self-estimate in detail (and schedule a walkthrough instead) if you suspect significant subfloor issues (soft spots, chronic moisture, major unevenness) or if you’re considering glue-down installation over a slab without documented moisture testing.
“A line-item estimate is the most reliable way to compare engineered wood flooring quotes because it forces underlayment, transitions, demo, and moisture scope into the open.”
“If the subfloor flatness or moisture conditions are unknown, engineering the budget around ‘per square foot’ only is likely to understate total cost.” NWFA, Wood Flooring Installation Guidelines
Quick cost-estimate checklist (scan/save) + Sources to confirm details
Use this table to build your budget quickly:
| Cost item | What to collect | How to calculate | Notes |
|---|---|---|---|
| Kitchen floor area | Length × width | Area (sq. ft.) | Clarify what’s included (baseboards? thresholds?) |
| Waste/overage | Installer or product guidance | Area × (1 + waste %) | Use **** if provided |
| Engineered wood | $/sq. ft. + finish/type | Coverage sq. ft. × price | Match to installation method (click vs glue) |
| Underlayment/vapor control | Product requirements | Included in system or add-ons | Confirm with manufacturer/install guide |
| Transitions/trim | Linear feet or count | Materials qty × price | Doorways + height changes |
| Subfloor prep | Inspection notes | Patch/leveling scope | Often billed separately |
| Installation labor | $/sq. ft. or hourly | Labor rate × area/hours | Confirm what’s included (demo/removal) |
| Demo & disposal | Scope details | Lump sum or by haul | Ask what’s included in quote |
| Contingency | Your risk buffer | Add % to subtotal | Use **** you trust |
Sources (primary) to verify installation requirements and moisture/flatness expectations:
– NWFA (National Wood Flooring Association): *Wood Flooring Installation Guidelines* (installation methods, subfloor prep, acclimation, and moisture considerations).
– ASTM standards for moisture testing (to confirm what testing method is required/accepted for your slab/subfloor situation):
– ASTM F2170 (in-situ relative humidity testing)
– ASTM F1869 (calcium chloride / anhydrous moisture vapor emissions)
– Your engineered wood manufacturer’s installation instructions and warranty terms: confirm whether underlayment/vapor barriers and subfloor moisture/flatness thresholds are mandatory.
Final takeaway: If you want engineered wood floors in your kitchen to land near budget, build the estimate from square footage outward—starting with the right plank system, then adding moisture/underlayment, then pricing prep and transitions as real line items. That approach gives you cleaner comparisons between installers and fewer “surprise add-ons” once they inspect your subfloor in 2026.
Frequently Asked Questions
What factors affect the total cost of engineered wood floors in a kitchen?
The biggest cost drivers are the square footage of your kitchen, the quality and thickness of the engineered wood (including wear layer), and the finish type. Installation method and subfloor condition also matter—uneven concrete or damaged subflooring may require leveling, underlayment, or repairs that add to the budget. Finally, consider finishing upgrades, trim/baseboards, and whether you need moisture barriers or special underlayment due to kitchen humidity and spills.
How can I estimate engineered wood flooring cost per square foot for my kitchen?
Start by measuring the kitchen’s usable floor area and adding 5–10% for waste from cuts around cabinets, islands, and doorways. Then estimate flooring material by multiplying your total square footage by the engineered wood price per square foot, which varies by brand and wear layer thickness. Add installation and supplies (underlayment/moisture barrier, leveling compound, transitions, and fasteners) as a separate line item so you can see the full engineered wood floor cost more accurately.
How do I calculate labor costs for engineered wood floor installation in a kitchen?
Labor pricing often depends on the flooring layout complexity, access to the area, and whether the installer uses nail-down, glue-down, or click-lock floating methods. To estimate, get quotes that break out labor, subfloor prep, and any demo and haul-away charges, then compare them per square foot. Kitchens can increase labor due to obstacles like toe-kicks, cabinet base trim, and transitions to tile or adjacent rooms, so confirm what the quote includes before budgeting.
Why should I budget extra for subfloor prep and moisture protection in a kitchen?
Kitchens are prone to moisture from sinks, dishwashers, and occasional spills, and that can impact engineered wood floor performance if the base isn’t properly prepared. If your subfloor is uneven or has imperfections, leveling or patching may be required, which raises the overall cost of engineered wood floors. Many homeowners also need an appropriate underlayment or moisture barrier, and adding these can prevent future issues like gaps, squeaking, or cupping.
Which approach—DIY vs professional—best fits my budget for engineered wood kitchen floors?
DIY can reduce labor costs, but it usually increases risk if you don’t have experience with layout planning, expansion gaps, and cutting around cabinets and vents. Professional installation may cost more upfront, yet it often includes proper subfloor evaluation, correct underlayment selection, and tighter workmanship for engineered wood flooring installation. To choose, compare total DIY material plus tool/rental and underlayment costs versus a full-service quote that includes prep, transitions, and warranty coverage.
📅 Last Updated: October 19, 2026 | Topic: How to estimate the cost of engineered wood floors in a kitchen? | Content verified for accuracy and freshness.
References
- Engineered wood
- Wood flooring
- https://en.wikipedia.org/wiki/Flooring_underlayment
- Floor
- Vapor barrier
- Laminate flooring
- Installation
- https://scholar.google.com/scholar?q=engineered+wood+flooring+cost+estimate+kitchen+per+square+foot Google Scholar
- https://scholar.google.com/scholar?q=engineered+wood+floor+installation+labor+cost+underlayment+vapor+barrier Google Scholar
- https://scholar.google.com/scholar?q=wood+flooring+cost+estimation+materials+quantity+takeoff Google Scholar