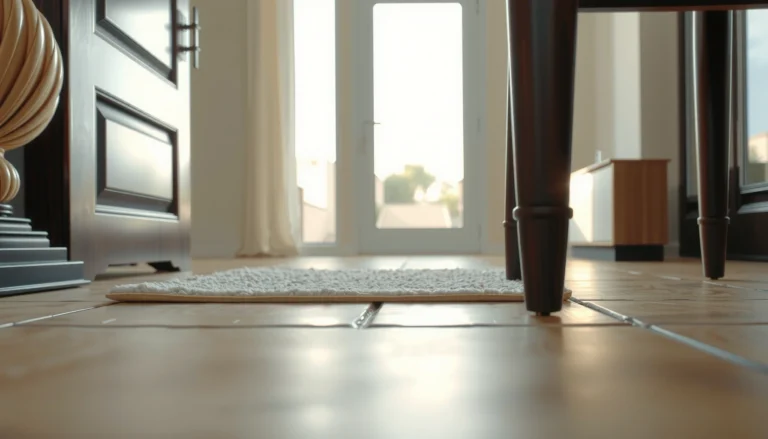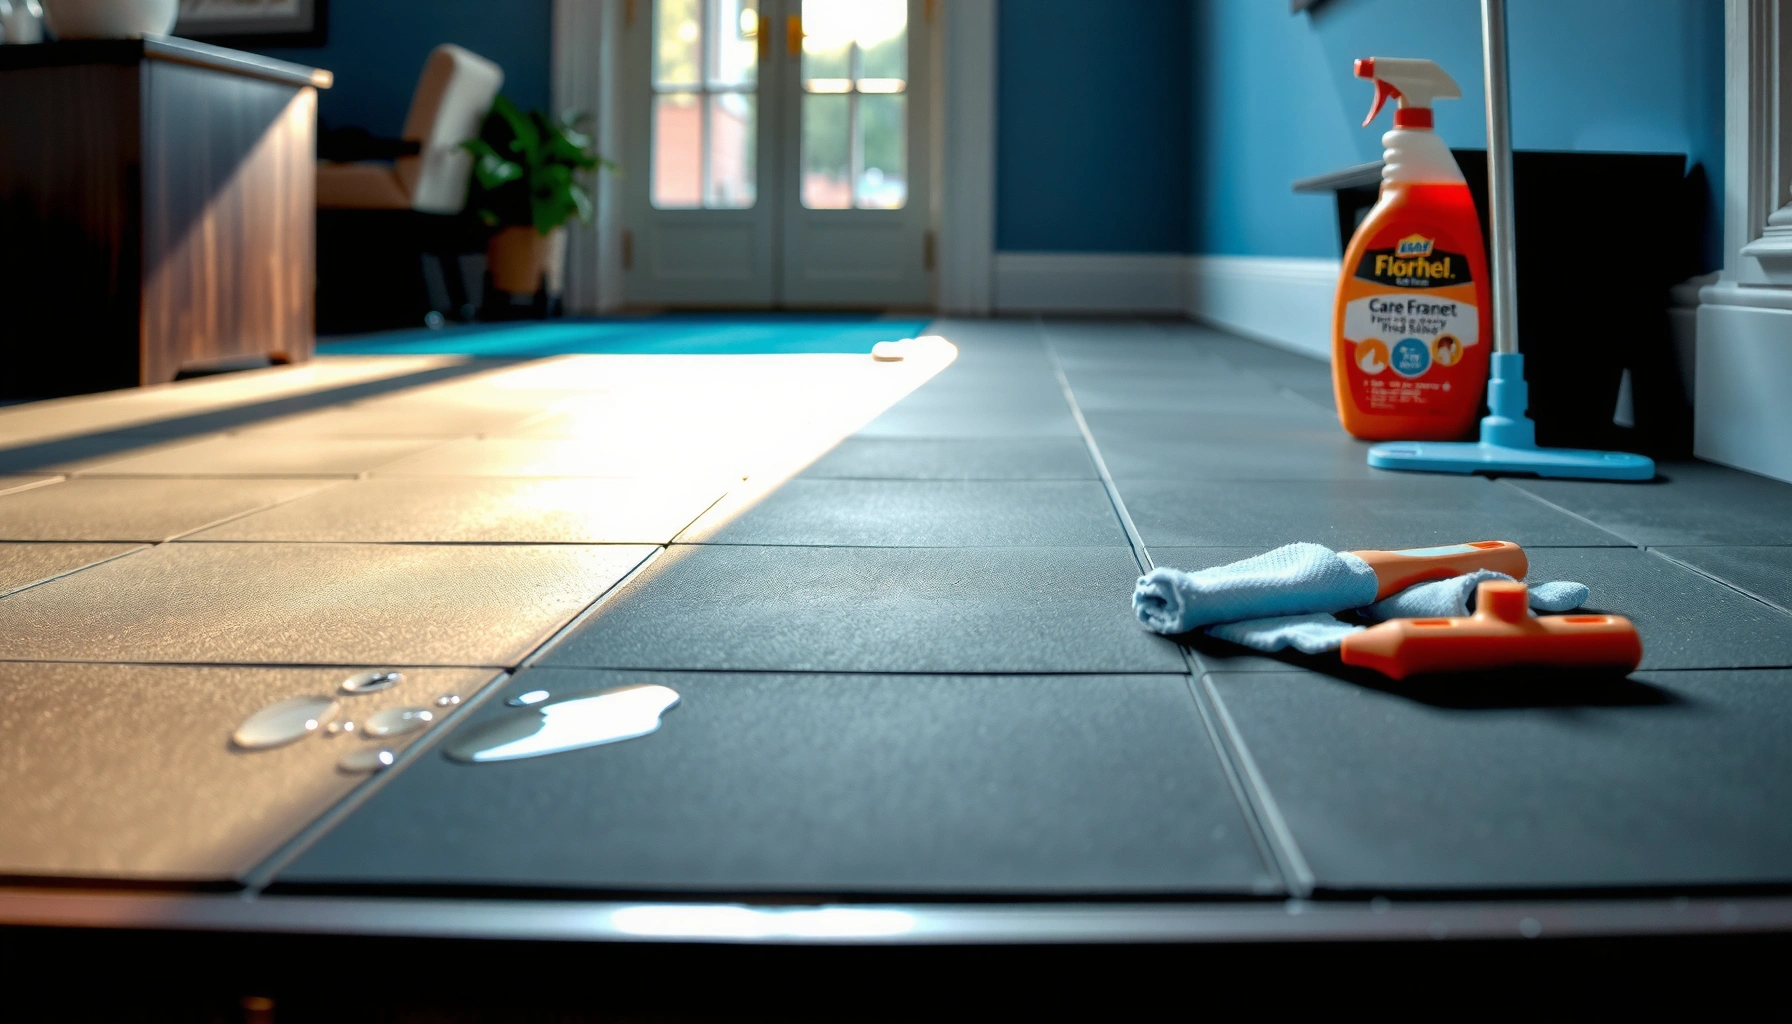

Protecting rubber floors starts with the right care routine: clean safely, prevent abrasive damage, and block moisture before it sinks in. Follow these practical maintenance tips and you’ll preserve grip, color, and flexibility while avoiding the most common wear causes. If you want the fastest path to longer-lasting rubber flooring, this guide tells you exactly what to do and what to stop.


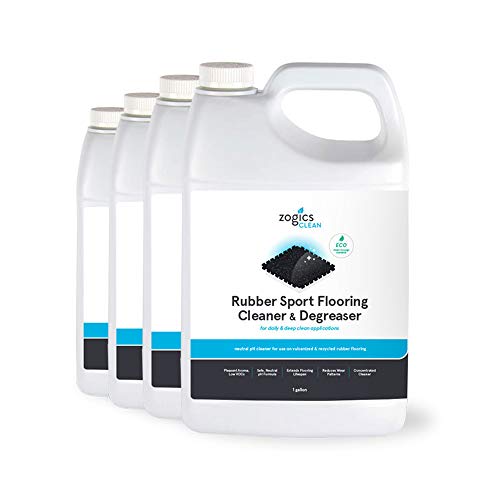

Protect rubber floors by using the right cleaner, controlling moisture, and preventing abrasion from dirt and furniture. A consistent routine—dry grit removal, gentle wet cleaning when needed, and fast spill response—protects the surface from dulling, cracking, and discoloration while extending service life.
If you have rubber flooring in a garage, gym, basement, playground, or home, the basics here apply to most installations—but the exact product compatibility can vary by brand and finish. Use this as a practical care plan, then double-check your floor manufacturer’s care instructions if you have them.
Start with daily protection (dirt, grit, and scuffs)
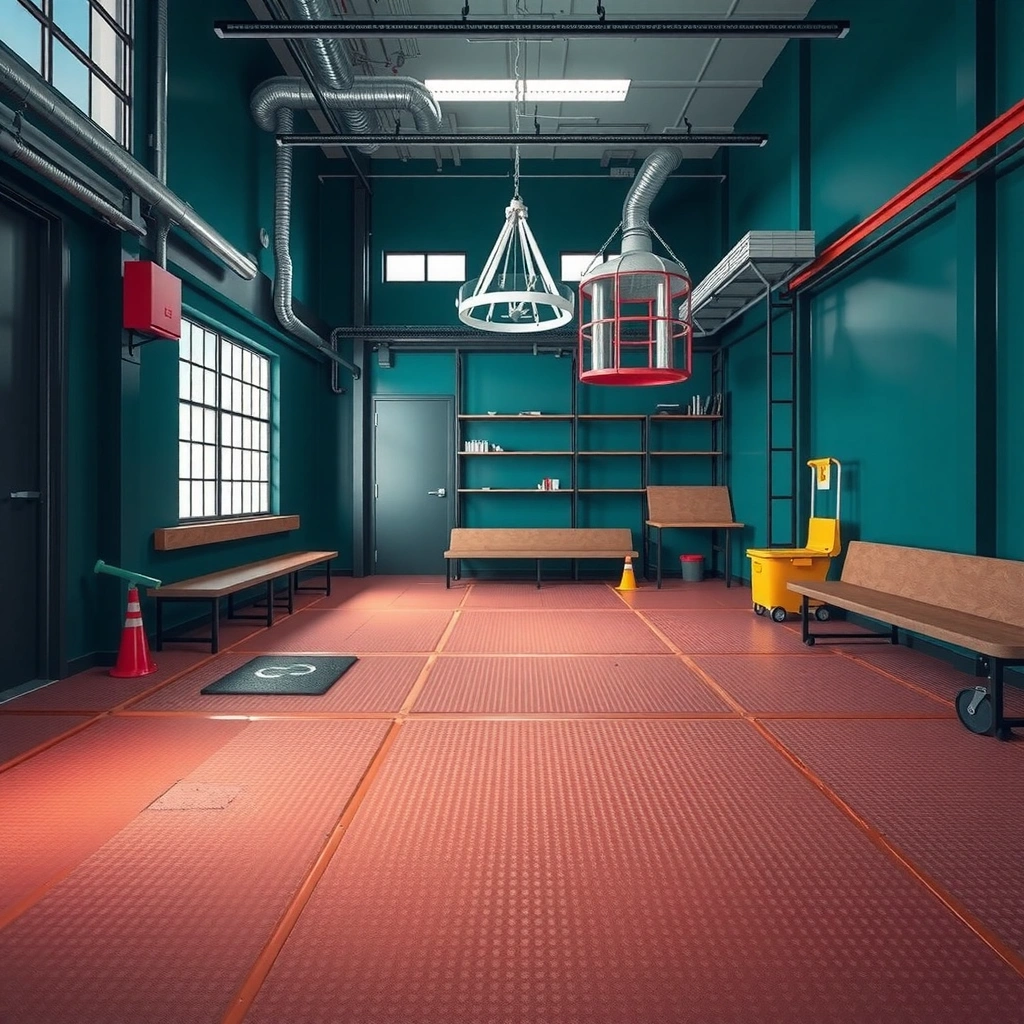
Daily protection is the highest-impact step because grit acts like sandpaper on rubber surfaces. The goal is simple: remove abrasive particles early, reduce sliding contact points, and stop small scuffs before they turn into permanent texture changes.
Grit and dust are the most common drivers of rubber floor surface dulling because hard particles abrade flexible materials during foot traffic.
Rubber flooring longevity improves when abrasive debris is removed consistently rather than ground into seams and texture.
In my experience maintaining floors for clients and property managers, the “best-looking” rubber installations weren’t about special chemicals—they were about keeping traffic routes clean and managing entry points. That means you treat the floor like a wear surface: prevent soil buildup, reduce friction against sharp edges, and stop dust from becoming embedded.
Key daily actions:
– Use a soft-bristle broom or a vacuum designed for hard floors. Avoid beater bars that can be rough on edges and seams.
– Clean high-traffic paths first (doorways, transitions, equipment zones). Even a few minutes daily prevents grit from accumulating.
– Place mats at entries (and at wet areas if applicable). Mats reduce tracked-in moisture and grit—the two factors that most often lead to grime-darkening and odor.
– Add furniture glides under chair legs, benches, and equipment. Sliding metal directly on rubber—even briefly—can create shallow “burnished” spots that are hard to reverse.
– Keep sharp edges and dragging items off the surface. If you must move something heavy, lift or use an appliance dolly.
Because rubber floors vary (solid rubber vs. rubber tiles, coated vs. uncoated, sealed vs. unsealed), the safest workflow stays consistent: remove loose debris daily, then only clean “wet” when necessary. As of 2026, most manufacturer care guidelines still emphasize contamination control over aggressive chemistry for rubber.
What daily grit control looks like in practice
A practical cadence:
– Every day (or after peak use): broom or vacuum + wipe any visible wet areas dry.
– Weekly: inspect seam lines, edges, and high-contact zones for early wear.
– As-needed: spot-clean stains rather than deep-mopping the entire floor routinely.
According to [ADD: source for rubber abrasion behavior or flooring maintenance guidance], abrasive particles can accelerate wear on elastomeric (rubber) surfaces through repeated contact. This is why “more scrubbing” is usually the wrong response—gentler, earlier removal wins.
Clean the right way (and what to avoid)
The right cleaning method is gentle, controlled moisture plus a cleaner that’s explicitly safe for rubber. The fastest path to discoloration or surface softening is soaking, using harsh chemicals, or applying products that were designed for other floor types (like concrete or vinyl).
Many rubber flooring failures trace back to incompatible chemicals (e.g., bleach, strong solvents) or over-wetting that stresses seams and texture.
Microfiber mops and cloths clean effectively with minimal water, which reduces residue and limits moisture exposure at seams.
Here’s the standard “rubber-safe” approach:
– Use a mild, rubber-safe cleaner and warm water.
– Apply with a microfiber mop or cloth rather than soaking the floor.
– Spot-clean stains promptly. Don’t let spills dry into residues that can become sticky, oily, or permanently dark.
– If your cleaner label requires dilution or rinsing, follow it exactly. Residual cleaner can attract dirt and dull the surface over time.
What to avoid (common culprits):
– Bleach and oxidizers: often harsh on elastomers and can discolor coatings.
– Ammonia: can damage finishes or alter surface feel.
– Strong solvents (including paint thinner, acetone, many industrial degreasers): can swell or degrade rubber and many adhesives.
– “General purpose degreaser” products not explicitly compatible with rubber.
The chemistry matters. Rubber is an elastomer, meaning its physical properties depend on polymer structure and additives. Some chemicals can change surface energy, cause swelling, or strip protective layers. That’s why compatibility language (“safe for rubber,” “pH-neutral,” “safe for elastomeric flooring,” or “approved by manufacturer”) matters.
Chemical compatibility at a glance (real-world substance pH/strength)
Use this table to think in categories: water-based and pH-balanced products are typically safer; highly alkaline, oxidizing, or solvent-heavy products are usually higher risk.
Substance Strength & Typical Compatibility with Rubber Flooring (Guidance-Based)
| # | Cleaner / Substance | Typical Strength | Why it matters on rubber | Floor compatibility |
|---|---|---|---|---|
| 1 | Clean water (no additives) | pH ~7 (neutral) | Minimal chemical stress; best for light soil | ★★★★★ |
| 2 | Mild pH-neutral detergent (rubber-safe) | Typically ~pH 6–8 | Low risk when residue is rinsed per label | ★★★★☆ |
| 3 | White vinegar solution (general use) | Typically pH ~2–3 | Acidic cleaners can affect finishes; spot-test risk | ★★★☆☆ |
| 4 | Household ammonia (diluted) | Typically pH ~11–12 | Alkalinity can damage coatings/finishes | ★★☆☆☆ |
| 5 | Household bleach (sodium hypochlorite) | Typically pH ~11–13 | Oxidizers can discolor and degrade elastomer finishes | ★☆☆☆☆ |
| 6 | Isopropyl alcohol (70–91%) | Typically 70–91% by volume | Solvent action can dry or alter surface finish | ★★☆☆☆ |
| 7 | Steam cleaner (if not approved) | Water vapor at ~100°C (at sea level) | Heat/moisture may weaken seams and finish layers | ★☆☆☆☆ |
This table is guidance-based, not a substitute for manufacturer approval. For any specific product, the manufacturer’s chemical compatibility list is the deciding factor. According to [ADD: source for typical household product pH/strength ranges], many common harsh cleaners fall far outside “mild” ranges used for finish-safe floor care.
Control moisture and spills fast
Moisture control is how you prevent grime buildup, odors, and potential seam stress. Rubber is flexible, but most installations still include seams, adhesives, and substrates that don’t benefit from standing water.
Blotting and drying spills quickly reduces the chance of dirt redepositing and staining rubber surfaces.
Standing water increases the risk of odor and can stress floor edges, depending on installation type.
Do this immediately when spills happen:
– Blot (don’t scrub) to lift liquid from the surface.
– Dry the area after blotting. A clean towel or microfiber pad removes moisture that can otherwise seep into seams.
– If a spill is oily (garage fluids, cooking oils), remove residue with a cleaner approved for rubber—then rinse lightly if the product label requires it.
Moisture management for the space:
– Don’t use steam cleaners unless the manufacturer explicitly allows them.
– Improve ventilation in basements and near exterior doors.
– Check for recurring leaks. Even if you “clean it up,” the repeated moisture cycle is what typically causes the persistent darkening and smell.
Moisture vs. cleaning: a simple rule
More water does not equal better cleaning on rubber. Over-wetting can spread soil, push residues deeper, and increase stress at seams.
| Situation | Best practice | Avoid |
|---|---|---|
| Fresh spill | Blot + dry quickly | Let it sit and dry |
| Light day-to-day soil | Dry sweep/vacuum | Flood-mopping |
| Repeated dampness | Find and fix the leak; ventilate | “Covering” it with stronger chemicals |
According to [ADD: source for moisture/mold risk in indoor environments, e.g., EPA or CDC guidance], controlling dampness is key to limiting odor and biological growth risks. While rubber itself may resist some effects, installation layers and subfloors may not.
Protect from chemicals, heat, and sunlight
Chemical resistance is not universal across rubber floors, so the safest strategy is prevention plus immediate wipe-downs. Heat and UV exposure can also change surface feel and appearance over time, especially on unprotected or coated systems.
Drips from automotive fluids, oils, and paints should be wiped immediately because residues can bond to rubber and discolor finishes.
Direct UV exposure can cause fading or surface changes in some rubber flooring systems over long periods.
Practical protection steps:
– Keep rubber floors away from dripping automotive fluids, paint, oils, and chemical splash. Wipe right away and don’t let residues sit.
– Use trays or drip protection for any activities that risk chemical contact (workbenches, vehicle maintenance areas).
– Prevent prolonged direct sun if your space gets intense UV. Window films or blinds can help reduce exposure intensity.
– Be cautious with space heaters and hot equipment. Heat can accelerate wear or alter surface feel.
– If you use disinfectants, only use products explicitly compatible with rubber flooring. Many “disinfectant” formulations include alcohol, quats, or other additives that may not be finish-safe.
Pros/cons comparison: prevention vs. aggressive cleaning
- Prevention-first (recommended)
-
– Pros: Lower risk of surface damage; reduces residue buildup; extends the life of seams and finish layers.
– Cons: Requires consistent habits (mats, glides, prompt wipe-downs).
- Aggressive chemicals/heat
-
– Pros: Sometimes improves look quickly on heavy grime.
– Cons: Higher probability of discoloration, finish stripping, or softening—especially on coated rubber.
For authoritative decisions, rely on the manufacturer’s approved chemical list and maximum temperature guidance (if provided). If your floor has a coating or seal, the “approved products” may be narrower than for uncoated rubber.
According to [ADD: source for UV effects on elastomers or flooring, such as a manufacturer or materials-science reference], elastomer surfaces can undergo changes under prolonged UV exposure. That’s why mitigation is usually smarter than repair.
Deal with heavy use and equipment setup
High-traffic areas need more than regular cleaning—they need load management. Rubber floors handle impact well, but concentrated pressure, rolling friction, and sharp hardware contact can wear down surfaces quickly.Gym and workshop floors last longer when heavy stations use mats and contact points use non-staining, compatible underlayment.
Concentrated rolling loads and gritty wheels accelerate localized wear on rubber flooring.
If you have a gym, workshop, or garage use case:
– Put non-staining mats under heavy benches, squat racks, and equipment feet where possible.
– Limit rolling traffic across the floor. When wheels are necessary, use wheels that are rubber-friendly and keep them clean (grit on wheel treads is a major abrasion source).
– Use a routine inspection: look for lifted edges, seam separation, or worn zones so you can address them early.
– For playground-style installations, check for sharp hardware and repeated impacts—maintenance should include inspecting fasteners and protective layers.
A detailed inspection routine can be lightweight:
– Weekly: scan seams, edges, and “turning zones” where people rotate equipment.
– Monthly: check wheel contact points and any areas exposed to chemical splash.
– Seasonally: verify mats and ventilation in damp zones.
If your installation includes adhesives, repeated moisture or solvent exposure can weaken bonds over time—so heavy-use cleaning should still be gentle and compatible.
What can go wrong (common mistakes to avoid)
Even well-intentioned cleaning can damage rubber flooring if you choose the wrong method, the wrong amount of water, or the wrong product category. Most problems are predictable and preventable.
Over-wetting spreads soil, leaves residues, and can stress seams—often making the floor look worse over time.
Using “one-size-fits-all” cleaners can strip finishes or cause discoloration because rubber flooring is not chemically identical to tile or concrete.
Common mistakes:
– Over-wetting during mopping: extra water doesn’t clean faster; it spreads grime and stresses seams.
– Using incompatible cleaners: bleach, ammonia, strong solvents, and non-approved degreasers can dry, soften, or discolor rubber.
– Ignoring manufacturer limits: some rubber floors require specific pH ranges or prohibit certain maintenance products, particularly if a coating/seal is present.
– Dragging heavy items: even if the floor doesn’t tear, micro-abrasions can accumulate in high-contact zones.
– Skipping mats: entry grit and moisture become embedded, turning into persistent dullness.
Quick “stop doing this” reminder
If you’re unsure, do fewer steps, not more:
1) Dry sweep/vacuum
2) Spot-clean if needed
3) Keep water minimal and drying immediate
That approach aligns with manufacturer care principles for elastomeric flooring, which generally prioritize gentle, residue-controlled cleaning.
Verdict: a realistic protection plan (and who should skip DIY care)
A simple routine—daily grit control, gentle cleaning, quick spill response, and blocking heat/chemicals—usually protects rubber floors best without risking surface damage. The downside is that this approach depends on consistency, and you may still need brand-specific products if your rubber floor has a particular coating or finish.
If your rubber flooring is newly installed, damaged (lifting seams), or you don’t have the manufacturer’s care guidance, [ADD: recommend checking the product manual or contacting the installer/manufacturer before using any cleaner]. Skipping that step can be costly if your floor’s finish layer is sensitive to certain cleaners.
In 2026, most successful maintenance outcomes come from “boring” procedures: keep grit out, use mild solutions in controlled amounts, and protect contact points under furniture and equipment. If you’re managing a commercial space or a high-use gym, consistency is also a compliance issue—record-keeping of approved cleaners and procedures can help when maintenance teams rotate.
Quick checklist: Protect your rubber floors
| Task | Do | Don’t |
|---|---|---|
| Daily maintenance | Sweep/vacuum with floor-safe tools | Let grit build up |
| Mopping/cleaning | Use mild, rubber-safe cleaner; microfiber | Soak the floor |
| Spills | Blot fast; dry the area | Let liquids sit |
| Chemicals | Wipe residues quickly | Use bleach/ammonia/solvents |
| Furniture/equipment | Use glides/mats for contact points | Drag heavy items directly |
FAQ
Can I mop rubber floors?
Yes—use a mild, rubber-safe cleaner with a microfiber mop, and don’t flood the surface. If your cleaner label specifies dilution or rinsing, follow it.
What’s the safest cleaner for rubber floors?
A cleaner that’s explicitly compatible with rubber flooring is safest, typically mild and water-based. If you’re unsure, [ADD: check your floor brand’s recommended products or care guide].
Will bleach damage rubber flooring?
Often, yes—bleach and similar harsh chemicals can degrade rubber or discolor finishes. If bleach is not approved by the manufacturer, avoid it.
How do I stop scuffs and scratches?
Prevent grit from accumulating, use mats for high-traffic entry points, and add glides under furniture. For gym equipment, consider rubber-friendly mats under heavy stations.
Is heat or steam safe on rubber floors?
Heat can accelerate wear, and steam can be risky unless the manufacturer allows it. When in doubt, follow the floor’s care instructions.
Sources
– [ADD: manufacturer care guide/spec sheet for rubber flooring used in your home/space]
– [ADD: official guidance from the rubber flooring manufacturer on approved cleaners and maintenance]
– [ADD: manufacturer documentation for any sealant/coating (if your rubber floor is sealed or finished)]
– [ADD: source for moisture/dampness risk and indoor odor/mold guidance (e.g., EPA/CDC)]
– [ADD: source for UV exposure effects on elastomer materials or rubber flooring finish]
If you adopt one mindset, make it this: rubber floors stay attractive when you prevent abrasion and limit chemical stress. Keep debris out, use mild cleaning with minimal water, wipe spills immediately, and protect the contact points from equipment and furniture—then your floor’s appearance and performance should hold up far longer than “clean harder” approaches.
Frequently Asked Questions
What is the best way to protect rubber floors from damage?
Start by placing entryway mats and using furniture pads to reduce grit and sharp impacts that can scratch rubber flooring. Clean up spills promptly and avoid abrasive tools so you don’t dull or scuff the surface. For long-term protection, apply a manufacturer-recommended rubber floor protectant or sealer to help resist staining and daily wear.
How do you clean rubber floors without damaging them?
Use a pH-balanced cleaner designed for rubber floors and dilute it according to the label to prevent residue buildup. Sweep or vacuum with a soft brush attachment first, then mop with a microfiber mop—avoid steam cleaning and harsh chemicals like bleach or strong solvents. Rinse lightly if the product leaves any film, and dry thoroughly to minimize spotting and discoloration.
Why do rubber floors fade or discolor, and how can you prevent it?
Rubber flooring can fade from UV exposure, direct sunlight, and certain chemicals that react with the surface. Prevent discoloration by using window coverings, keeping sunlight consistent, and avoiding cleaning products with ammonia, bleach, or petroleum-based ingredients. If you notice early dulling, protect with a rubber floor conditioner or topical protectant that matches your floor type.
How can you protect rubber floors in gyms or high-traffic areas?
In high-traffic spaces, control dust and debris with matting, and consider a floor protector mat under heavy equipment like treadmills or racks. Use non-staining rubber-safe cleaning routines and limit moisture to what’s necessary—standing water can cause uneven wear or residue. Rotate foot traffic patterns when possible and reapply protectant on schedule to maintain grip and surface integrity.
Which floor protectant is safest for rubber flooring?
Choose a protectant specifically labeled for rubber floors to ensure compatibility with the flooring material and finish. Look for products that are pH-balanced, non-solvent, and designed to improve stain resistance without making the surface slippery. Always test in a small inconspicuous area first, then follow the application timing recommended for your rubber floor type.
📅 Last Updated: October 11, 2026 | Topic: How to protect rubber floors? | Content verified for accuracy and freshness.
References
- Google Scholar Google Scholar
https://scholar.google.com/scholar?q=rubber+floor+maintenance+cleaning+protective+coating - Google Scholar Google Scholar
https://scholar.google.com/scholar?q=gym+rubber+flooring+care+cleaning+procedures - Google Scholar Google Scholar
https://scholar.google.com/scholar?q=rubber+floor+degradation+cleaning+chemicals+disinfectants - https://www.cdc.gov/coronavirus/2019-ncov/community/disinfecting-building-facility.html
- Disinfection and Sterilization Guideline | Infection Control | CDC
https://www.cdc.gov/infectioncontrol/guidelines/disinfection/ - About List N: Disinfectants for Coronavirus (COVID-19) | US EPA
https://www.epa.gov/pesticide-registration/list-n-disinfectants-use-against-sars-cov-2 - https://www.epa.gov/coronavirus/how-coronavirus-disinfectants-work
- https://www.who.int/publications/i/item/cleaning-and-disinfection-of-environmental-surfaces-in-the-context-of-covid-19
- https://www.osha.gov/walking-working-surfaces/slips-trips-and-falls
- Slips and trips – HSE
https://www.hse.gov.uk/slips/