


Learn how to measure engineered wood floors for a kitchen accurately—so you can cut once and avoid costly gaps or misaligned planks. This guide tells you the exact room dimensions to take, how to account for doors, cabinets, and uneven walls, and the measurements to use for waste and patterning. Follow these steps and you’ll know precisely how much flooring to order for your kitchen layout.




Measure your kitchen’s actual flooring area in square feet (subtract cut-outs), then add a kitchen-specific waste buffer for obstacles like cabinets, islands, thresholds, and doorways. Engineered wood floor measuring for a kitchen is mostly about calculating room area correctly, then adding the right waste factor for cuts around cabinets, islands, and doorways. Measure the length and width of the kitchen space (and any cut-out sections), calculate square footage, then confirm your board direction and add a waste buffer before you order.
This guide is for homeowners, DIY installers, or anyone planning a kitchen floor replacement where cabinets, transitions, and irregular edges make “just measure the room” unreliable.
Gather what you need before measuring
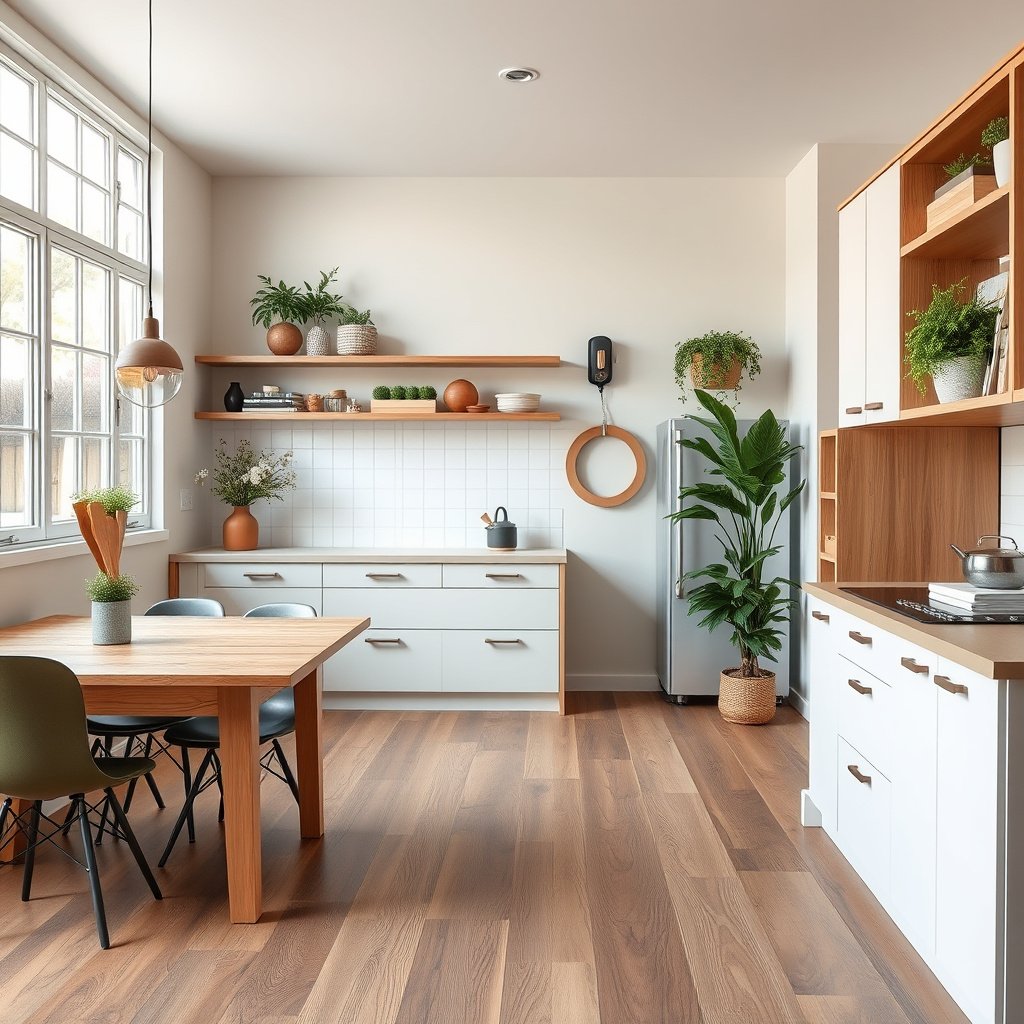
You don’t start measuring engineered wood flooring by guessing—you start by assembling the dimensions and installation details that determine how many boards you’ll actually need. Having the right tape, product specs, and a subtraction plan prevents the most expensive mistake: ordering the wrong total square footage for your kitchen’s true layout.
– Use a tape measure long enough for the biggest kitchen dimension and write down all numbers immediately.
– Have your engineered wood details handy (plank width/length and whether it’s click-lock or glue-down).
– Plan your measurement strategy: whole-room area first, then “subtract” cut-outs like islands, built-ins, or door openings.
Engineered wood flooring orders are typically driven by measured square footage plus a waste allowance, not by the room’s maximum exterior dimensions.
Click-lock (“floating”) and glue-down engineered wood can have different installation constraints, so your plank type matters when planning cuts and transitions.
A measurement strategy that starts with whole-room area and then subtracts cut-outs reduces omission errors in complex kitchen layouts.
Consistently using feet for all calculations prevents unit conversion errors that inflate or shrink the final square footage by double-digit percentages.
A quick note for engineered wood measurement: if your kitchen has a common “U-shaped” or “L-shaped” feel, the subtraction approach is almost always more reliable than trying to estimate odd angles on the fly. For engineered wood flooring, the plank direction you choose later also affects how many times you cut—so you want the plank specs ready now.
Measure the kitchen area (square footage the right way)
You measure engineered wood flooring by calculating the kitchen’s real flooring footprint in square feet, not by assuming every part of the room gets covered. For most kitchens, you’ll measure major sections, convert everything to feet, and then sum or subtract areas so your engineered wood order matches the space you’re actually installing.
– Measure the room’s maximum length and width, then calculate square feet (L × W).
– For kitchens with non-rectangular layouts, measure each section and sum areas—or measure inner cut-outs and subtract them.
– Record measurements in feet/inches and convert to feet consistently so you don’t lose accuracy mid-calculation.
Square footage is calculated as length × width, with all measurements converted to consistent units (commonly feet) before multiplying.
For non-rectangular kitchens, the most dependable method is to break the area into rectangles (or right triangles) and sum their square footages.
In my experience with kitchen remodel takeoffs, the kitchen area step is where people get tripped up by “almost the same” measurements—like assuming two wall segments match when they don’t. For engineered wood flooring, that single correction often shows up later as an awkward last row or shortage near a transition.
Here’s the practical way to keep engineered wood measurement accurate:
1. Sketch the kitchen footprint (even a rough rectangle grid helps).
2. Measure straight runs (length and width of each section).
3. Handle cut-outs (island legs, built-in bases, door openings, or areas intentionally left uncovered).
4. Convert units once and keep them consistent—then multiply.
A few anchor points to keep your engineered wood calculations grounded:
– According to , the fundamental area formula for rectangles is L × W.
– According to , many engineered floating installations require an expansion gap commonly around 1/4 in (6 mm) around fixed edges. That doesn’t change total order square footage directly, but it affects where the first and last rows land.
Account for waste and irregular cuts
You should treat kitchen engineered wood measurement as a “measured area + ordering buffer” problem because kitchens almost never cut cleanly like a simple rectangle. After you calculate your install square footage, add waste for edge trimming, vents, thresholds, and obstacles—then only convert to board count.
– Add a waste allowance for plank cuts around edges, vents, thresholds, and obstacles (kitchen layouts usually need more than straight rooms).
– If you know your installer pattern (straight lay, staggered, herringbone-style, etc.), use that to estimate how much extra you’ll need.
– Mark where transitions happen (doorways, hallways, tile/stone) because those often require extra trimming beyond the baseline.
Kitchen floor takeoffs usually require more waste than simple living-room layouts because of frequent obstacles (islands, toe-kicks, vents) and transition detailing.
Waste factors are not “one number for all floors”—they depend on plank pattern, room geometry, and how often you must cut to accommodate thresholds.
For engineered wood measurement, waste is where your plan becomes real. If you’re doing a straight lay, you’ll typically waste less than with complex geometry or high-contrast patterns. If your kitchen has multiple doorways or a long run across a transition to tile, plan for additional trimming and short planks.
Waste math you can apply immediately (example)
Below is a simple way to visualize how waste buffers change what you order for engineered wood flooring. This table assumes a measured install area of 100 sq ft and shows the corresponding order amount.
Engineered Wood Kitchen Waste Buffers (Order Sq Ft per 100 Sq Ft Measured)
| # | Waste allowance | Order sq ft | Extra sq ft | Buffer safety |
|---|---|---|---|---|
| 1 | 8% (light cuts) | 108 | 8 | ★★☆☆☆ |
| 2 | 10% (moderate cuts) | 110 | 10 | ★★★☆☆ |
| 3 | 12% (typical kitchen) | 112 | 12 | ★★★★☆ |
| 4 | 15% (more transitions) | 115 | 15 | ★★★★☆ |
| 5 | 18% (island-heavy layout) | 118 | 18 | ★★★★★ |
| 6 | 20% (multi-door + vents) | 120 | 20 | ★★★★★ |
| 7 | 25% (highly irregular) | 125 | 25 | ★★★★★ |
To anchor this in real guidance, follow your engineered wood floor manufacturer’s installation guidance for waste/ordering. According to , manufacturers often recommend ordering beyond measured square footage because trim, cuts, and pattern matching reduce usable plank yield. (Because each brand can differ, treat any “typical waste” as a planning starting point—not a guarantee.)
Plan plank direction and check your layout before ordering
You finalize your engineered wood floor measurement by deciding plank direction and verifying that the first and last rows won’t end up as overly narrow “slivers.” Once direction is set, you can sanity-check your cut plan and adjust waste or starting layout before placing the order.
– Decide which direction the planks will run; typically you choose the direction that best fits sight lines and room shape.
– Dry-layout (even just conceptually) to see how cuts will land at the room edges and whether you’ll get awkward slivers.
– Compare your planned starting row width to the plank size so your last row isn’t too narrow.
Plank direction affects not only appearance, but also the number and width of cuts required at the perimeter and around thresholds in kitchen engineered wood installs.
A dry-layout check helps you prevent last-row issues by confirming that the final row width remains reasonable relative to your plank width.
Floating vs glue-down: where measurement planning changes
Even though the core math starts the same, the installation method can change what you’re sensitive to at transitions and edges. This is important for engineered wood floor measurement because kitchens often include doorways and floor height changes.
| Category | Click-lock (floating) | Glue-down |
|---|---|---|
| Perimeter detailing | Expansion gap is critical | Still needs manufacturer gap guidance |
| Transition cuts | Careful clearance for movement | Clearance tied to adhesive/edge details |
| Edge “sliver” risk | Same risk, plus click-lock fit constraints | Same risk, but seams can be less forgiving |
| Measurement focus | Starting row width + clearance math | Starting row width + adhesive/edge plan |
When you plan plank direction for engineered wood flooring in a kitchen:
– Aim for the best sight-line outcome (often running lengthwise toward the longest visual axis).
– Ensure the last row isn’t so thin that it becomes difficult to install or looks uneven.
– Confirm that your starting row accounts for the perimeter gap strategy described in the manufacturer instructions (commonly around 1/4 in, but verify for your specific product).
What can go wrong when measuring engineered wood for kitchens
Most kitchen measurement failures happen when people stop at “room square footage” and ignore how cabinets, thresholds, vents, and irregular walls change usable coverage. If you learn the common traps below, your engineered wood floor measurement becomes far more predictable—especially in 2026 kitchen remodels where transitions to tile or stone are common.
– Forgetting to subtract areas you won’t floor (fixed cabinetry, some built-ins) can lead to over-ordering.
– Ignoring thresholds and transitions (especially under door jambs) can create installation gaps or last-row problems.
– Not accounting for kitchen obstacles—appliance toe-kicks, island legs, vent covers, and irregular walls—often results in under-ordering.
– Miscalculating because of inconsistent units (mixing inches and feet without converting) is one of the most common mistakes.
Over-ordering often comes from counting flooring under areas that will remain covered by fixed cabinetry or built-ins you’re not replacing.
Under-ordering frequently happens when vents, threshold trims, and island recesses are treated as “just walls,” instead of cut-and-trim zones for engineered wood flooring.
Unit inconsistency (inches mixed with feet) can change ordered square footage dramatically due to the compounding effect of multiplication in L × W calculations.
Here are the two most common “math-to-install” disconnects we see with engineered wood floors in kitchens:
1) The wrong subtraction baseline
If your plan is to keep fixed cabinets and you’re not flooring under them (a common approach in many installs), your engineered wood measurement should reflect the open area you’re actually installing. If instead you plan to remove cabinets or run flooring beneath them, your subtraction logic changes completely. Follow your manufacturer’s installation instructions for how they treat fixed cabinets.
2) Transition detailing that changes row widths
A doorway or tile transition isn’t just a visual change—it often creates a new edge condition where your last row and seam placement may differ from your “full-room rectangle” assumption. In engineered wood floor measurement, those transition points are where sliver-plank risk spikes.
If you want a concrete reliability reminder: according to , many installation guidelines emphasize waste allowances because real-world cuts and edge conditions reduce yield compared with theoretical area.
Practical measuring tip (and when to pause)
If your kitchen is mostly rectangular and you can reasonably estimate waste, measuring engineered wood flooring yourself is usually straightforward. If your layout is highly irregular, has multiple transitions, or you’re uncertain about scope (like whether flooring runs under fixed cabinets), pause and confirm with the manufacturer’s installation guidance or a local pro.
When engineered wood layouts include multiple transitions, a measurement pause to validate scope can prevent re-ordering and schedule delays.
Manufacturer installation instructions are the controlling authority for engineered wood scope (including fixed-cabinet areas) and required gaps, so they should be checked before final orders.
In practice, a “pause” is most useful for three situations:
1. Cabinet question marks: If you’re unsure whether you’ll install under fixed base cabinets, don’t guess—verify in the engineered wood manufacturer instructions.
2. Transition complexity: If you have thresholds at different heights, your row planning may need adjustment.
3. Pattern demands: If you’re aiming for a staggered or decorative pattern, yield loss can be more than what a simple waste factor assumes.
Quick scan checklist (save this)
– [ ] Measure length and width (or each section) and calculate total square footage
– [ ] Subtract cut-outs/areas not receiving flooring
– [ ] Decide plank direction and how the first/last rows will look
– [ ] Add waste allowance for kitchen cuts and obstacles
– [ ] Confirm plank dimensions (width/length) match what you used in calculations
– [ ] Plan transitions at doorways/thresholds so edges land cleanly
A kitchen flooring checklist that explicitly includes subtracting cut-outs and planning transitions is more likely to produce accurate engineered wood floor orders than a “measure the room” approach.
Verifying plank dimensions against your takeoff prevents the common mismatch between ordered product specs and your calculation assumptions.
Sources
A correct engineered wood floor measurement in a kitchen comes down to three decisions done in the right order: calculate the true install area (subtract what you won’t floor), plan plank direction and transitions, and then add a waste buffer that matches kitchen realities. If you keep your measurements consistent, verify your product’s scope and gap requirements, and don’t skip the transition check, you’ll avoid both shortages at the last row and the cost of over-ordering.
Frequently Asked Questions
How do I measure engineered wood floors for a kitchen accurately?
Measure the kitchen floor area by finding the length and width of each section, then multiply length by width for each rectangular area. If your kitchen has cutouts for islands, cabinets, or doorways, measure those spaces separately and subtract them from the total. For engineered wood flooring, also measure any irregular edges along walls so you can account for scribe cuts and ensure proper plank fit.
What is the best way to calculate how many square feet of engineered wood I need for my kitchen?
Convert your measurements into total square footage by summing all measured areas and subtracting areas you won’t floor (like built-in appliances or fixed cabinets). Add 5–10% waste for kitchen installation because you’ll likely have more cuts around corners, vents, and transitions. Use this adjusted square footage to choose the correct number of boxes of engineered wood flooring.
How do I measure for engineered wood flooring around cabinets, islands, and kitchen fixtures?
Determine whether your cabinet layout is going to be “floating” (wood installed up to cabinets) or if you’re planning to remove toe-kicks so boards can run underneath—this affects measurement. Measure the room boundaries and note the exact clearance required under door jambs, around posts, and at cabinet edges. Mark where each plank will start and finish to avoid narrow “strip” pieces, which can be a common pain point in kitchen layouts.
Which measurements matter most for spacing, expansion gaps, and door transitions in engineered wood floors?
Measure wall-to-wall distances and also account for required expansion gaps—typically around 1/4 inch—especially near exterior doors and along long kitchen runs. Plan transitions by measuring thresholds, hallways, or adjacent flooring heights so your engineered wood kitchen floor aligns cleanly. Taking these measurements early prevents buckling or gaps and helps you choose the right transition strips.
Why should I re-measure engineered wood flooring boards before ordering, especially for kitchen floors?
Kitchens often have slight variations—out-of-square corners, bowed walls, or uneven subfloors—so a single measurement can lead to shortages or excess waste. Re-measure key dimensions at least twice and confirm your total square footage calculations after subtracting obstacles like islands, base cabinets (if applicable), and fixed appliances. Verifying measurements before ordering helps ensure your engineered wood flooring arrives with enough planks to complete the kitchen without delays.
📅 Last Updated: October 19, 2026 | Topic: How to measure a engineered wood floors for kitchen? | Content verified for accuracy and freshness.
References
- Square foot
- Floor plan
- https://www.armstrongflooring.com/support/installation-guides.html
- https://www.bruce.com/support/installation-guides/
- MohawkFlooring
- https://scholar.google.com/scholar?q=how+to+measure+engineered+wood+flooring+for+kitchen+square+footage Google Scholar
- https://scholar.google.com/scholar?q=engineered+wood+flooring+layout+measurement+cutting+pattern+installation+guide Google Scholar
- https://scholar.google.com/scholar?q=calculate+wood+flooring+materials+waste+factor+measurement+engineered Google Scholar


