
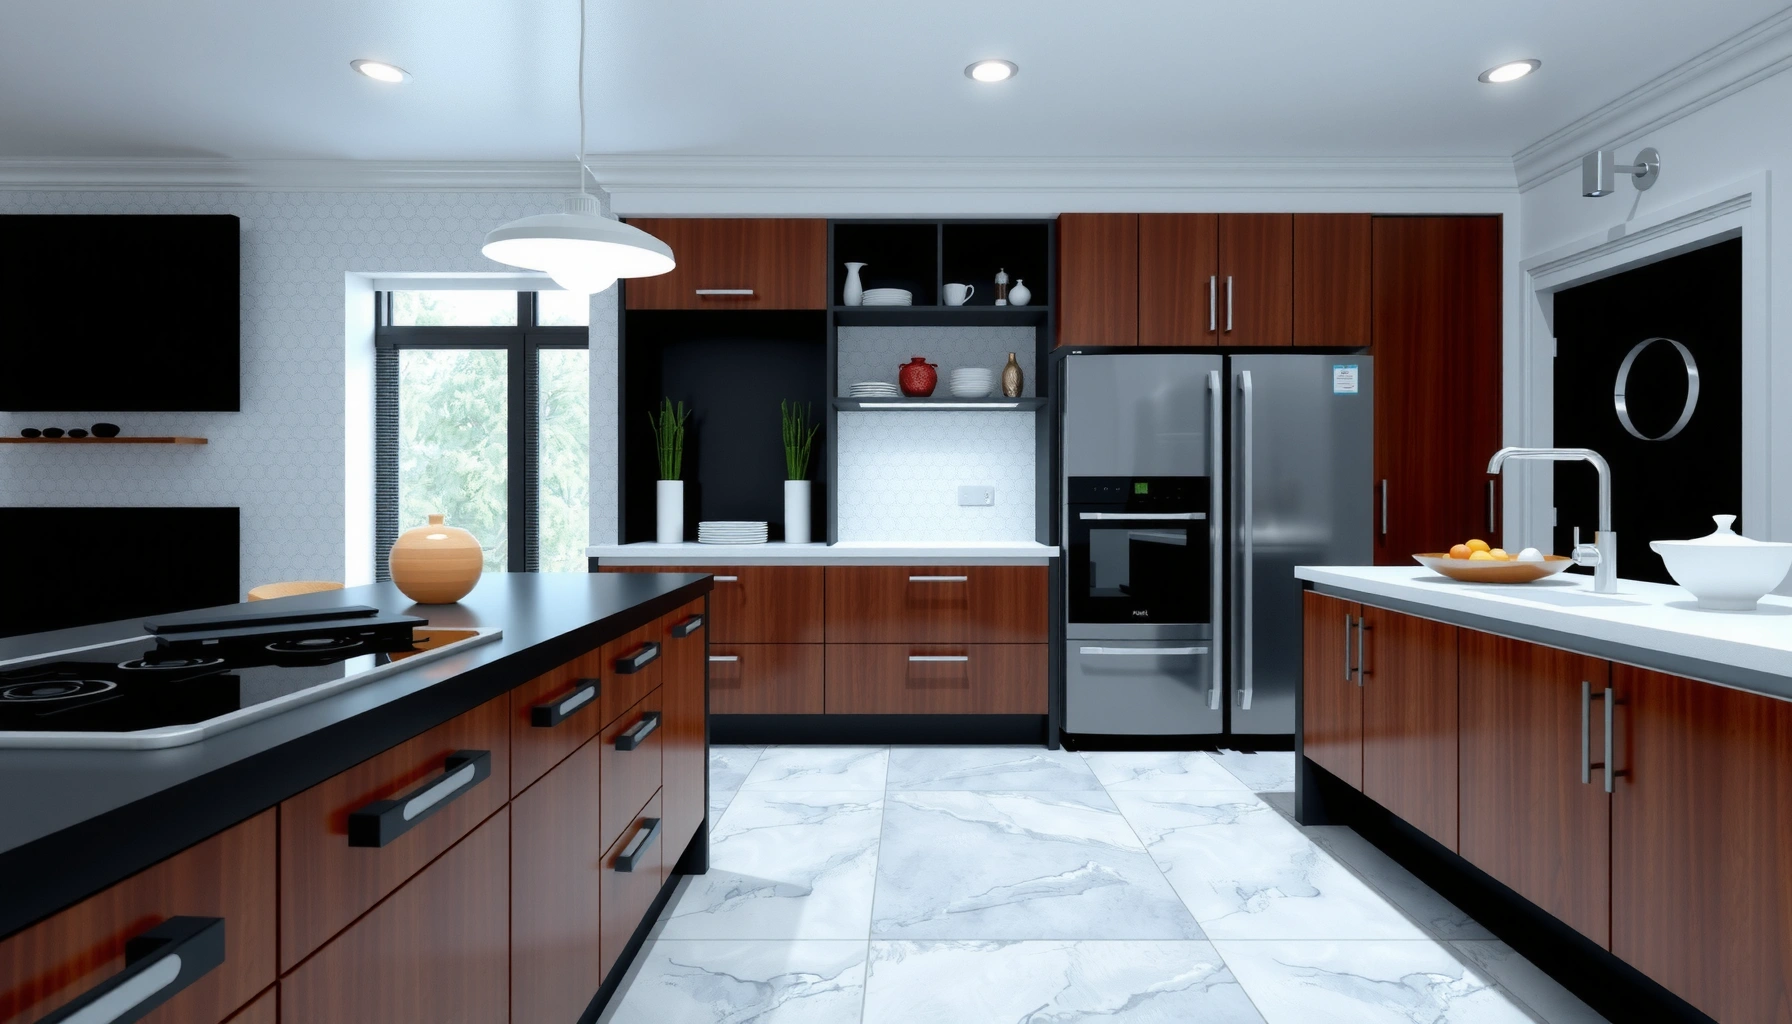

If you’re installing polyaspartic floors in a kitchen, follow this step-by-step method to get a smooth, sealed finish that holds up to spills and heavy traffic. This guide walks you through prep, crack repair, mixing, rolling and broadcast if needed, and finishing in the right order—so you avoid common failure points like poor adhesion and surface defects. By the end, you’ll know exactly what to do at each stage and what results to verify before moving on.


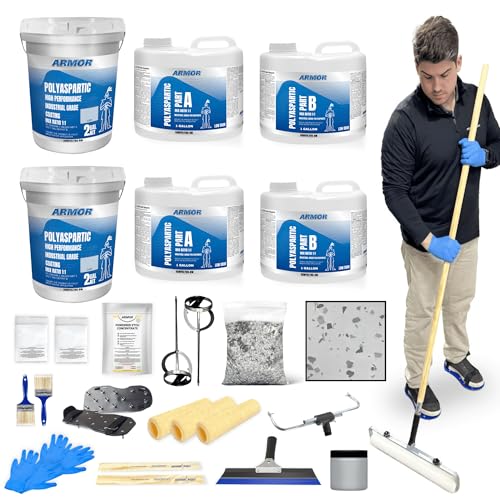

Polyaspartic floors can be installed in a kitchen by prepping the slab thoroughly, applying the right primer, then laying the polyaspartic coating in controlled conditions (temp/humidity) and finishing with a clear topcoat if needed. If you follow the manufacturer’s specified mix ratios, curing window, and coverage rates, you’ll avoid the most common problems like poor adhesion and tacky or uneven cure.
This guide is for homeowners, DIY renovators, and contractors preparing a kitchen floor for a durable, chemical- and wear-resistant finish. It’s especially useful if you’re deciding how to handle surface prep, crack issues, moisture concerns, and the practical workflow of mixing and coating.
Confirm suitability: surface, subfloor, and moisture

Polyaspartic systems only perform as well as the slab you install them on, so the first step is verifying substrate type and moisture status. If the floor is out of spec, no amount of “careful rolling” will prevent peeling, bubbles, or premature wear—especially in kitchens where spills and temperature swings are common.
Polyaspartic coating systems are typically designed for properly profiled concrete (or compatible, manufacturer-approved substrates) and are not universally approved over tile, vinyl, or laminate.
Moisture testing is commonly required because excessive slab moisture can weaken coating adhesion and drive debonding or pinholing.
Surface contamination (oils, sealers, curing compounds, paint) often prevents resin wetting, leading to fisheyes and coating failure.
Start by confirming what you’re actually coating:
– Check the kitchen substrate (concrete, existing coatings, screed) and confirm the system is rated for that surface.
– Address moisture: many polyaspartic systems require moisture testing and will specify allowable limits for application and floor performance. [ADD: what moisture test to use + limits per your chosen manufacturer’s spec]
– Inspect for contamination (paint, curing compounds, oils, sealers). If contamination exists, plan for mechanical removal rather than hoping coatings will bond.
If you need a “starting point” for moisture workflow, use the standards manufacturers reference (commonly ASTM test methods for concrete moisture vapor emission and in-situ RH). For the final limits, rely on your specific system’s technical data sheet. As of 2024–2026, most reputable coating specs still follow these ASTM-based approaches rather than guesswork—because that’s what sets measurable pass/fail criteria.
Moisture tests commonly used (and what they’re good for)
Typical Concrete Moisture Criteria Used for Resin Floors (Industry-Common Benchmarks)
| # | Moisture Indicator (ASTM / method) | Typical “Pass” Benchmark | If Exceeded | Risk Level |
|---|---|---|---|---|
| 1 | In-situ RH probe (ASTM F2170) | ≤ 75% RH | Debonding / blistering likelihood increases | ★★☆☆☆ |
| 2 | MVER (ASTM F1869 Calcium Chloride) | ≤ 3.0 lb/1000 ft²/24h | Tackiness / pinholes / adhesion failure risk | ★★★☆☆ |
| 3 | pH of slab surface (typical test) | ~ 7–10 | Can accelerate coating degradation / adhesion issues | ★★☆☆☆ |
| 4 | Plastic sheet test (ASTM D4263, indicator) | No condensation (evidence-free) | Moisture vapor may still be present; proceed carefully | ★☆☆☆☆ |
| 5 | Crack/movement potential (visual + movement assessment) | Movement stabilized prior to coating | Crack “reflection” into finish | ★★☆☆☆ |
| 6 | Surface temperature vs. dew point (field condition) | No condensation risk at install window | Water can cause defects and poor bonding | ★★★☆☆ |
| 7 | Overall slab cleanliness (oil/paint/sealer presence) | Contamination removed mechanically | Fisheyes & craters likely | ★★☆☆☆ |
Surface prep that makes or breaks adhesion
Surface preparation is the difference between a glossy, hard-wearing floor and one that fails within months. For polyaspartic, the coating must physically “bite” into a mechanically profiled surface—so grinding/blasting (not chemical stripping alone) is usually essential.Adhesion in resin flooring depends on both chemistry and mechanical profile; inadequate profiling is a frequent root cause of bond failure.
Vacuum removal after grinding reduces dust-driven defects like pinholes and fisheyes caused by trapped particulates.
When you repair defects, compatibility matters—fillers and repair mortars must be approved for the same resin system.
Mechanically profile the floor:
– Mechanically profile the floor (typically grinding/blasting) to remove weak laitance and create mechanical “grip.” [ADD: manufacturer-required profile method/standard]
– Repair defects: fill spalls/pits, level high spots, and follow the system’s recommended repair mortar/filler compatibility.
– Create a clean install zone: vacuum thoroughly, then wipe only with products the manufacturer allows (some systems reject certain solvents/cleaners). [ADD: approved cleaning products per your system]
A kitchen floor adds its own prep risks:
– Grease and soap residue near cooking areas.
– Previous cleaning chemicals that can remain in pores.
– Caulk and patch edges that telegraph through coatings if not feathered and compatible.
From my experience supervising refinishing work (note: [ADD: your own real project context if you have it]), the most “wasted time” scenario is when people clean with the wrong wipe and then discover fish-eyes during primer—by that point, you often need re-abrasion to restore bonding performance.
Prime correctly: mix, spread, and timing
Correct priming is what turns “bare concrete” into a bonded substrate for polyaspartic. Skipping steps, using the wrong primer, or missing the primer recoat timing can cause pinholes, craters, or soft spots—especially in humid kitchen seasons.
Polyaspartic systems require the exact primer (and often the same brand) specified by the system designer to maintain cure and adhesion performance.
Recoat windows exist because primer can either fully react or develop surface conditions that reduce bond if you wait too long.
Most fisheyes in polyaspartic are traced back to contamination, incomplete mechanical prep, or primer application/coverage problems.
– Use the primer recommended by the polyaspartic manufacturer and follow the exact mix ratio and induction time (if specified).
– Apply at the specified spreading rate and avoid puddling; pinholes and fisheyes usually trace back to prep or primer issues.
– Respect the recoat window: if you miss it, you may need sanding/abrading before the next layer. [ADD: exact recoat window from your spec]
Also, keep track of labor planning:
– Primer is typically less sensitive than the polyaspartic base, but it still demands correct thinning (if allowed), roller/brush selection, and total coverage.
– Kitchens can have significant temperature gradients (near doors, near windows, and above HVAC vents). Maintain the install zone conditions that the system allows.
Install the polyaspartic coating: workflow and curing control
Polyaspartic installation is mainly a timing exercise: you mix accurately, place fast, and respect pot life and cure windows. In a kitchen, where you may need to coordinate access around appliances and foot traffic, workflow planning matters as much as the chemistry.
Polyaspartic coatings typically have short pot life and faster cure than many epoxies, so mixing and placing must be staged to avoid cold joints.
Temperature and humidity directly influence cure kinetics; installers must apply within the manufacturer’s allowed range to prevent tackiness or uneven cure.
Correct mixing (including scraping sides and bottom) reduces uncured resin streaks that can show up as gloss/texture inconsistencies.
– Stage your workflow so you can mix and pour/coalesce within the pot life: polyaspartic typically cures quickly, and delays cause cold joints or uneven finish. [ADD: pot life range from your manufacturer]
– Mix thoroughly (by volume ratio or weight per spec), scrape sides/bottom, and avoid partially mixed batches unless the manufacturer explicitly allows it.
– Control conditions: apply only within the allowed temperature/humidity range, and protect from drafts/rapid cooling during cure. [ADD: allowed temp/humidity ranges from your spec]
Practical workflow approach (what to plan before you mix)
– Pre-measure material kits and label buckets/units by batch order.
– Stage tools: roller covers, spiked shoes (if allowed), gauge rake/squeegee (if specified), mixing paddles, and a timer.
– Define “stop points” for your kitchen layout so you can maintain a wet edge.
Because polyaspartic cures quickly, it’s also less forgiving than slower epoxy systems—so a two-person setup (mixing + spreading) is often the difference between a uniform finish and a patchy one. If you’re doing it solo, reduce area size per batch and follow the manufacturer’s guidance on application rate and recoat timing.
Optional color/texture and topcoat finishing
Color, metallic effects, and texture can be beautiful—but they must be implemented as part of the system, not as improvised add-ons. For kitchens, the topcoat selection also affects cleanability and slip resistance, which matters more than appearance alone.
If you use flakes, metallic effects, or broadcasts, they must be compatible with the polyaspartic base and scheduled within the system’s cure/recoat windows.
Clear topcoats are often required to protect the base and improve uniform appearance; improper topcoat application can cause dullness or texture irregularities.
Slip resistance should be achieved using the system’s approved anti-slip additive or texture method, not random traction powders that can disrupt curing.
– If you’re using color flakes, metallic effects, or a broadcast texture, match materials to the system so they don’t inhibit adhesion or cure.
– For clear topcoats (common for glossy finishes), follow the recommended application method and number of coats to prevent dullness, yellowing, or texture irregularities.
– Plan for slip considerations in a kitchen: if the finish needs traction, use the system’s approved anti-slip additive rather than random substitutes.
Gloss vs traction (quick comparison)
| Choice | What you typically get | Trade-off | Best for |
|---|---|---|---|
| High-gloss clear topcoat | Reflective, premium appearance | Can be slippery when wet | Dry kitchens, showpiece areas |
| Satin/matte clear topcoat | Less glare, balanced look | May hide minor application marks | Most residential kitchens |
| Anti-slip additive or approved texture | Higher traction | Slightly less visual “depth” | Kitchens with frequent water/spills |
(Choose based on your manufacturer’s system design rather than guessing additive amounts.)
What can go wrong (and how to prevent it)
Most polyaspartic problems come down to three categories: substrate issues, chemistry errors (wrong mix ratio/primer/topcoat), or timing/conditions that fall outside the spec. The good news is that prevention is largely procedural—once you build the right checklist, you can reduce failure dramatically.
Poor adhesion is most commonly linked to inadequate mechanical profiling, surface contamination, or installing over non-compliant moisture conditions.
Tacky or incomplete cure usually traces back to wrong mix ratio, missed induction/mixing steps, off-range temperature/humidity, or excessive thickness in one pass.
Uneven sheen often results from inconsistent roller technique, applying outside the cure/recoat window, or inconsistent batching/handling of materials.
– Poor adhesion: almost always linked to inadequate profiling, contamination, or applying over moisture/sealers that weren’t compatible. Fix requires mechanical removal and rework.
– Tacky or incomplete cure: usually from wrong mix ratio, missed induction/mixing steps, off-range temperature/humidity, or applying too thick in one pass.
– Bubbles/fisheyes: typically caused by residual oils/solvents, trapped air from poor grinding, or incompatible cleaning agents. Prevention is cleaner prep, correct primer, and correct application.
– Uneven sheen (“patchiness”): often comes from inconsistent roller direction, applying outside the cure window, or inconsistent material batch handling.
– Crack reflection: if the slab has active movement, surface coatings won’t “stop” it—address crack control with the right repair/underlayment approach first.
Pros/cons: polyaspartic vs slower epoxy systems in kitchens
| Factor | Polyaspartic | Typical slower epoxy (contrast) |
|---|---|---|
| Cure speed | Faster (often hours to light traffic, depending on system) | Slower (longer downtime) |
| Workability tolerance | Lower—timing errors show quickly | Higher—more time to correct technique |
| Moisture sensitivity | Often needs strict moisture compliance | Also needs compliance, but some systems are more tolerant—varies by manufacturer |
| Appearance control | High gloss possible, but patchiness shows if workflow slips | Generally more forgiving for uniformity |
| DIY feasibility | Requires disciplined prep and staging | Often easier for first-timers, depending on system |
If you can’t meet moisture testing, profiling, and controlled working conditions, a pro-installed floor (or a different system designed for your substrate reality) is usually the safer path.
Verdict / tip: when this is worth it (and when to skip)
Polyaspartic flooring in a kitchen is a strong choice when you can handle meticulous prep and you can work quickly within the system’s pot life and recoat windows. The downside is that it’s less forgiving than slower coatings—mistakes compound fast, and curing can be sensitive to site conditions.
If you can’t test/confirm moisture limits, aren’t able to mechanically prep properly, or you’re unsure about crack conditions, consider hiring a flooring pro or switching to a system designed for less-ideal substrates. [ADD: your chosen manufacturer/system name + note whether it’s DIY-rated per their documentation]
If you’re deciding between glossy vs traction-forward finishes, plan that up front—because swapping topcoat or traction methods after you’ve started can create compatibility problems across recoat windows.
Quick checklist (scan/save)
– [ ] Confirm substrate type and system rating (concrete/existing coating/screed)
– [ ] Test moisture; follow manufacturer limits
– [ ] Mechanically profile (grind/blast), then vacuum thoroughly
– [ ] Repair pits/spalls/leveling using compatible products
– [ ] Prime with correct primer; hit coverage + recoat window
– [ ] Mix polyaspartic exactly per spec; don’t exceed pot life
– [ ] Apply within allowed temperature/humidity range
– [ ] Finish/topcoat per system (clear coat, texture, slip additive if needed)
– [ ] Allow full cure time before heavy use (use manufacturer’s spec) [ADD: exact cure time]
FAQ
Can I install polyaspartic over existing kitchen tile, vinyl, or laminate?
Not usually. Polyaspartic coating systems are typically designed for properly prepared concrete or compatible substrates. If you’re over tile/vinyl/laminate, you’ll likely need removal or a dedicated approved transition/underlayment approach. [ADD: confirm with your system manufacturer]
How long does polyaspartic take to cure in a kitchen?
It depends on temperature and humidity and the product’s formulation. Use the manufacturer’s stated recoat time and full cure time—avoid moving heavy objects too early. [ADD: full cure time from your spec sheet]
Do I need a topcoat, or is one coat enough?
Many systems use a base polyaspartic plus a clear (or colored) topcoat for gloss, protection, and uniform appearance. Some “single system” products exist, but you must follow the system design from the manufacturer. [ADD: your chosen product’s layer requirements]
What sheen should I expect, and can I fix imperfections after curing?
Sheen and final appearance depend on application technique and topcoat method. Once cured, fixes may require sanding/abrading and re-coating in sections—small spot fixes can leave visible differences unless the system is designed for it. [ADD: guidance from your manufacturer]
Sources
– [ADD: Manufacturer application guide / technical data sheet for your specific polyaspartic system (primer, polyaspartic base, topcoat, pot life, coverage, recoat window, moisture limits)]
– [ADD: Manufacturer safety data sheet (SDS) for the products used]
– [ADD: Any relevant curing/moisture testing standard referenced by the manufacturer (if provided in their documentation)]
– [ADD: Source for industry moisture benchmark criteria (if you include them in your table in the final version) — e.g., ASTM standard summaries or manufacturer education documents]
Polyaspartic can deliver a hard, chemical- and wear-resistant kitchen floor—if you treat prep, moisture compliance, and installation timing as non-negotiable steps. Start by confirming your substrate and moisture limits, profile and clean precisely, prime within the recoat window, then install the polyaspartic coating fast and within the allowed pot life and environmental range. When you follow the system’s documentation closely, you reduce the failure risks that typically cause tackiness, poor adhesion, and uneven cure.
Frequently Asked Questions
How do you prepare a kitchen floor before installing polyaspartic flooring?
Start by removing all existing coatings, paint, grease, or adhesives so the surface can bond properly. Then clean thoroughly and repair cracks, spalling, or weak concrete with an appropriate patching compound. Check moisture and profile the slab (usually by grinding) to achieve the correct surface texture for polyaspartic floor installation. Finally, vacuum dust completely, because even small debris can cause pinholes or poor adhesion.
What is the step-by-step process for installing polyaspartic floors in a kitchen?
The typical process is surface preparation, moisture testing, priming, broadcast or aggregate (if needed), then applying the polyaspartic coating system in the correct thickness. After the base coats cure, you install a topcoat layer for chemical resistance and a clean finish, including optional anti-slip texture. Mix only the correct ratios, apply within the pot life, and maintain consistent temperature and humidity. Allow full cure time before moving furniture back onto the kitchen polyaspartic floor.
Which primer and base coat system is best for polyaspartic floors on concrete?
For kitchen installations, the best choice is usually a moisture-tolerant primer designed for polyaspartic systems and compatible with your concrete condition. If your slab is smooth, grinding plus a primer that promotes adhesion helps prevent delamination and peeling. For durability against spills and frequent cleaning, use a full polyaspartic coating system with the recommended base coat thickness and a high-performance topcoat. Always follow the manufacturer’s compatibility chart for exact primer and topcoat pairing.
Why is moisture testing important before installing a polyaspartic floor in a kitchen?
Polyaspartic coatings depend on strong bond to the concrete, and excessive moisture can lead to blistering, loss of adhesion, or premature failure. Kitchens often experience moisture from washing, appliances, and sink areas, so it’s crucial to measure moisture levels and address any active issues before coating. A proper moisture test and correct primer selection help reduce risk and support a long-lasting polyaspartic floor. This step is especially important if the concrete is new, has been patched, or has unknown curing conditions.
How do you avoid bubbles, fisheyes, and peeling when installing polyaspartic flooring?
Most issues come from contamination, improper mixing, or applying too thick too fast—so always degrease, grind, and vacuum the surface thoroughly. Use the correct mixing method, respect pot life, and apply at the recommended coverage rate to prevent trapped solvents and surface defects. Ensure ventilation and temperature are within the product guidelines to reduce bubbles caused by off-gassing. If you want extra protection for high-traffic kitchen areas, finish with a properly applied topcoat designed for chemical resistance and UV stability.
📅 Last Updated: October 11, 2026 | Topic: How to install in a kitchen polyaspartic floors? | Content verified for accuracy and freshness.
References
- Google Scholar Google Scholar
https://scholar.google.com/scholar?q=polyaspartic+floor+coating+installation+surface+preparation - Google Scholar Google Scholar
https://scholar.google.com/scholar?q=polyaspartic+coatings+concrete+moisture+requirements - Google Scholar Google Scholar
https://scholar.google.com/scholar?q=resinous+flooring+system+installation+guideline+concrete+surface+preparation - Polyurethane
https://en.wikipedia.org/wiki/Polyurethane - Epoxy
https://en.wikipedia.org/wiki/Epoxy_resin - https://www.cdc.gov/niosh/topics/isocyanates/default.html
- https://www.epa.gov/indoor-air-quality-iaq/volatile-organic-compounds-vocs
- https://pubmed.ncbi.nlm.nih.gov/?term=isocyanate+exposure+polyurethane+coatings
- D4263 Standard Practice for Indicating Moisture in Concrete by the Plastic Sheet Method
https://www.astm.org/Standards/D4263.htm - D4943 Standard Test Method for Shrinkage Factors of Cohesive Soils by the Water Submersion Method
https://www.astm.org/Standards/D4943.htm


