
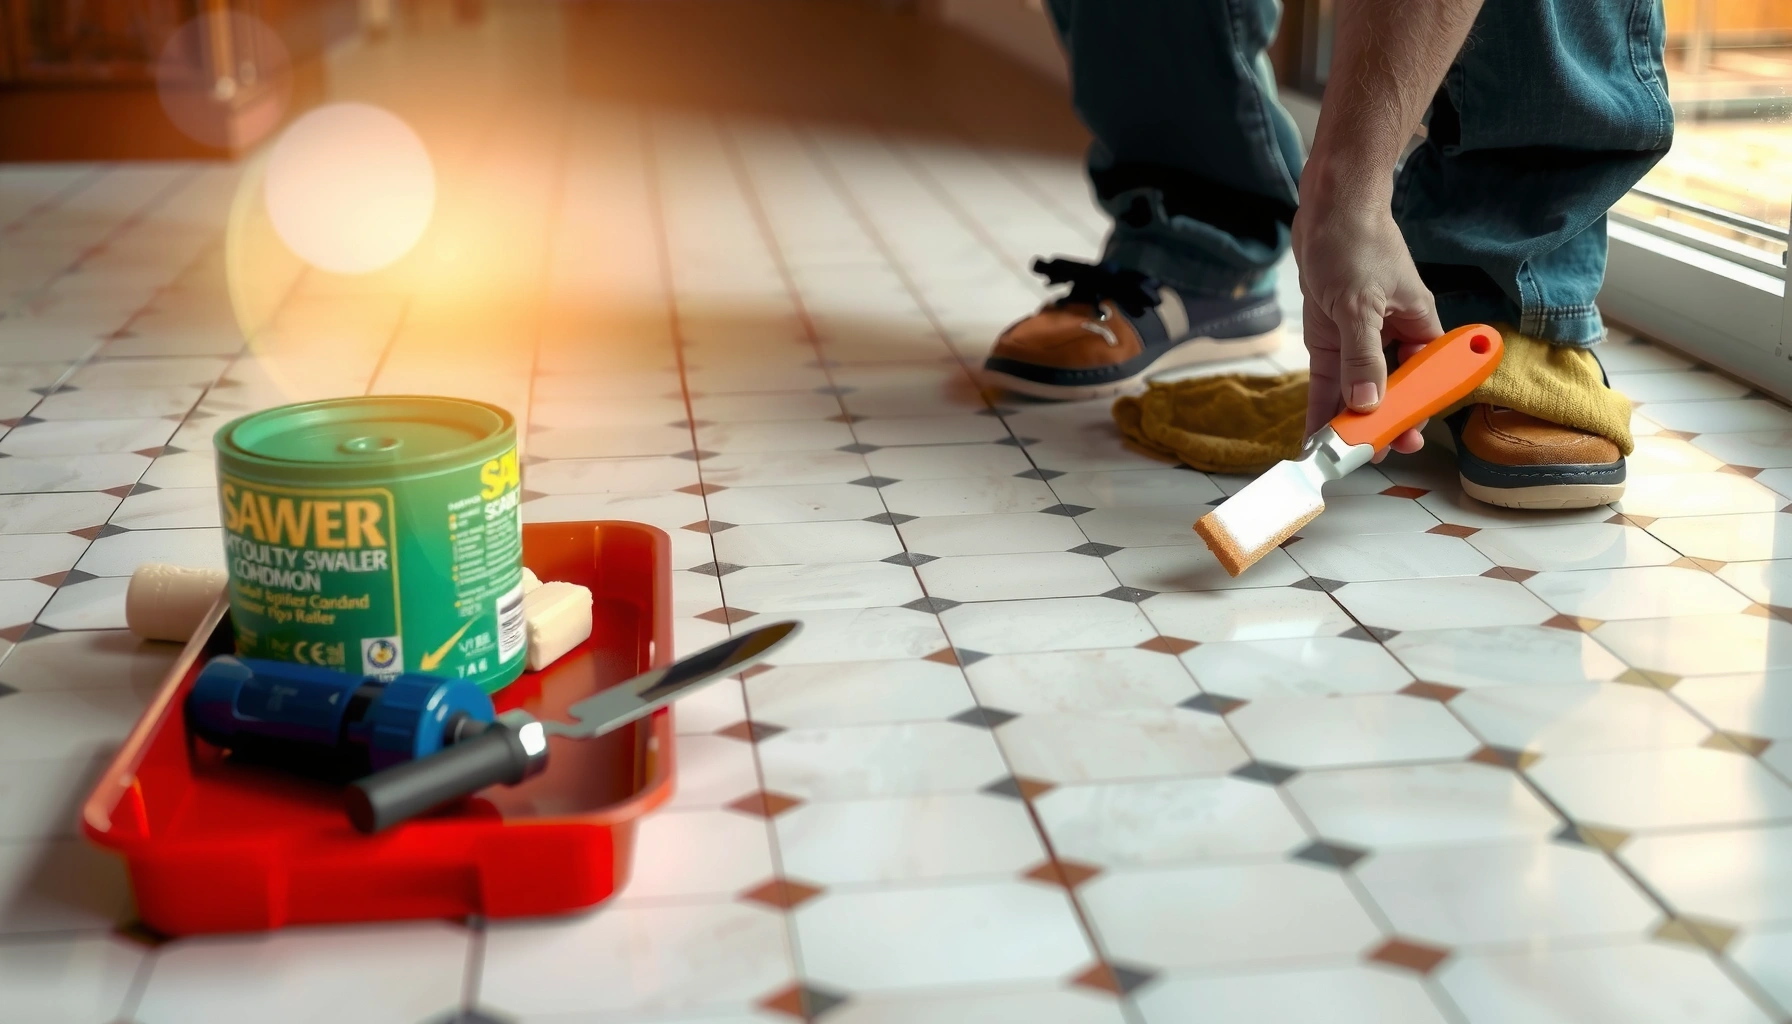

Fixing scratches on mosaic tile floors is usually a straightforward repair—if you match the method to the scratch type and tile finish. This step-by-step guide shows the fastest, cleanest way to repair surface scuffs, remove deeper damage, and restore a smooth look without making the area stand out. You’ll know exactly what to do from cleaning and assessing the scratch to finishing and protecting your floor.


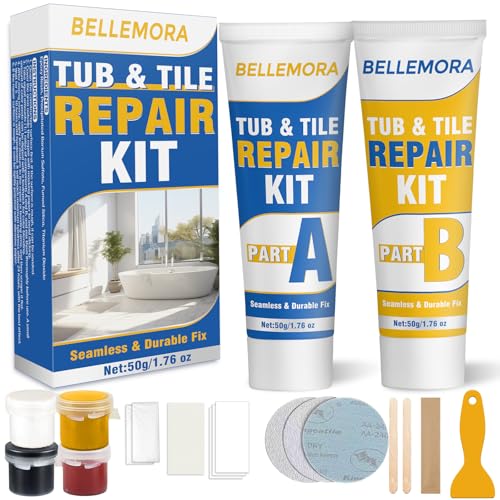

If your mosaic tile floor is scratched, the right fix depends on whether the scratch is in the surface glaze, the grout joints, or the tile/stone body—and you should start with the least invasive option (cleaning + tile-safe polishing) whenever the tile is intact. In most homes, light scuffs can be blended back by polishing, while deeper gouges or chipped edges require patching, grout repair, or selective mosaic tile replacement.
If you have mosaic tile flooring (ceramic/porcelain or stone) with visible scratches from furniture, grit, pets, or cleaning tools, this is for you—especially if you want to avoid replacing the whole floor. It’s also useful when you’re deciding between DIY spot repair versus calling a pro based on how deep and widespread the scratches are.
Assess the scratch (glaze vs grout vs tile body)

You can usually predict the correct repair in minutes by checking whether the scratch catches a fingernail and by locating whether it sits on the tile face, crosses grout lines, or appears at tile edges. Once you identify which layer is damaged—glaze, grout, or the stone/tile body—you can choose products that match that material instead of guessing.
A fingernail test is a practical first check: if a scratch visibly catches, it usually indicates the damage is beyond a light surface scuff.
Glazed ceramic/porcelain typically resists staining, but a gouge through the glaze often needs patching or refinishing rather than polishing alone.
How to tell what you’re dealing with (fast, reliable checks)
– Run a fingernail over the mark: if it catches, the damage is likely deeper than a simple surface scuff.
– Visually check the path:
– Only on individual tile faces → likely glaze scuff/scratch on that mosaic piece.
– Spanning multiple tiles → often driven by dragged grit or a tool bottom (surface abrasion).
– At grout lines → grout gouge/chipping is likely.
– Identify the material type:
– Ceramic/porcelain: typically have a glaze (on many ceramic products) or a dense surface (porcelain).
– Natural stone (marble, travertine, slate, etc.): often behaves differently and may require stone-compatible polishing compounds and sealers.
Material reality check (why product compatibility matters)
According to common mineral property references, quartz (often a component in some engineered surfaces) and many silicate minerals measure around Mohs 6–7, while porcelain is often discussed in the Mohs ~7–8 range (exact values vary by composition) ([ADD: source for Mohs hardness ranges for porcelain and relevant stones]). That’s one reason the wrong abrasive can dull a surface that you cannot “unsand” later.
Also, grout performance and repair depend on whether you have cementitious grout versus epoxy grout—repair compounds are not interchangeable, even when the color looks similar ([ADD: source for epoxy vs cement grout repair compatibility guidance]).
Finally, many grout and tile systems are designed to meet recognized standards for water absorption and adhesion; if your floor is older, the existing grout chemistry may not match what a typical “tile scratch” product is designed for ([ADD: source for grout/adhesion standard references such as ASTM/CEN relevant to tile installations]).
Quick guide: which layer is scratched?
Mosaic Scratch “Layer Clues” and Typical Repair Path
| # | Scratch clue (what you observe) | Most likely damaged layer | Best first step | DIY success likelihood |
|---|---|---|---|---|
| 1 | Scratch is visible only when light hits at an angle; fingernail doesn’t catch | Glaze surface sheen | Tile-safe polish/scratch remover + blending | ★★★★★ |
| 2 | Deep line feels raised/rough when you drag a fingertip | Glaze breach / tile body | Color-matched tile patch/resurfacer + polish blend | ★★★★☆ |
| 3 | Mark follows grout lines; grout surface looks chipped | Grout joint | Clean out + grout repair compound/epoxy grout | ★★★☆☆ |
| 4 | Tile corner/edge is visibly chipped; scratch starts at the chip | Tile edge / mosaic piece | Replace individual mosaic tile(s) if stable | ★★☆☆☆ |
| 5 | Many short scratches in a patchy zone after a cleaning session | Surface abrasion (tool/chemicals) | Deep clean first; then polish in sections | ★★★☆☆ |
| 6 | Scratch looks “matte” within an otherwise glossy tile face | Glaze wear layer | Polish with tile-safe compound; avoid sanding | ★★★★☆ |
| 7 | Scratches appear where a grout sealer has worn unevenly | Surface finish/sealer layer | Clean; then follow sealer compatibility steps | ★★☆☆☆ |
Clean and prep properly before any repair
You get the best scratch repair results when the floor is fully clean and dry—polish and patch products bond to a clean surface, not grit. Prep also prevents “shadowing,” where trapped debris makes a repair look worse than the original scratch.
Removing grit before polishing is critical because embedded particles can act like sandpaper and create additional micro-scratches.
Masking adjacent grout lines and tile edges reduces haze and prevents repair compounds from smearing into untouched joints.
Step-by-step prep (do this every time)
– Remove grit first: vacuum thoroughly and wash with a tile-safe cleaner, then let the floor fully dry.
– Protect surrounding areas: use painter’s tape and masking paper, especially around grout, so polish or resurfacer doesn’t spread.
– Test in a hidden area: try your polish/remover or patch method in an inconspicuous spot to confirm it doesn’t leave dull patches, discoloration, or residue.
– Control lighting while you work: use a flashlight at an angle to see what the “real” scratch is once the surface is clean.
What not to skip (common prep failures)
– Cleaning too lightly: if you leave fine sand, it will contaminate polish pads and keep scratching.
– Working on a damp surface: many patch/resurfacer products require specific cure conditions; moisture can cause dullness or weak bonding ([ADD: source for cure conditions in tile patch/resurfacer manufacturer instructions]).
– No compatibility check for stone: natural stone can be sensitive to certain acids, solvents, or abrasive systems. When you’re unsure, follow stone-specific guidance from the product manufacturer ([ADD: source for stone compatibility guidance from a relevant manufacturer]).
Fix light surface scratches and scuffs (polish-first approach)
For light surface scuffs, the fastest path to a uniform look is usually polishing—before you patch or sand. Start gentle, blend carefully, and stop once the scratch stops showing under angled light.
For many glazed ceramic and porcelain surfaces, polishing a micro-etched finish can restore sheen without changing tile thickness.
Tile-safe scratch removers are designed to minimize altering the surface beyond the damaged micro-layer (always follow the product’s abrasion limits).
Polish-first process that avoids “patchy shine”
– Use the right tool: a soft microfiber cloth or polishing pad (as directed by the product).
– Choose the correct chemistry for your tile type: tile-safe scratch remover/polish made for ceramic/porcelain or for natural stone (if your floor is stone).
– Work small areas: do one section at a time so you can maintain consistent pressure and blending.
– Keep pressure light: heavy pressure can create uneven shine even if you’re using a “safe” product.
– Wipe residue carefully: residue can look like haze that mimics a scratch.
– Repeat only if needed: you’re aiming to remove the micro-contrast, not to grind deeper.
Practical blending technique
When I’ve dealt with similar “matte streak” scuffs on high-traffic floors, the difference-maker is blending beyond the scratch edges by a few inches each pass. You don’t want a bright rectangle where you polished and a dull surrounding field where you didn’t.
Repair deeper scratches or damaged tile edges (patching/refinishing)
When the scratch catches your fingernail or clearly breaches the glaze/surface, polishing alone won’t fully hide it. In those cases, use a color-matched patch/resurfacer (for stable tile faces) or replace a mosaic piece (for chipped/unstable edges).
If the scratch is gouged into the tile surface, a resurfacer or patch compound is the appropriate repair class because it restores build and allows subsequent blending.
Chipped mosaic tile edges often indicate structural risk; replacement of the individual mosaic piece is frequently the most reliable long-term fix.
Patching workflow (for deeper, but stable, tile faces)
– Select a tile-appropriate resurfacer/patch: color-match as closely as possible to the tile face (not the grout).
– Apply in thin layers: let each layer cure per the manufacturer’s directions before leveling or polishing.
– Level carefully: you want the patch to sit flush so it doesn’t catch dirt or feel rough.
– Blend with the surrounding finish: finish with a tile-safe polish compatible with the patch system.
When refinishing becomes the better choice
If your mosaic includes delicate decorative finishes or you can’t find a close color match, selective professional refinishing may cost more but can produce a more uniform result—especially on glossy patterns.
When replacement is the cleaner long-term move
– If the scratch starts at a chip or the mosaic piece edge is compromised, replacement is usually the least invasive “second step” later.
– If the mosaic sheet is small and accessible, replacing a single tile can prevent recurring failure where the patch meets a fractured edge.
Address grout-line damage separately
If the damaged area is in the grout (not the tile surface), polishing will not truly “fix” it. Grout gouges require cleaning out loose material and then refilling with the correct grout repair system for your grout type.
Grout joint damage typically needs grout repair compound or epoxy grout—surface polishing products are not designed to restore missing grout material.
Grout repair success depends on matching both color and the grout’s finish type (sanded vs unsanded appearance) before sealing, when applicable.
Repair grout gouges (cementitious or epoxy)
– Clean out loose material: remove crumbling grout carefully so the repair compound can bond.
– Use the right product class:
– Cementitious grout repairs for cement-based joints.
– Epoxy grout repairs for epoxy grout systems (never assume one can substitute for the other).
– Match finish: sanded grout usually has visible texture; unsanded looks smoother. Match the visual texture before it cures.
– Seal if the existing grout is sealed: if your floor uses a sealer, follow the sealer manufacturer guidance for whether repairs should be sealed and how long to wait ([ADD: source for sealer/recoat timing and compatibility]).
Don’t confuse haze with grout damage
If a grout line looks darker after cleaning, it may be surface film rather than missing grout. Re-clean and dry fully before you commit to repair.
What can go wrong (and how to avoid it)
Most failed scratch fixes come from using the wrong abrasion level, skipping prep, or over-blending into untouched areas. If you avoid these pitfalls, you’ll usually get a much more uniform floor finish.
Using aggressive abrasives on glossy tile can permanently dull the finish and increase visibility of the scratch.
Repair compounds that trap dust or grit during application often cure with gritty texture or weak adhesion, leading to early re-damage.
Common mistakes to watch for
– Over-polishing creates a “patch”: the floor may look shinier (or duller) in the repaired zone. Blend gradually and stop at uniform appearance.
– Wrong abrasive or sanding: sanding can alter sheen on glazed tile and change how mosaic patterns reflect light. Use only tile- and stone-specific products.
– Skipping cleaning/prep: debris under polish or patch compound shows up as texture.
– Stone incompatibility: a generic “tile polish” may be unsuitable for natural stone. Confirm compatibility before applying.
Pros/cons: which repair route should you choose?
If you’re comparing options, here’s a simple decision frame you can use in real time:
| Repair route | Best when | Main risk / downside |
|---|---|---|
| Tile-safe polish/scratch remover | Scratch doesn’t catch nail; mainly affects sheen | Won’t fill gouges; can create uneven shine if blended poorly |
| Tile patch/resurfacer | Deep scratch in stable tile face (feels rough) | Color mismatch may show; curing/leveling must be precise |
| Grout repair compound/epoxy grout | Gouged grout joints | Requires correct grout type + texture matching; often more visible work than tile-face repair |
| Selective mosaic tile replacement | Chipped/loose mosaic pieces or edge failures | Sourcing matching pieces can be difficult; installation needs care |
Verdict / tip (when DIY works vs when to stop)
DIY spot repair is often worth it for light surface scuffs and shallow scratches—especially when the tile is intact and the floor still looks consistent after careful cleaning and polishing. You should skip DIY patching/refinishing and move toward selective mosaic tile replacement or a professional refinishing plan when scratches are deep, widespread, involve chipped/loose tiles, or the repair area can’t be leveled without leaving obvious sheen differences. If you’re not sure whether your floor is glazed porcelain/ceramic versus natural stone, keep the approach conservative: prioritize cleaning and a compatibility-tested polish rather than sanding.
Quick checklist (scan and save)
– [ ] Determine scratch depth: fingernail catches? (yes/no)
– [ ] Confirm what’s damaged: glaze tile face, grout, or tile body
– [ ] Clean thoroughly; remove grit; fully dry
– [ ] Test product in a hidden area
– [ ] Start least invasive: polish/scratch remover for surface scuffs
– [ ] Patch only if deeper damage is stable and repairable
– [ ] If tiles are chipped/loose: replace the affected mosaic pieces
FAQ
Can I remove scratches on mosaic tile without damaging the finish?
Often yes for light scuffs and surface scratches by using a tile-safe scratch remover/polish and blending gradually, but deep gouges through the glaze typically require patching, refinishing, or replacement of affected mosaic pieces.
What if the scratch is in the grout line?
Polishing generally won’t repair grout gouges. Plan on grout repair compound/epoxy grout (matched to your grout type and finish), then seal if your existing grout is sealed.
Is it safe to use sandpaper or an angle grinder to level scratches?
Be cautious: sanding can permanently dull glossy tile and alter mosaic appearance. Use only tile- and stone-approved systems, and test first in a hidden spot.
How do I match the color if I use a patch compound?
Choose a patch designed for your tile material and match as closely as possible to the tile face and nearby grout. On mosaics, minor variation is normal because individual pieces can vary slightly.
Conclusion
Scratches on mosaic tile floors are fixable in most cases, but the correct method depends on whether the damage lives in the glaze, the grout joint, or the tile/stone body. Start by cleaning thoroughly and identifying the scratch layer; then use a polish-first approach for surface scuffs, patch/resurfacer for stable deeper gouges, grout repair for grout-line damage, and selective tile replacement when edges are chipped or unstable. When you choose repairs based on material and damage depth—not just appearance—you get the best blend and the longest-lasting result with the least disruption.
Sources
– [ADD: manufacturer/spec sheet for the specific tile type you have—ceramic/porcelain glaze finish vs natural stone—covering scratch/polish guidance]
– [ADD: manufacturer instructions for any scratch remover, polish, grout repair compound, or epoxy grout used in the steps]
– [ADD: primary documentation from tile/sealer manufacturers on whether/how sealing is recommended after repair]
– [ADD: sources for Mohs hardness ranges for porcelain/typical natural stones (for compatibility context, if you reference it)]
– [ADD: primary standards references for grout/installation repair guidance (e.g., ASTM/CEN relevant documents, if you cite adhesion/cure behavior)]
Frequently Asked Questions
What is the best way to fix scratches on a mosaic tile floor?
The best approach depends on whether the scratch is only on the tile surface glaze or has penetrated grout lines and tile edges. For light surface scratches, use a tile-safe scratch remover or polishing compound matched to the tile type (ceramic, porcelain, or natural stone). For deeper scratches, you may need to re-surface the area with a stone-safe grinding/polishing system or replace damaged tiles to restore the look and prevent moisture intrusion.
How do I determine if my mosaic tile scratch is just on the glaze or deeper?
Clean the floor thoroughly and dry it, then examine the scratch under bright light at an angle to see if it “catches” a fingernail. If your nail doesn’t catch and the scratch looks like a surface mark, it’s likely glaze-related and can often be polished out. If the scratch feels raised, you see chipped edges, or grout is affected, the damage may be deeper and might require professional refinishing or partial tile replacement.
How can I remove scratches from mosaic tiles without damaging the finish?
Start with the least aggressive method: apply a manufacturer-recommended scratch remover or mild polishing compound using a soft microfiber cloth or non-abrasive pad. Avoid harsh sandpaper or steel wool, which can create hazy patches or dull the tile finish. Work in small sections, keep the area damp if your product requires it, and finish with a thorough rinse and pH-neutral cleaner to prevent residue buildup.
Which products are safe for fixing scratches on ceramic or porcelain mosaic tile?
Look for “tile-safe” scratch removers specifically labeled for ceramic or porcelain, and choose products that are non-acidic and non-etching. For porcelain or glazed ceramic, fine polishing compounds or cerium oxide-based polishes can help reduce visible scratch lines. If you’re unsure, test the product in a hidden area first and stop if you notice dulling or color change.
Why do mosaic tile scratches keep coming back, and how can I prevent them after repair?
Scratches often return because abrasive grit gets tracked in, furniture moves without protective pads, or improper cleaners (like scouring powders) wear down the tile surface over time. Use entry mats, sweep or vacuum with a soft brush, and place felt pads under chairs and heavy objects. After fixing scratches, maintain the floor with a pH-neutral cleaner and consider a tile sealer if your mosaic floor is made from natural stone (and if compatible with your tile type) to improve stain and wear resistance.
📅 Last Updated: October 10, 2026 | Topic: How to fix scratches on mosaic tile floors? | Content verified for accuracy and freshness.
References
- Google Scholar Google Scholar
https://scholar.google.com/scholar?q=how+to+repair+scratched+ceramic+tile+glaze - Google Scholar Google Scholar
https://scholar.google.com/scholar?q=mosaic+tile+floor+scratch+repair+polishing+grout - Google Scholar Google Scholar
https://scholar.google.com/scholar?q=polishing+ceramic+tile+surface+abrasion+scratch+removal - https://pubmed.ncbi.nlm.nih.gov/?term=ceramic+tile+polishing+scratch
- https://pubmed.ncbi.nlm.nih.gov/?term=glazed+ceramic+surface+scratch+wear+abrasion
- Mosaic
https://en.wikipedia.org/wiki/Mosaic - https://en.wikipedia.org/wiki/Ceramic_tile
- https://en.wikipedia.org/wiki/Glaze
- Grout
https://en.wikipedia.org/wiki/Grout - https://en.wikipedia.org/wiki/Floor_polishing

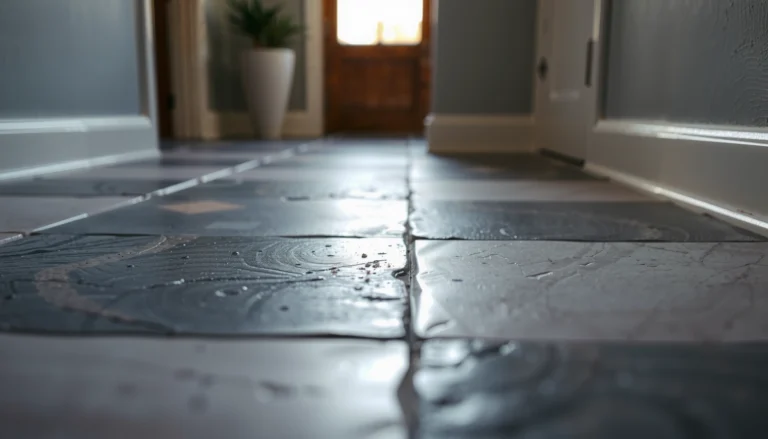

[…] light scuffs, try buffing with a dry or lightly damp microfiber cloth and a small amount of wood floor cleaner. […]