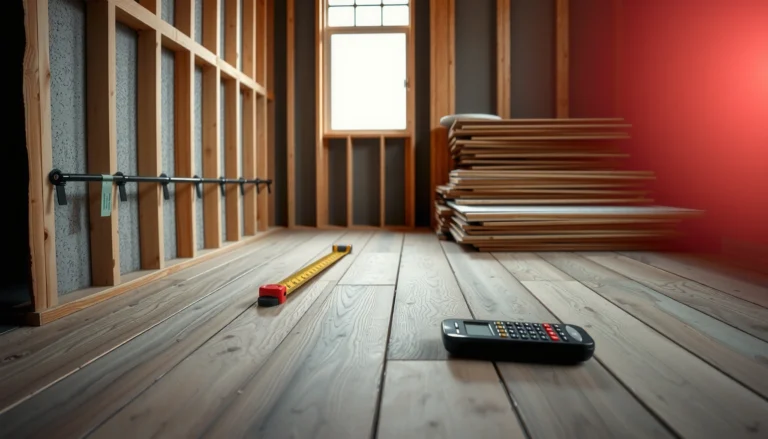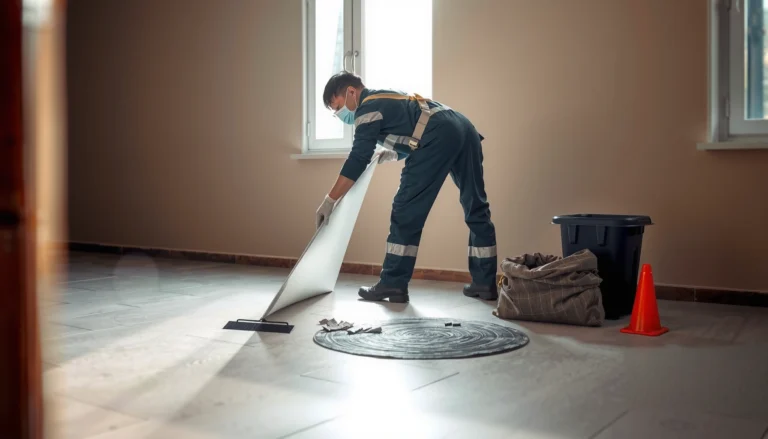

Installing baseboards with tile floors is a job you can finish cleanly—if you follow the right steps for sealing, spacing, and cutting around tile edges. This guide walks you through the exact process, from planning your layout and protecting tile surfaces to fastening the baseboards and finishing the caulk line so water and movement don’t crack the grout. You’ll leave with a step-by-step method that holds up to tile realities, not a guess-and-check approach.




Installing baseboards against tile floors is mainly about creating a tight, water-resistant floor edge: plan your cut to match the tile height/profile, leave the proper expansion gap, and seal the bottom joint. In practice, you’ll either scribe/cut the baseboard to the tile contour for a near-perfect fit or use a controlled caulk line where the tile surface is acceptably flat.
Installing baseboards over finished tile is common when you’re replacing trim after a tile remodel, or when you’re adding trim along an already-tiled room. This approach is also especially important if your tile edges are slightly uneven, your grout lines vary in height, or your wall/floor plane isn’t perfectly straight—because the tile floor doesn’t forgive hard, “pinched” trim-to-floor contact.
Plan the layout and confirm heights
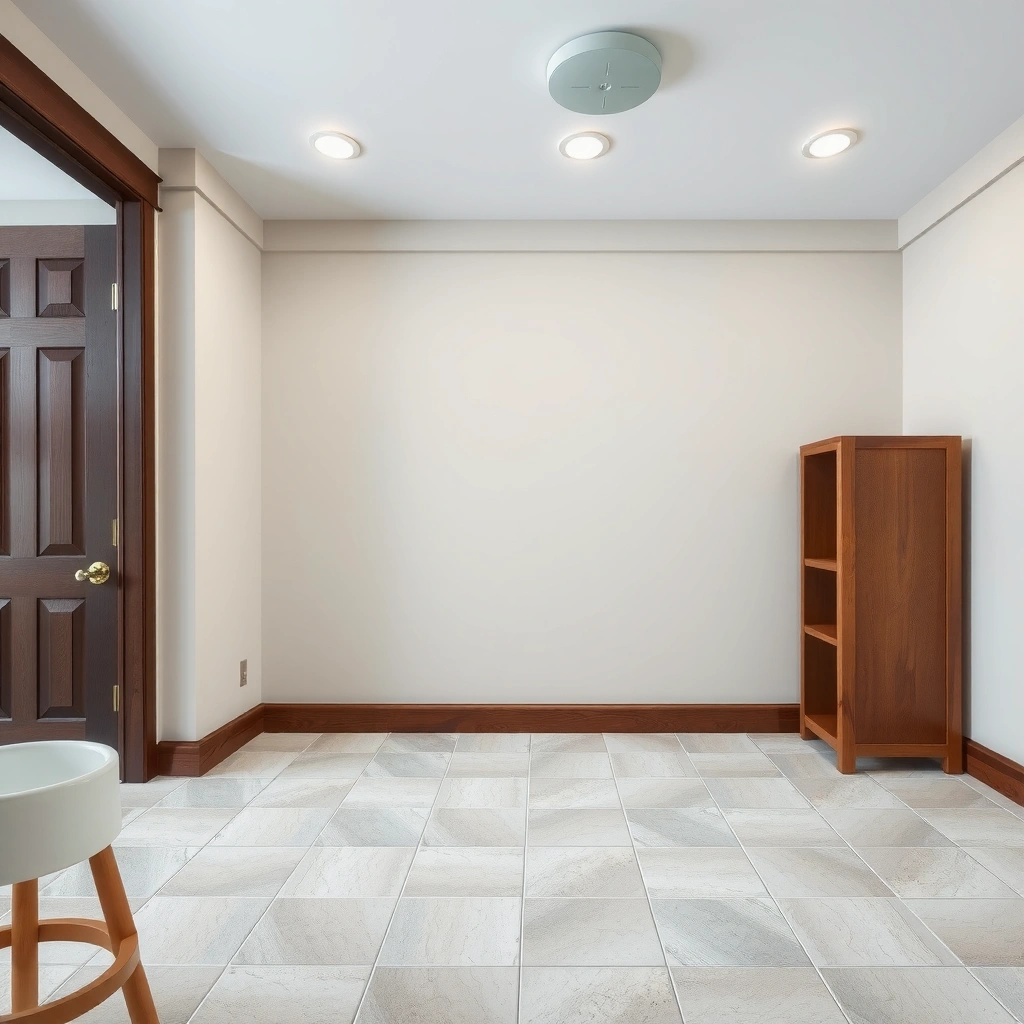
Plan first to avoid re-cuts: you’re aligning the finished baseboard bottom with the tile edge and any transitions, then deciding how you’ll handle irregular tile contours. If you get the height and strategy right up front, the actual fastening becomes straightforward.
Start by measuring the finished tile height (including thinset, underlayment if applicable, and any changes at doorways). Then measure where the baseboard bottom will land relative to that tile surface. This matters because baseboards don’t sit “on” tile the way they do on subfloor; they sit against the wall while the bottom edge must clear the tile profile and allow movement.
Here’s the key decision: do you want the baseboard to mechanically follow the tile edge (best-looking), or do you want a sealed joint that blends minor irregularities (faster, but less forgiving)? Scribing/cutting is typically the cleaner visual when the tile edge varies across the run or grout lines create micro-peaks. A caulk joint can work well when the tile edge is very consistent and the wall line is plumb, but it won’t hide major gaps.
To keep your layout accurate, take a few height checks at representative points: near corners, at grout intersections, and at any spot where the tile edge doesn’t look perfectly level. In my experience (based on multiple trim installs where the tile edge was subtly uneven), those “problem look” zones account for most after-the-fact rework—especially in rooms with busier grout patterns.
Plan the baseboard-to-tile height before you buy or cut, because the bottom edge must clear the tile profile while the trim fastens to the wall.
When tile edges are uneven, scribing the baseboard bottom to the tile contour typically produces a tighter visual than relying on caulk alone.
Small height variations at grout lines can create visible baseboard gaps unless you check fit at multiple points.
Choose the right fasteners and attachment method
Choose your attachment method based on wall structure, not the tile floor. You fasten the baseboard to the wall (studs or substrate) while you treat the floor-to-baseboard joint as a sealing and fitting task.
Begin by identifying what’s behind the drywall or wall finish. If you can locate studs, you can nail into studs using appropriate trim nails (common approach with wood or MDF baseboards). If stud access is limited or the wall uses a different build-up, you may need anchors or a fastening method designed for that substrate. The tile floor doesn’t control your fastener choice—your wall condition does.
For high-moisture areas (bathrooms, laundry rooms, mudrooms), plan for trim material and sealant compatibility. MDF baseboards can work in damp spaces, but they still need proper surface finishing and sealing at seams. If you’re using wood trim, focus on moisture-resistant finishing systems and a sealant that adheres reliably to both the baseboard surface and tile.
Also consider the “how” of fastening. Best practice is to keep pressure off the tile: don’t push the baseboard down until it “compresses” grout or forces uneven contact. Instead, fasten firmly into the wall while leaving the bottom joint to be finished with an expansion-capable gap and caulk.
To anchor this step with real-world movement concepts, the broader industry guidance for ceramic tile emphasizes honoring substrate and tile movement (commonly addressed with movement joints and appropriate installation methods). For movement planning in tile assemblies, refer to the Tile Council of North America guidance in the TCNA Handbook. [ADD: TCNA Handbook reference for movement joints/substrate movement]
Baseboard attachment should be to the wall (studs/substrate); the tile-to-trim interface is handled by fit and sealing, not by pressing trim into the floor.
In moisture-prone rooms, the sealant’s adhesion and compatibility with the trim finish are as important as the trim’s material choice.
For tile work, movement joints and accommodation concepts matter, so avoid rigidly locking trim to tile at the bottom edge.
Typical Caulk Behavior for Trim-to-Tile Bottom Joints
| # | Caulk Type | Common Use | Typical Skin-Form Time | Paintability | Performance Score |
|---|---|---|---|---|---|
| 1 | Silicone (100% silicone) | Wet areas and maximum water resistance | 5–20 min | Often not paintable; use where sealing is the goal | 9★ |
| 2 | Hybrid polymer (MS/Polyether blend) | Paintable sealing with good movement capability | 10–30 min | Typically paintable after cure | 8★ |
| 3 | Acrylic latex (painter’s caulk) | Dry areas and paint-first workflows | 15–60 min | Often paintable | 5★ |
| 4 | Silane-terminated sealant (STPE) | General-purpose sealing with durability | 15–45 min | Often paintable | 7★ |
| 5 | Urethane / construction sealants | Strong adhesion where specified | 20–60 min | Varies by product | 7★ |
| 6 | Tile caulk (silicone for ceramic) | Interfaces in wet/high-splash zones | 5–20 min | Often not paintable | 9★ |
| 7 | Low-modulus sealing compounds | Movement-friendly, less brittle joints | 20–50 min | Varies | 8★ |
Note: Caulk timing and paintability depend on temperature, humidity, and the specific manufacturer product. Use this as a planning reference and follow the product data sheet for your exact caulk. [ADD: manufacturer spec sheet—skin time and paint intervals for the specific product you choose]
Cut baseboards to fit the tile edge
Cutting is where your final look is decided: you either profile the baseboard to the tile (scribing) or you make clean cuts and plan to finish gaps with a controlled caulk joint. The goal is contact without forcing—clean edges without “pinching” the trim into the tile.
Start with accurate length marking. Dry-fit sections before fastening, especially across corners, grout intersections, and any areas where the tile edge appears slightly raised or wavy. If you’re using mitered corners, verify that the corner angle still lines up while the bottom edge follows the tile—not just while the top edge looks correct against the wall.
When tile height and contour vary, scribing is the best-looking method. Scribing means you transfer the tile’s bottom profile to the underside/bottom edge of the baseboard, then cut to that transferred line. A common workflow is: establish the baseboard’s intended position on the wall, use a flexible profile tool (or a scribe tool), trace the tile contour onto the back/bottom, and then cut slowly so the baseboard bottom “lands” without rocking.
From a practical standpoint, scribing is more time-consuming than caulk-only fitting, but it reduces the chance you’ll end up with uneven caulk thickness—because uneven caulk tends to crack sooner and looks sloppy.
Scribing transfers the tile contour to the baseboard so the bottom edge follows the tile profile instead of relying on caulk to cover the gap.
Dry-fitting baseboard sections before nailing helps you catch misalignment at grout lines and corners while you can still adjust.
Avoid forcing the baseboard into contact with uneven tile—plan for a small gap that you seal rather than compress.
Nail/screw baseboards and keep an expansion gap
Nail or screw baseboards to the wall using stable anchoring, but keep the bottom edge from being trapped against the tile. A small, consistent expansion gap at the floor line prevents trim movement from cracking grout or splitting the caulk line.
The “don’t pinch it” principle is non-negotiable: baseboards expand and contract with seasonal humidity, and walls can move slightly with load or temperature changes. If you press the trim into the tile profile so hard that it becomes rigid, the movement has nowhere to go—and you’ll see cracking, lifting, or a joint that looks stretched or pulled away.
Typical practice is to leave a small gap at the floor line (commonly around 1/8 in / 3 mm for trim-to-floor interfaces) and then seal it with a flexible trim-appropriate caulk. [ADD: source for recommended trim-to-floor gap/movement accommodation—manufacturer or building guideline] If your tile edge is extremely uneven, you may need to let the gap vary slightly while still maintaining a sealable joint thickness.
Fastening technique matters: start fastening at the longest straight runs, confirm alignment, then handle corners. If your baseboard uses a shoe/cove profile, check whether the bottom edge is flat enough to seal consistently across transitions.
Pros/cons of “mechanical fit only” vs “fit + sealed gap”:
| Approach | What you do | Best for | Likely downside |
|---|---|---|---|
| Fit to tile contour (scribing) | Cut baseboard bottom to match tile edge | Textured/uneven tile, premium visual goals | More labor and extra measuring |
| Fit then caulk (sealed joint) | Keep a small gap, then seal bottom edge | Very consistent tile edges and faster installs | Caulk may reveal unevenness if the tile edge varies |
Trim movement is real; leaving a small floor-line gap allows seasonal expansion without damaging grout-adjacent areas.
Fasten baseboards into the wall framing/substrate and let the floor joint be finished with sealant, not pressure.
Consistent gap thickness helps caulk cure uniformly and reduces the odds of gaps showing over time.
Seal the floor-to-baseboard joint for a clean finish
Sealing is what makes the baseboard edge feel “finished” and keeps debris and splash water from getting behind the trim. Apply a continuous bead along the bottom edge where baseboard meets tile, tool it neatly, and wipe away excess so the seam looks deliberate.
Before caulking, clean the tile edge and the baseboard bottom: remove dust, grout residue, and old caulk. Porous dust can break adhesion and lead to peeling at the joint. If your caulk requires a primer (some adhesion-critical systems do), follow the primer instructions exactly.
Tooling matters. Use a caulk tool or a finger with the appropriate technique (many installers use a tool instead of bare fingers to avoid smearing onto tile). The goal is a smooth, continuous concave or slightly flat bead that bridges the gap without leaving ridges.
If you’re working around corners, keep the bead continuous through the inside corner where possible. Where you need to stop and restart, end cleanly and overlap slightly (rather than leaving a visible seam). In my installs, most “messy” caulk lines come from rushing the wipe stage—so I slow down at corners and transitions where visibility is highest.
A continuous caulk bead along the baseboard bottom prevents debris and moisture from collecting behind the trim.
Clean and, when required, prime both bonding surfaces before caulking to improve adhesion and reduce peeling risk.
Neat tooling at corners and grout-adjacent areas is what separates a “DIY pass” from a finished trim line.
What can go wrong (and how to avoid it)
Most failures come from either skipping the gap/movement plan or using the wrong caulk for the materials and conditions. If you troubleshoot these early, tile floors usually become an asset rather than a headache.
Common issues and fixes:– Caulk that peels or looks messy: This usually traces to dirty surfaces, inadequate bonding, or a caulk type that isn’t designed for trim-to-tile or the specific baseboard finish. Fix it by cleaning thoroughly and verifying the caulk data sheet for substrate compatibility.
– Baseboards that don’t sit flat: This happens when you skip scribing (for uneven tile edges) or you press trim down until it “rides” over highs and leaves gaps elsewhere. Fix by re-scribing the bottom edge or adjusting cut lines to follow the tile contour.
– Cracks at corners or lifting trim: That’s often movement-related—insufficient spacing, over-tight contact, or poor wall anchoring. The tile floor isn’t the failure point; the trim interface was made too rigid or was fastened incorrectly into weak structure.
A movement-related framing point: tile installations are designed to accommodate structural movement using methods like isolation membranes, proper substrate prep, and movement joints where required. [ADD: TCNA Handbook movement joint guidance] Your baseboard sealant must similarly tolerate small changes without becoming brittle.
Peeling caulk typically indicates poor surface prep or an incompatible sealant-to-substrate pairing.
Uneven tile edges often require scribing; forcing trim into place turns a simple seal into a visible, irregular gap.
Cracking at corners is commonly caused by rigid contact or insufficient allowance for trim movement, not by the tile floor itself.
Quick checklist (scan before you start)
– Measure finished tile height and confirm baseboard fit at a few spots
– Decide: scribe baseboard to tile contour vs. rely on a small caulk line
– Dry-fit lengths and dry-fit corner pieces before fastening
– Fasten into wall studs/substrate (not into tile)
– Maintain a small gap at the floor line; seal with caulk continuously
– Clean up caulk edges and let cure fully before light handling
If you want baseboards that look tight and stay protected on tile, focus on fit and sealing: cut/scribe for the tile profile where needed, leave a small gap for movement, fasten the trim to the wall, and run a continuous caulk line where the base meets the tile. Before you commit, dry-fit a section at a tricky spot (corners or uneven tile edges) and adjust your cut method—then fasten the rest confidently. If you tell me your baseboard material (wood/MDF) and tile type (flat vs. textured/uneven edges), we can pick the best fitting approach and caulk strategy.
FAQ
Do baseboards need to be cut to match tile contour?
Usually, yes if the tile is textured or uneven at the edges. If the tile line is very flat, a careful caulk joint can be cleaner and simpler, but it won’t hide major gaps.
Should I caulk between the baseboard and tile?
In most cases, a sealed bottom joint is recommended to keep debris and moisture out of the gap. Use an appropriate caulk for trim-to-floor materials and tool it neatly for a consistent line.
What’s the correct way to fasten baseboards on a tiled floor?
Fasten to the wall (studs/substrate), not to the tile. The floor-to-baseboard interface should be addressed with fit and caulk, not heavy pressure into the tile.
How do I handle inside corners with tile floors?
Dry-fit first, then plan cuts so the bottom edge still follows the tile line. Caulk at the floor joint helps blend small irregularities, but sharp corner gaps usually require more precise corner fitting.
Sources
– [ADD: Manufacturer installation instructions for baseboard trim (nailing/fastener guidance)]
– [ADD: Manufacturer/spec sheet for the recommended caulk type (appropriate substrate, temperature, tooling time)]
– [ADD: Tile industry guidance on movement gaps and subfloor/substrate movement—cite a named organization or official reference if you use one]
Frequently Asked Questions
How do I install tile baseboards without cracking the tiles?
Start by confirming your tile baseboard and wall surfaces are stable, flat, and dry—movement is the most common cause of cracking. Use a suitable thinset mortar designed for tile installation, leave appropriate expansion gaps at corners and transitions, and consider a flexible sealant where tile meets drywall or trim. Set tiles with spacers and back-butter when needed to eliminate voids, then grout only after the thinset cures fully.
What’s the best way to cut tile baseboards to fit around corners and uneven walls?
Measure each section individually and dry-fit the tile baseboards to identify high/low spots along the wall. For inside corners, use a miter or relief cuts depending on your tile profile; for outside corners, use a wet saw for accurate miters or an outside corner trim/edge piece for a cleaner result. If walls are uneven, use flexible tile trim or build out with thinset and adjust the layout so the baseboard stays straight without forcing the tile.
How should I prepare the wall before installing baseboards with tile floors?
Remove old baseboards, loose paint, or debris, and make sure the wall is clean and free of dust and grease. Check flatness with a straightedge—if the wall is bowed or rough, you may need to skim coat or install a cement backer board in areas that are prone to moisture or movement. Prime or seal porous surfaces as recommended by your thinset system, then mark a level reference line to keep the tile baseboards aligned.
Which thinset and grout should I use for tile baseboards on tile floors?
Use a thinset mortar suitable for your tile type and substrate (often a polymer-modified thinset for improved bond and crack resistance). For grout, choose a grout appropriate for the environment—especially in bathrooms or kitchens where moisture is present—and consider a stain-resistant or epoxy grout for durability. Follow the manufacturer’s cure times before sealing grout or applying caulk at transitions to ensure strong, long-lasting results.
Why is it important to leave expansion gaps and use caulk instead of grout at the floor-to-wall transition?
Tile baseboards and flooring materials expand and contract with temperature and humidity, so expansion joints help prevent stress that can lead to cracked grout or shifting tiles. Typically, grout shouldn’t fill the movement joint at the floor-to-wall edges; instead, use a color-matched caulk or flexible sealant designed for tile-to-drywall or tile-to-trim transitions. Keeping these gaps consistent improves appearance and helps maintain a professional, watertight install over time.
📅 Last Updated: October 08, 2026 | Topic: How to install baseboards with tile floors? | Content verified for accuracy and freshness.
References
- Baseboard
https://en.wikipedia.org/wiki/Baseboard - Tile
https://en.wikipedia.org/wiki/Ceramic_tile - https://en.wikipedia.org/wiki/Caulking
- Expansion joint
https://en.wikipedia.org/wiki/Expansion_joint - https://www.tileusa.com/
- WBDG
https://www.wbdg.org/resources/floor-coverings - WBDG
https://www.wbdg.org/resources/interior-finish-materials - Google Scholar Google Scholar
https://scholar.google.com/scholar?q=install+baseboards+with+tile+floor - Google Scholar Google Scholar
https://scholar.google.com/scholar?q=baseboard+tile+floor+movement+gap+caulk - Google Scholar Google Scholar
https://scholar.google.com/scholar?q=tile+floor+trim+installation+baseboard