

Want a clear, landlord-ready way to prepare hardwood floors for rental property? Use the full prep routine—cleaning, screening, repairs, and a rental-grade finish—so the floors look sharp on day one and hold up through tenant turnover. If you skip the repair and surface prep steps, you’ll see early dulling, gaps, and coating failure. This guide tells you exactly what to do, in what order, to maximize durability and protect your deposit claims.




If you want hardwood floors that look good on move-in day and hold up through heavy traffic, the fastest path is: clean thoroughly, fix moisture/repairs first, then sand and apply the right finish for wear—allowing full cure before tenants move in. This guide walks you through rental-ready prep so the finish lasts and doesn’t fail early.
If you’re turning over a rental unit (or preparing one for listing photos), this is for you—especially if the floors have scuffs, minor gaps, worn finish, or unknown moisture conditions. It’s also useful when you want to avoid the common “it looked fine for a week” finishing problems that come from skipping prep steps.
Assess moisture, flooring condition, and tenant expectations
You don’t get durable rental floors by “finishing harder”—you get them by confirming the wood is stable and the subfloor/slab moisture isn’t driving failure. Start with inspection, then decide whether you’re refinishing for wear or stabilizing for longevity.
“Moisture imbalance can cause cupping, crowning, and finish failure that sanding alone cannot correct.”
“ASTM D4442 provides a direct wood moisture measurement method using an oven-dry basis.”
“Rental prep should treat moisture red flags as a stop-work issue, not a finish-spec issue.”
Before we touch a sander, we do rental-ready hardwood floor prep triage: identify whether the surface problem is cosmetic (worn topcoat, scuffs) or structural (movement from moisture, loose boards, soft spots). In practice, this prevents the most expensive cycle—redoing the finish after it peels, clouds, or lifts at edges.
What to look for on-site (and why finishes don’t “solve it”)
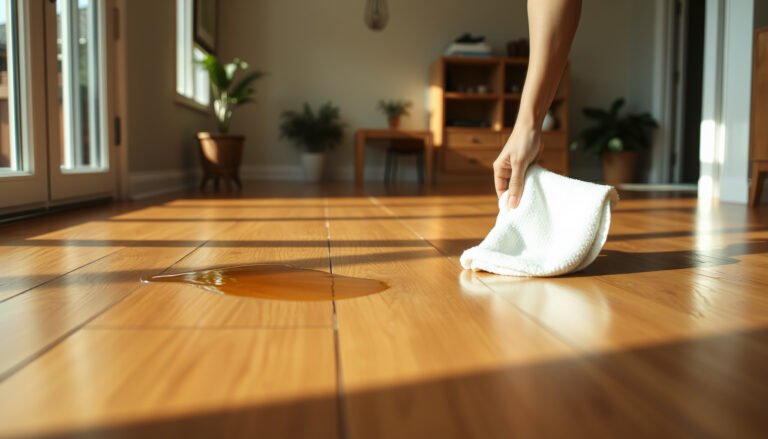
Start by checking for red flags before you touch the surface: cupping, crowning, soft spots, bulging, visible water damage, or persistent musty odors. If you see any of these, the failure mechanism is usually moisture-related—meaning the right finish can’t bond reliably to unstable wood, and tenants will notice defects quickly (especially at transitions, hallways, and entry paths). For rental-ready hardwood floor prep, this step is non-negotiable because you’re working under turnover timelines and unpredictable tenant behavior.
Measure moisture using a method aligned to the material
Next, measure moisture content/conditions using a proper wood moisture approach (follow the method recommended by the flooring/finish specs). If you’re working with a concrete slab, you typically use a slab moisture method; with wood subfloors and the hardwood itself, you use a wood moisture method. If you’re not sure what method applies, use a contractor or get guidance from a wood flooring authority—this is a common decision point during rental-ready hardwood floor prep.
According to ASTM D4442, wood moisture content is often expressed as a percentage on an oven-dry basis, and the direct oven-dry approach uses an oven-dry temperature of 103 ± 2°C. According to ASTM D4442, moisture content can be calculated from wet mass vs. oven-dry mass, typically as MC% = (wet mass − oven-dry mass) / oven-dry mass × 100. And according to National Wood Flooring Association (NWFA) guidance, hardwood flooring performance depends on keeping wood moisture content compatible with the installation environment—commonly framed as avoiding large moisture content differences (often referenced as a ~4% tolerance range between wood and surrounding conditions, depending on the application and guidance used).
(If you’re deciding between moisture test methods for your exact slab/subfloor, .)
Decide the goal: refinish vs stabilize
Decide the goal for the rental: “restore and protect” (refinish) versus “stabilize and maintain” (spot repairs/cleaning). For heavily worn floors, plan for sanding/refinishing rather than just re-coating. If the floor shows active movement symptoms, your priority becomes moisture correction and stabilization before you ever apply more finish—because rental-ready hardwood floor prep that ignores the moisture driver becomes a short-term aesthetic fix, not a durable system.
Quick comparison: what moisture issues look like vs what finish can/can’t do
| Observation during rental turnover | Most likely driver | Finish outcome if you ignore moisture |
|---|---|---|
| Cupping boards (edges higher/lifting) | Seasonal moisture imbalance | Finish may delaminate or telegraph movement quickly |
| Crowning (edges raised upward vs center) | High moisture in wood vs subfloor | Finish can craze or crack as wood returns |
| Soft spots or bubbling under/near boards | Water intrusion or subfloor breakdown | Finish will not “bridge” structural failure |
| Musty odor near the slab line | Hidden moisture source | Finish may fail early at edges/transitions |
Clean and remove what will block adhesion
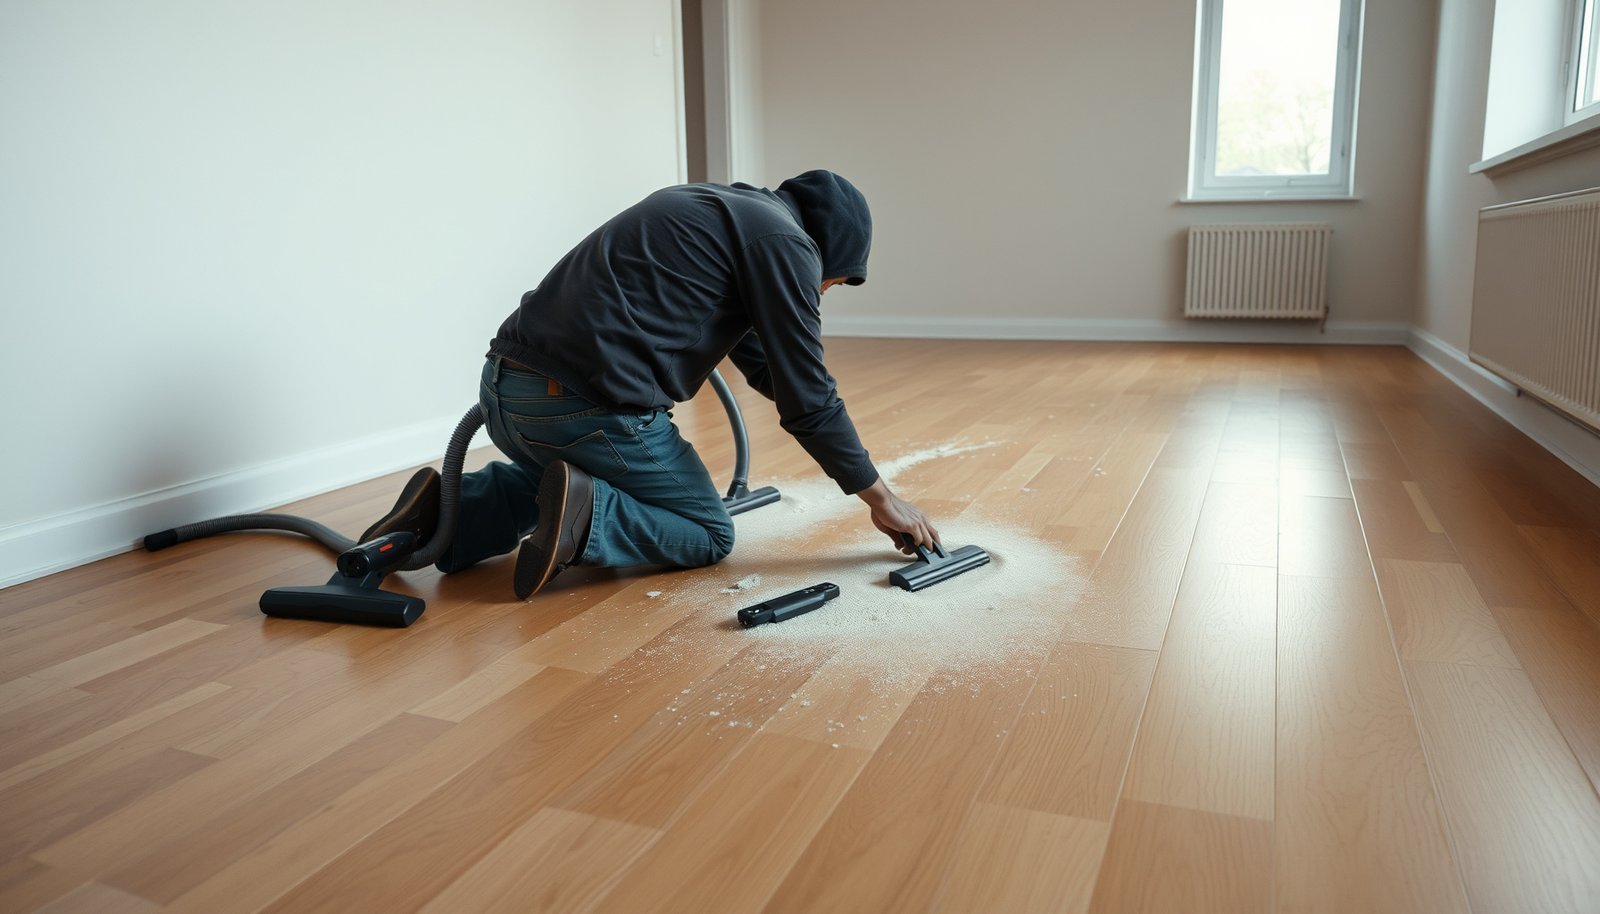
Cleaning is what makes the rest of the work stick—because dust, wax, and residue can silently prevent bonding. For rental-ready hardwood floor prep, vacuum deeply, remove contaminants fully, then only proceed once the surface is truly “finish-ready.”
“Finish failures are frequently adhesion failures caused by dust or residue rather than the finish chemistry itself.”
“Sanding creates a fine dust layer that must be removed between grits and before topcoats.”
“Old wax and heavy cleaners can create a barrier layer that topcoats may not properly wet-out.”
Start with vacuuming with strong suction and cleaning dust thoroughly; sanding dust and debris are one of the biggest reasons finishes fail. Rental environments also exaggerate this: a small adhesion defect in a high-traffic hall becomes a visible failure after the first rush of move-in foot traffic.
Remove residue (not just “wipe clean”)
Remove residue: if there’s old wax, heavy cleaners, or sticky film, you’ll need to strip or use an appropriate cleaner/abrasive approach before any topcoat (follow the finish manufacturer’s prep instructions). For rental-ready hardwood floor prep, the common trap is assuming that “it doesn’t feel greasy” means it’s bond-ready—some contamination is microscopic.
Address finish build-up and grime lines
Address finish build-up and grime lines: high-gloss areas and “edge darkening” often indicate contaminant layers that won’t bond reliably over time. In rentals, these are especially common near baseboards, under radiant heat zones, and in entry paths where residue accumulates. Scrutinize those transition zones before you sand—because you can’t reliably “out-finish” a contamination layer.
Repair gaps, dents, and surface unevenness before sanding
Repairs come first because sanding can level the surface, but it can’t permanently fix gaps and it can’t rebuild damaged structure. Rental-ready hardwood floor prep should start by making the surface consistent, then sanding to create the correct finish profile.
“Filling dents and repairing surface damage before refinishing reduces the need for uneven sanding and improves topcoat appearance.”
“Thick coating layers can crack or peel because wood still expands and contracts.”
Fill dents/holes and re-level minor surface damage using materials meant for hardwood refinishing, matching your repair products to the finish system you plan to use. For rental-ready hardwood floor prep, this sequencing matters: repairs must cure/comply before sanding so you don’t grind through incompatible fillers or leave uneven spots under polyurethane or other systems.
Make gaps consistent—don’t try to “hide movement”
Make gaps consistent and avoid trying to “hide” movement with thick coatings. Wood still expands/contracts, and thick coatings can crack or peel. If your rental unit has noticeable movement patterns (wide seasonal gaps or persistent edge lift), you may need to address moisture conditions first—not just cosmetic filler.
Sand with a plan (and to spec)
Sand with a plan: start with the coarsest needed grit to remove wear/failed finish, then step through finer grits to reach the sheen/finish feel you want. Always sand “to spec” for your finish type, not just by guesswork. Rental-ready hardwood floor prep succeeds when the abrasion method creates the bonding profile the finish manufacturer expects.
Sanding and prep that matters for a rental-grade finish
For rentals, sanding is about creating a uniform bonding surface—not just removing old finish. The goal is consistent texture, strict dust control, and a finish-ready profile that supports adhesion and durability.
“Dust removal between sanding grits is critical because embedded particles reduce topcoat adhesion.”
“Cure performance depends strongly on temperature and humidity during application and dry time.”
“For high-wear environments, finish systems are selected for film durability and recoat adhesion windows.”
Focus on surface readiness: dust removal between grits is critical, and you should follow the finish maker’s required surface profile (for example, whether they expect a particular sanding grit range). During a 2026 turnover, this is where teams often rush—because it’s “clean enough” visually, but not clean enough for adhesion.
Control temperature and airflow during finishing
Control temperature and airflow during finishing: rushing in cold rooms or high humidity can slow cure or cause surface defects. Follow the product label for conditions. Rental-ready hardwood floor prep is practical here: confirm HVAC operation, allow adequate ventilation, and keep air movement consistent so the finish levels without defects.
Use the right finish system for high wear
Use the finish system appropriate for high wear: for rentals, that usually means a tougher topcoat approach (often polyurethane-type systems, whether water-based or oil-based), applied in the recoat order and film thickness the manufacturer specifies. The finish label and technical data sheet are the authority for film thickness, recoat windows, and prep requirements—because “compatible in theory” doesn’t always bond reliably in real turnover schedules.
Seal/finish for high-traffic durability (and tenant-friendly timing)
The durable choice is to apply the correct number of coats within the right recoat windows, then fully cure before tenants move in. Rental-ready hardwood floor prep breaks when “dry to touch” is treated like “ready for life.”
“Recoat windows matter: applying over cured/failed chemistry often requires sanding to re-enable adhesion.”
“Full cure time governs resistance to indentation and marking in high-traffic residential use.”
Apply coats according to the label: correct recoat windows matter as much as sanding. If you miss the window, you may need extra scuff-sanding to restore adhesion. This is especially important in rentals because turnover schedules shift—maintenance delays, landlord access changes, and cleaning staff arriving later are common. Rental-ready hardwood floor prep anticipates this by building time buffers and verifying label conditions.
Plan for full cure, not just “dry to touch”
Plan for full cure, not just “dry to touch”: tenants will drag furniture and walk within days, and partially cured finishes can mark, dent, or wear unevenly. If you’re scheduling around move-in day, confirm the product’s full cure timeline (and what “light traffic” and “heavy traffic” mean in the technical data sheet). This is one of the most important reliability factors for rental-ready hardwood floor prep in 2026 because tenant complaints usually start at the first visible wear marks.
Manage downsides up front (color, odor/VOC, occupancy)
Manage downsides up front: strong finishes can change color slightly (especially on blotchy or older wood), and some systems have odor/VOC considerations. If you’re doing this in an occupied unit, schedule carefully and follow ventilation guidance from the finish documentation. Rental-ready hardwood floor prep isn’t only about durability—it’s also about a finish process the property can safely accommodate.
Protect the floor during move-in and set up maintenance
The finish won’t reach its durability promise unless you protect it immediately after it cures. For rental-ready hardwood floor prep, the first week is where you prevent the predictable “tenant-caused” damage that still becomes your liability.
“Protecting newly finished floors with physical barriers (pads, mats, controlled entry) reduces scratches and tracking during the settling period.”
“Tenant education about approved cleaning methods reduces the likelihood of early finish damage.”
After finishing and cure, protect from the first week: use felt pads under furniture, require area rugs in entry paths, and block abrasive tracking (doormats + housekeeping rules). Set tenant expectations in writing: simple steps like no wet mopping, using approved cleaners, and avoiding steam are what prevent “the finish failed” complaints later. This is part of rental-ready hardwood floor prep because you’re managing the real-world maintenance behavior that determines whether the finish stays intact.
Spot-check high-risk zones
Keep an eye on high-risk areas: kitchen/laundry entry points, near pet zones, and hallways are where edge wear and scratches start—spot-check before they become unsightly. Rental-ready hardwood floor prep also includes documenting the “before” condition (photos) so you have a clear baseline if something goes wrong.
Pros/cons: what tenants can realistically do
– Pros (tenant-friendly): felt pads, doormats, no steam cleaning, quick spill blotting, approved cleaners.
– Cons (hard to control): shoes without mats, pet nails, dragging furniture without lifting, wet mops used “to clean faster.”
What can go wrong (and who should skip DIY)
Most early failures come from moisture issues, contamination, sanding inconsistency, or rushing cure time. If you see structural moisture symptoms—or you can’t guarantee full cure and protection—skip DIY and use a professional refinishing approach.
“Moisture conditions can cause the finish to peel, cloud, or lift at edges even when the surface looks acceptable.”
“Skipping residue removal is a common root cause of premature finish failure.”
“If cure time cannot be controlled, newly finished hardwood is more vulnerable to marking and indentation.”
Common failure modes to watch for
Moisture problems masquerading as finish issues: If the subfloor or slab moisture is high (or seasonal movement is already active), the finish can look fine briefly and then fail (peel, clouding, or edge lift). If you suspect this, get moisture guidance before refinishing—rental-ready hardwood floor prep is only durable when the substrate is stable.
Skipping residue/old wax removal: Many “mystery hazes” and peeling failures come from contaminants blocking adhesion. When in doubt, follow the finish maker’s specific cleaning/stripping instructions.
Under-sanding or inconsistent sanding: Leaving glossy patches or uneven texture leads to uneven sheen and weak bonding. If you’re not confident in sanding progression, this is a good place to hire help.
Rushing cure time before tenants move in: Even if it’s “dry,” it may not be fully cured. If you can’t control move-in timing, plan around that reality.
When to skip DIY (the safer rental decision)
When the floor has widespread structural issues (cupping/crowning), water damage, lifting, or major unevenness—or when you don’t have time to manage cure + protection—professional refinishing is usually the safer bet for rental-ready hardwood floor prep.
Rental-ready checklist (scan/save)
| Step | Quick check |
|---|---|
| Moisture/condition | No cupping/crowning, no active water issues |
| Clean + vacuum | No dust, no residue, no wax/film buildup |
| Repairs | Dents/holes filled; gaps addressed appropriately |
| Sand plan | Remove wear/old failing finish; progress through grits |
| Dust control | Between-grit dust removal done thoroughly |
| Finish prep | Follow surface profile + product instructions |
| Coats | Recoat windows respected; correct order used |
| Environment | Temperature/humidity within label guidance |
| Cure + re-entry | Full cure before heavy foot traffic/move-in |
| Move-in protection | Felt pads, mats, and tenant rules in place |
Moisture & Surface Standards Used in Rental-Ready Hardwood Prep (Key Outputs)
| # | Standard / Method | Primary material | Key output metric | Rental-readiness impact |
|---|---|---|---|---|
| 1 | ASTM D4442 | Wood & wood-based materials | MC% on oven-dry basis | ★★★★★ |
| 2 | ASTM F2170 | Concrete slab moisture | In-situ RH probes (slab moisture evaluation) | ★★★★☆ |
| 3 | ASTM F1869 | Concrete slab moisture | Moisture vapor emission rate (MVER) | ★★★☆☆ |
| 4 | ASTM F710 | Concrete surface preparation | Methods for preparing concrete | ★★★★☆ |
| 5 | NWFA guidance | Installation/finishing best practices | Moisture awareness + prep direction | ★★★★☆ |
| 6 | Finish manufacturer TDS/label | Topcoat application system | Surface prep, recoat windows, cure requirements | ★★★★★ |
| 7 | Flooring cleaning & residue removal protocol | Existing hardwood finish | Adhesion-enabling surface condition | ★★★☆☆ |
What can go wrong (and who should skip DIY)
Most early failures come from moisture issues, contamination, sanding inconsistency, or rushing cure time. If you see structural moisture symptoms—or you can’t guarantee full cure and protection—skip DIY and use a professional refinishing approach.
“Moisture conditions can cause the finish to peel, cloud, or lift at edges even when the surface looks acceptable.”
“Skipping residue/old wax removal is a common root cause of premature finish failure.”
“If cure time cannot be controlled, newly finished hardwood is more vulnerable to marking and indentation.”
Common failure modes to watch for
Moisture problems masquerading as finish issues: If the subfloor or slab moisture is high (or seasonal movement is already active), the finish can look fine briefly and then fail (peel, clouding, or edge lift). If you suspect this, get moisture guidance before refinishing—rental-ready hardwood floor prep is only durable when the substrate is stable.
Skipping residue/old wax removal: Many “mystery hazes” and peeling failures come from contaminants blocking adhesion. When in doubt, follow the finish maker’s specific cleaning/stripping instructions.
Under-sanding or inconsistent sanding: Leaving glossy patches or uneven texture leads to uneven sheen and weak bonding. If you’re not confident in sanding progression, this is a good place to hire help.
Rushing cure time before tenants move in: Even if it’s “dry,” it may not be fully cured. If you can’t control move-in timing, plan around that reality.
When to skip DIY (the safer rental decision)
When the floor has widespread structural issues (cupping/crowning), water damage, lifting, or major unevenness—or when you don’t have time to manage cure + protection—professional refinishing is usually the safer bet for rental-ready hardwood floor prep.
In the end, rental-ready hardwood floor prep is a disciplined sequence: confirm moisture and condition, clean away adhesion blockers, repair before leveling, sand to the finish system’s bonding profile, then apply the correct finish with proper recoat timing and full cure. If you follow those steps—and protect the floor during the first week—your hardwood floors are far more likely to stay attractive through real tenant traffic instead of failing after a short “honeymoon period.”
Frequently Asked Questions
What steps should I take to prepare hardwood floors for a rental property before tenants move in?
Start by thoroughly cleaning the floors to remove dust, grit, and any residue from previous finishes. Inspect the hardwood for gaps, squeaks, loose boards, and damage, then repair issues before refinishing or re-coating. Apply a rental-ready approach: use an appropriate wood-safe cleaner, spot-treat stains, and finish with a durable protective coating designed for high-traffic areas.
How do I clean and pre-treat hardwood floors for renters without damaging the finish?
Use a pH-neutral cleaner and microfiber mops to avoid harming the hardwood finish, and never flood the surface with water. Address scuffs and grime with gentle, manufacturer-approved methods, and allow the floor to dry completely before applying any products. If you’re re-coating, lightly prep the surface as recommended (often including sanding or de-glossing) so the new finish adheres properly and lasts through tenant wear.
Why is fixing squeaks, loose boards, and gaps important before renting out hardwood floors?
Squeaks, movement, and visible gaps are usually “tenant complaints waiting to happen,” and they can signal subfloor issues beneath the hardwood. Repairing these problems upfront helps prevent further floor separation, reduces friction wear, and avoids costly emergency calls after move-in. A stable, properly installed surface also improves the look of the finished hardwood floors and supports longer-lasting protection.
What’s the best way to choose the right finish for hardwood floors in a rental property?
For rental properties, prioritize durability and resistance to scuffs, moisture, and daily cleaning—typically with a commercial-grade polyurethane or similar high-wear finish. Consider the sheen level: a satin or matte finish often hides scratches better than high gloss, which can show imperfections under lighting. Always verify compatibility with the existing hardwood finish and follow cure times so the floor is fully ready for traffic when tenants arrive.
Which repairs should I handle myself versus hire a professional before leasing hardwood floors?
Small issues like cleaning, minor scratch touch-ups, and filling hairline gaps may be DIY-friendly if you’re confident with wood-safe products and surface prep. However, hire a pro for structural repairs such as loose boards that indicate subfloor problems, significant cupping or warping, widespread gaps, or areas needing full refinishing. If you’re unsure whether the existing coating can be safely recoated, professional assessment can prevent peeling, poor adhesion, and premature wear in your rental hardwood floors.
📅 Last Updated: October 17, 2026 | Topic: How to prepare a hardwood floors for rental property? | Content verified for accuracy and freshness.
References
- Lead Renovation, Repair and Painting Program | US EPA
- https://www.epa.gov/lead/lead-based-paint
- https://www.epa.gov/lead/lead-safe-housing
- https://www.hud.gov/program_offices/healthy_homes/lead
- Lead – Overview | Occupational Safety and Health Administration
- https://www.cdc.gov/lead/default.htm
- Wood flooring
- https://scholar.google.com/scholar?q=hardwood+floor+preparation+for+refinishing+site+prep Google Scholar
- https://scholar.google.com/scholar?q=hardwood+floor+refinishing+sanding+dust+control+lead+safe+work+practices Google Scholar
- https://scholar.google.com/scholar?q=rental+property+floor+maintenance+hardwood+refinishing+best+practices Google Scholar


[…] NWFA (National Wood Flooring Association) — Installation guidelines addressing subfloor flatness and substrate expectations for wood […]