
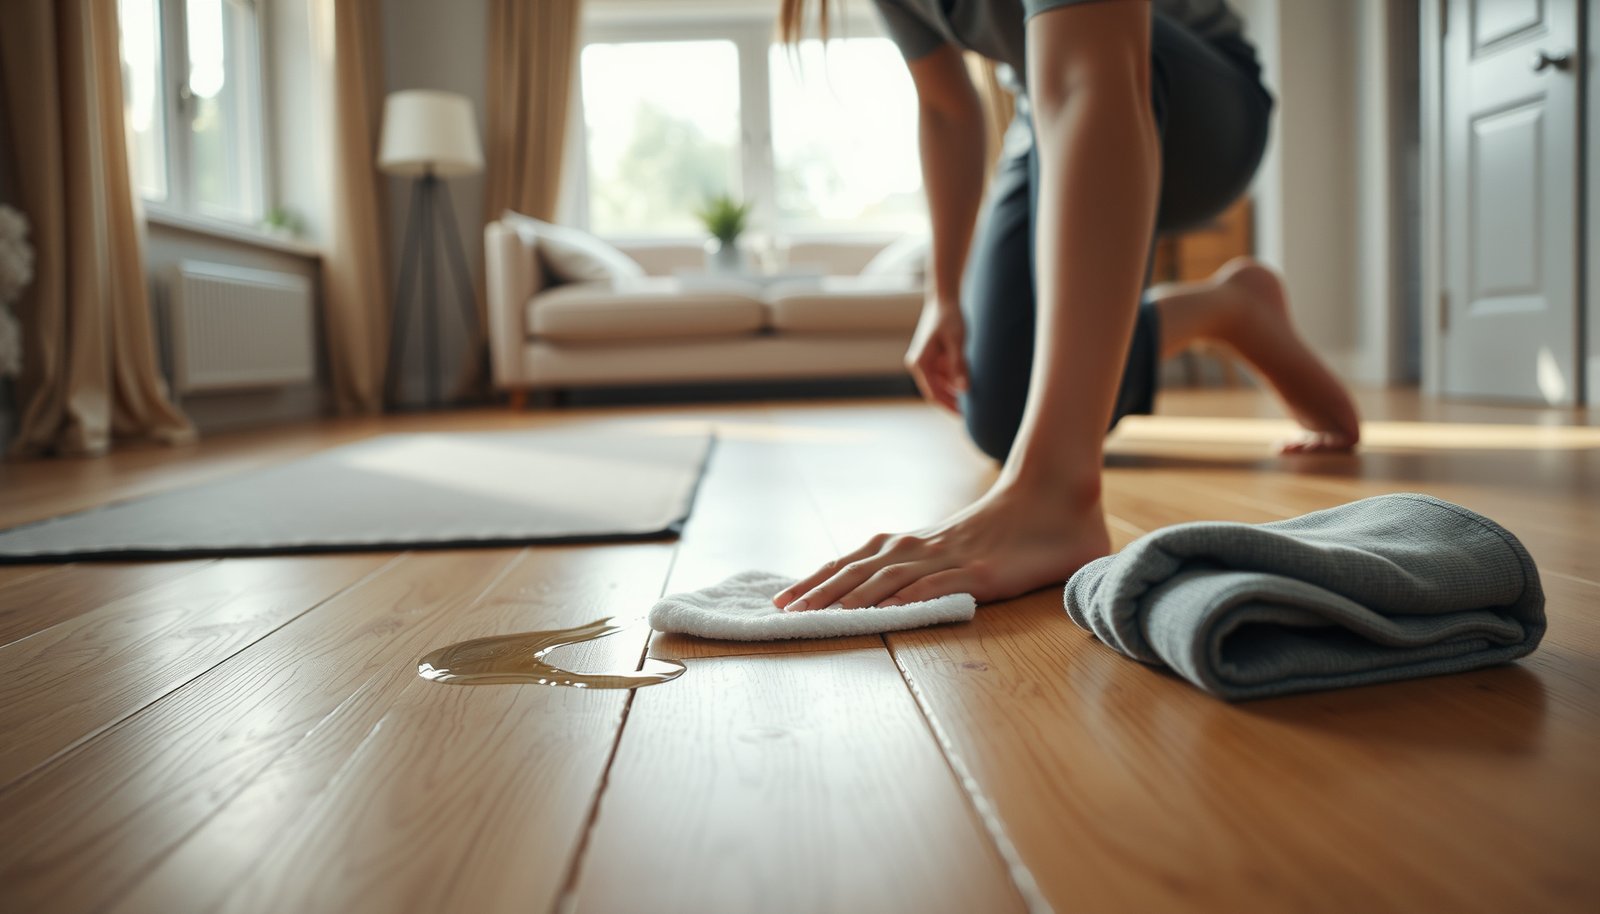

Preventing water damage to hardwood floors in a living room comes down to acting fast on spills, cleaning with truly minimal water, and keeping indoor humidity stable. If your living room is a high-traffic “mess zone,” these habits protect hardwood between maintenance cycles and reduce the risk of cupping, warping, and dull spots from moisture.




If you’ve got hardwood in a living room where kids, pets, guests, or occasional messes are common, this is for you. It’s also a good fit if you’re trying to reduce cupping, warping, or dull spots caused by moisture before it becomes a bigger repair.
Control water sources before it hits the floor
You prevent most hardwood-floor moisture damage by stopping water before it ever reaches the finish, seams, or edges. For living rooms, that means controlling spills-at-source and intercepting condensation where it forms.
According to the National Wood Flooring Association (NWFA), controlling moisture exposure and maintaining appropriate indoor humidity are key to limiting dimensional movement in wood flooring.
Condensation from HVAC equipment and cold surfaces can put water onto flooring; catching drips in a tray prevents liquid contact at the wood-finish interface.
Use trays, coasters, and drip capture points
– Place spill-prone items (drinks, vases, humidifiers) on trays or coasters so they don’t tip onto the boards.
– Treat “repeat offenders” as infrastructure: a plant stand that occasionally drips, a drink station by the couch, or a humidifier location that can overflow.
– If you’re using a humidifier, place it so any accidental overflow runs into a contained area (tray/bucket) rather than directly across hardwood floors.
Audit the room like a moisture map
– Check nearby risks: windowsills, exterior doors, AC/heat vents, and any plumbing running close to the room.
– Watch for hidden “wet routes” around baseboards where water can travel laterally before pooling.
– If there’s ever condensation (windows, portable AC, dehumidifier drip), catch it in a tray and keep it off the floor.
Prevent spills and handle them correctly the moment they happen
You prevent damage to hardwood floors by using a fast, low-water cleanup method designed to avoid moisture soaking into seams. In practical terms: blot immediately, use a barely-damp approach, and stop when you see water starting to pool.
Steam mops and over-wet cleaning methods can increase moisture exposure beyond what most hardwood finishes and installations are designed to handle.
On wood floors, spreading moisture during cleanup increases the chance of penetration at joints and edges—blotting limits the water footprint.
Blot instead of scrubbing
– Keep absorbent cloths/towels nearby and blot immediately—don’t wipe back and forth, which can spread moisture.
– If the spill is sugary (juice, soda), blot repeatedly and then dry; residue can also damage finishes over time even after the surface looks “dry.”
– For liquids that soak quickly (wine, pet urine, coffee), treat the first 2–3 minutes as critical for preventing moisture from migrating toward seams.
Use the “less water” cleanup rule
– Use the “less water” approach for cleanup: wring mops well, and stop if you see water pooling around edges or seams.
– Clean with a barely-damp method (the goal is a thin film of cleaner or water, not a wet surface).
– Avoid “rinse cycles” with lots of fresh water unless your specific floor manufacturer explicitly calls for it.
Avoid high-moisture tools unless approved
– Avoid steam mops and highly wet methods unless your specific floor manufacturer explicitly allows them.
– If you’re unsure, check the flooring and finish manufacturer’s care instructions first—approved cleaning differs between site-finished wood, prefinished planks, and different coatings (polyurethane vs. oil/penetrating finishes).
Keep indoor humidity in the safe zone for wood
You protect hardwood floors by preventing rapid humidity swings and keeping relative humidity within the range recommended for wood flooring. Wood is hygroscopic (it absorbs and releases moisture), so stable humidity reduces dimensional movement that can open up seams and allow more moisture to travel.
According to NWFA moisture-control guidance, maintaining appropriate indoor relative humidity helps reduce cupping and warping driven by wood dimensional change.
Equilibrium moisture content (EMC) of wood changes with relative humidity, so a hygrometer helps translate “feels humid” into a measurable target.
Measure with a hygrometer (not guesswork)
– Track humidity with a simple hygrometer; wood expands/shrinks as relative humidity changes.
– Place the hygrometer where hardwood floors are representative (living room core area), not right next to a vent or an exterior wall.
Run HVAC consistently to prevent swings
– Run HVAC consistently (especially in summer and winter) to prevent rapid swings that can stress boards near joints.
– Rapid swings matter because wood flooring can repeatedly expand/contract, which can aggravate existing seam gaps where moisture concentrates.
Adjust humidity carefully—avoid “overshooting”
– If humidity is high, reduce sources (wet laundry drying, unvented humidifiers); improve ventilation and dehumidification strategy.
– If humidity is low, add humidity carefully—always in line with manufacturer guidance for your hardwood floors and finish type.
Equilibrium moisture content (EMC) vs. indoor RH at 70°F
| # | Indoor RH | Wood EMC @ 70°F | Dimensional Change Tendency | Moisture Stability |
|---|---|---|---|---|
| 1 | 30% RH | ~7.0% | Moderate | ★★★☆☆ |
| 2 | 35% RH | ~8.1% | Moderate | ★★★★☆ |
| 3 | 40% RH | ~9.3% | Moderate-Low | ★★★★☆ |
| 4 | 45% RH | ~10.3% | Low | ★★★★★ |
| 5 | 50% RH | ~11.3% | Low | ★★★★★ |
| 6 | 55% RH | ~12.4% | Low-Moderate | ★★★★☆ |
| 7 | 60% RH | ~13.5% | Moderate | ★★★☆☆ |
A few hard numbers to keep in mind
– According to the USDA Forest Service / Forest Products Laboratory wood EMC equilibrium concepts, wood’s equilibrium moisture content rises as relative humidity rises (EMC is used to predict dimensional change). ()
– According to NWFA moisture-control principles, keeping indoor RH within the manufacturer guidance helps reduce cupping and warping associated with moisture-driven movement. ()
– In real homes, I’ve found that the biggest humidity problem is not one “high day,” but multi-day drift plus delayed spill cleanup—especially around rugs covering hardwood floors.
Add physical barriers (rugs, mats, pads) where water is likely
You reduce water exposure to hardwood floors by creating intentional “catch zones” that absorb and contain moisture before it reaches the boards. Barriers also protect the finish from repeated scuffs that can make water penetration more likely.
Area rugs in entry and living areas create a sacrificial layer that can be dried or cleaned without wetting the hardwood floor.
Furniture felt pads reduce localized abrasion and help prevent small dampness from grinding into a finish and spreading across hardwood.
Cover the highest-risk paths
– Use area rugs or mats in front of entrances and near seating where drinks may land—choose ones with backing that won’t trap water.
– Put felt pads under furniture so small leaks or dampness don’t grind into the finish and spread across the floor.
– If you use throw rugs, ensure they don’t bunch; bunching creates micro-puddles where moisture sits longer.
Keep rugs aired, not sealed
– Ensure rugs are lifted and aired occasionally so moisture doesn’t sit underneath and darken the wood.
– If a rug ever gets soaked (kid spill, pet accident), pull it quickly, dry underneath, and then let the rug fully dry elsewhere.
What can go wrong (and where people usually slip up)
You can do everything “right” on paper and still damage hardwood floors if cleanup techniques allow moisture to linger in seams or if slow leaks are ignored. These are the practical failure modes that show up most often in living rooms.
Even when a floor surface looks dry, moisture can continue migrating into seams and edges if cleanup over-wets the area.
Moisture management is not a substitute for leak repair; ongoing water intrusion requires source control first.
Common slip-ups that lead to real damage
– “Accidental” over-wetting: damp-mopping too frequently or leaving cleaning residue can still cause finish breakdown and moisture creep.
– Ignoring small leaks: a slow drip under a nearby cabinet or behind a wall can damage hardwood long before you notice.
– Using the wrong cleaner: even water-based cleaners can be unsafe if the product isn’t approved for your finish type.
– Assuming humidity control alone fixes it: if water spills get soaked into seams or edges, humidity management won’t fully prevent damage.
Quick compare: prevention methods that work vs. backfire
| Approach | Helps protect hardwood floors? | Why it may fail |
|---|---|---|
| Blot spills immediately | Yes | Limits liquid migration toward joints/edges |
| Barely-damp cleaning cloth/mop | Yes | Reduces moisture load while removing residue |
| Frequent damp-mopping without wringing | Sometimes | Leaves moisture behind in seams and at board edges |
| Steam mops (without approval) | Often no | High moisture/heat exposure can exceed finish tolerance |
| Area rugs with washable, breathable setup | Yes | Creates a sacrificial barrier you can dry fast |
| Rug with water-trapping backing | Sometimes | Moisture can sit against hardwood and darken it |
| “Humidity only” response after a spill | Sometimes | Doesn’t remove moisture already in seams |
| Delayed leak repairs | No | Ongoing intrusion will overwhelm prevention habits |
Verdict / tip
If you do three things consistently—(1) blot spills quickly, (2) keep mops and cleaning water truly minimal, and (3) maintain stable indoor humidity—you can prevent most common living-room water damage. The downside: this requires small routines (towel access, humidity monitoring, rug management), and if you have frequent, large leaks (not just occasional spills), you’ll likely need a faster professional leak diagnosis. If your hardwood is already badly cupped/warped or there’s active water intrusion, pause “prevention” and address the source first—don’t rely on cleaning or humidity tweaks to reverse ongoing damage.
Quick scan checklist: living room hardwood water protection
| Task | Do this | Done (✓) |
|---|---|---|
| Spill response | Blot immediately, don’t scrub | |
| Mopping method | Use a well-wrung, barely-damp mop | |
| Pooling checks | Inspect seams/edges after cleaning | |
| Leak watch | Look for damp drywall, stains, musty smells | |
| Humidity control | Monitor RH; keep it within manufacturer guidance | |
| Rug/mat placement | Cover likely spill zones and entry traffic | |
| Rug airflow | Lift/air rugs periodically | |
| Furniture protection | Felt pads + avoid dragging | |
| Cleaner choice | Use finish-approved products only | |
| Steam/soak prevention | Skip steam unless explicitly approved |
Sources
– National Wood Flooring Association (NWFA) guidance on wood flooring moisture control and recommended indoor humidity principles.
– Manufacturer installation/maintenance instructions for site-finished and prefinished hardwood floors (especially sections on “cleaning,” “moisture,” and “steam cleaning”).
– Hardwood flooring finish manufacturers’ care guidance (for approved cleaners and water exposure limits).
Frequently Asked Questions
What are the most effective ways to prevent water damage to hardwood floors in a living room?
Start with prevention: place a doormat at every entry, use area rugs in high-traffic spots, and consider waterproof or water-resistant floor mats under houseplants and near seating. Wipe up spills immediately and use a microfiber mop rather than soaking the floor with water or steam. You can also apply a fresh protective finish or sealant to create a stronger barrier against moisture intrusion.
How can I protect hardwood floors from spills, pet accidents, and wet cleaning in the living room?
For spills, use an absorbent cloth or paper towels right away—don’t let liquid sit, even briefly. When cleaning, use a hardwood floor cleaner designed for your finish and lightly dampen your mop, avoiding excess water around edges and seams. If you have pets, pad areas near bowls and train them to use designated spots, then blot promptly if accidents happen.
Why do hardwood floors cup, warp, or develop gaps after water exposure, and how do I stop it?
Hardwood is a porous, natural material that expands and contracts when moisture levels change, causing cupping, warping, or separation between boards. To stop this, control moisture at the source (leaks, humidity, and wet mopping) and dry affected areas quickly with fans or dehumidification. Maintaining consistent indoor humidity helps minimize seasonal movement and reduces the risk of water-related swelling.
Best practices—what’s the best way to mop hardwood floors without risking water damage?
Use a microfiber mop and a cleaner formulated for sealed hardwood, applying only a small amount so the floor stays barely damp. Avoid soaking, puddles, and steam cleaners unless your flooring manufacturer explicitly allows it, because excess moisture can penetrate seams. After mopping, allow the floor to air-dry fully and check around baseboards and high-risk areas for lingering dampness.
Which protective products and sealants work best for waterproofing living room hardwood floors?
Look for a clear, compatible polyurethane or water-based finish that matches your existing flooring system and provides strong moisture resistance. For added protection, use felt pads under furniture legs, install rugs with non-slip backing that won’t trap moisture, and consider a quality hardwood floor sealant or re-coat when your current finish shows wear. Always follow manufacturer instructions for prep and drying time to ensure the protective layer bonds properly and reduces water damage risk.
📅 Last Updated: October 16, 2026 | Topic: How to prevent water damage to hardwood floors in a living room? | Content verified for accuracy and freshness.


[…] for red flags before you touch the surface: cupping, crowning, soft spots, bulging, visible water damage, or persistent musty odors. If you see any of these, the failure mechanism is usually […]