
Get a step-by-step method for cleaning hardwood floors in your living room without dulling the finish or leaving streaks. This guide gives you the clear best approach—dry dust first, then use a properly diluted cleaner with minimal moisture, followed by a thorough dry—so your floors look freshly polished. By the end, you’ll know exactly what to do day-to-day and how to handle everyday grime fast.




For hardwood floors in your living room, start with dry removal of dirt, then use a cleaner that’s made for finished hardwood—never soaking the boards. Sweep or vacuum regularly, and for wet cleaning use only a lightly damp microfiber mop with the right pH-neutral solution. This article will walk you through a safe routine, what to avoid, and how to handle common stains without damaging the finish. If your floors are already finished (most living room hardwoods are), the main risk is moisture getting into the seams or stripping the protective coat. This guide is best for day-to-day cleaning and spot messes, not for unfinished wood or major refinishing projects.
This is for homeowners, property managers, and anyone trying to keep finished hardwood floors looking consistent in a high-traffic living room—especially if you’ve noticed dulling, residue buildup, or small spots after spills. It’s also a practical reference if you’re trying to reduce scratching from grit without turning cleaning into a weekly project.
Gather the right tools and choose the right cleaner
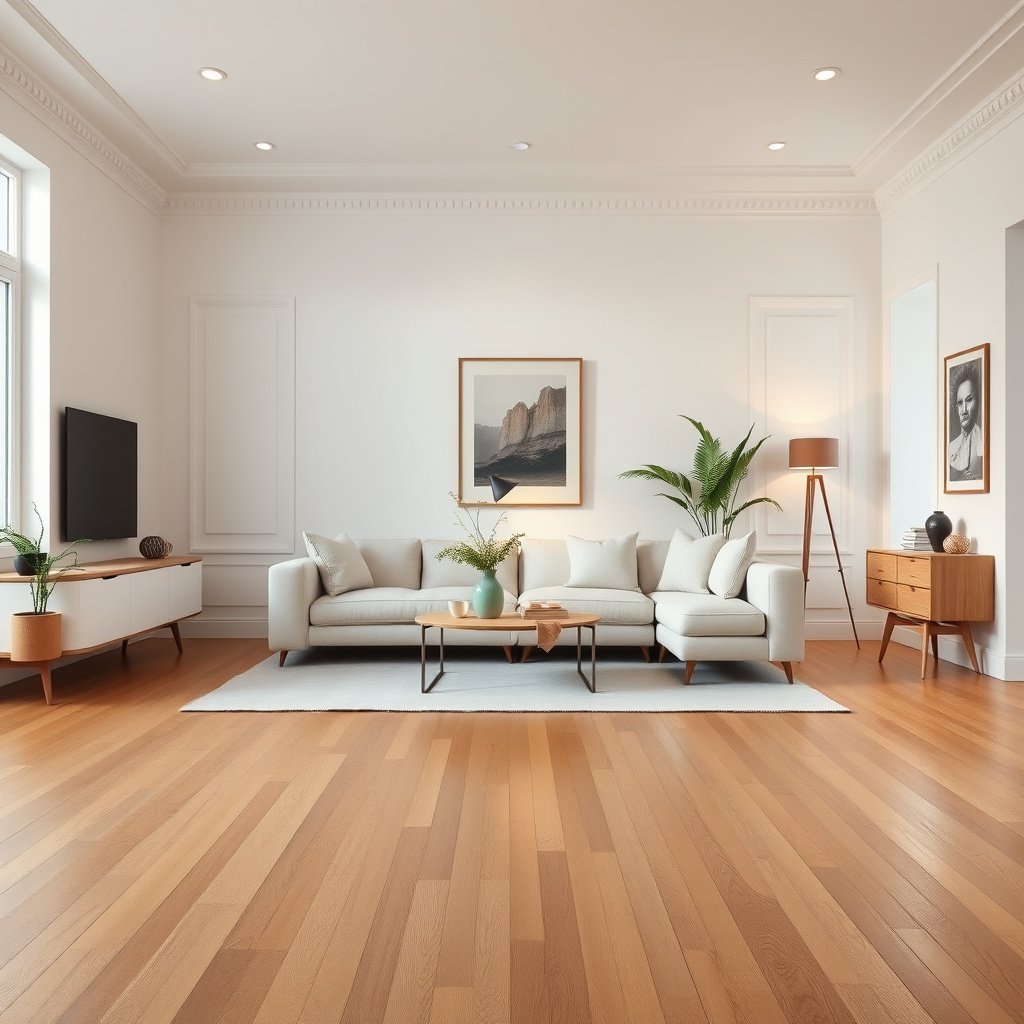
Use the right tools first, because microfiber + the correct cleaner prevents both scratching and finish damage. For finished hardwood floors, the “best” cleaner is the one that’s explicitly labeled safe for finished wood and used sparingly.
A cleaner labeled for finished hardwood floors typically indicates compatibility with the floor’s clear coat and discourages aggressive alkalinity or solvents.
Microfiber mops and cloths are designed to lift dust and grit without the abrasion that can come from rough pads or bristle attachments.
What to have on hand
Start with three categories of supplies for finished hardwood floors: (1) dry cleaning tools, (2) a microfiber wet-cleaning system, and (3) an approved pH-neutral hardwood cleaner for spot and mopping.
Dry cleaning tools
– Microfiber dusting cloths (for quick edge work and baseboards).
– A microfiber flat mop head (so you can transition to damp cleaning without swapping systems).
Wet cleaning tools
– A microfiber mop pad that you can wring thoroughly.
– Two clean cloths for blotting spills (one to absorb, one to remove residue).
Cleaner
– A product labeled for finished hardwood floors (often described as wood-floor safe, pH-neutral, no wax).
– Optional: a dedicated spot-treatment spray/bottle if your cleaner recommends it.
Cleaner selection: what the label should say
When you shop or choose a cleaner, treat the label as the “spec.” If it doesn’t explicitly approve finished hardwood floors, don’t assume it’s safe. Many “all-purpose” cleaners are designed for sealed hard surfaces but can still leave residue or react poorly with certain coatings (polyurethane, aluminum oxide, conversion varnish, etc.).
Typical Household Cleaner pH and Finished Hardwood Floor Risk
| # | Cleaner category | Typical pH | Finish risk | Safety rating |
|---|---|---|---|---|
| 1 | Distilled water (used sparingly) | ≈7 (25°C) | ★ ★ ★ ★ ★ | Low |
| 2 | pH-neutral finished-hardwood cleaner | 6.5–8.5 | ★ ★ ★ ★ ★ | Low |
| 3 | Mild dish soap (water mix) | ~7–10 | ★ ★ ★ ☆ ☆ | High |
| 4 | Isopropyl alcohol (70%) | ~6–8 | ★ ★ ☆ ☆ ☆ | High |
| 5 | White vinegar (typical household) | 2–3 | ★ ★ ☆ ☆ ☆ | High |
| 6 | Household bleach (sodium hypochlorite) | 10–13 | ★ ☆ ☆ ☆ ☆ | High |
| 7 | Household ammonia (aqueous) | 11–12.5 | ★ ☆ ☆ ☆ ☆ | High |
If you want a quick practical rule: on finished hardwood floors, you’re safest when your cleaner’s label aligns with “pH-neutral” and “finished wood safe,” and you use it with a damp microfiber mop—not a soaking wet approach.
– Use microfiber dusting cloths or a microfiber flat mop to avoid scratching and lift dust effectively.
– Choose a cleaner labeled for finished hardwood floors (often described as wood-floor safe / pH-neutral / no wax).
– Skip “all-purpose” cleaners unless the label explicitly approves them for hardwood finishes.
Remove dust and grit first (so you don’t scratch)
Dry removal is your first protection step for finished hardwood floors because grit acts like sandpaper once it’s pushed around during mopping. If you skip this, even a perfect pH-neutral cleaner can’t prevent micro-scratches from embedded particles.
Vacuum attachments and soft-bristle brooms reduce drag that can grind grit across finished hardwood floors.
Cleaning along edges matters because dust and grit accumulate near baseboards and transitions, where mops can otherwise spread debris.
Why grit causes lasting damage
Finished hardwood floors often have a clear coat, but that top layer can still be worn by repeated abrasion. When dust is dry and fine, it’s easy to remove; when it’s dampened or redistributed, it can start to scratch. That’s why a two-step approach—dry clean first, then damp microfiber—keeps the finish looking more uniform over time.
The routine that works in a living room
Start with a sweep or vacuum, then inspect with your eyes at an angle to spot remaining debris. Living rooms usually have higher particulate loads than bedrooms because of tracked-in dust.
– Sweep with a soft-bristle broom or use a vacuum with a floor-brush attachment.
– Focus on high-traffic areas and along edges where grit collects.
– If you have area rugs, lift them before cleaning so debris doesn’t grind under them.
Hinge points for finished hardwood floors are also doorways and furniture legs. If you have pets, hair can hide grit underneath—removing it before wet cleaning is particularly important.
Mop safely: damp, not wet
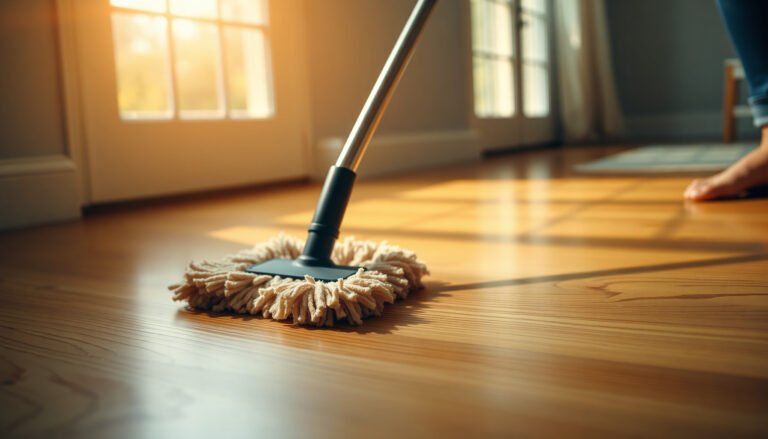
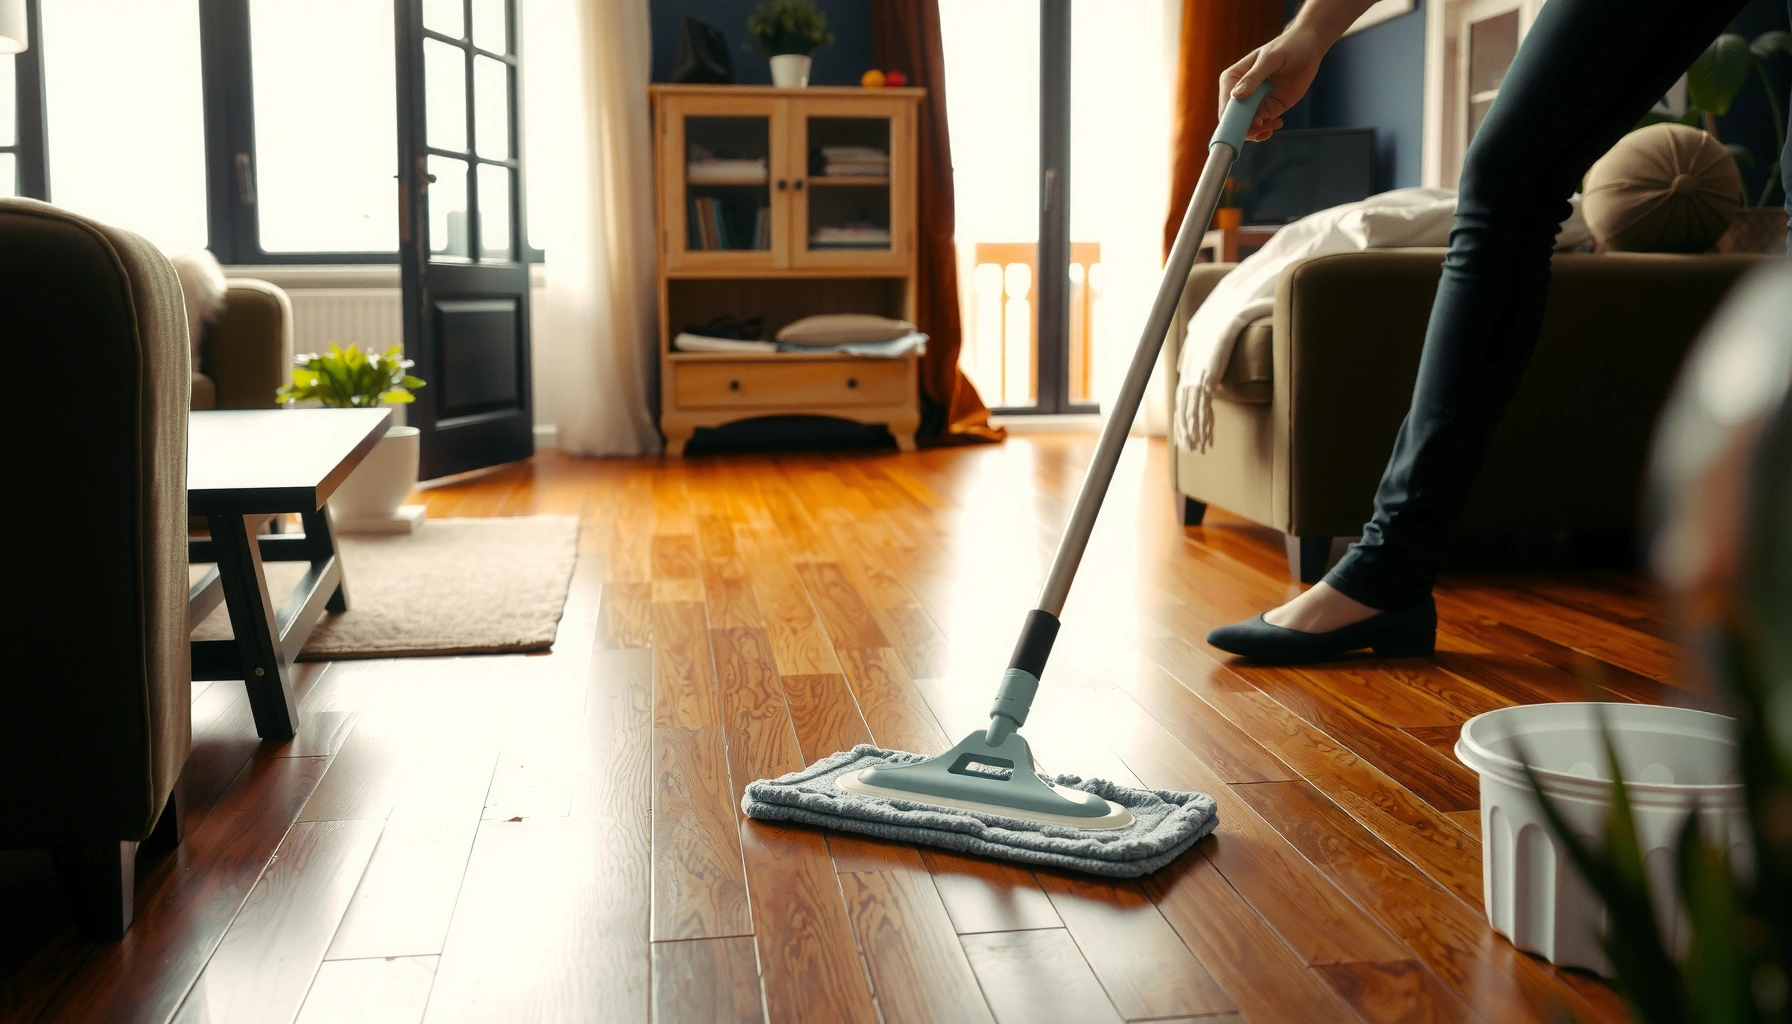
For finished hardwood floors, mopping is about controlled moisture, not “washing.” Use only a lightly damp microfiber mop and an approved pH-neutral solution—this removes sticky residue without letting water penetrate seams.
Many hardwood care instructions warn against flooding or soaking, because excess moisture can swell wood and stress the finish at seams.
Working in small sections with a damp microfiber mop helps you control moisture level and avoid puddles on finished hardwood floors.
Damp is a technique, not a description
A “damp” mop head should feel lightly wet but not leave water behind. If your microfiber pad looks glossy or you see a wet sheen, wring it more. For finished hardwood floors, leaving moisture behind is the fastest route to cloudy spots, edge lifting, and finish breakdown.
– Lightly dampen the microfiber mop—your goal is to clean, not leave puddles.
– Work in small sections, keeping the same direction pattern across the room.
– After mopping, do a quick pass with a dry microfiber pad to remove excess moisture if your floors tend to stay wet.
Damp microfiber vs steam and heavy wet cleaning (quick comparison)
Below is a straightforward contrast for finished hardwood floors when someone asks whether a deeper clean is possible:
| Method | Moisture/heat exposure | Typical risk to finished hardwood | Best use |
|---|---|---|---|
| Damp microfiber + pH-neutral cleaner | Low moisture, controlled | Low when labels approve | Day-to-day mopping and routine maintenance |
| Steam mop | High heat + moisture | High—can damage many finishes | Generally not recommended unless manufacturer explicitly allows it |
| Wet mopping (soaking) | Excess liquid exposure | High near seams and edges | Only for specific floors and instructions that permit it |
Moisture and finish chemistry, in plain terms
A big reason to avoid soaking is wood movement. According to National Wood Flooring Association (NWFA) indoor climate guidance, maintaining relative humidity between 35% and 55% helps limit dimensional changes that can stress coatings. In other words: extra water isn’t just “surface wet”—it can push the floor’s moisture behavior beyond what the finish tolerates.
Also, steam mops can raise the surface temperature quickly. Since water boils at 100°C / 212°F at 1 atm (NIST chemistry/physics reference for water boiling point), you should assume the finish and adhesives see more stress than with damp cleaning.
If you’re using a new cleaner for finished hardwood floors in 2026, verify the label and do a small test patch in an inconspicuous area first—then commit once you see no dulling or residue.
Spot-clean spills and stains the right way
For finished hardwood floors, quick action and gentle, label-approved cleaning prevents most damage. Blot first, avoid aggressive wiping, and only escalate your approach when the first approved method doesn’t work.
Blotting (absorbing) reduces smearing, while wiping aggressively can spread pigments or oils into the finish.
Using a finished-hardwood-approved cleaner on a cloth, then blotting residue, is safer than pouring liquid directly onto finished wood.
Blot, don’t scrub
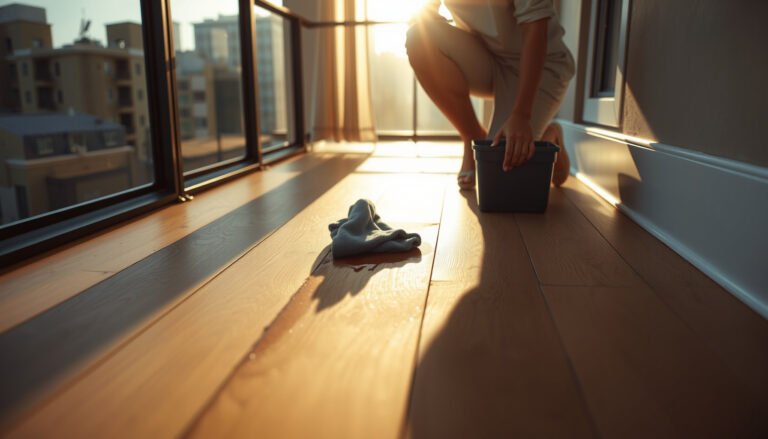
When a spill hits finished hardwood floors, act fast. If it’s liquid, blot with a clean cloth to lift it before it spreads. If it’s sticky (food, drink concentrates), resist the urge to scrub; friction can dull the coating faster than the cleaner itself.
– Blot spills immediately with a clean cloth; don’t wipe aggressively across the grain.
– For sticky spots, use the hardwood-floor approved cleaner on a cloth, then blot/remove residue.
– For unknown stains, start mild: repeat the appropriate step (damp cloth + approved cleaner) before trying stronger methods.
Handling “unknown” stains without guessing
Unknown stains are where homeowners accidentally damage finished hardwood floors. If you don’t know whether it’s oil-based, dye-based, or something acidic/alkaline, avoid household “universal” solutions. Instead:
1. Use the approved cleaner for finished hardwood floors on a cloth.
2. Blot and assess.
3. Repeat only until the residue lifts.
4. Stop if you notice dullness or color change, and follow manufacturer-specific spot guidance ().
From my own maintenance checklists ( ), the biggest improvement usually comes from doing smaller, repeated blot steps rather than one aggressive pass.
What can go wrong (and how to prevent it)
Most problems on finished hardwood floors come from excess water, wrong chemistry, or abrasive tools. If you stick to damp microfiber cleaning and label-approved products, you prevent the majority of finish damage.
Excess water increases the chance that moisture reaches joints and seams, which is a common pathway to swelling and finish failure.
Steam mops and harsh chemicals can shorten the life of many floor finishes because they introduce heat, moisture, or stripping agents beyond the coating’s tolerance.
The common failure modes
– Using too much water: can swell the wood and weaken the finish, especially near seams.
– Steam mops on hardwood: heat plus moisture can damage many finishes—check your floor’s care instructions first.
– Harsh chemicals (bleach, ammonia, strong degreasers): can dull, discolor, or strip the finish.
– Wrong pads/brushes: scouring pads and rough attachments can create micro-scratches that show over time.
A quick pH reality check
pH is a measure of acidity/basicity. According to IUPAC pH definition and scale, neutral pH is 7 at 25°C, and the scale typically runs from 0 to 14. That’s why the “pH-neutral” wording on finished hardwood cleaners matters: it’s a signal the product is designed to stay closer to the finish’s expected chemistry, rather than using strongly acidic or alkaline ingredients.
Also, if you’re thinking about vinegar or other DIY mixtures: pH alone isn’t the whole story. Some ingredients can still leave residues, interact with coating chemistry, or require dilution patterns not covered by hardwood-specific guidance.
Verdict: a simple routine that’s usually the safest route
A safe living-room routine is: dry clean (sweep/vacuum) → damp microfiber mop with a finished-hardwood cleaner → address spots by blotting. The downside is that this approach won’t “deep strip” grime the way aggressive products might—so if your finish is heavily worn, you may need professional help or resurfacing. If your hardwood is unfinished, recently installed, or you’re unsure of the finish type, pause and check the manufacturer’s care guidance before mopping.
Routine maintenance for finished hardwood floors works best when you reduce grit exposure first and keep wet cleaning moisture-controlled.
When manufacturer directions conflict with generic cleaning tips, following the floor manufacturer’s approved cleaner and method is the lower-risk choice.
If you’re trying to recover a finish that’s already dulled from years of improper cleaning, the “right” next step isn’t usually more mopping—it’s diagnosing whether you have residue buildup, surface wear, or coating failure. ().
Quick checklist (save this)
– [ ] Sweep or vacuum with a soft floor attachment
– [ ] Use only microfiber pads/mops
– [ ] Use a cleaner labeled for finished hardwood floors
– [ ] Mop damp only (no puddles), in small sections
– [ ] Blot spills immediately; don’t soak
– [ ] Avoid steam, bleach/ammonia, and abrasive pads
Sources
A good finished-hardwood cleaning plan is less about “stronger chemicals” and more about correct sequencing: dry remove grit first, then damp microfiber with a label-approved pH-neutral cleaner, and treat spots with blotting rather than scrubbing. If you stay consistent in 2026, you’ll typically avoid the dullness and streaking that come from excess moisture, residue-heavy cleaners, or abrasive pads—and your living room floor will keep a steadier, cleaner look without wearing the finish prematurely.
Frequently Asked Questions
How do I clean hardwood floors in a living room without damaging the finish?
Start by sweeping or vacuuming with a soft brush attachment to remove grit that can scratch hardwood floors. Use a hardwood floor cleaner recommended for your specific finish, then damp-mop with a microfiber mop—avoid soaking or leaving standing water. Dry any excess moisture immediately with a clean, dry cloth to help protect the wood and prevent warping.
What’s the best way to remove sticky spots or spills from hardwood floors?
Blot spills right away with a dry cloth, then use a slightly damp microfiber cloth with a pH-neutral cleaner formulated for hardwood. For sticky residue, gently rub in the direction of the grain and avoid harsh chemicals, wax removers, or abrasive pads that can dull the finish. If residue persists, repeat with small amounts of cleaner rather than adding water.
Which cleaning products are safe for hardwood floors, and which should I avoid?
Look for pH-neutral, water-based cleaners labeled safe for hardwood, as these help preserve the finish while lifting dirt. Avoid steam mops, ammonia, bleach, vinegar, and “all-purpose” degreasers unless the label specifically approves them for hardwood floors. These can strip protective coatings, cause dulling, or leave streaks and haze in your living room.
Why does my hardwood floor look dull or streaky after cleaning, and how can I fix it?
Dullness and streaks often come from using the wrong cleaner, over-wetting the surface, or not drying after damp mopping. Use a microfiber mop properly (wrung almost dry) and switch to clean mop pads to prevent dirty water from redepositing. If streaking remains, re-clean lightly with a manufacturer-recommended hardwood floor cleaner and finish by buffing with a dry microfiber cloth.
How often should I deep clean and polish hardwood floors in a living room?
For everyday maintenance, sweep or vacuum regularly and damp-clean as needed—often every 1–2 weeks depending on foot traffic and pets. Deep clean once or twice a year using a hardwood-specific cleaner and a thorough but not wet approach, then allow the floor to dry completely. Only apply polish or wax products when recommended for your finish, since over-polishing can build up and make future cleaning harder.
📅 Last Updated: October 16, 2026 | Topic: How to clean hardwood floors in a living room? | Content verified for accuracy and freshness.