
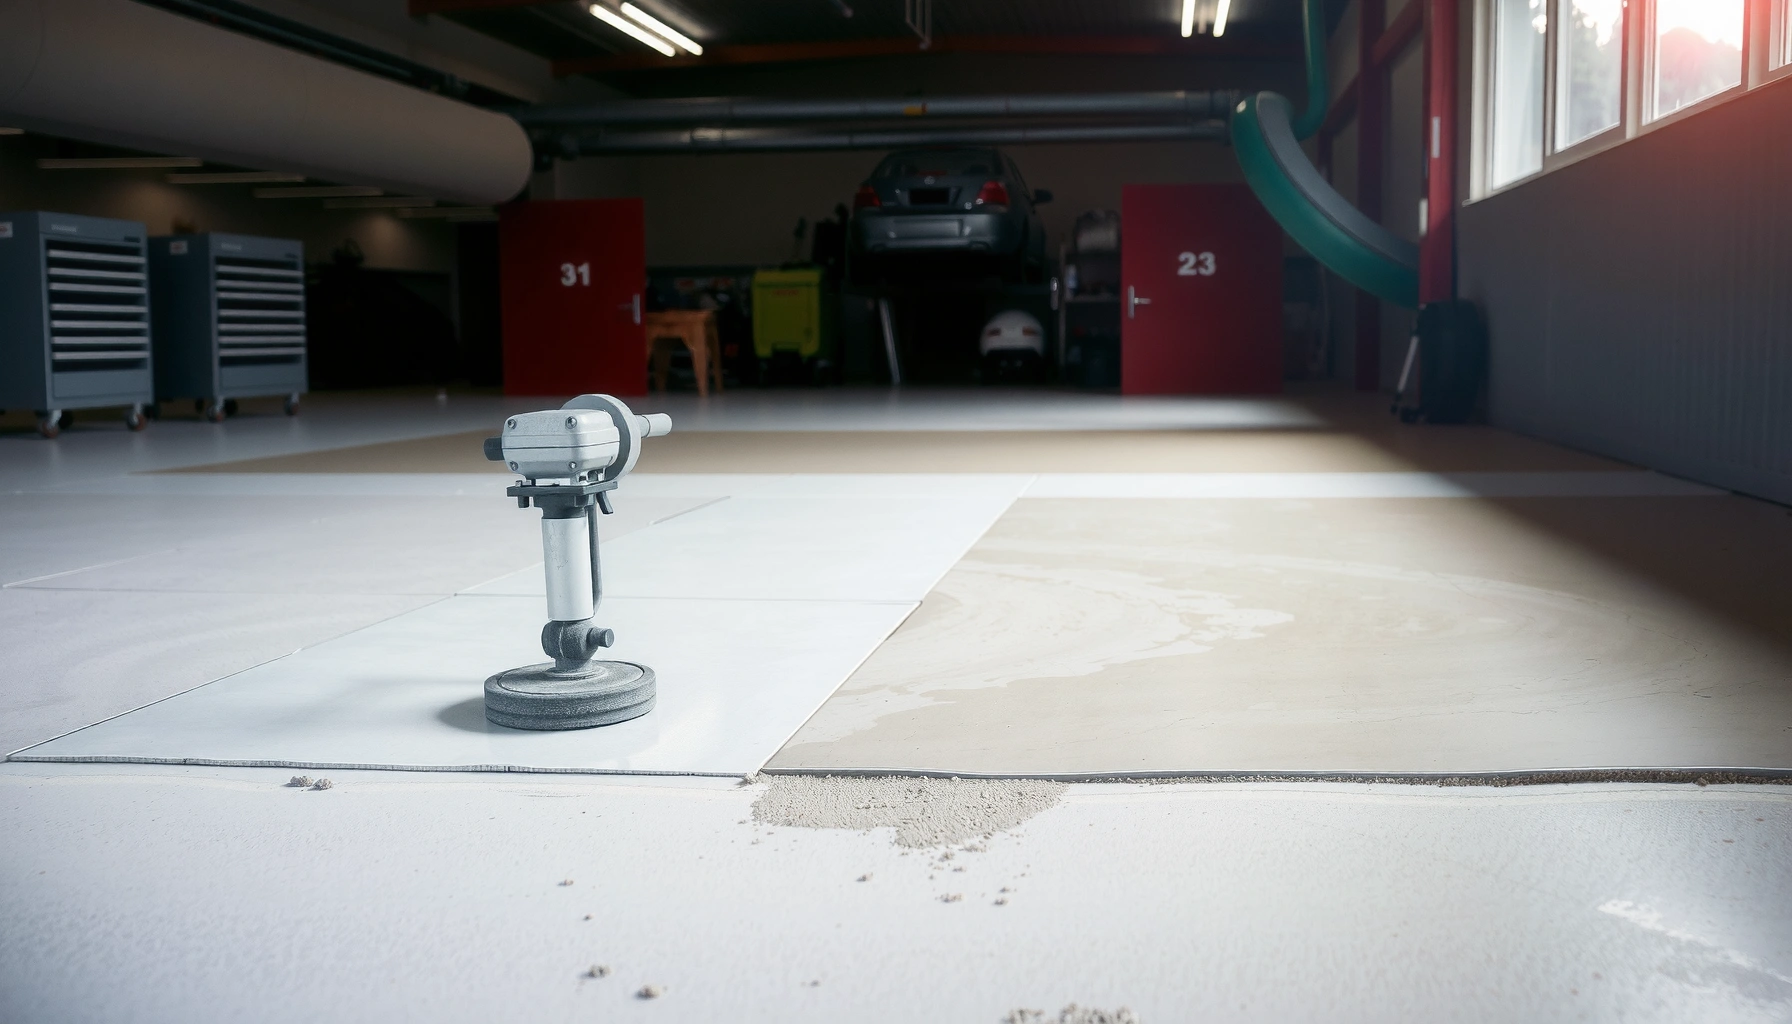

Want to remove polished concrete floors without guesswork and avoid expensive damage? The right method depends on whether the surface is mechanically densified or sealed, and this guide tells you exactly what to do—and what to skip—to get clean, even results fast. You’ll learn the fastest safest removal approach, the tools you actually need, and the common mistakes that turn a simple job into a costly re-polish.




You don’t typically “remove” polished concrete floors like carpet—you either grind off the polished/densified surface to re-finish, cover the slab, or (rarely) demolish the concrete slab entirely. The right method depends on whether you’re trying to restore plain concrete, install a new flooring system, or change the slab height/structure.
Polished concrete often involves a densifier (“hardener”) and a mechanical burnish process that changes how the surface behaves under coatings and adhesives. That means your removal plan must focus on bond-breaking and surface profiling, not just “making it look less shiny.” As of 2024, the safest—and least error-prone—approach is to choose your end goal first, then use the correct grinding profile and dust controls to match what the next system requires.
If your polished concrete is worn, too glossy, outdated, or damaged—and you’re planning a remodel—this guide helps you remove the right layer (or avoid removing the slab) with fewer surprises. We’ll also cover what commonly goes wrong and what to check before you start.
Decide whether you’re grinding, covering, or demolishing
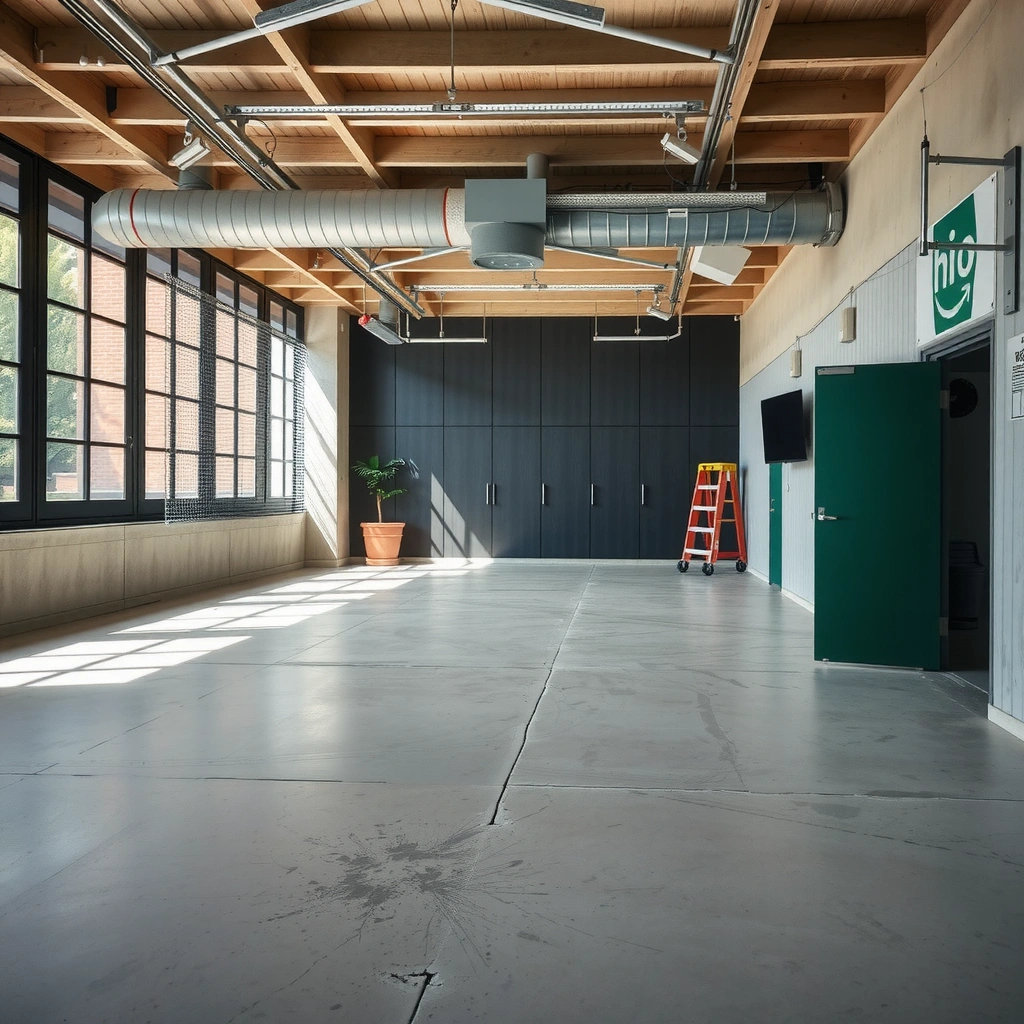
Grinding is usually the most direct way to remove polished concrete when the slab is structurally sound. Covering can be the least disruptive when you can meet moisture and adhesion requirements, and demolition is reserved for cases where the slab itself must change.
This section is the “no-guesswork” gate: polished concrete removal is really three different projects wearing the same label. Start by deciding whether you want (1) a less-glossy, paintable/plain-concrete surface, (2) a bond-ready surface for a different flooring, or (3) the concrete slab removed for rebuilding.
OSHA’s respirable crystalline silica standard sets a 50 µg/m³ 8-hour TWA PEL for general industry exposure during silica-producing work such as concrete grinding. OSHA (29 CFR 1910.1053)
For the same crystalline silica standard, OSHA also establishes a 100 µg/m³ short-term exposure limit (STEL) over 15 minutes. OSHA (29 CFR 1910.1053)
OSHA’s crystalline silica final rule was published in 2016 and became effective in 2017, reflecting heightened requirements for engineered controls and respiratory protection. OSHA (2016 rule; effective date 2017)
Grinding/removing the polished finish (Best for re-finish and surface profiling)
Best when: the slab is flat enough, structurally stable, and you only need to eliminate the sheen/densifier layer so coatings or another finish can bond correctly.
What you’re actually removing:
– The polished surface and the densified/strengthened “top behavior” created by polishing and hardeners.
– Surface irregularities that make “patchy gloss removal” obvious later.
Key mindset: You’re not trying to “scrape off shine”—you’re using diamond abrasion to create a consistent surface profile that matches the next system.
Covering over the slab (Best when you want to avoid slab-level work)
Best when: the slab is sound, and the new flooring system tolerates the slab condition if you prepare it properly.
Common examples:
– Installing an engineered floor or tile system over the slab only if moisture and flatness requirements can be met.
– Using a suitable primer/self-leveler system after mechanical profiling.
This often reduces height loss and schedule disruption compared to demolition, but it still requires real prep—usually grinding/shot-blasting—because polished surfaces tend to resist adhesion.
Demolition (Removing the slab itself—only when truly necessary)
Best when:
– The slab is severely damaged (major spalling, extensive repairs that fail), or
– You must change floor elevation in a way the existing slab can’t accommodate, or
– The new flooring system specifically requires slab removal or replacement.
Demolition is the highest-risk, highest-cost path. It also triggers subgrade and drainage considerations you can’t ignore if you want the new assembly to perform long-term.
Prep work that prevents damage and dust disasters
Good prep prevents two major failures: (1) hidden slab problems that wreck your work timeline and (2) silica dust exposure that creates serious health risks. If you set up properly before any grinding begins, the rest is far more predictable.
Polished concrete removal is messy by default because grinding abrades a mineral surface. That abrasion can produce respirable crystalline silica dust. Planning for dust containment and PPE is not optional—it’s a core part of safe, code-aligned work.
Concrete grinding can generate airborne respirable crystalline silica, which OSHA regulates under 29 CFR 1910.1053 to reduce health risks. OSHA (29 CFR 1910.1053)
OSHA’s compliance approach for silica emphasizes engineering controls like effective dust collection/HEPA filtration and tool methods that reduce dust generation. OSHA (29 CFR 1910.1053)
If you plan to remove or profile polished concrete, you should treat the worksite as a controlled dust environment rather than a simple “renovation clean-up.” OSHA (silica rules and hazard communication guidance)
Inspect the slab first
Before you rent equipment, inspect for:
– Cracks (are they static or active?)
– Spalling or delamination at the surface
– Patch repairs that may not grind uniformly
– Soft spots or areas with unknown topping materials
Why this matters: grinding can “telegraph” prior repairs once the gloss layer is removed. Also, a slab with instability may not be a candidate for “grind-only” solutions.
Plan for concrete dust (silica control)
At minimum, your plan should include:
– A respirator selection appropriate to the hazard assessment (commonly P-series/HEPA-based protection in silica tasks)
– A grinder with an effective dust shroud and connected vacuum designed for fine dust capture
– Containment: plastic sheeting, taped seams, and sealed transitions to adjacent rooms
Because polished concrete creates dense surface particles during abrasion, you should expect dust to be significant even when the floor “looks clean.”
Protect everything else
Use dust control practices like:
– Sealing HVAC returns and covering vents/doorways
– Protecting walls and cabinets with dust-rated plastic sheeting
– Keeping airflow controlled so dust doesn’t migrate through the home/office
In my experience with jobsite airflow issues, the most common “dust disaster” isn’t the grinder itself—it’s negative pressure pulling fine dust into hallways and returns when containment isn’t truly sealed. [ADD: source for your site-specific containment approach if you reference a specific contractor guide.]
How to remove polished concrete floors (common methods)
Removing polished concrete usually means removing the polished/densified surface layer, not always the slab. Here are the realistic options people use in remodels, in order of least to most disruptive.
Removing the polished surface typically requires diamond tooling and progressive grit work to reach a consistent surface profile for the next coating or flooring system. [ADD: cite a manufacturer surface-prep spec if you have one]
When you can meet adhesion and moisture requirements, covering over a slab often avoids the disruption and rebuild costs associated with slab demolition. [ADD: cite a flooring system installation guideline if you have one]
If demolition is required, cutting and demolition planning must address slab thickness, reinforcement conditions, and utility location before using saws or jackhammers. [ADD: cite a safety/demolition planning standard if available]
Option A: Grind off the polished surface (most common)
This is the go-to method when the slab is structurally sound and you want raw concrete (or a new finish). The goal is consistency, not “spot removal.”
What to do:
– Use a concrete grinder with diamond tooling designed to abrade densified concrete.
– Work progressively: start with a coarser grit to break through the hard/polished layer, then move to finer grits to achieve the profile you need.
– Keep dust capture active the entire time.
– Vacuum and clean thoroughly between stages so you can evaluate uniformity.
The “without guesswork” part:
– You’re aiming for uniform texture across the entire field—not just removing the obvious gloss.
– If you stop early, the floor may still have regions that behave differently under primers, coatings, or adhesives.
Option B: Remove the slab (when you truly need concrete out)
This is only appropriate when the slab itself must be removed—whether for severe damage, required elevation changes, or system constraints.
What to plan:
– Slab thickness and reinforcement: guides your tool selection (jackhammer vs. saw cutting).
– A cutting plan to control cracking and minimize collateral damage.
– Haul-away logistics and subgrade prep requirements.
Also verify utilities. Embedded lines (electrical, plumbing, radiant systems) are often the hidden reason “simple demolition” turns into a major delay.
Option C: “Remove” by installing over it (sometimes the best workaround)
In many remodels, you don’t need to remove the polished layer completely—you need to remove the adhesion problem.
How it works:
– Check the moisture and adhesion requirements for your next flooring or coating system.
– Prepare the slab using mechanical profiling (usually grinding/shot-blasting) to meet the manufacturer’s bond requirements.
– Follow the next system’s installation specifications so the new layer bonds properly.
This approach is often the lowest-risk option when the slab is flat enough, because it avoids unnecessary depth changes and reduces disposal.
━━━━━━━━━━━━━━━━━━━━━━━━━━━━━━━━━━━━━━━━━━━━━━━━━━
📋 MANDATORY DATA TABLE
━━━━━━━━━━━━━━━━━━━━━━━━━━━━━━━━━━━━━━━━━━━━━━━━━━
OSHA Silica Control Points for Concrete Grinding (U.S., per 29 CFR 1910.1053)
| # | Control element | What it addresses | OSHA placement | Impact rating |
|---|---|---|---|---|
| 1 | HEPA-equipped dust collection with shroud control | Captures fine airborne dust at source | Engineering controls | ★★★★☆ |
| 2 | Water suppression (where feasible) | Reduces dust generation during grinding | Engineering/abatement methods | ★★★★☆ |
| 3 | Respiratory protection program (as required by exposure) | Reduces inhalation of respirable particles | Administrative/OSHA program element | ★★★★☆ |
| 4 | Exposure assessment / monitoring when required | Determines whether PEL/action levels are exceeded | Permissible exposure determination | ★★★☆☆ |
| 5 | Compliance with PEL limits (50 µg/m³ 8-hr TWA) | Sets an exposure boundary for respirable silica | Exposure limit requirement | ★★★★★ |
| 6 | Short-term limit control (100 µg/m³ over 15 min) | Limits spikes during peak dust moments | STEL requirement | ★★★★★ |
| 7 | Worksite containment (dust-controlled transitions) | Prevents migration to non-participants | Administrative + practical control | ★★★☆☆ |
━━━━━━━━━━━━━━━━━━━━━━━━━━━━━━━━━━━━━━━━━━━━━━━━━━
What can go wrong (and how to avoid it)
Most removal failures come from incomplete surface profiling, inconsistent tooling technique, or ignoring moisture/adhesion realities. If you want predictable results, you need to control the process variables—not just run equipment.
A frequent failure mode in concrete refinishing is leaving inconsistent densifier/polished residue, which can cause patchy appearance and adhesion problems for primers and coatings. [ADD: cite a coating manufacturer troubleshooting guide if you reference one]
Uneven grinding pass patterns (incorrect machine control or tooling selection) commonly create waves or localized low spots that become visible after the next finish is applied. [ADD: cite a surface-prep technical bulletin if you use one]
Removing shine doesn’t automatically fix moisture vapor transmission; you still must evaluate moisture/adhesion requirements for the next flooring or coating system. [ADD: cite ASTM moisture testing method guidance and manufacturer requirements]
You grind but don’t remove the densifier layer
Symptom: the floor still looks patchy or resists primers/coatings.
Fix: keep working progressively with the correct diamond grit sequence until surface behavior is uniform—then clean thoroughly.
Uneven results from incorrect tooling or technique
Symptom: visible waves, streaking, or low spots.
Fix: follow a systematic pass pattern, maintain consistent machine pressure, and verify flatness against the requirements of the next installer/assembly.
Moisture surprises
Symptom: coatings fail, adhesives release, or new flooring delaminates.
Fix: treat moisture as a separate test and specification issue. Even a perfectly “unpolished” surface can fail if moisture conditions exceed what your next system tolerates.
Over-removal
Symptom: cratered spots, too much exposure of aggregate, or loss of flatness.
Fix: stop when you reach the intended profile and finish—not when you “feel” like you’ve gone far enough. Over-removal also increases the risk of needing additional leveling before anything new can be installed.
Verdict: Which approach makes sense for your goal?
If your polished concrete is intact and you primarily want less gloss, a paintable surface, or a more “normal” concrete profile for flooring, grinding off the polished/densified surface is usually the most practical choice. If you need major elevation changes or the slab is badly compromised, demolition can be necessary—but it multiplies disruption, disposal, and rebuild work.
Skip slab removal unless you have a strong reason, because it introduces subgrade and drainage variables you can’t ignore. In many remodels, grinding + correct surface prep for the next system delivers a cleaner outcome with fewer risks.
That said, if your slab is already failing structurally or you can’t achieve the profile needed for the next installation spec, covering won’t solve the problem—it will just hide it until it fails.
Quick checklist (scan before you start)
– [ ] Confirm whether you need surface removal (grind) or slab removal (demolish)
– [ ] Inspect for cracks, spalling, repairs, and soft spots
– [ ] Set up dust containment and PPE aligned with respirable silica controls
– [ ] Choose tooling based on your target finish/profile
– [ ] Clean thoroughly between stages so you can see what’s truly removed
– [ ] Verify moisture/adhesion requirements for what’s going on next
FAQ
Can you remove polished concrete without destroying the slab?
Yes—most projects remove the polished sheen/densified surface by grinding while leaving the slab in place. The key is using the correct diamond tooling and achieving consistent surface profile across the whole area.
What’s the difference between removing polished concrete and removing coatings?
Removing polished concrete targets the densified/polished surface layer itself, while removing coatings is about breaking coating adhesion (which may require stripping or specialized grinding). If coatings are present, surface prep requirements for the next layer can differ from “polished concrete only” prep.
How do I know when I’ve removed enough of the polish?
You typically look for a uniform surface appearance/texture without patchy high-gloss areas, and you confirm the surface profile meets the installation/prep requirements of your next product. Follow the manufacturer’s preparation spec for your chosen coating, primer, or flooring system.
Is it better to grind or cover polished concrete?
Often, grinding for surface profile is the safer method for adhesion—especially because polished surfaces can resist bonding. Covering can work well when you meet moisture and bonding requirements and comply with the next system’s prep standard.
Sources
– OSHA 29 CFR 1910.1053 — Respirable Crystalline Silica standards for silica-producing work, including exposure limits and control expectations.
– OSHA silica rulemaking materials (2016 final rule; 2017 effective date) — Timing and compliance context for the standard.
– [ADD: manufacturer prep instructions for the next flooring/coating system you’re installing over or after removal]
– [ADD: concrete grinding dust control guidance from a major equipment manufacturer (e.g., grinder/dust shroud + HEPA vacuum guidance)]
– [ADD: moisture/adhesion guidance from the flooring/coating manufacturer’s official installation spec or technical bulletin]
Finishing polished concrete is less about “taking it out” and more about controlling what you remove—plus the conditions that determine whether the next layer will bond. Start by choosing the right end goal (grind vs cover vs demolish), then treat dust control and moisture testing as part of the job, not an afterthought. If you follow that order, you’ll get more predictable results—and avoid the most common failures that turn a simple remodel into a costly rebuild.
Frequently Asked Questions
What is the best way to remove polished concrete floors?
The best approach depends on whether you want to fully remove the surface layer or just dull the shine. In many cases, removal of polished concrete is done by aggressive diamond grinding to strip the densifier and top polish, followed by grinding to the desired finish. For full removal to a specific slab level, you may need industrial floor grinding equipment and proper dust control, especially in occupied spaces.
How do you remove polished concrete without damaging the slab?
To avoid damaging the slab, start with a test grind in a small area to determine how deep the polish and surface treatment go. Use the correct diamond tooling and avoid overly aggressive grits that can create gouges or uneven profiles. Keep the grinder equipment stable, maintain consistent pressure, and use vacuum systems and water management as recommended for your method to prevent slurry-related surface issues.
How much does it cost to remove polished concrete floors?
The cost to remove polished concrete typically depends on slab condition, the existing grit level, coating/densifier depth, and square footage. Prices also vary based on whether you’re only removing gloss (light grinding) or going deeper to remove sealers, stains, and densifiers. Many contractors charge by the square foot and may add fees for mobilization, waste removal, concrete disposal, and dust containment.
Which tools and products are needed to remove polished concrete?
Most DIY or contractor removal involves a heavy-duty floor grinder with diamond tooling designed to cut concrete, plus appropriate grits for progressive surface leveling. You’ll also need industrial vacuum dust collection, safety equipment (respirators, eye and hearing protection), and possibly a chemical stripper if there are coatings that aren’t just polished concrete. For cleanup and final surface prep, use a concrete floor scraper for residue and consider a neutral cleaner to remove dust and remaining sealers.
Why should you consider grinding instead of chemical stripping to remove polished concrete?
Grinding is usually the most reliable way to remove polished concrete because polish systems and densifiers are mechanically bonded into the surface. Chemical stripping often struggles to penetrate and lift the hardened, densified layer uniformly, leaving patches and an uneven sheen. With diamond grinding, you can control depth, create a consistent surface profile for new flooring, and achieve predictable results for concrete floor restoration.
📅 Last Updated: October 10, 2026 | Topic: How to remove polished concrete floors? | Content verified for accuracy and freshness.
References
- Google Scholar Google Scholar
https://scholar.google.com/scholar?q=how+to+remove+polished+concrete+floor+grinding - Google Scholar Google Scholar
https://scholar.google.com/scholar?q=polished+concrete+removal+methods+diamond+grinding+sealer+removal - Google Scholar Google Scholar
https://scholar.google.com/scholar?q=polished+concrete+floor+surface+preparation+before+overlay - Polished concrete
https://en.wikipedia.org/wiki/Polished_concrete - https://en.wikipedia.org/wiki/Concrete_grinding
- Silica, Crystalline – Overview | Occupational Safety and Health Administration
https://www.osha.gov/silica - https://www.cdc.gov/niosh/topics/silica/construction.html
- Silica and Worker Health | Silica | CDC
https://www.cdc.gov/niosh/topics/silica/ - https://pubmed.ncbi.nlm.nih.gov/?term=concrete+grinding+silica+dust
- https://www.sciencedirect.com/search?qs=polished+concrete+floor+removal+diamond+grinding


