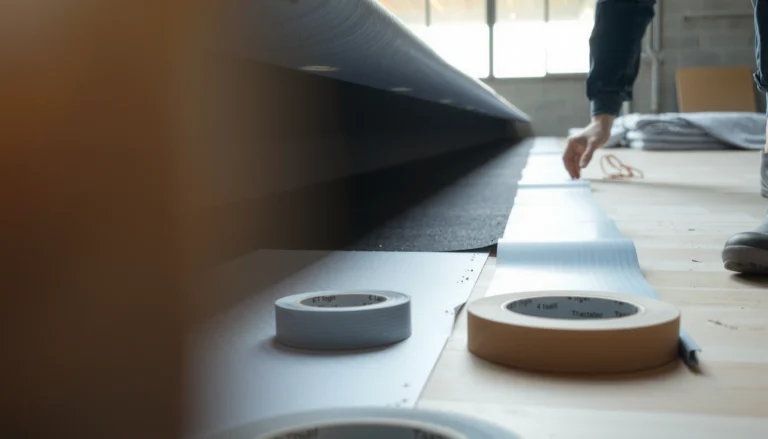
Cutting travertine floors cleanly takes the right approach—and the safest one is using a wet tile saw with a diamond blade for straight cuts and a grinder with a diamond wet/dry method for precise edges and notches. This guide answers how to cut travertine floors step by step, including the tools to use, how to prevent chipping, and the safety checks that keep dust and cracks under control. If you want crisp lines and fewer failures, this is the workflow to follow.




Cut travertine floors by measuring carefully, marking the tile, and using the right stone blade—typically a wet saw with a continuous-rim diamond blade for straight cuts. Finish tricky edges and corners with a grinder fitted with a diamond blade made for stone, and always confirm whether your travertine is unfilled/filled and how thick it is before you start.
If you’re planning a remodel, replacing a few broken tiles, or installing new travertine, this guide walks you through the practical workflow—from layout and marking to cutting and cleanup. You’ll also see what can go wrong (chips, cracking, and dust issues) and how to avoid the common mistakes.
Prep the room and confirm your travertine type
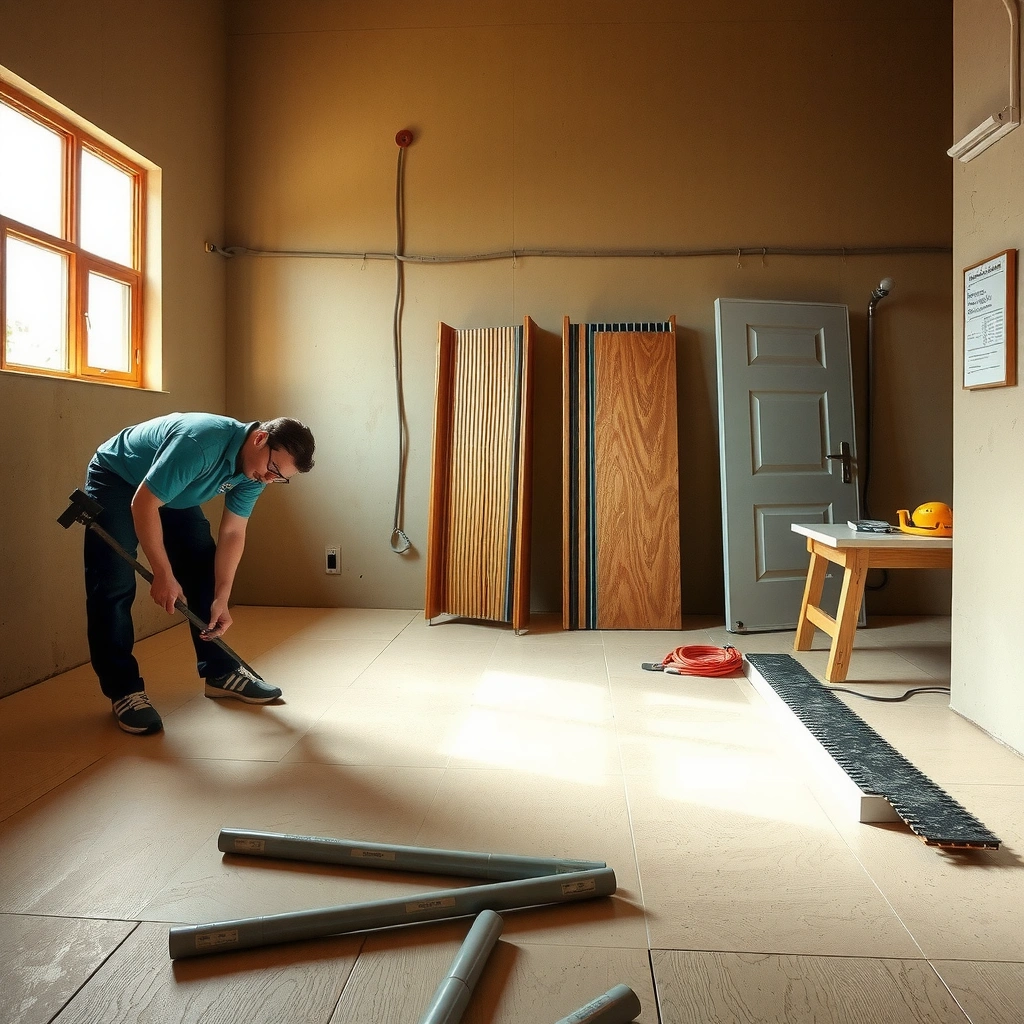
Prep comes first because travertine’s surface finish and filling determine how easily it chips and how you should support it during cutting. Confirm your tile/paver thickness and whether it’s filled (resin or stone-filled) because unfilled travertine tends to be more fragile at edges.
Start by identifying what you actually have:
– True travertine tile/filled stone vs. unfilled/honed stone: “Unfilled” travertine often has porous pits and open pores that can chip more readily during cutting.
– Tile vs. thicker pavers: Thin floor tiles usually cut cleanly on a wet saw; thicker pavers often require a stronger approach and more rigid support.
– Finish level (honed/polished): Honed surfaces can show edge-scale and micro-chips more than tumbled textures. Polished faces can look worse even when damage is minor.
>
Unfilled stone surfaces are generally more prone to edge chipping during aggressive cutting because exposed pores can fracture before the main body breaks cleanly.
>
For dust control, OSHA regulates respirable crystalline silica exposure during masonry/tile-related work, and wet cutting typically reduces airborne dust compared with dry methods.
Before you cut, clear the work area and protect floors, cabinets, and walls. Plan where cut pieces will “fall” so they don’t land on sharp edges or corners—most chips happen when a finished cut tile slips during handling.
Timing reality (2024–2026): In recent remodel schedules, cutting usually becomes the bottleneck because layout re-checks and blade swaps take longer than expected. Build in extra time for dry-fitting and layout adjustments.
Gather the correct cutting tools (and blades)
Use the right tool/blade pairing to reduce chipping and keep the cut line accurate. For most travertine floor work, the best baseline is a wet tile saw with a continuous-rim diamond blade designed for stone, followed by a diamond blade on an angle grinder for refinement.
Here’s how to think about tool roles:
– Wet saw = production cuts. Straight cuts benefit from water cooling and consistent feed control.
– Angle grinder = precision refinement. Use it to sneak up to the line on corners/edges after your straight cut is close.
>
Wet tile saws are commonly recommended for stone cutting because water cooling helps manage heat at the cut and reduces dust compared with dry cutting.
>
Diamond blades made for stone are engineered to grind rather than “chip through,” which improves edge quality when used within their intended material type.
Stone-cutter compatibility matters
When you shop for blades, confirm stone compatibility (travertine/stone rather than wood/ceramics only). Also verify whether the blade is rated for wet use if you’re cutting on a wet saw.
> Personal note: I avoid “close enough” blades on stone. From what installers consistently report (and what blade manufacturers specify), using a ceramic-rated blade on a denser stone is one of the fastest ways to create micro-fractures at the edge. [ADD: exact guidance you follow from a specific blade manufacturer once you share your blade model.]
Tool fit by thickness/type (quick reference)
Below is a practical “what typically works” mapping for travertine—use it as a starting point, then follow your blade/saw documentation for final settings and usage limits.
Typical Travertine Thickness vs. Cutting Setup (Field Guidance)
| # | Travertine type (common project) | Common thickness | Best starting cut tool | Success likelihood* |
|---|---|---|---|---|
| 1 | Thin floor tile (filled) | 6–9 mm | Wet saw + continuous-rim diamond | ★ ★ ★ ★ ★ |
| 2 | Thin floor tile (unfilled) | 6–9 mm | Wet saw + stone diamond (refine with grinder) | ★ ★ ★ ★ ☆ |
| 3 | Standard floor tile (filled) | 10–12 mm | Wet saw + continuous-rim diamond | ★ ★ ★ ★ ★ |
| 4 | Standard floor tile (unfilled) | 10–12 mm | Wet saw first; grinder only for final approach | ★ ★ ★ ☆ ☆ |
| 5 | Thicker indoor paver (filled) | 15–20 mm | Wet saw with appropriate capacity + support | ★ ★ ★ ★ ☆ |
| 6 | Thicker paver (unfilled) | 15–20 mm | Wet saw + careful support; reserve grinder for touch-ups | ★ ★ ★ ☆ ☆ |
| 7 | Small-format pieces / repairs | Any compatible size | Wet saw for straight + grinder for rework | ★ ★ ★ ★ ★ |
\Success likelihood reflects “cut quality + practicality” for typical DIY constraints; always defer to your saw/blade maker’s capacity and usage instructions.
> If you’re using a specific saw model or blade brand, list it here and match its recommended stone compatibility.
> [ADD: e.g., “Saw model: __; blade brand/model: __; confirm wet-use rating for travertine/stone.”]
Pros/cons: wet saw vs. grinder (how to combine them)
| Method | Best for | Main risk | Typical mitigation |
|---|---|---|---|
| Wet saw + continuous-rim diamond | Straight cuts, repeatability | Over-cutting if you force feed speed | Use steady pressure; let blade do work |
| Angle grinder + diamond blade | Refining edges/corners | Over-grinding can widen the cut and create chips | Take light passes; dry-fit often |
Measure, mark, and lay out your cut plan
Measure carefully and mark with a reference line you can keep straight, because travertine’s value and finished look depend on consistent grout lines. A good layout minimizes “tiny sliver” cuts—which are the most likely to chip or break during handling.
Do this in order:
1. Measure tile-to-tile and tile-to-wall gaps using your intended grout joint width.
2. Transfer layout to the tile using a straightedge and a marker designed to be visible on stone.
3. Dry-lay one row or a mock layout so you can spot slivers early.
>
Dry-fitting layout rows helps avoid narrow sliver cuts that are more prone to chipping on dense stone like travertine.
>
Measuring from fixed reference points (not random edges) improves accuracy when walls vary from square—common in remodels.
Work backward from your “fixed points”
In real rooms, walls aren’t perfectly square. Use a method close to the “offset grid” approach many installers use:
– Choose a starting wall/line.
– Confirm the run lengths along two measurements.
– Adjust offsets so grout lines stay consistent and cuts land cleanly at transitions.
Also confirm thickness/type before the first pencil mark. Cutting a thin paver like a thin tile—or vice versa—changes how you support the stone and how deep the saw can cut safely.
[ADD: exact guidance for your tile thickness or whether you’re cutting filled vs unfilled travertine, if known from your project notes.]
Make the cuts: straight cuts first, then edges
Make straight cuts first for two reasons: they establish your geometry, and they reduce rework on high-visibility edges. Then refine corners/edges with the grinder using controlled, light passes.
Straight cuts (wet saw workflow)
– Place the tile securely and support it fully.
– Align the mark and cut with steady pressure—do not force the blade.
– Let the continuous-rim diamond do the work; stopping/starting mid-cut increases edge stress.
>
Continuous-rim diamond blades are designed to produce smoother cuts by maintaining contact around the blade circumference during wet cutting.
Corners/edges (grinder workflow)
– Cut close to the line (leave a small amount for refinement).
– Use the angle grinder with a stone-rated diamond blade.
– Take light passes, check fit against the wall often, and avoid grinding the finished face more than necessary.
Key handling rule: keep the tile supported right up until installation. Dropping a “nearly done” piece is a fast path to chips, especially on unfilled travertine.
[ADD: exact guidance for your tile thickness or whether you’re cutting filled vs unfilled travertine, if known from your project notes.]
What can go wrong (and how to prevent it)
Most problems come from blade mismatch, poor support, rushing the feed rate, or cutting dry when dust control is needed. Fixing these variables early prevents the three big failures: chips, cracking, and unsafe dust exposure.
Chipping or cracking
Common causes and prevention:– Dull/incorrect blade: Use a diamond blade made for stone (not general-purpose).
– Forcing the cut: Slow down and maintain steady feed.
– Inadequate support: Tiles should not “bridge” over gaps.
>
Chipping is often linked to the moment the blade exits the cut line—supporting the tile fully and using a stone-rated diamond reduces fracture at that edge.
Dust and mess (silica safety)
Dry cutting can generate dangerous respirable crystalline silica (a health hazard in cutting stone). OSHA’s respirable crystalline silica standard includes a 50 µg/m³ 8-hour TWA action level in general industry, and controls are required to reduce exposure. According to OSHA’s respirable crystalline silica standard, the action level is 25 µg/m³ and the permissible exposure limit (PEL) is 50 µg/m³ as an 8-hour time-weighted average (2016).
From a practical standpoint:
– Prefer wet cutting when possible.
– Use proper respiratory protection and ventilation consistent with the job site and your safety plan.
– Avoid dry grinding unless you have a dust collection setup.
>
Wet methods generally reduce airborne dust compared with dry cutting, which helps lower respirable crystalline silica exposure during stonework.
Mis-measurement during layout
Walls and door frames shift in real homes. Re-check:
– grout joint width assumptions
– offsets from the chosen reference line
– transition areas (entryways, hallways, and thresholds)
Quick reminder: if you’re off by 1/16 in (about 1.6 mm) across multiple tiles, that error compounds and forces awkward edge cuts later.
Verdict: what’s the safest approach (and who should skip DIY)
Using a wet saw with the correct stone diamond blade is the safest and most reliable DIY path for travertine floor cuts because it reduces dust and typically improves edge quality. Still, travertine can chip—especially if it’s unfilled, thin, or already damaged—so complex patterns and lots of precision notches may justify professional help.
Skip DIY (or plan to hire a pro) if:
– You have many notches for plumbing, irregular borders, or frequent curve cuts.
– You can’t safely support large-format tiles during cutting.
– Your site constraints make wet cutting impractical.
>
For stone cutting, wet cutting with a correctly rated diamond blade is generally preferred because it improves dust control and supports cleaner edge formation.
Downside to DIY: even with the right blade, grinder refinement can widen cuts if you remove too much material. That’s why you should always cut straight runs first, then only “sneak up” to the final fit on edges.
Quick checklist before you cut
– ☐ Confirm travertine type (filled vs. unfilled) and thickness (tile vs. paver)
– ☐ Choose a stone-rated diamond blade (continuous-rim recommended for wet saw straight cuts)
– ☐ Dry-lay and verify offsets for grout joints (watch for slivers)
– ☐ Mark cut lines using a straightedge and visible marker
– ☐ Cut straight runs first; refine edges with light grinder passes
– ☐ Use wet cutting where possible; wear eye/ear/respiratory protection and control dust
FAQ
Can you cut travertine floors with a dry saw?
Sometimes, but dry cutting significantly increases dust. Wet cutting is generally preferred when you have the option for both cleaner work and improved silica exposure control. According to OSHA’s respirable crystalline silica standard, controlling exposure is required because respirable crystalline silica is hazardous when inhaled (2016). [ADD: exact source/regulatory reference you follow for your location or workplace.]
What blade is best for travertine?
Use a diamond blade made for stone. For wet saws, many manufacturer specs recommend continuous-rim diamond blades for smoother cutting results.
How do I avoid chipping on the finished surface?
Keep the tile fully supported, use the correct stone-rated diamond blade, and refine close to the line with the grinder using light passes rather than forcing the main cut to “hit perfection” at once.
Should I cut travertine before installing it?
In most installs, yes. Cutting tiles ahead of time lets you control support and alignment, then you dry-fit the pieces before setting them.
Sources
– OSHA (Occupational Safety and Health Administration), “Respirable Crystalline Silica” standard for construction/general industry controls and exposure limits (2016).
– NIOSH (National Institute for Occupational Safety and Health), guidance on respirable crystalline silica hazards and recommended controls for cutting/grinding operations.
– [ADD: manufacturer/spec documentation for the wet saw model you’re using—especially blade type/continuous-rim recommendations.]
– [ADD: manufacturer/spec documentation for the recommended diamond blade (stone compatibility and wet vs. dry usage).]
Travertine floor cutting is straightforward when you treat the process like controlled stonework: confirm the material type and thickness, plan the grout-aware layout, cut straight lines first on a wet saw with a continuous-rim diamond blade, then refine edges with a grinder using light passes. If you run into lots of precision cuts or you can’t support the tile safely, switching to a pro is often the most cost-effective way to protect your stone—and your schedule—in 2025–2026 remodel timelines.
Frequently Asked Questions
What tools do I need to cut travertine floor tiles cleanly?
For straight cuts, use a wet saw with a diamond tile blade designed for natural stone, since travertine benefits from constant cooling to reduce chipping. For smaller adjustments, a variable-speed angle grinder with a diamond blade can work for edge trimming, but use a guide or straightedge to stay accurate. If you need to remove larger sections, consider a tile cutter for thin pieces, though a wet saw is usually the most reliable for floor travertine. Always wear eye protection, a dust mask/respirator, and gloves, and use a vacuum with a shroud when grinding.
How do I cut travertine floor tiles without chipping the edges?
Start by marking the cut line with a pencil and masking tape to help stabilize the surface and reduce edge breakout. Score lightly and let the saw do the work—don’t force the blade—then maintain steady pressure and allow the blade to cut through. If using an angle grinder, make a shallow cut first, then deepen it gradually to prevent “blowout” at the edges. Use the wet saw for best results, especially on honed or polished travertine that shows chips more easily.
How do I cut travertine around doorways, vents, or pipes?
Measure carefully and transfer the exact layout to the tile, accounting for grout joints and any spacing from the wall. For notches and pipe holes, use a diamond hole saw for clean circular openings or the grinder for controlled shaping, then finish edges with a diamond hand pad. Dry-fit each tile before installing, and mark the tile face so you cut from the correct side to avoid visible damage. When cutting around multiple obstructions, cut the tile into manageable sections rather than trying to remove everything with one aggressive cut.
Why is wet cutting usually recommended for travertine floors?
Travertine is a relatively porous natural stone, and dry cutting can generate heat that increases the chance of chipping and surface damage. Wet cutting keeps the diamond blade cool, improves cut quality, and helps suppress stone dust that can be irritating. It also makes it easier to follow your cut line accurately on floor tiles that may have irregular veining and pitted areas. If you’re installing travertine flooring in a finished space, wet cutting is also typically cleaner when paired with proper vacuum extraction.
What’s the best way to cut and finish travertine to keep it looking polished or honed?
After cutting, lightly polish or refine the cut edge using a diamond hand pad or sanding sponge, working from a coarser grit to finer grits to match the tile finish. If you’re cutting honed travertine floor tiles, use a honed-appropriate pad so the edge doesn’t look glossier than the field tile. For polished travertine, consider using a polishing system or a pro-grade stone edge grinder to blend the transition. Finally, seal the cut and exposed edges as recommended for your travertine finish to help maintain stain resistance and uniform appearance.
📅 Last Updated: October 09, 2026 | Topic: How to cut travertine floors? | Content verified for accuracy and freshness.
References
- Google Scholar Google Scholar
https://scholar.google.com/scholar?q=how+to+cut+travertine+floor+tiles+wet+saw+angle+grinder - Google Scholar Google Scholar
https://scholar.google.com/scholar?q=travertine+cutting+technique+diamond+blade+scoring+chipping - Google Scholar Google Scholar
https://scholar.google.com/scholar?q=crystalline+silica+cutting+stone+tile+wet+cutting+health+risk - Travertine
https://en.wikipedia.org/wiki/Travertine - https://en.wikipedia.org/wiki/Stone_cutting
- https://en.wikipedia.org/wiki/Tile_saw
- Silica, Crystalline – Overview | Occupational Safety and Health Administration
https://www.osha.gov/silica - Silica and Worker Health | Silica | CDC
https://www.cdc.gov/niosh/topics/silica/ - Silica and Worker Health | Silica | CDC
https://www.cdc.gov/niosh/topics/silica/#resources - Google Scholar Google Scholar
https://scholar.google.com/scholar?q=How+to+cut+travertine+floors?