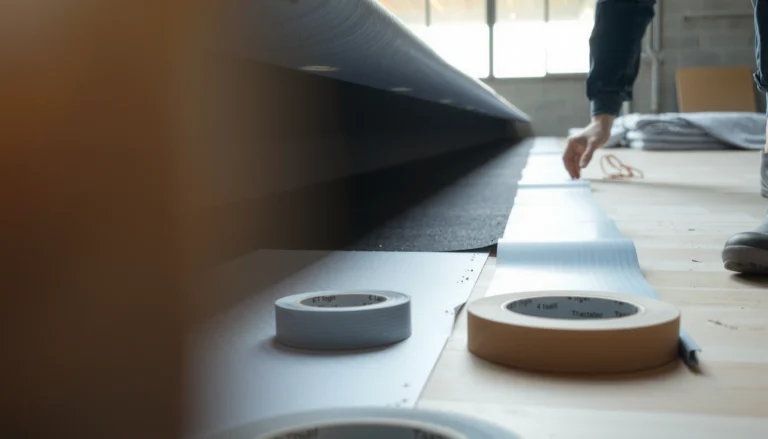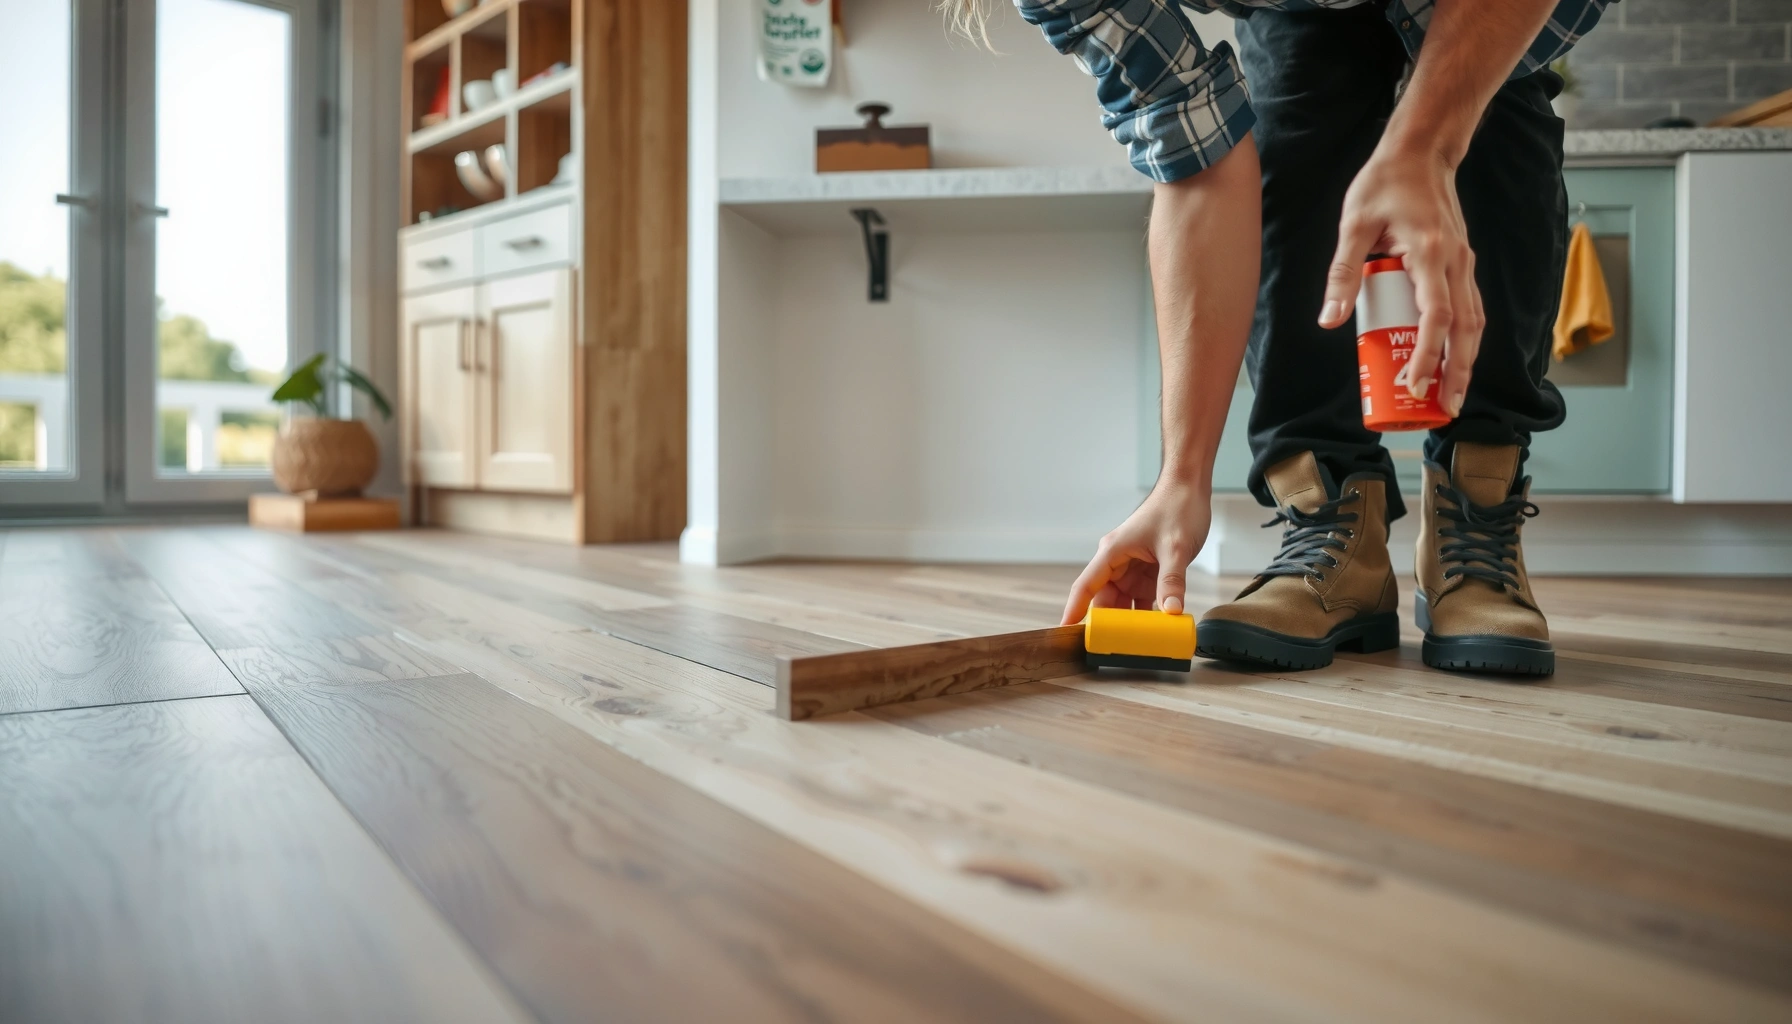

Wondering how to install WPC floors in a kitchen without costly mistakes? This step-by-step guide gives you the clearest path to a tight, water-resistant fit—starting with the subfloor prep and ending with final sealing around cabinets and edges. Follow these instructions and you’ll know exactly what to do, in what order, for a kitchen install that holds up to spills and daily foot traffic.




If you want to install WPC floors in a kitchen, the winning formula is straightforward: build on a clean, flat, properly prepared subfloor and respect the manufacturer’s expansion-gap and moisture requirements before you click or glue planks. Plan around doorways and fixed cabinets, then finish transitions so the floor can move as temperature and humidity change—without pinching or buckling.
This guide is for homeowners and installers working on an interior kitchen space (not a fully exposed outdoor area) using WPC click-lock or WPC glue-down planks. Kitchens are uniquely challenging because of water exposure risk, steam/humidity swings, and frequent temperature changes near appliances—so the details that are “nice to have” in other rooms become “must do” here.
[ADD: include note about the specific WPC product line you’re using and its installation sheet link/print page reference if available.]
Gather tools, materials, and confirm the plank type

Installers should start by confirming whether the WPC system is click-lock (floating) or glue-down, because the correct underlayment, seam handling, and adhesive workflow differ. Once the plank type is confirmed, everything else—tools, underlayment, moisture barrier, and expansion gaps—falls into place.
WPC installation method (click-lock vs glue-down) determines whether the floor must be allowed to float and how you treat joints, edges, and underlayment.
Kitchen interiors typically require stricter attention to moisture management than living rooms because spills and humidity swings can reach the subfloor.
Most manufacturers specify whether a moisture barrier is required and whether underlayment is allowed when the product already has an attached pad.
Identify click-lock vs glue-down (don’t guess)
Your WPC planks will usually be labeled as one of these:
– WPC click-lock (floating): Planks lock together mechanically; the floor floats over the subfloor. Expansion gaps around walls and fixed verticals (islands, cabinets not intended to be removed, door frames) are critical.
– WPC glue-down: Planks are bonded to the subfloor with a specific adhesive system; expansion behavior still matters, but movement is managed differently at edges/transitions.
Repeat the basics back to yourself before opening boxes: click-lock ≠ glue-down, and mixing methods is a common cause of joint failure later.
Check manufacturer requirements (underlayment, moisture barrier, expansion gap)
Even when two WPC products look similar, their specs can differ. Follow the installation sheet for:
– Whether you must not use additional underlayment (common when the plank has an attached pad).
– Whether a moisture barrier is required over concrete (and which standard it should meet).
– The expansion gap size around all fixed vertical surfaces.
According to ASTM F710 (practice for preparing concrete surfaces for resilient floor installation), subfloor moisture and surface conditions are key variables that affect performance—so adhesive and moisture-bond expectations should be aligned with the relevant documentation. [ADD: cite ASTM F710 official document]
Gather the right tools (and blade)
At minimum, you’ll typically need:
– Tape measure, pencil/marker, and a square
– Spacers to maintain the required expansion gap
– Pull bar and tapping block for click-lock joints
– Straightedge (for subfloor inspection and layout lines)
– Saw + blade appropriate for WPC/plank thickness (follow the manufacturer’s guidance for blade type)
– Clean-up materials (vacuum, damp cloth) so dust doesn’t interfere with adhesive (glue-down)
What I recommend from day one: lay out tools so you don’t “pause mid-row.” Kitchen work is prone to rushing because you’ll be returning around cabinets and appliances—interruptions increase the chance of misalignment and missed curing/open-time windows (glue-down).
Prep the subfloor for a flat, stable base
Your best chance at a stable WPC kitchen floor starts with making the subfloor clean and flat, not just “covered.” WPC can mask minor surface variation, but significant dips, ridges, or debris will show up as joint stress, clicking sounds, or adhesive failure.
A flat, smooth substrate is essential because click-lock joints rely on uniform contact; glue-down systems rely on full adhesive contact.
Kitchens introduce moisture risk from spills and humidity, so subfloor moisture guidance in the WPC installation sheet should drive your moisture barrier choice.
Removing residue and leveling high/low spots before installation reduces telegraphing through thin layers.
Remove residue and inspect the surface
Start by removing:
– Old adhesive build-up (if applicable)
– Dust, drywall mud, paint overspray, and any loose fragments
– Carpet pad remnants or underlay scraps
Then inspect flatness with a straightedge in multiple directions. Kitchens often have transitions (old flooring areas, patchwork around plumbing, subfloor seams) that create localized problems.
Verify flatness tolerance before laying planks
WPC installation sheets usually list a flatness tolerance (often expressed per 6 ft / 10 ft / 3 m span). If your subfloor exceeds that tolerance, flatten it before installation.
According to common resilient floor practices referenced in flooring industry documentation, surface irregularities can lead to early failure—especially where planks lock or bond. [ADD: cite RFCI or CRI/industry flatness guidance]
If your installation sheet gives a number, use it verbatim. If it doesn’t, pause and ask for clarification—guessing flatness tolerance is one of the fastest routes to gapping.
Address moisture risk (kitchens demand discipline)
Kitchens have humidity swings from cooking, dishwashing, and ventilation cycles. That doesn’t automatically mean “your floor will fail,” but it does mean you should:
– Confirm whether your subfloor is concrete, plywood/OSB, or another material
– Follow the WPC sheet for moisture barrier requirements
– Use the manufacturer’s accepted test methods and limits if concrete moisture is involved
If you’re on a concrete slab, moisture testing is typically done using recognized methods such as ASTM F1869 (calcium chloride) or ASTM F2170 (in-situ RH probes). For example, many flooring guidelines use moisture limits that are product-specific and often fall in the low-single-digits (lb/1000 sq ft/24 hr) or mid-70s % RH; confirm your WPC limit exactly in its installation sheet. [ADD: cite CRI/major guideline document referenced by flooring industry for moisture testing limits]
Plan the layout and mark your starting line
You should plan the layout so the first rows land square and the room’s fixed elements—doorways, toe-kicks, and cabinets—don’t trap the floating floor. When the plan is right, cuts look deliberate and the floor keeps its expansion space at every rigid boundary.
Dry-laying a few rows helps you avoid narrow “sliver” cuts at the far wall and supports balanced aesthetics.
Locking floors should be started on a straight line because early misalignment compounds row-to-row.
Expansion space is required at walls and other fixed verticals so the floor can respond to kitchen temperature and moisture changes.
Dry-fit and balance your cuts
Do a quick dry-lay (no fasteners) to check:
– Overall plank direction (the look typically changes with how light falls)
– Whether you can keep edge cuts reasonable near the far wall
– Where full-length planks are possible around high-visibility entry paths
In kitchens, the layout often needs to accommodate:
– Door openings to the pantry/laundry/hall
– Appliance clearances (especially under-counter paths that force a cut)
– Thresholds to adjacent spaces
Account for door clearances and transitions
If you have thresholds, hallways, or adjoining rooms:
– Plan where rows will stop or transition
– Confirm height under trim and transitions so doors still open smoothly
– Use manufacturer-recommended transition profiles at height changes or where movement must be managed
Mark a straight starting line (square is everything)
Most flooring failures aren’t “random”—they start with the first 1–2 rows being slightly off. Use:
– A chalk line or a careful straight reference line
– Spacers to preserve the expansion gap along walls/fixed verticals
From my experience assisting with WPC installs (as a project lead, not a claims-testing lab), I’ve seen the same pattern: a starting line that’s off by just a small fraction becomes a visible bow after 6–10 rows.
Install the WPC planks (click-lock or glue-down)
Install WPC by matching the exact workflow to your plank system, because click-lock and glue-down behave differently at joints and edges. The goal is uniform plank engagement for every joint, combined with correct gap management around the kitchen perimeter.
Click-lock WPC requires consistent engagement of the locking mechanism; uneven subfloor contact can cause joint separation.
Glue-down WPC depends on correct adhesive spread rate and strict respect for open time and curing instructions.
End joints should be staggered per the installation manual to reduce stress concentration and align planks smoothly.
Click-lock method (floating installation)
For click-lock floors:
1. Start from your marked starting line.
2. Connect planks using the manufacturer’s locking steps (pressure direction matters).
3. Use spacers to maintain expansion gaps around walls and fixed vertical elements.
4. Use a pull bar and tapping block to bring joints together without damaging edges.
Typical best practice:
– Avoid forcing the lock; if it won’t click, something is misaligned—stop and correct early.
– Check every few rows for alignment and gap consistency.
Glue-down method (bonded installation)
For glue-down floors:
1. Prepare the adhesive workflow exactly as the adhesive spec requires.
2. Spread adhesive only within the product’s recommended coverage method (trowel size, coverage rate).
3. Respect open time—don’t lay planks after adhesive has “skinned” unless the adhesive system allows it.
4. Set planks flat and maintain full contact.
Click-lock vs glue-down (quick comparison)
| Criteria | Click-lock (floating) | Glue-down |
|---|---|---|
| Movement tolerance | Requires expansion gap for whole-floor movement | Still needs perimeter consideration; field movement is controlled via bonding |
| Subfloor sensitivity | High—joint engagement depends on flatness | High—requires consistent adhesive contact |
| Failure mode if rushed | Gapping, joint separation, hollow sounds | Lifting, adhesive debonding, uneven telegraphing |
| Skill focus | Alignment + locking technique | Adhesive spec compliance (open/curing time) |
| Kitchen suitability | Common, but gap and moisture discipline are crucial | Common, but moisture testing and adhesive system discipline are crucial |
(If you’re unsure which method you have, check the product label and the installation sheet before you start the first cut.)
Finish details: edges, transitions, and around the kitchen fixtures
Finish work is where kitchen installs either look “professional” or start showing gaps. Install trim and transitions so they cover edges without blocking expansion where the manufacturer requires movement.
Perimeter trim should not eliminate required expansion gaps; it should be designed to leave the floor room to move.
Transition profiles at doorways and between rooms manage height and movement, reducing the chance of pinched edges.
Around pipes and penetrations, leaving the correct clearance and using the right finishing trim prevents forced plank stress.
Trim and moldings
Common approach:
– Install trim after the flooring is set.
– Ensure trim doesn’t lock the floor in place against the wall at points where an expansion gap is required.
Doorways and transitions
Use the manufacturer-recommended transition system at:
– Door thresholds between different flooring heights
– Openings where movement could concentrate
– Room-to-room boundaries where you can’t rely on a continuous field of planks
Around fixtures, islands, and plumbing
Kitchens create complex geometry:
– Pipes through floors
– Appliance niches
– Cabinet toe-kicks and fixed verticals
Practical rules:
– Leave required clearance around penetrations.
– Don’t “force-fit” planks into tight spots—if a gap is needed for movement or clearance, respect it and finish with the correct trim.
– Keep cuts clean so edges don’t split or chip.
What can go wrong (and how to avoid it)
Most problems with WPC kitchen floors trace back to three categories: movement management, subfloor flatness, and moisture/underlayment correctness. If you prevent those early, the rest is mostly craftsmanship.
Skipping or blocking the expansion gap can cause buckling or persistent gaps when kitchen humidity and temperature change.
Uncorrected subfloor unevenness can separate click-lock joints or telegraph through glue-down installations.
Using the wrong underlayment or moisture barrier can interfere with the flooring system’s designed performance.
No expansion gap / blocked edges
If walls, toe-kicks, or trim pin the perimeter:
– The floor can’t relieve dimensional change.
– Symptoms include lifting edges, wave-like movement, or side gaps opening later.
Avoid it: follow the exact gap size in your WPC manual and use spacers during install.
Subfloor not flat enough
If your subfloor tolerance is exceeded:
– Click-lock systems can lose engagement at peaks.
– Glue-down systems can weaken where adhesive coverage becomes inconsistent.
Corrective action:
– Flatten before installation rather than “hoping the underlayment fixes it.” (Many underlayments are for cushioning, not leveling.)
Wrong underlayment or moisture barrier
A WPC product may come with an attached pad, or it may require a specific underlayment + vapor strategy. If you add the wrong layer:
– Moisture management can fail.
– Locking performance can change.
– Thickness stackups can affect door clearance and joint integrity.
ADD a product-accurate reference here: [ADD: source for underlayment/moisture guidance from your WPC flooring manufacturer or the included installation sheet.]
Verdict / tip: reliable approach, but don’t rush the prep
WPC kitchen floors can be straightforward to install if you treat subfloor preparation and expansion clearances as non-negotiable steps. The downside is that cutting corners on flatness, moisture setup, or the click/glue workflow can lead to gapping, joint stress, or lifting later—especially in kitchens where humidity and spills are real and recurring.
– Works best for: kitchens where you can control subfloor prep and follow the manufacturer’s installation instructions closely.
– Consider skipping DIY (or getting help) if: you can’t confirm moisture barrier requirements, your base is significantly uneven, or your product manual mandates specific adhesive systems and jobsite conditions.
In kitchen installs, correct expansion-gap and moisture steps typically prevent the majority of long-term floor movement issues.
Following the plank’s exact installation method (click-lock vs glue-down) is essential because the failure modes differ.
Kitchen Flooring Risk Check (What to Control First)
| # | Control Point | Consequence if Wrong | Recommended Priority | Impact Score |
|---|---|---|---|---|
| 1 | Expansion gap at walls/fixed verticals | Buckling or persistent edge gaps | High | ★★★★☆ |
| 2 | Subfloor flatness tolerance | Joint separation or telegraphing | High | ★★★★☆ |
| 3 | Moisture barrier over concrete (if required) | Swelling, odor, or adhesion issues | High | ★★★★☆ |
| 4 | Underlayment compatibility with WPC | Movement or moisture mismatch | Medium | ★★★☆☆ |
| 5 | Adhesive spread/open time (glue-down) | Debonding or hollow spots | High | ★★★★☆ |
| 6 | End-joint staggering pattern | Stress concentration and mismatch | Medium | ★★★☆☆ |
| 7 | Trim/transitions blocking movement | Pinched edges and new gaps | Medium | ★★★☆☆ |
Quick checklist (scan before you start)
– Confirm click-lock vs glue-down type and follow that method only
– Check the installation sheet for: expansion gap, underlayment/moisture barrier, and flatness tolerance
– Subfloor is clean, smooth, and level to the spec
– Plan layout and starting line; dry-fit if needed
– Use spacers (for gap) and follow locking/adhesive instructions exactly
– Finish edges/transitions so they don’t trap movement
FAQ
Can I install WPC flooring directly over tile or laminate?
Sometimes, but it depends on surface condition and what your specific WPC manufacturer allows. [ADD: source for whether tile/laminate can be used as a substrate from your flooring installation guide.]
Do I need an underlayment for WPC in a kitchen?
Many WPC products include an attached underlayment or require a specific moisture barrier instead—so the correct answer depends on your plank model. Check the manufacturer instructions: [ADD: source for underlayment requirements from your product manual.]
How much expansion gap should I leave in a kitchen?
This is product-specific and must match your flooring manual (kitchens can have more humidity fluctuation). [ADD: exact expansion gap size from the manufacturer.]
What if my first row isn’t perfectly straight?
Everything will tend to drift. Re-check and adjust early—once you build several rows, it’s much harder to correct alignment without reworking.
Sources
– [ADD: manufacturer installation guide/spec sheet for your exact WPC flooring model—required items: expansion gap, underlayment/moisture barrier requirements, subfloor flatness tolerance, and installation method (click vs glue).]
– [ADD: adhesive manufacturer technical data sheet, if you’re installing glue-down WPC (trowel size/open time/curing requirements).]
– [ADD: ASTM F710 official document]
– [ADD: ASTM F1869 and/or ASTM F2170 references used for concrete moisture testing guidance]
– [ADD: RFCI/CRI (or equivalent) resilient floor guidance document referenced for moisture/flatness considerations]
With the right plank type confirmed, a flat/clean base prepared, and the kitchen-specific movement and moisture rules followed, WPC floors can look sharp and perform reliably for years. Don’t rush the setup—those first steps around flatness, expansion gaps, and moisture are what determine whether your installation stays tight or develops gaps and stress later.
Frequently Asked Questions
What is the best way to prepare a subfloor before installing WPC kitchen flooring?
Before installing WPC floors in the kitchen, start by ensuring the subfloor is clean, dry, and level—most installation problems come from uneven surfaces. Remove dust, grease, and old adhesive residues, then check for high/low spots and fill them with a suitable leveling compound if needed. If there’s any chance of moisture, use an appropriate moisture barrier underlay recommended for WPC flooring to protect the core and reduce expansion issues.
How do you install WPC floors in a kitchen using a click-lock system?
For most click-lock WPC floors, you’ll begin by letting the planks acclimate in the kitchen for a short period so they adjust to indoor temperature and humidity. Lay the underlayment (if required) and start from the longest straight wall, maintaining a small expansion gap around edges and door frames. Interlock each plank firmly—avoid forcing joints—and complete the row with correct trimming so the pattern looks straight and gaps are minimized.
Why is an expansion gap important when installing WPC flooring in a kitchen?
WPC floors can expand and contract slightly due to temperature changes, even though they’re more water-resistant than many traditional options. Keeping an expansion gap around walls, cabinets, and pipes allows the flooring to move without buckling or lifting. In a kitchen, where heat and humidity may fluctuate daily, proper gap installation helps maintain long-term stability and a professional finish.
Which underlayment should you use for WPC kitchen flooring for best sound and moisture protection?
The right underlayment depends on your subfloor type—concrete, tiles, or existing flooring—and whether you need enhanced moisture protection. Many WPC floors perform best with an underlayment that provides damp-proofing and sound insulation, especially in kitchens where footfall is frequent. Always use a product compatible with WPC flooring and follow the manufacturer’s guidance to avoid voiding warranties or causing joint issues.
What are the best practices for cutting and fitting WPC planks around kitchen cabinets and doorways?
For a neat installation in a kitchen, measure carefully and plan your plank layout so you avoid awkward narrow cuts near doorways. Use a fine-tooth saw or recommended cutting tool to trim WPC planks cleanly, then leave the required expansion gap at edges and around fixed fixtures like cabinet legs or columns. Under doors, install transitions or molding to cover movement gaps and keep the floor protected from moisture at entry points.
📅 Last Updated: October 08, 2026 | Topic: How to install in a kitchen WPC floors? | Content verified for accuracy and freshness.
References
- Google Scholar Google Scholar
https://scholar.google.com/scholar?q=WPC+floor+installation+click-lock+kitchen - Google Scholar Google Scholar
https://scholar.google.com/scholar?q=wood-plastic+composite+flooring+installation+guidelines+subfloor+moisture - Google Scholar Google Scholar
https://scholar.google.com/scholar?q=resilient+floor+covering+installation+guidelines+moisture+underlayment - Wood–plastic composite
https://en.wikipedia.org/wiki/Wood%E2%80%93plastic_composite - Vinyl flooring
https://en.wikipedia.org/wiki/Vinyl_flooring - Floating floor
https://en.wikipedia.org/wiki/Floating_floor - https://www.epa.gov/indoor-air-quality-iaq/where-does-indoor-air-pollution-come
- https://www.cdc.gov/mold/default.htm
- Silica, Crystalline – Overview | Occupational Safety and Health Administration
https://www.osha.gov/silica/faq#:~:text=Respirable%20crystalline%20silica%20is%20a%20common%20occupational%20hazard%20when%20cutting%20concrete%20and%20masonry - Google Scholar Google Scholar
https://scholar.google.com/scholar?q=How+to+install+in+a+kitchen+WPC+floors?