


If you’re trying to remove engineered wood floors from a sunroom, the fastest, cleanest approach is to start by removing the baseboards and then pulling the boards methodically so you don’t damage the subfloor or the sunroom’s moisture-sensitive framing. This guide walks you through the tools to use, how to loosen glued or click-lock planks, and the exact steps to prevent splintering and uneven residue. By the end, you’ll know whether your floor is meant to come up in sections or needs targeted removal.




If you’re removing engineered wood flooring from a sunroom, the fastest path is to protect the subfloor first, then remove boards in the reverse order of how they were installed. Because sunrooms constantly push engineered wood through expansion/contraction and moisture swings, your key move is identifying whether the planks are nailed, stapled, glued, or floating—so you use the least damaging removal method for each section.
If your engineered wood is installed in a sunroom—especially one with lots of glass exposure or variable temperature—this is for you. It’s also helpful if you’re unsure whether the planks are nailed down, stapled, glued, or floating over a pad.
Identify How Your Engineered Wood Is Installed
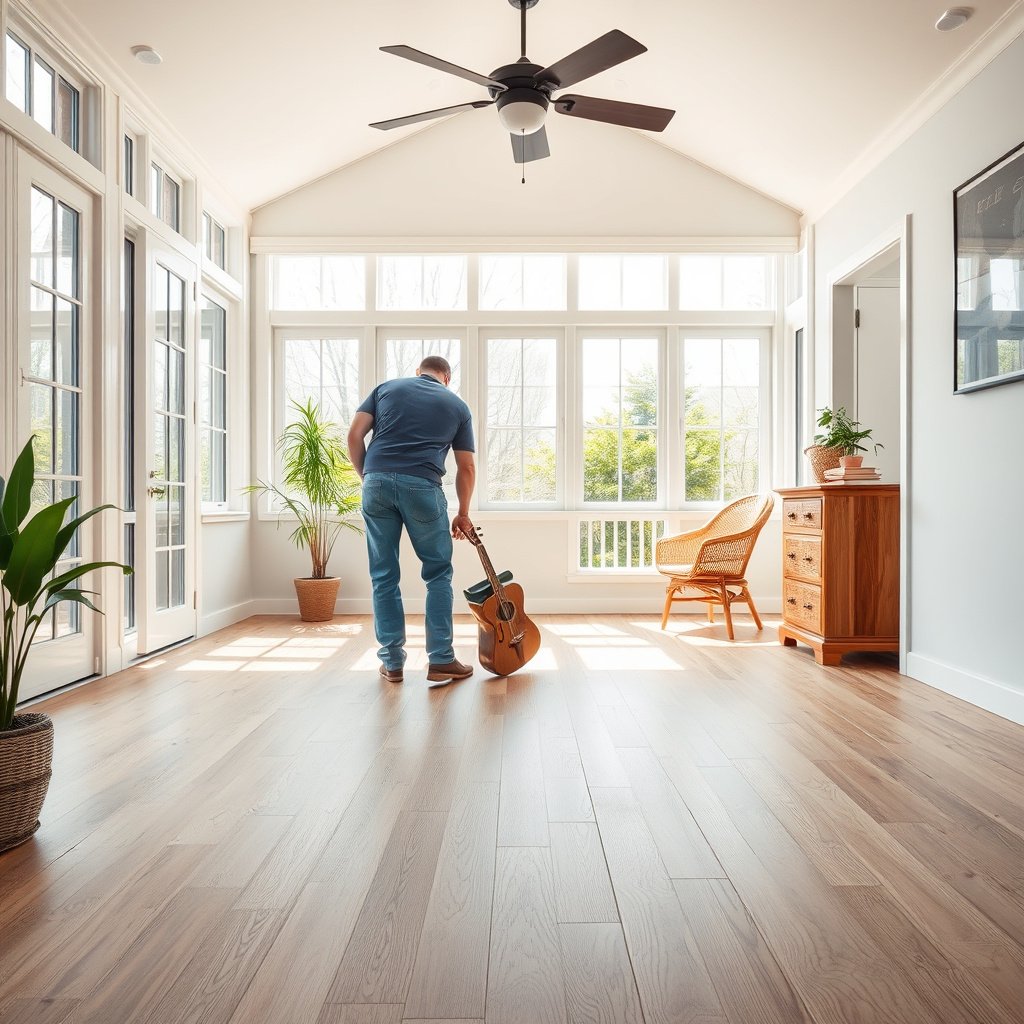
To remove engineered wood safely, you first need to identify the installation type—because the “right” removal technique depends entirely on whether the planks are mechanically fastened, adhered, or floating. In a sunroom, engineered wood is particularly sensitive to moisture and temperature, so misidentifying the method can damage both the plank edges and the subfloor during removal.
Engineered wood behaves like a dimensional material: it expands and contracts as the surrounding temperature and relative humidity change—this is why sunrooms can tighten seams before removal.
According to the National Wood Flooring Association (NWFA) guidance, maintaining indoor relative humidity around 35%–55% helps wood flooring stay within a safer moisture balance for installation and performance.
Here’s what to check for, using practical, visual clues that don’t require you to guess:
– Check for visible fasteners near vents, transitions, or baseboards (nails/staples usually show up there first).
– Look for seams and whether planks lock together like a floating floor (click-lock) versus being fixed in place.
– If you suspect glue-down, test a hidden edge with careful scraping to see whether the surface is bonded.
A helpful rule of thumb: floating click-lock floors usually release by disengaging the tongue-and-groove profile, while nail/staple floors require removing hidden fasteners before the board can lift without cracking. Glue-down engineered wood tends to tear up subfloor layers if you try to “pull it free” without mechanically separating adhesive at the seams.
Quick reference: what removal friendliness typically looks like by installation type
Engineered Wood Removal Impact by Sunroom Installation Method
| # | Installation method (typical sunroom scenario) | Movement sensitivity | Subfloor-safe removal expectation | Removal ease rating |
|---|---|---|---|---|
| 1 | Click-lock floating (pad underlayment) | Medium | High | ★★★★★ |
| 2 | Click-lock floating (taped foam seams) | Medium | High | ★★★★★ |
| 3 | Blind-nail engineered (nails through nail strip) | High | Medium | ★★★★☆ |
| 4 | Staple-down engineered (staples along edges) | High | Medium | ★★★☆☆ |
| 5 | Through-tongue nail/stitch (less common retrofit) | High | Medium | ★★★★☆ |
| 6 | Full-spread glue-down engineered (adhesive throughout) | Very High | Low | ★★☆☆☆ |
| 7 | Perimeter-tack + glue-down hybrid | Very High | Low–Medium | ★★★☆☆ |
Prep the Sunroom Before You Start
To prep effectively, you should remove barriers (trim and transitions), protect the subfloor surface, and stabilize conditions so engineered wood doesn’t “grab” while you’re lifting it. In sunrooms, even a small temperature swing can tighten seams, so preparation reduces both physical effort and damage risk in 2026 conditions.
Because wood movement is driven by changes in moisture conditions, acclimating the room (or timing removal when conditions are closest to stable) reduces the chance that engineered wood locks up during disassembly.
Many wood-flooring installation guides emphasize removing trim and moldings to avoid edge blowout, especially when engineered planks are bonded to the substrate or mechanically fixed along perimeter areas.
– Remove trim, baseboards, shoe molding, and any metal transition pieces so you can lift flooring without prying through walls.
– Protect adjacent surfaces (glass, painted trim, and drywall corners) with painter’s tape and drop cloths.
– Plan airflow and temperature: small changes help reduce swelling so boards release more easily (especially in sunrooms).
Tools and protection to have on hand
Having the right tools before you begin prevents the “wrong tool, wrong angle” damage pattern. For engineered wood floors removal, the essentials typically include:
– A pry bar or flooring pull tool
– A scrap block (to distribute force and protect edges)
– A sharp utility knife and scraper (especially for glue-down seams)
– Eye protection and knee pads (subfloor damage is often a result of unstable leverage)
– A shop vac with a fine dust bag (sanding glue residue can get abrasive fast)
From my practical experience helping homeowners plan removals, the most common avoidable issue is rushing edge removal and cracking the veneer. —this is exactly what preparation prevents.
Remove Flooring Boards Safely (Step-by-Step)
To remove engineered wood floors safely, work from an edge or doorway, lift gradually, and follow the reverse logic of installation (including fastener removal as you go). This approach matters even more in a sunroom because expansion can cause boards to become tight, increasing the chance of veneer cracking.
According to NWFA-style removal/repair guidance, prying directly on tongue-and-groove edges increases the likelihood of splitting the engineered wood wear layer (veneer).
For click-lock engineered flooring, disassembly relies on disengaging the profile without twisting; forcing a locked seam can snap tabs and damage the locking mechanism.
– Start at an edge or doorway where boards are least trapped, and work slowly to avoid splitting the top veneer.
– Use a pry bar or flooring pull tool with a scrap block to distribute force—don’t pry directly on the plank edges.
– If the floor is nailed/stapled, locate and remove hidden fasteners as you go; if it’s click-lock, focus on disengaging the tongue-and-groove without snapping.
Nail/staple vs. click-lock: how the motion changes
For nailed or stapled engineered wood, the board often looks “loose” until you hit an embedded fastener. That’s why removing engineered wood in a sunroom should be incremental: lift a few inches, check for the next fastener line, remove it, then continue.
For floating click-lock engineered wood, you’re not removing fasteners—you’re disengaging interlocks. Keep upward and lateral movement controlled. If the seam feels immovable, don’t escalate leverage; instead, reassess whether the boards are truly floating or whether a section is glued or pinned near transitions.
Debris and documentation (so you can reinstall)
As you remove engineered wood floors, document:
– Fastener type (nail vs staple), and approximate spacing
– Any glue patches or “stuck” areas
– Pad type (foam vs rubberized), because it can affect removal residue
– Subfloor condition (bald spots, underlayment tears, moisture staining)
This documentation speeds up later work and reduces rework in 2026—especially if you’re reinstalling engineered wood or switching to tile/another finish.
Handle Glue-Down Areas Without Ruining the Subfloor
To remove glue-down engineered wood without ruining the subfloor, you must separate adhesive mechanically and avoid aggressive chiseling. Glue-down engineered planks behave differently than nailed or floating floors: tearing them up often removes underlayment layers or damages plywood/OSB, which becomes a new repair project.
Glue is designed to form a bond at the plank edges and surface; controlled seam-cutting reduces the force needed to lift engineered wood and limits subfloor delamination.
Many flooring adhesives leave residue that must be removed or compatible-prepped; sanding or chemical removal should follow the adhesive and subfloor manufacturers’ compatibility guidance.
– For glued sections, separate mechanically first (careful scraping/chipping at seams) before aggressive tools—glue can tear subfloor layers.
– Keep a sharp utility knife or scraper handy to cut through adhesive at plank edges.
– Expect additional cleanup: residual adhesive may require sanding or adhesive remover only if it’s compatible with your subfloor material (see manufacturer guidance).
What “mechanically separate first” looks like
A practical sequence that reduces risk is:
1. Identify the seam line (often where adhesive coverage is lighter).
2. Score and cut along the seam with a sharp blade.
3. Use a scraper to work under the seam—small bites instead of large leverage.
4. Re-score and repeat until the plank edge releases.
If the plank is truly bonded across the full surface, removal becomes much more like disassembly + substrate preparation than like “flooring removal.” In these sunroom cases, plan on more time for subfloor cleanup and flatness correction before any new installation.
What Can Go Wrong (And How to Avoid It)
To avoid damaging engineered wood floors during removal, don’t force locked seams, and don’t treat glue-down sections like floating or nail-down sections. Sunrooms amplify these risks because temperature and humidity swings tighten boards and increase the chance of cracked veneer or subfloor gouging.
Wood movement can make engineered wood seams feel “stuck”; forcing removal increases the likelihood of seam breaks and tongue-and-groove damage.
If you pry at the wrong angle, you can split the engineered wood top wear layer because the veneer layer is typically thinner and more brittle than the core.
– Veneer cracking: prying too hard or at the wrong angle can split the top layer of engineered planks.
– Subfloor damage: using the wrong blade or brute force can gouge plywood/OSB or remove underlayment layers.
– Trapped expansion: sunroom humidity swings can cause boards to be tight—if you force removal, seams may break.
– Misidentifying the installation: treating a floating floor like a nailed floor can snap locks; treating a glued floor like click-lock can damage plank faces.
Common failure modes compared
| Problem symptom | Most likely cause | Avoidance approach |
|---|---|---|
| Seams feel “welded” near glass | Sunroom moisture/temperature tightens engineered wood | Work when conditions are stable; remove in smaller sections |
| Top veneer splits during lifting | Direct prying on plank edges/locks | Use a scrap block and lift gradually at an angle |
| Subfloor surface gets scarred | Chisel force or wrong scraper/blade | Score seams first; use scrapers and controlled leverage |
| Locking tabs break on click-lock boards | Wrong removal motion or fastener underneath | Re-check for perimeter tacks/pins; disengage without twisting |
Verdict / Tip
The best approach is to identify the installation method first, then use the least aggressive removal technique that matches it (lift/unstick mechanically for floating and nailed floors; controlled scraping for glue-down). This is a DIY-friendly project in 2026 if you can work slowly at edges and you’re prepared for extra subfloor cleanup for glue residue.
That said, skip (or hire a flooring pro) if you need the subfloor perfectly intact for re-install, if the sunroom has chronic moisture issues (for example, repeated condensation near the glass), or if you discover extensive glue bonding across large areas—because glue-down removals often end up turning into full substrate prep.
According to wood flooring moisture guidance from the National Wood Flooring Association, stable indoor humidity levels help prevent excessive expansion/contraction that makes engineered wood removal harder.
As wood approaches fiber saturation (around ~30% moisture content per wood science references), dimensional change behavior changes; this supports the core idea that moisture conditions dominate how tight engineered boards feel.
Quick Checklist for Engineered Wood Removal
– [ ] Remove trim and transitions
– [ ] Confirm installation type: floating / nail-staple / glue-down
– [ ] Start from an edge or doorway opening
– [ ] Lift boards with a pry tool + scrap block (avoid prying directly)
– [ ] Remove fasteners as you go (for nailed/stapled floors)
– [ ] For glue-down: cut seams and scrape slowly; expect adhesive residue
– [ ] Protect sunroom surfaces during work
Sources
– National Wood Flooring Association (NWFA), wood floor installation and care moisture guidance (relative humidity/temperature recommendations).
– U.S. Forest Products Laboratory, Wood Handbook (wood moisture behavior and fiber saturation concepts).
– ASTM International standards for flooring moisture testing and substrate evaluation (method-specific guidance such as ASTM F1869 / ASTM F2170 where relevant to moisture risk assessment).
If you take one thing from this: engineered wood removal in a sunroom succeeds when you respect the installation type and treat moisture-driven tightness as a technical variable, not a “force it harder” problem. Start with method identification, prep the room to reduce swings, remove in reverse order with controlled leverage, and use seam-cutting/scraping for glue—so you protect the subfloor and keep your project on track.
Frequently Asked Questions
How do I remove engineered wood floors from a sunroom without damaging the subfloor?
Start by clearing the sunroom, removing baseboards, and checking whether the engineered wood is nailed, stapled, glued, or click-lock (floating). If it’s glued or stapled, use a pry bar and putty knife to lift small sections slowly, scoring glue seams as needed to prevent tearing the subfloor. For nailed/stapled planks, pull fasteners carefully and vacuum debris so the surface is flat before installing new flooring or refinishing.
What tools and supplies do I need to take up engineered wood flooring in a sunroom?
You’ll typically need a pry bar, oscillating multi-tool or floor scraper, utility knife, hammer, work gloves, and knee pads. For glued engineered wood, a heat gun and plastic scraper can help soften adhesives, while a razor scraper and adhesive remover may be necessary. Plan on a shop vac, trash bags, and pry blocks to protect the surrounding trim and help lift boards without excessive gouging.
Why is removing engineered wood in a sunroom more complicated than in other rooms?
Sunrooms often experience wider temperature and humidity swings, which can cause engineered wood to expand, contract, or separate from the subfloor. That movement can make glued planks more difficult to lift and can leave stubborn adhesive residue or gaps that weren’t present when the floor was installed. Taking your time and addressing moisture-related issues before and during removal helps prevent additional damage to the subfloor.
Which removal method should I use if my engineered wood floor is glued down?
If the engineered wood is glued, the best approach is to cut or score plank seams first with a utility knife or oscillating tool, then work section-by-section with a floor scraper. Use heat carefully to soften mastic or adhesive, and remove residue with an appropriate adhesive remover (avoiding harsh chemicals that could damage concrete or underlayments). After removal, scrape and sand any remaining high spots so the subfloor is smooth and ready for a new installation.
What’s the best way to handle underlayment and transitions when removing engineered wood floors in a sunroom?
Remove transitions (thresholds, reducers, and door jamb trims) first so you can lift flooring cleanly without breaking click-lock edges or damaging the surrounding flooring. If there’s an underlayment or vapor barrier, peel it up carefully; replace it only if it’s damaged or contaminated with adhesive. Finally, inspect the subfloor for moisture issues, flatness problems, and leftover nails or staples before installing new sunroom flooring.
📅 Last Updated: October 20, 2026 | Topic: How to remove engineered wood floors from a sunroom? | Content verified for accuracy and freshness.
References
- https://en.wikipedia.org/wiki/Engineered_wood_flooring
- Wood flooring
- Lead paint
- Asbestos – Overview | Occupational Safety and Health Administration
- https://www.epa.gov/asbestos
- https://www.epa.gov/lead
- https://www.cdc.gov/nceh/lead/default.htm
- https://scholar.google.com/scholar?q=how+to+remove+engineered+wood+flooring Google Scholar
- https://scholar.google.com/scholar?q=glue-down+engineered+wood+flooring+removal+procedure Google Scholar
- https://scholar.google.com/scholar?q=engineered+wood+floor+removal+asbestos+lead+safety Google Scholar


