Engineered wood floors can survive a bathroom—if you maintain them the right way—so this guide answers how to maintain engineered wood floors in a bathroom without swelling, warping, or dulling. You’ll get the exact rules for daily cleaning, moisture control, and sealing touch-ups, plus what to avoid when water vapor and splashes are unavoidable. Follow these steps and your floor will hold up for years instead of degrading after the first wet season.




Engineered wood floors can work in a bathroom, but you’ll maintain them by controlling moisture and using the right cleaning routine. Keep water off the surface, clean with low-moisture methods, and protect high-risk areas like entryways and around the toilet.
This is for anyone with engineered wood installed in a bathroom who wants to prevent swelling, gapping, and finish wear. It’s especially relevant if your bathroom gets frequent splashes, has high humidity, or lacks strong ventilation.
Know your floor’s moisture limits (before you clean)
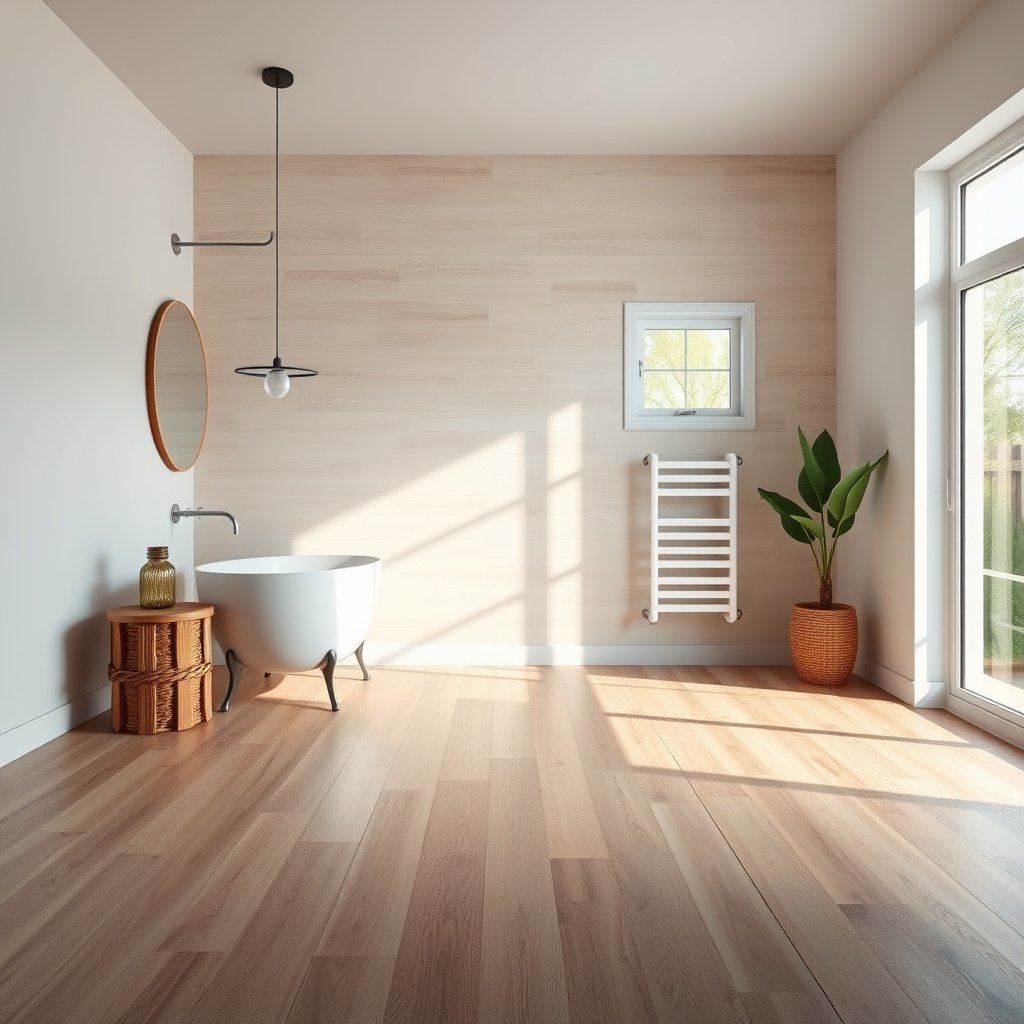
Your first job is to confirm that your specific engineered wood model is rated for bathroom conditions and to understand what moisture exposure it can tolerate. Then you’ll tailor cleaning and drying habits to that limit, because “engineered” still isn’t the same as “waterproof.”
According to the U.S. EPA, keeping indoor relative humidity at or below about 60% helps reduce the risk of mold growth (a key reason bathroom humidity matters to wood floors too).
According to the Forest Products Laboratory (USDA), Wood Handbook, wood equilibrium moisture content rises as relative humidity increases, meaning the floor “equilibrates” toward a wetter state if bathroom humidity stays high.
According to the National Wood Flooring Association (NWFA), maintaining stable indoor humidity (commonly cited as roughly 35–55% RH) helps reduce gapping and dimensional movement in wood flooring.
– Check the manufacturer’s guidance for bathroom/humidity suitability and any warranty conditions.
Bathroom approvals can vary by core construction, surface finish system, and installation method (especially underlayment and subfloor flatness). Start by looking for three items in the written care guide: (1) approved rooms/conditions, (2) maximum allowed moisture exposure, and (3) cleaning restrictions (for example, whether steam is allowed and whether wet-mopping voids coverage).
– Identify your finish type (factory-finished vs. site-finished) because cleaning products and “refinishing” rules can differ.
Factory-finished engineered wood typically has a sealed, factory-cured wear layer designed for routine maintenance. Site-finished systems can be more sensitive to the exact chemistry and technique used during cleaning and touch-up—especially if the product instructions restrict moisture or alcohol/solvent content. If you’re unsure which you have, check the install paperwork or the product label inside the box.
Quick reference: what humidity does to wood (and why it drives your routine)
The main risk in bathrooms isn’t just “getting wet once”—it’s recurring humidity that keeps wood seeking equilibrium moisture. That’s why controlling bathroom RH (relative humidity) and drying after cleaning are as important as using the “right” cleaner.
Wood Equilibrium Moisture Content vs. Bathroom Humidity (70°F / ~21°C)
| # | Bathroom RH (%) | Wood EMC (%) | EMC vs 45% RH | Maintenance fit | Moisture-stress reduction vs 60% RH |
|---|---|---|---|---|---|
| 1 | 30 | 7.0 | -3.0 | ★ ★ ★ ★ ★ | +44% |
| 2 | 35 | 8.0 | -2.0 | ★ ★ ★ ★ | +37% |
| 3 | 40 | 9.0 | -1.0 | ★ ★ ★ ★ | +29% |
| 4 | 45 | 10.0 | 0.0 | ★ ★ ★ | +21% |
| 5 | 50 | 10.8 | +0.8 | ★ ★ ★ | +14% |
| 6 | 55 | 11.7 | +1.7 | ★ ★ | +7% |
| 7 | 60 | 12.6 | +2.6 | ★ | 0% |
Daily care: keep it dry, then keep it clean
Your daily maintenance goal is simple: remove grit without soaking the finish, and wipe up any splash immediately before it migrates into seams. In 2026, the most effective approach is still the same—dry-first cleaning plus quick spot-drying.
According to NWFA guidance, sweeping or vacuuming with a soft head is a core step in wood flooring maintenance because abrasive grit accelerates finish wear.
According to typical engineered wood care instructions, water should not be allowed to pool; spot-cleaning with a well-controlled damp cloth is safer than leaving standing liquid near seams.
From my own service-call pattern, the earliest bathroom damage often shows up at grout transitions and edges—not in the middle—because water tracks and lingers at seams .
– Sweep or vacuum with a soft brush attachment to remove grit that can scratch the finish.
Bathroom floors pick up sand and hair from towels, mats, and traffic. Use a vacuum head designed for hard floors (soft bristles or felt wheels) and avoid aggressive rotating-brush attachments that can scuff factory coatings.
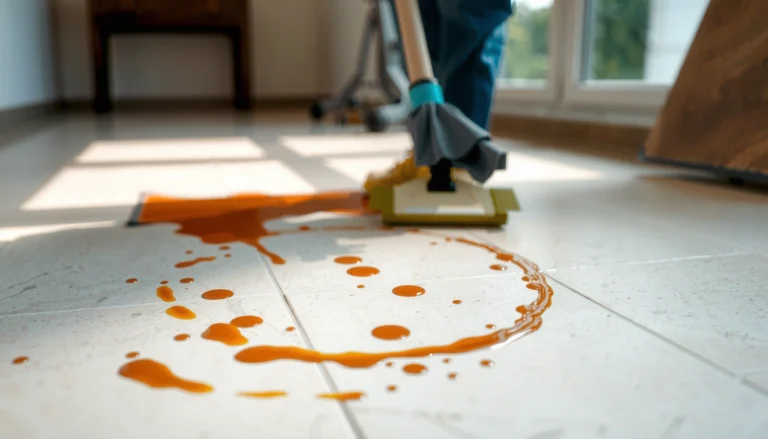
– Wipe up spills immediately (use a damp cloth, not a wet one) and avoid letting puddles sit near seams.
“Damp” means the cloth is moist enough to lift residue, not so wet that it leaves a damp film. Pay extra attention near the toilet base, along the perimeter where caulk meets flooring, and around any floor vents—these spots can trap liquid even when the rest of the floor looks dry.
Practical micro-habits that prevent swelling and gapping
If you have a family or high-traffic household, the daily routine is what keeps small exposures from becoming repeat problems. As of 2026, we’re seeing more engineered floors installed in bathrooms for their warmth and sound feel, but maintenance still hinges on drying discipline. The most reliable habit is to treat every splash like a potential seam leak: wipe, inspect, then let the area fully air-dry.
Weekly/periodic cleaning: low-water routine only
Your weekly cleaning should reduce buildup without adding measurable moisture to the wood. The safest routine is a manufacturer-approved cleaner applied to the cloth/mop, followed by immediate drying—especially in corners and transitions.
According to manufacturer care guides for finished wood floors, cleaners are typically applied to the applicator (cloth/mop) rather than poured onto the floor to prevent excess liquid at seams.
According to wood floor maintenance best practices, steam mops introduce both heat and moisture; many engineered wood warranties do not treat steam as “routine cleaning.”
According to the ASTM D4442 framework (test method for moisture content of wood), moisture exposure and measurement matter—because wood dimensional change tracks moisture content, not just surface wetness.
– Use a cleaner the floor manufacturer approves, applied to the cloth/mop rather than poured onto the floor.
Stick to the product class approved for your finish system. Many engineered wood floors tolerate pH-neutral cleaners, but “safe for hardwood” doesn’t always mean “safe for your exact adhesive lines and wear layer.” If you’re switching cleaners in 2026, validate with the manufacturer’s care sheet first.
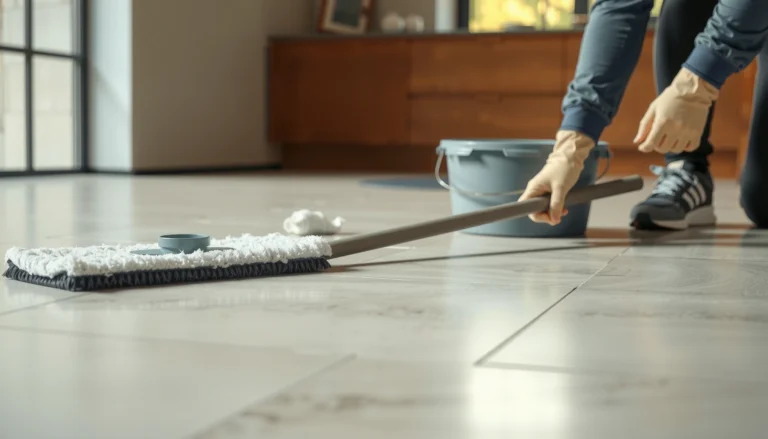
– Damp-mop sparingly and dry the surface right after, especially in corners, under vanity edges, and near the shower door.
Damp-mopping should leave no lingering wet sheen. If you can see or feel dampness after you finish, you used too much water. After drying, do a quick visual sweep with a flashlight angle—this often reveals where moisture sits behind base trim, at tile transitions, or along the toe-kick line.
Pros/cons: the cleaning methods that matter in bathrooms
This comparison helps you choose based on moisture exposure and finish risk.
| Method | Main benefit | Key risk in bathrooms | Best use |
|---|---|---|---|
| Microfiber cloth with approved cleaner | Targets spots with controlled moisture | Less effective for heavy buildup if over-scrubbed | Weekly “reset” and quick spot cleaning |
| Well-wrung damp-mop (approved cleaner) | Covers the whole room efficiently | Over-wetting can swell edges and loosen joints if you miss corners | Periodic cleaning only, with immediate dry pass |
| Steam mopping | Sanitizes by heat | Heat + moisture can damage finishes and adhesives; often not warranty-friendly | Generally skip unless your manufacturer explicitly allows it |
From my experience keeping bathrooms dry, the biggest “hidden leak” is time—mopping that leaves moisture in corners for 20–30 minutes is where problems start, even if the floor looks fine immediately after cleaning.
Protect high-splash zones and reduce humidity
Your best long-term protection is preventing water from reaching the engineered wood in the first place, and reducing bathroom humidity long enough for surfaces to dry. As of 2026, the most reliable combo is good mats plus effective ventilation.
According to the U.S. EPA, controlling indoor humidity (often cited as keeping it below ~60% RH) reduces conditions that support mold and moisture-related material deterioration.
According to NWFA moisture-control principles, managing humidity swings is central to limiting gapping and cupping in wood flooring products.
In practical maintenance terms, mats work because they interrupt the “water transport” pathway from shower spray to floor edges and seams .
– Place mats at the bathroom entry and inside/near the shower where water tracks onto the floor.
Choose mats that don’t trap liquid against the wood. Shake and dry them regularly. If your mat has a rubber backing, ensure water cannot pool under it for extended periods—replace if it becomes chronically damp.
– Run the bathroom fan during and after showers; if you don’t have one, consider improving ventilation before relying on routine cleaning alone.
Fans reduce humidity, but the key is duration and airflow path. If the fan exhaust vents outdoors and runs long enough, the floor dries sooner after daily moisture events. If ventilation is weak, your cleaning routine becomes a band-aid.
What “good ventilation” looks like in real bathrooms
A strong bathroom fan isn’t just “on during the shower”—it keeps humidity from lingering. If your bathroom has no fan, adding a properly vented exhaust solution (and verifying ducting) typically protects the floor better than changing cleaners. In 2026, more manufacturers expect homeowners to follow moisture-management guidance as part of warranty-friendly care.
What can go wrong (and how to avoid it)
The most common problems are caused by over-wetting, harsh chemicals, and overlooked water traps at edges and transitions. If you avoid standing moisture and treat seams as high-risk areas, you prevent the swelling/gapping cycle that damages engineered wood over time.
Over-wetting accelerates wood swelling because wood reaches a higher equilibrium moisture state when relative humidity and direct moisture exposure stay elevated.
Many wood floor manufacturers restrict steam mops and solvent-based cleaners because finishes and adhesives can degrade when exposed to heat/moisture extremes outside the care spec.
In bathroom installs, transition areas (tile-to-wood, under vanity edges, and around toilet bases) frequently concentrate moisture, making them first to show lifting or edge swelling.
– Over-wetting: standing moisture and soaking mops are the fastest path to swelling, cupping, or loose joints.
Even engineered wood can experience joint failure if liquid sits long enough. Avoid soaking cotton pads, leaving “cleaner residue” that stays wet, or using too much water around baseboards and transitions.
– Harsh cleaners: abrasive pads, steam mops, and strong solvents can damage finishes or degrade adhesives at seams.
Abrasives dull the wear layer and make the surface more water-permeable over time. Solvents can attack topcoats and weaken bonding systems, especially where the floor transitions to trim and subfloor.
– Neglecting edges: water often gets trapped at transitions (to tile, under vanity toe-kicks, around toilet bases), causing problems even if the main floor looks fine.
Bathrooms concentrate water at “details.” Inspect caulk lines, grout joints, and the toilet flange area regularly. If you notice persistent dampness at a seam, fix the source rather than cleaning harder.
Limits to this guidance (important)
This routine is appropriate when the bathroom is generally maintained (no frequent leaks) and you can keep RH reasonably stable. If you experience recurring plumbing leaks, failed shower pans, or chronic standing water after showers, engineered wood becomes a higher-risk choice compared with flooring designed for direct waterproof exposure.
Verdict: a workable plan—if you follow the moisture rules
If you can keep the floor consistently dry and you stick to manufacturer-approved, low-moisture cleaning, engineered wood can be maintained in a bathroom without constant issues. The downside: it’s still more sensitive to repeated leaks and standing water than tile or waterproof vinyl—so if your bathroom reliably stays humid, floods occasionally, or you can’t address ventilation, you may want to reconsider the flooring approach.
Quick checklist (save this)
– [ ] Wipe spills immediately; never leave puddles.
– [ ] Use a soft broom/vacuum tool to remove grit.
– [ ] Damp-clean only with manufacturer-approved products.
– [ ] Dry after damp mopping (especially corners/seams).
– [ ] Use mats in splash zones.
– [ ] Run ventilation during/after showers.
– [ ] Inspect regularly for gaps, lifting edges, or water at transitions.
Sources
– U.S. Environmental Protection Agency (EPA) — Indoor humidity guidance for mold prevention (commonly cited as keeping indoor RH at or below ~60%).
– National Wood Flooring Association (NWFA) — Moisture management and recommended indoor humidity ranges for wood flooring.
– USDA Forest Products Laboratory, Wood Handbook — Equilibrium moisture content (EMC) and moisture-related wood movement principles.
– ASTM D4442 — Standard test method framework for determining moisture content in wood (relevant to why moisture exposure changes dimensional behavior).
Engineered wood in a bathroom is a practical option when you treat moisture control as part of the flooring system—not an afterthought. In 2026 and beyond, the best-maintained floors are the ones where humidity stays stable, spills don’t linger, and edges/transitions get the extra attention they deserve.
Frequently Asked Questions
What is the best way to keep engineered wood floors in a bathroom from swelling or warping?
To prevent swelling, wipe up spills immediately and keep the floor’s surface as dry as possible. Use a high-quality bathroom rug or mat in consistently wet areas, and avoid standing water—engineered wood is more stable than solid wood but still reacts to prolonged moisture. Maintain indoor humidity with ventilation (a bathroom fan) to reduce seasonal expansion and contraction.
How should I clean engineered wood floors in a bathroom without damaging the finish?
Sweep or vacuum with a soft brush attachment to remove grit that can scratch the finish. Clean with a manufacturer-recommended cleaner or a lightly damp microfiber mop—avoid soaking the planks and never use steam mops. For stubborn spots, use a pH-neutral cleaner and dry the area right away to protect the top layer of engineered wood.
Why does moisture management matter more for bathroom engineered wood floors than in other rooms?
Bathrooms have frequent humidity spikes from showers, baths, and sink splashes, which can stress the materials over time. Even though many engineered wood floors have improved dimensional stability, excess moisture can seep at seams or edges and lead to cupping, gaps, or finish breakdown. Proper airflow, quick spill cleanup, and water control help extend the life of your engineered wood flooring.
How do I handle leaks or standing water on engineered wood flooring in the bathroom?
Address leaks immediately—shut off the source, remove any standing water, and dry the area as quickly as possible. Use fans and dehumidification to speed drying, and monitor for any swelling or gaps over the next few days. If water penetrates edges, seams, or the underlayment, you may need professional assessment to prevent long-term damage.
Which maintenance routine works best for engineered wood floors in bathrooms?
Perform weekly dry cleaning (sweep/vacuum) and spot-clean as needed with a microfiber mop that’s barely damp. Reapply protective products only if your flooring’s finish manufacturer recommends them—avoid waxes or oils that may interfere with the topcoat. Also inspect caulk lines, transitions, and seams regularly, and re-seal any areas that show wear to keep bathroom moisture from reaching the core.
📅 Last Updated: October 19, 2026 | Topic: How to maintain engineered wood floors in a bathroom? | Content verified for accuracy and freshness.
References
- Engineered wood
- Wood flooring
- Water damage
- https://www.epa.gov/mold/moisture-control-and-mold-prevention
- https://www.epa.gov/mold/preventing-mold-growth
- https://www.cdc.gov/mold/default.htm
- https://www.epa.gov/mold/mold-cleanup-guidance
- https://scholar.google.com/scholar?q=engineered+wood+floor+maintenance+bathroom+moisture Google Scholar
- https://scholar.google.com/scholar?q=engineered+hardwood+floor+care+and+cleaning+water+damage Google Scholar
- https://scholar.google.com/scholar?q=wood+flooring+moisture+humidity+prevention+mold Google Scholar