
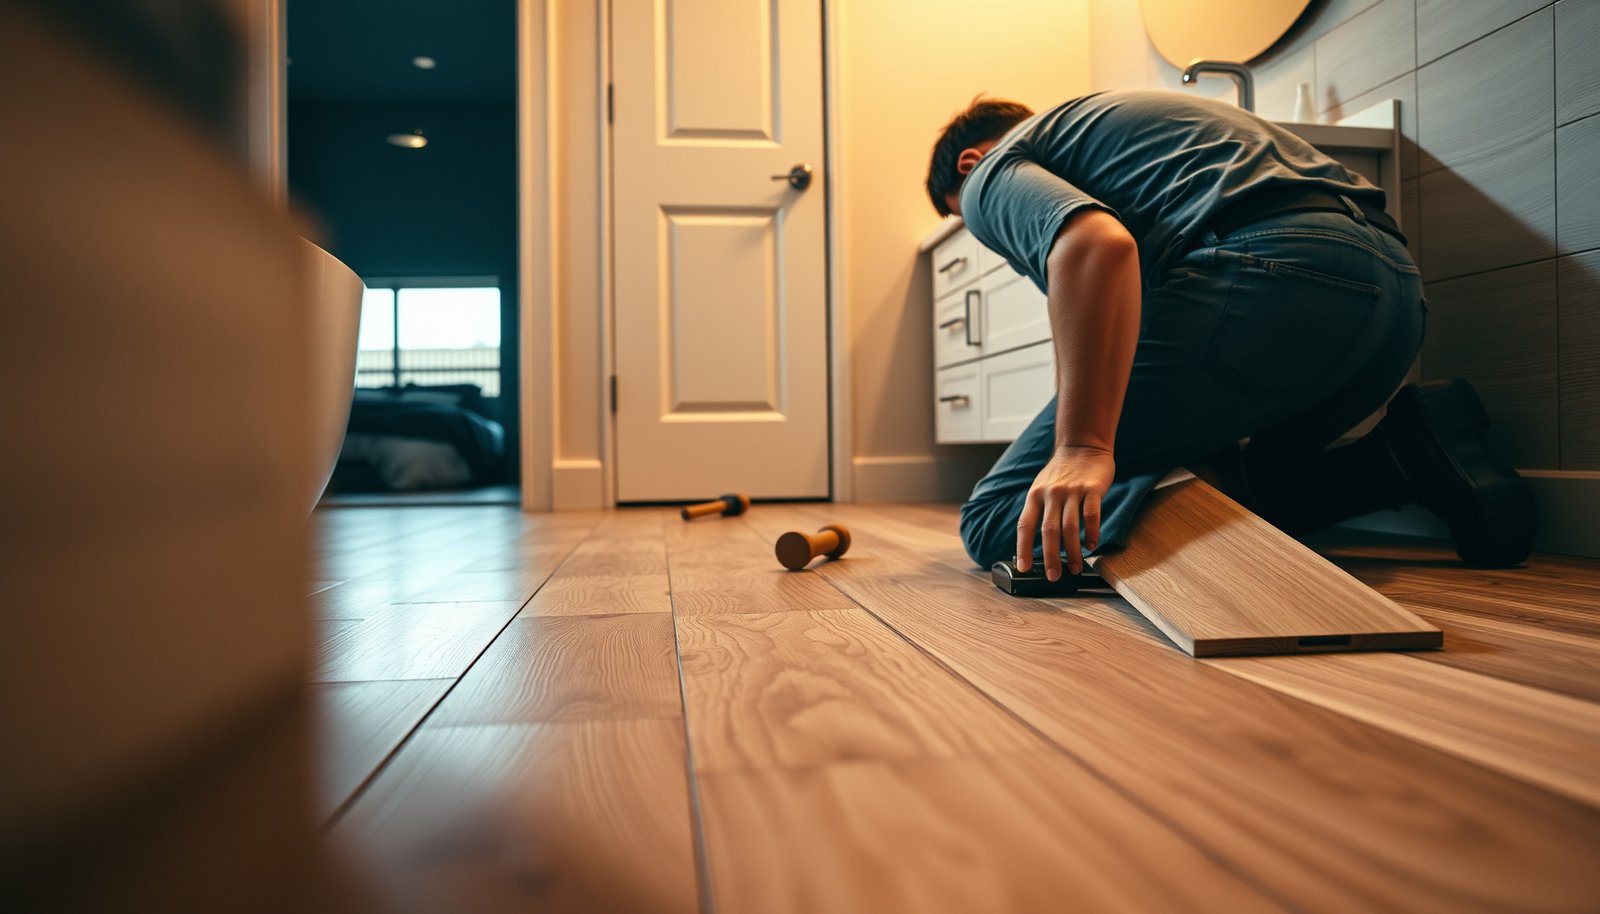

Want to know how to install engineered wood floors in a bathroom without buckling, gaps, or water damage? You’ll get a clear, step-by-step method for prepping the subfloor, installing the right moisture barrier, and choosing the correct fastening system so the planks stay stable. Follow the approach below and you’ll know exactly what conditions make engineered wood the right choice—and what to do when your bathroom runs humid.




Installing engineered wood floors in a bathroom is doable, but the real key is moisture control—use the specific installation method and underlayment your floor manufacturer approves for wet-environment use. The right process focuses on prepping the subfloor, selecting the correct installation approach, and protecting joints and edges so the planks don’t swell or separate.
This is for homeowners or DIYers installing engineered wood in a typical bathroom (not inside a shower/tub waterproofing area) and who are willing to follow the flooring brand’s moisture/installation instructions closely. If your subfloor is already damp, you’ll need to fix that first before any flooring goes down.
Check bathroom suitability and moisture limits first
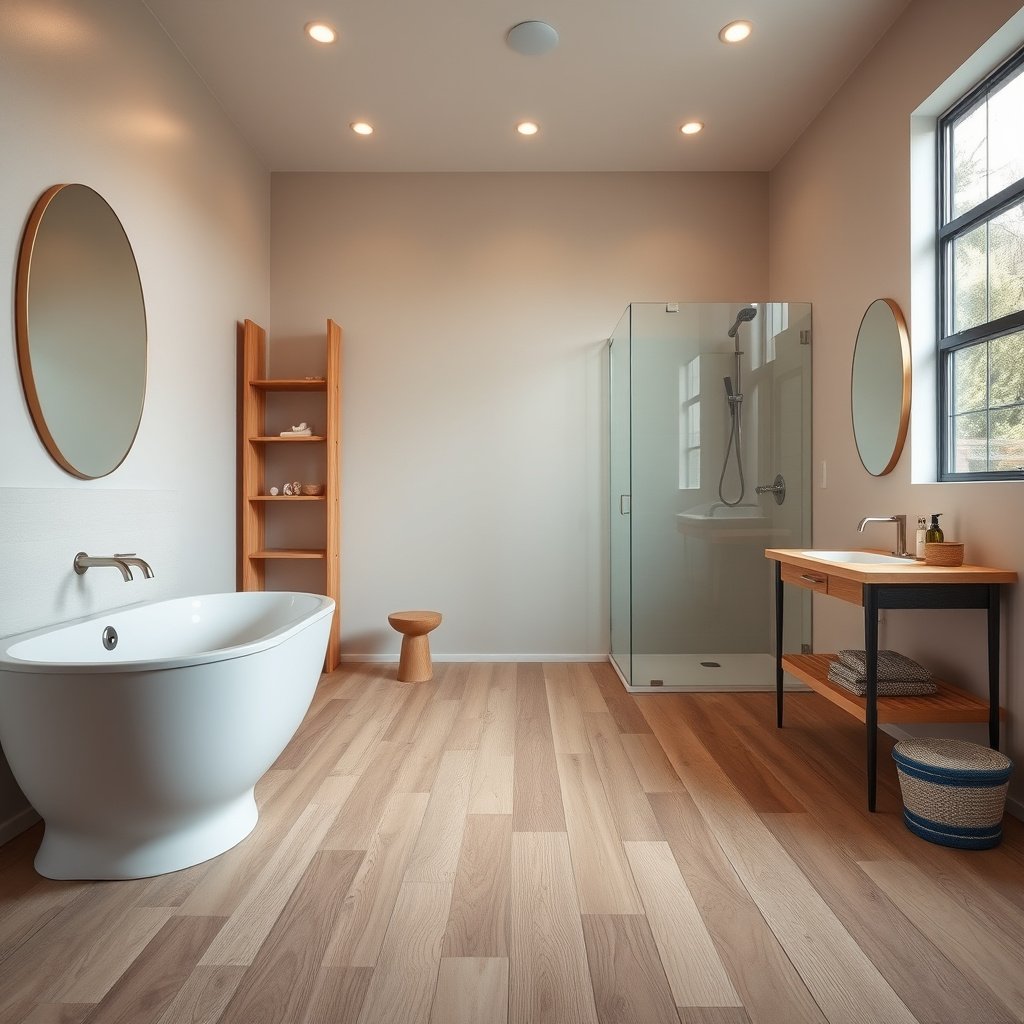
Engineered wood can be installed in a bathroom when the manufacturer explicitly allows it and your installation strategy keeps water away from seams, edges, and the subfloor. If the warranty doesn’t cover “high humidity” or bathrooms, you’re taking on avoidable risk.
Engineered wood warranty coverage can be conditional on whether the product is approved for “bathrooms” or “high-humidity areas,” so your first decision is checking the documentation, not guessing.
Bathrooms are “humidity-first” environments: moisture exposure happens mostly from vapor and condensation, but direct splash zones still matter for long-term edge protection.
Good ventilation reduces the time the room stays humid, which lowers the chances of swelling in engineered wood and moisture-driven failure in underlayment systems.
– Confirm your engineered wood product is explicitly approved for bathrooms or “high humidity” areas in the manufacturer documentation (warranty can be tied to this).
– Decide where the wood will and won’t go (for example: typically keep it outside direct shower spray and tub splash zones unless your manufacturer allows otherwise).
– Plan ventilation and humidity control (a bathroom fan and consistent drying after showers helps reduce swelling risk).
What “approved for bathrooms” usually means (and what it doesn’t)
Most manufacturer language splits bathroom use into (1) high-humidity areas like bathrooms with good ventilation and (2) direct water exposure like shower floors/walls. “Bathroom-approved” typically means the floor can handle intermittent humidity in the room, not that the product is part of a waterproofing assembly. Your goal is to treat the flooring as water-resistant—not water-proof—every step of the way.
Quick moisture reality check (use this as a baseline)
– Many moisture-control guidelines recommend maintaining indoor relative humidity in the roughly 30–50% RH range to limit mold and moisture problems (U.S. EPA, Indoor Air Quality guidance on humidity and mold).
– Bathroom flooring fails most often when the subfloor stays damp long enough for vapor to migrate upward and react with adhesives, underlayment, or the wood itself.
– Standards for concrete moisture testing use measurable units you can take action on: ASTM moisture tests commonly report moisture vapor emission rates over 24 hours (ASTM F1869). Even if your bathroom has a different slab type, these units show how moisture is evaluated rather than guessed.
Prep the subfloor for engineered wood performance
The subfloor is where bathroom flooring success is won or lost—engineered wood may tolerate humidity, but it cannot “fix” a damp or uneven base. Before you buy materials beyond what the manufacturer specifies, you need the surface clean, flat, and dry.
Engineered wood installation requirements often include specific flatness and dryness conditions; ignoring them increases the risk of joint separation and visible telegraphing of subfloor ridges.
Moisture problems should be corrected at the source (leaks, wet materials, failed grout/caulk, plumbing drips) rather than covered with a general sealer.
Acclimation is not optional for most engineered wood systems because it stabilizes the wood’s moisture content to the home’s temperature and relative humidity.
– Verify the subfloor is clean, dry, and flat enough for your installation type; engineered wood will telegraph ridges and can fail if the surface is uneven.
– Address moisture problems before installing (check for leaks, failed caulk/grout, plumbing drips, or damp subfloor materials) rather than trying to “seal over” the issue.
– Follow the manufacturer’s acclimation steps for temperature/humidity and the required gap/space requirements around walls and fixed objects.
Measure dryness instead of assuming
In 2026, many installers use moisture testing tools and moisture test frameworks for concrete because “dry to the touch” is not the same as “dry enough for adhesives.” For slabs, the concrete moisture standards you’ll commonly see include:
– ASTM F1869 calcium chloride test results reported in lb/1000 sq. ft. per 24 hours (ASTM F1869).
– ASTM F2170 in-situ relative humidity testing that measures RH at a specific depth reference (commonly 40% of slab thickness is used for probe placement) (ASTM F2170).
If your bathroom has wood framing and a plywood or OSB subfloor, focus on (1) leak-free plumbing, (2) eliminating wet underlayment layers, and (3) verifying the subfloor isn’t already in a cycle of elevated moisture.
Fix flatness before you install
Even when engineered wood is dimensionally stable compared with solid wood, it’s still a panel over a subfloor. If you have:
– dips or crowned areas,
– loose subfloor edges,
– abrupt ridges from old tile mortar,
you can see and feel them through the planks. Joints are the next weak point—compression at seams can open gaps when the system expands and contracts.
Acclimation: follow the brand rules
Every brand’s acclimation conditions can differ. Some require opening cartons and maintaining room conditions for a set number of days; others tie it to moisture equilibrium targets. Follow your floor manufacturer’s schedule exactly, especially in bathrooms where humidity fluctuates daily.
> Personal note:
Pick the right installation method (and approved underlayment)
The correct installation method is your second line of moisture defense after ventilation. In a bathroom, you should only use the method your engineered wood system allows—floating click-lock, nail/staple-down, or glue-down—with the underlayment and vapor barrier configuration the manufacturer approves.
Floating (click-lock) engineered floors usually rely on an underlayment system plus a continuous expansion gap strategy; blocking the perimeter can create pressure that forces boards apart.
Glue-down systems are sensitive to substrate moisture and adhesive cure conditions; bathroom humidity can slow cure or reduce bond strength if the product is not installed exactly per instructions.
Underlayment products are not interchangeable—many are rated for “normal living spaces” but not for moisture-prone rooms, and using the wrong one can void warranty.
– Choose between floating (click-lock), nail/staple-down, or glue-down based on what your engineered wood’s instructions allow for bathrooms.
– Use only the underlayment/vapor barrier (or lack of one) specified for your floor—some common underlayments are fine elsewhere but not approved for moisture-prone rooms.
– Use adhesives and transition details that match the system: bathroom humidity can affect glue cure and bonding, and mismatched products can void warranties.
Pros/cons by installation approach (bathroom-oriented comparison)
- Floating / click-lock
- Pros: Easier replacement of sections, less risk from adhesive cure issues; works well when you maintain expansion gaps and use an approved underlayment.
- Cons: Still vulnerable at edges if the perimeter is blocked or if water reaches seams repeatedly.
- Nail/staple-down
- Pros: Mechanical attachment can reduce movement and help keep seams tight when subfloor conditions are correct.
- Cons: Requires perfect subfloor flatness and correct fastening schedule; moisture-driven subfloor issues can still show up at seams.
- Glue-down
- Pros: Can be extremely stable on approved substrates and can reduce movement at joints.
- Cons: High sensitivity to slab moisture and humidity during installation (adhesive cure conditions); incorrect vapor control can lead to bond failure.
Mandatory: match the underlayment to the flooring warranty
This is where many DIY projects drift off-script. Even if a third-party underlayment “seems similar,” the flooring brand may require:
– a specific vapor barrier thickness,
– a specific underlayment brand/model,
– taping/seam overlap practices,
– or a specific “no underlayment” rule.
If you’re installing in 2026 and your brand updated installation guidance since you purchased the planks, confirm you’re using the latest manual for your specific model before proceeding.
Seven Common Moisture Test Benchmarks for Flooring Substrates
| # | Standard / Benchmark | What It Measures | Reporting Output | Usefulness for Bathroom Decisions |
|---|---|---|---|---|
| 1 | ASTM F1869 | Concrete moisture vapor emission rate | lb/1000 sq. ft. in 24 hours | ★★★★★ |
| 2 | ASTM F2170 | In-situ slab relative humidity (RH) | RH (%) at probe depth reference | ★★★★★ |
| 3 | EPA indoor RH guidance | Humidity target for mold control | ~30–50% RH recommended | ★★★★☆ |
| 4 | ASTM D4442 | Wood moisture content measurement method | % moisture content by mass | ★★★★☆ |
| 5 | 40% depth probe reference (F2170) | Standard reference depth for RH probes | 40% of slab thickness | ★★★★☆ |
| 6 | Manufacturer acclimation rule | Wood moisture equilibrium approach | Follow specified days/conditions | ★★★☆☆ |
| 7 | Ventilation timing guidance | Reduce post-shower humidity persistence | Use fan removal strategy per code/manufacturer | ★★☆☆☆ |
(Table values reflect standard-referenced units and guidance; your flooring brand’s exact acceptance criteria still control.)
Install the engineered wood boards step-by-step
Yes, you can install engineered wood in a bathroom yourself when you treat layout accuracy and expansion space as part of moisture control. The steps that prevent swelling and gapping are also the steps that keep seams from working loose under humidity cycling.
Floating floors require a continuous perimeter expansion gap; removing or filling that gap blocks expansion and can cause buckling or seam stress.
For best appearance and performance, the first two rows must be aligned because engineered wood expansion and contraction can exaggerate an early layout error.
Transitions (thresholds, door jambs, and changes in flooring type) should be treated as engineering details, not cosmetic trim.
– Dry lay/plan the layout first: check plank direction, seam placement, and how you’ll handle doorways and the perimeter around tubs or vanities.
– Install the first rows carefully to keep long edges straight; if you get the first course wrong, everything after it will look crooked (and gaps are harder to fix later).
– Maintain the required perimeter expansion gap throughout installation; don’t pack it with caulk or rigid fillers—follow the manufacturer’s method for finishing the edges.
A practical bathroom-focused layout strategy
Bathrooms often have:
– tight doorways,
– fixed vanities,
– and higher-risk wet-adjacent walls (tub/shower walls).
Plan the board direction so seams aren’t landing right where the room gets the most vapor load. If your manufacturer allows only certain wet-adjacent layouts, follow those rules exactly.
Expansion gap: do it as designed
Most bathroom failures aren’t “the floor got wet once.” They’re “the floor kept moving because expansion pathways were blocked.” Common mistakes include:
– stuffing the gap with caulk meant for tile,
– using rigid foam where the manual calls for a specific compressible spacer approach,
– trapping the floating system under non-approved trim.
Follow your floor manufacturer’s instruction for how to finish the perimeter after installation (often a baseboard/quarter-round method that still preserves movement).
Protect transitions and finish work near wet zones
You protect engineered wood in bathrooms by keeping water off the system and by sealing only what the manufacturer specifies—not everything you can reach. Your transition details determine whether the floor behaves like a stable surface or a collection of vulnerable edges.
Engineered wood installation in bathrooms typically avoids relying on sealant as the primary water barrier at plank joints or seams.
Perimeter sealing practices differ by installation type; some systems require a free expansion path even while the perimeter trim remains sealed to walls.
Trim and baseboard installation can affect whether the floating floor can expand and contract without pushing against walls or thresholds.
– Keep wood away from direct water exposure: if your bathroom has a shower/tub wall, plan transitions so the floor isn’t relying on sealant as its only water defense.
– Seal only where the flooring system tells you to (for example, perimeter where it’s designed to move); avoid sealing joints that must remain free to accommodate expansion.
– Reinstall trim/baseboards using the recommended approach—some systems are designed to float beneath trim, while others need specific edge treatment.
Transition detailing that reduces seam stress
At tub/shower boundaries:
– Prefer a hard transition (threshold or reducer strip) where your manufacturer allows it.
– Don’t “bridge” wet zones with flexible caulk as if it’s grout-grade waterproofing.
– Use the correct transition profile for your floor thickness and underlayment system so you don’t create a lip where water can pool.
Trim/baseboards: movement matters
Some floating systems want trim to sit on the wall only (not on the floor), preserving free movement. Others require different approaches. If you’re unsure, stop and follow the “finishing the edges” instructions in the brand manual before applying sealant.
What can go wrong (and how to avoid it)
These problems usually share a single root cause: moisture control wasn’t aligned with the flooring system’s design. If you prevent repeated dampness, use approved vapor protection, and follow expansion-gap rules, engineered wood performs far more reliably.
Swelling and cupping are most often the result of persistent moisture at the subfloor or incorrect vapor/underlayment selection—not normal day-to-day bathroom humidity.
Seam failure frequently traces back to blocked expansion gaps, uneven subfloor flatness, or improper fastening/gluing method for the environment.
Using an unapproved underlayment in a moisture-prone room can trap water or prevent proper drainage pathways, accelerating moldy underlayment conditions.
– Moisture-related swelling/cupping: usually comes from installing over damp subfloor, skipping approved vapor protection, or misunderstanding where “wet” actually reaches.
– Edges and seams failing: happens when expansion gaps are blocked, the floor isn’t level/flat enough, or boards aren’t installed with the correct fastening/gluing method for this environment.
– Moldy/soft underlayment: often caused by using an underlayment not rated for moisture or trapping moisture under a floating floor without proper guidance from the manufacturer.
– Warranty problems: the biggest “invisible” risk—many brands require an approved underlayment/adhesive/vapor barrier combination for bathrooms or they won’t cover damage.
Common DIY “shortcuts” to avoid
– Sealing plank seams because you’re afraid of water (often the wrong move).
– Installing over an unaddressed leak behind a vanity kick panel.
– Using a bathroom fan but still letting humidity linger for hours (automation/timing can help).
– Replacing missing expansion spacers with rigid filler.
Verdict: worth doing, but only if you follow the manufacturer’s bathroom rules
Engineered wood can work in a bathroom when you treat moisture control as part of the installation—not an afterthought. If your flooring brand approves your method (floating vs glue-down), and you’re able to keep the subfloor dry, maintain ventilation, and keep the floor out of direct splash/spray, you’re likely on solid footing.
Downsides / who should skip: If you have persistent leaks, poor ventilation, visible dampness in the subfloor, or you’re hoping to rely on sealant instead of correct installation details, it’s safer to use a truly waterproof floor in those areas (or tile where water hits). When in doubt, stop and confirm the bathroom-approval language in your product documentation—this is one project where “close enough” can become an expensive redo.
Quick scan checklist (save this):
| Step | Done? | Notes |
|---|---|---|
| Bathroom approval confirmed in manufacturer instructions | ☐ | |
| Subfloor is dry, clean, and flat per instructions | ☐ | |
| Acclimation completed as required | ☐ | |
| Correct underlayment/vapor barrier selected (if required) | ☐ | |
| Correct expansion gaps maintained at perimeter | ☐ | |
| Layout planned for doorways/transitions | ☐ | |
| Wet-zone strategy (keep water off the wood) planned | ☐ | |
| Manufacturer-required sealing/trim method followed | ☐ |
Sources
– Manufacturer installation instructions and warranty documentation for your specific engineered wood product (use these to confirm bathroom approval, underlayment/vapor barrier requirements, expansion gap method, and allowed sealing/edge treatment).
– Manufacturer guidelines for the approved underlayment or vapor barrier system you plan to use.
– ASTM F1869, Standard Test Method for Measuring Moisture Vapor Emission Rate of Concrete Subfloor Using Anhydrous Calcium Chloride.
– ASTM F2170, Standard Test Method for Determining Relative Humidity in Concrete Subfloors Using in situ Probes.
– U.S. EPA, guidance on indoor moisture and humidity levels related to mold control (use for relative-humidity targets).
– ASTM D4442, Standard Test Methods for Direct Moisture Content Measurement of Wood and Wood-Based Materials.
If you tell me your engineered wood type (click-lock floating, nail-down, or glue-down) and the brand/model, I can help you map each step above to the exact bathroom wording your installation guide typically uses—especially around vapor barrier/underlayment and expansion-gap finishing.
Frequently Asked Questions
What underlayment should I use when installing engineered wood floors in a bathroom?
Use a bathroom-rated underlayment designed for engineered wood and moisture control. Look for products specifically labeled for “moisture barrier” or “wet areas,” and ensure it’s compatible with your floor’s click-lock or nail-down system. If your subfloor is concrete, a thicker moisture barrier may be necessary, while wood subfloors often benefit from an underlayment that helps manage humidity swings without trapping moisture.
How do I prepare a subfloor before installing engineered wood in a bathroom?
Start by verifying the subfloor is solid, clean, and dry, then check flatness with a straightedge—most manufacturers require the surface to be within about 1/8 inch over 6 feet. Fix squeaks, patch low spots, and sand high areas so the engineered wood won’t flex or separate at the joints. If you’re working over concrete, test for moisture and follow the flooring manufacturer’s limits before installation to prevent swelling or cupping.
Why does bathroom moisture matter for engineered wood floor installation?
Bathrooms experience frequent humidity changes and occasional splashes, which can cause engineered wood flooring to expand, contract, or warp if moisture management is poor. Engineered wood tolerates moisture better than solid hardwood, but it’s still not meant to be submerged or installed in areas with standing water. To reduce risk, keep the room ventilated (use a fan), address leaks quickly, and follow proper acclimation and installation guidelines from the manufacturer.
Which installation method is best for bathrooms: floating, glue-down, or nail-down?
For many bathrooms, a floating click-lock engineered wood floor is popular because it’s faster to install and can reduce some issues from minor subfloor movement. Glue-down can provide excellent stability and a tighter seal, but it requires careful moisture-safe adhesive selection and surface preparation. Nail-down is generally less forgiving in high-humidity rooms, so it’s best only if the manufacturer explicitly approves it for bathroom conditions and your subfloor moisture levels are consistently within specs.
What gaps and transitions should I plan for when installing engineered wood floors in a bathroom?
Leave the expansion gap specified by your engineered wood floor manufacturer around the perimeter, including between the flooring and fixed objects like vanities, toilets, and door frames. Use appropriate transitions at entrances, thresholds, and between rooms to handle movement and reduce the chance of water migrating into seams. If the bathroom has areas near showers or tubs, consider a watertight transition strategy and keep the flooring out of direct wet zones unless the product is specifically rated for them.
📅 Last Updated: October 19, 2026 | Topic: How to install engineered wood floors in a bathroom? | Content verified for accuracy and freshness.
References
- Mold | US EPA
- https://www.cdc.gov/mold/faqs.htm
- Mold | National Institute of Environmental Health Sciences
- Engineered wood
- Wood flooring
- https://scholar.google.com/scholar?q=how+to+install+engineered+wood+flooring+in+a+bathroom+moisture+guidelines Google Scholar
- https://scholar.google.com/scholar?q=engineered+wood+flooring+bathroom+installation+acclimation+subfloor+moisture+testing Google Scholar
- https://scholar.google.com/scholar?q=wood+floor+installation+moisture+control+relative+humidity+concrete+ASTM+F2170+F1869 Google Scholar



[…] a bathroom without swelling, warping, or dulling. You’ll get the exact rules for daily cleaning, moisture control, and sealing touch-ups, plus what to avoid when water vapor and splashes are unavoidable. Follow […]