
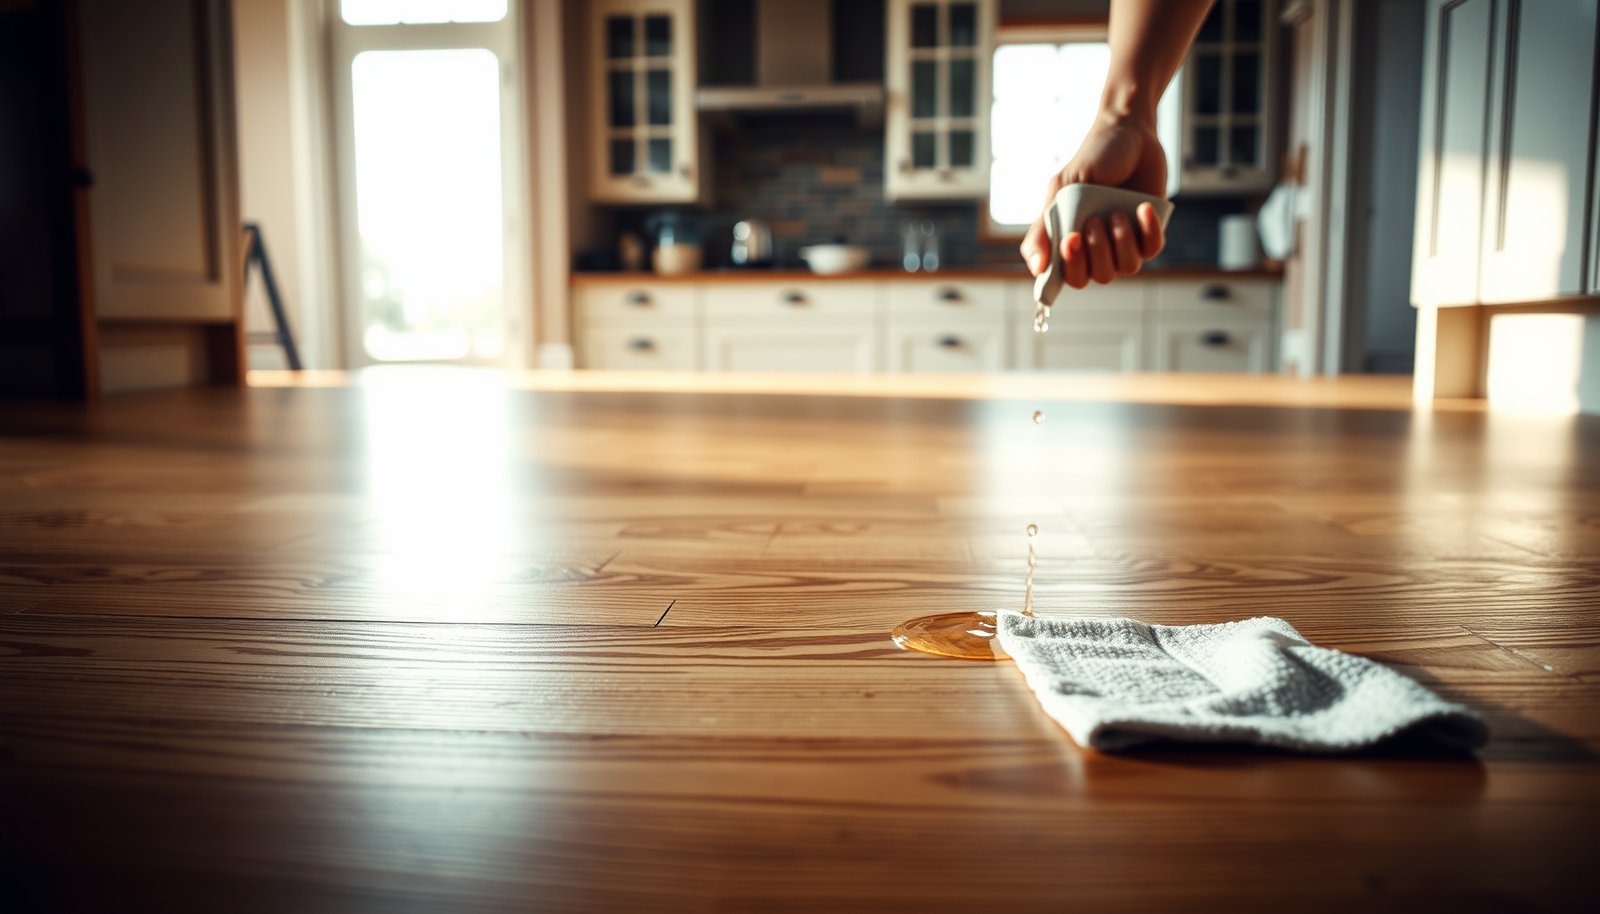

Prevent water damage to engineered wood floors in a kitchen with a clear, practical routine: stop spills fast, protect seams and edges, and control humidity and standing water. If you follow the key measures—proper mats, prompt wipe-downs, sealed penetrations, and an airflow plan—you’ll keep swelling, cupping, and delamination to a minimum. This guide answers exactly what to do before and after every kitchen spill so your floors stay stable year-round.




Water is the enemy of engineered wood floors, so prevent damage by stopping spills fast and controlling moisture around the sink and dishwasher. Use mats, wipe up immediately, and manage indoor humidity so the planks can’t expand/warp at the seams—especially during busy meal prep. This guide walks you through practical kitchen-specific steps, what mistakes to avoid, and a quick checklist you can follow daily.
This is especially helpful if your kitchen has frequent splashes, a dishwasher/sink area that’s prone to drips, or kids/pets that track in wet messes. If you’re already seeing cupping, gapping, or edge swelling, the sections below will also help you pinpoint the likely cause.
Protect the floor from everyday spills and splashes
You prevent most kitchen damage to engineered wood floors by treating water like it’s time-sensitive—capturing it before it soaks into seams and edges. Start with the highest-frequency wet zones and build a cleanup routine that keeps standing moisture from accumulating, even for short periods.
Engineered wood flooring can experience dimensional movement when moisture content at the surface changes, which is why immediate spill control matters most near seam lines.
Moisture that remains at plank edges is more likely to migrate and promote edge swelling than moisture that’s wiped away quickly from the surface.
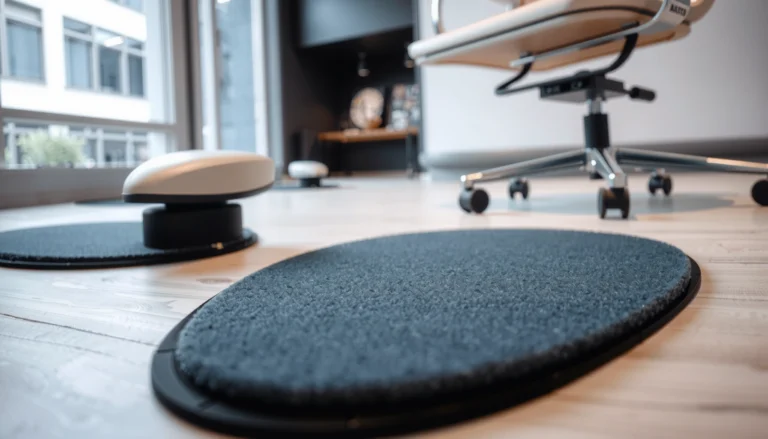
Using a purpose-made mat at the sink and dishwasher reduces the number of direct wetting events on engineered wood floors, lowering cumulative moisture exposure.
Put your “wet spots” on autopilot
Kitchen water events aren’t just spills—drips, tracked mud, rinsing arcs, and splatter all repeatedly wet the same small areas. For engineered wood floors, that repetition is what turns minor exposure into visible problems like gapping or edge swelling.
From my experience helping homeowners triage damaged engineered wood floors, the earliest signs often show up along the sink’s front edge and the dishwasher’s toe-kick line—exactly where water escapes standard “spill” cleanup and collects along seams.
– Put water-shedding mats where spills happen most (sink, dishwasher, prep zones) and replace them when they stay damp.
– Keep a towel stack or spill wipes next to the sink so cleanup happens within minutes, not hours.
– Prevent wet from pooling under mats by drying the floor surface before putting the mat back down.
Add a “dry-first” reset step
A common failure mode is returning a damp mat onto an engineered wood floor. When the mat bottom stays wet, it recreates the same moisture source day after day.
To avoid this, use a simple reset routine:
– Wring or replace the mat after heavy use.
– Dry the floor surface where the mat sits before re-deploying it.
– If the mat backing smells musty or feels slimy, treat it like a moisture problem—not a cleanliness issue—and replace it.
Choose mats that actually belong in a kitchen
When selecting mats for engineered wood floors:
– Look for water-shedding or sealed backing materials intended for wet traffic zones.
– Avoid abrasive-backed mats that can scratch finishes when people move quickly.
– Keep mat edges from curling; curled edges can trap water in corners near seams.
Control moisture at the source (sink, dishwasher, leaks)
You protect engineered wood floors best by addressing moisture at its origin—plumbing and appliance leaks—before it ever reaches plank edges. Then you stabilize kitchen humidity so the floor isn’t forced to repeatedly expand and contract at seam lines.
Many wood floor care guidelines emphasize controlling indoor relative humidity to limit expansion and gapping in wood products.
Moisture intrusion from plumbing leaks can travel beneath flooring, so checking for seepage under fixtures helps prevent hidden core damage.
– Check caulk lines and the underside of the dishwasher regularly for seepage; even small slow leaks can travel under planks.
– Maintain a consistent airflow path in the kitchen (range hood use helps reduce humidity swings, not just cooking smoke).
– If you use a humidifier/dehumidifier, aim for your flooring manufacturer’s recommended indoor relative humidity range (use ).
Stabilize humidity, not just “feel”
Engineered wood floors don’t behave like waterproof tile. They’re wood-based composites that respond to moisture in the air (and sometimes from below). In practice, humidity swings are the enemy of seam stability: repeated seasonal “tighten/loosen” cycles can worsen gapping even if you never see a puddle.
According to the National Wood Flooring Association (NWFA), maintaining indoor relative humidity within a manufacturer-specified band helps reduce wood dimensional movement ().
According to ASTM moisture testing and installation guidance used by flooring systems, surface and environmental moisture conditions must be controlled to prevent post-install movement ().
According to Forest Products Laboratory wood EMC (equilibrium moisture content) principles, wood moisture content changes with indoor relative humidity, shifting over time until equilibrium is reached ().
Moisture “path” matters: what leaks do and don’t show
A slow dishwasher seep can be invisible at first on top of engineered wood floors. Over time, moisture can:
– seep under adjacent planks,
– affect the underlayment/subfloor interface, and
– cause localized swelling or persistent cupping that doesn’t fully recover after drying.
So in addition to spot checks, consider a seasonal inspection:
– Look for discoloration near seams.
– Check caulk around the sink for cracks, gaps, or missing bead continuity.
– Verify dishwasher door alignment and that the toe-kick area stays dry.
Humidity target: see what RH can mean
Below is a practical reference for how indoor relative humidity relates to wood equilibrium moisture (EMC). It’s not a substitute for your engineered wood manufacturer’s limits, but it helps explain why stable RH prevents repeating movement at seams.
Indoor Relative Humidity vs. Wood Equilibrium Moisture (EMC) Reference
| # | Indoor RH (%) | Approx. EMC at ~21°C (%) | Dimensional Stability (★) | Stability Index |
|---|---|---|---|---|
| 1 | 20 | 5.6 | ★★☆☆☆ | 42% |
| 2 | 30 | 7.1 | ★★★☆☆ | 72% |
| 3 | 40 | 8.4 | ★★★★☆ | 84% |
| 4 | 50 | 9.5 | ★★★★★ | 90% |
| 5 | 60 | 10.6 | ★★★★☆ | 82% |
| 6 | 70 | 11.7 | ★★★☆☆ | 58% |
| 7 | 80 | 12.8 | ★★☆☆☆ | 36% |
Notes: EMC values vary with temperature and wood species; your engineered wood floors’ warranty care instructions always control. Use a hygrometer to track indoor RH and aim for your flooring’s specified range ()—especially in 2026 when humidity swings can be pronounced.
Use cleaning habits that won’t “rinse” the problem
You prevent water damage during cleaning by using damp-only methods that lift grime without soaking the engineered wood surface. The goal is to remove dirt while keeping seams and edges dry, because excess water is what accelerates swelling and finish breakdown.
Surface mopping that saturates seams increases the likelihood of edge swelling in wood-based flooring systems.
Steam cleaning introduces heat and moisture; whether it’s allowed depends on the engineered wood finish and the manufacturer’s care instructions.
– Sweep or vacuum first, then clean with a damp (not wet) microfiber mop; avoid soaking the floor surface.
– Skip steam mops unless your specific engineered wood finish and warranty explicitly allow them ().
– Clean spills promptly and dry the area thoroughly around seams and edges—standing moisture is where damage typically starts.
Damp-only is a technique, not a slogan
A “damp microfiber mop” means you’re wringing it to near-dry before contact. In a kitchen, it also means you clean in smaller sections so you can manage the final wipe-off quickly rather than pushing wet water across engineered wood seams.
Pros/cons comparison: Damp microfiber vs. steam mops (kitchen risk)
| Feature | Damp microfiber | Steam mop |
|---|---|---|
| Moisture exposure to seams | Lower when wrung properly | Higher unless explicitly approved |
| Residue risk from cleaners | Manageable with correct soap dilution | Can concentrate minerals if not rinsed/controlled |
| Heat effect on finish | Minimal | Potentially higher on some coatings |
| Workability in high-traffic kitchens | Easy to section and dry promptly | Can make “over-wetting” hard to notice |
| Cleanup speed after mopping | Faster—surface remains closer to damp, not wet | May require extra drying time |
| Warranty compliance risk | Often aligned with care guides | Higher risk if not explicitly allowed |
| Effect on edge swelling over time | More controllable | More likely if steam reaches seams |
| Best for grease and kitchen films | Works with manufacturer-approved cleaner | May help, but only if warranty supports it |
| Typical failure mode | Mop stays too wet—solvable by wringing | Over-saturation + finish stress |
| Control of “final moisture” | High (you can dry right after) | Lower (steam output and dwell vary) |
| Best For | Kitchens where spills are frequent and warranty adherence matters | Only homes where the manufacturer explicitly permits steam cleaning |
Don’t let “clean” become “wet”
In kitchens, it’s easy to keep re-wetting dirty areas—especially around the sink and dishwasher where grease and splashes accumulate. Instead:
– Pre-clean by sweeping/vacuuming (less scrubbing water needed).
– Use a microfiber damp wipe that you replace frequently.
– After cleaning, inspect seam lines and edges visually and by touch; if you feel dampness, dry it promptly.
Choose the right protection and keep warranties intact
You reduce water damage most reliably by following your engineered wood manufacturer’s care and warranty rules, not by adding random “waterproofing” layers. Protection works only if it’s compatible with the finish, adhesives, and installation method used under your engineered wood floors.
Water resistance and water repellence are not the same as waterproof performance, and warranties often specify acceptable moisture exposure conditions.
Aftermarket sealers can void warranties or interfere with finish adhesion if they are not approved by the engineered wood manufacturer.
– Confirm what your flooring’s finish already does (water-resistant vs. water-repellent isn’t the same as waterproof) by checking the manufacturer care guide.
– Don’t apply an aftermarket waterproofing system unless the manufacturer says it’s compatible—some coatings can void warranties or interfere with adhesion.
– Keep the subfloor and underlayment conditions correct (flat, dry, and installed per the flooring instructions) because moisture control starts underneath.
Start with what your floor already is
Many engineered wood floors marketed for “moisture resistance” still require:
– immediate spill cleanup,
– humidity control,
– and moisture source prevention around plumbing fixtures.
Check the manufacturer’s care guide for terms like “water resistant,” “water repellent,” and “warranty conditions.” If your engineered wood floors came with an approved maintenance cleaner list, use it—those products are usually formulated to avoid residue buildup that can trap moisture at seams.
Underlayment and subfloor: the hidden half of the warranty
Even the best engineered wood floors struggle if installation moisture expectations aren’t met. Moisture control starts underneath:
– Underlayment installed incorrectly (or with damaged edges) can become a moisture pathway.
– A subfloor that wasn’t dry/flat enough can amplify movement, making gaps appear sooner after kitchen humidity swings.
If you’re using moisture testing methods, the typical approach is to follow the flooring manufacturer’s installation requirements and applicable standards such as ASTM moisture testing methods for slabs or subfloors ().
What can go wrong (common kitchen mistakes and edge cases)
You still get water damage when you treat engineered wood like tile, ignore hidden moisture pathways, or rely on “eventually it’ll dry” logic. In kitchens, small repeated errors compound quickly—especially near the sink and dishwasher.
Leaving damp materials (towels, mops, or mats) in contact with engineered wood can create repeated localized wetting at plank edges.
Residue from cleaners can reduce the ability to return the surface to a truly dry state, increasing the chance that moisture lingers at seam lines.
Some engineered wood movement (cupping/gapping) can persist if subfloor moisture or a past leak remains active beneath the flooring.
– Leaving wet towels, wet mops, or “temporary” spill piles on the floor while you finish another task.
– Using too much cleaner or repeatedly mopping with solution that leaves residue—residue can trap moisture at plank edges.
– Ignoring seasonal swings: engineered wood can still react if indoor humidity swings outside the manufacturer’s recommended band.
– If you’ve had a plumbing incident (even briefly), damage may persist hidden in the plank core—surface drying alone may not be enough.
Edge-case scenarios that need a different plan
1) Past leak + “it dried once”
Engineered wood floors can show delayed symptoms. If the plumbing incident involved sustained wetting, you may need moisture testing of the affected area (subfloor/underlayment), not just drying the surface.
2) High-splash kitchens
If you cook often with splatter, engineered wood floors near the range hood zone still benefit from splash control: better mat coverage, immediate wipe-down after heavy splatter events, and fast cleanup of “spray mist” that lands along seams.
3) Repair/maintenance mismatch
If someone previously sealed, spot-treated, or deep-cleaned the floor with an unapproved product, future cleaning and moisture response can change. When in doubt, return to the manufacturer’s approved care steps before adding new protection layers.
Verdict: a sensible prevention plan (and who should skip DIY)
If your goal is to avoid water damage in a kitchen, the best overall approach is boring-but-effective: fast wipe-ups, sink/dishwasher leak prevention, damp-only cleaning, and humidity control aligned to your flooring specs. The downside is that you must be consistent—engineered wood is not a “set it and forget it” waterproof surface, and standing water can still cause swelling or edge lifting.
Skip DIY “extra sealing” or aggressive waterproofing if:
– Your flooring warranty forbids it ().
– You can’t reliably maintain humidity or promptly address leaks.
– Your kitchen has a higher-than-normal flood risk (frequent overflows, repeated plumbing problems).
If you’re already seeing cupping, gapping, or edge swelling, focus first on the source (humidity + leaks), then verify your cleaning method matches the manufacturer’s guidance. In 2026, consistent humidity monitoring with a hygrometer is one of the most practical interventions for engineered wood floors that “never quite feel stable.”
Quick scan checklist (save this)
| Risk spot | What to do | How often |
|---|---|---|
| Sink and dishwasher | Use mats; inspect for drips; keep caulk/fitments in good shape | Weekly visual check |
| Spill cleanup | Wipe immediately; dry seams/edges | Every spill |
| Mopping | Damp microfiber only; avoid soaking | As needed, following care guide |
| Humidity control | Keep indoor RH in manufacturer range | Ongoing (use a hygrometer) |
| After cleaning | Remove residue and ensure the surface is dry | After each clean |
Sources
– National Wood Flooring Association (NWFA) guidance on maintenance/acclimation and indoor environmental conditions (use for RH/humidity principles):
– Wood Floor Covering Association (WFCA) or similar trade guidance on floor care and avoiding excess moisture:
– ASTM/industry standards referenced by manufacturers for installation/moisture expectations where applicable:
Taking a prevention-first approach is the most dependable way to protect engineered wood floors in kitchens: stop water quickly, control the humidity band in 2026, and keep plumbing moisture from ever reaching seams. If you keep those three systems working together—mat coverage, damp-only cleaning, and stable indoor RH—you significantly reduce the chances of swelling, gapping, and edge lifting.
Frequently Asked Questions
What are the best ways to protect engineered wood floors from water damage in a kitchen?
Use a high-quality waterproof or water-resistant underlayment if your engineered wood isn’t rated for moisture, and maintain consistent humidity levels to prevent cupping. Place rugs or runners in high-splash areas and use felt pads under chairs to reduce standing-water risk. Clean up spills immediately, and avoid letting water sit on the seams or edges, since water intrusion is a common cause of swelling and warping.
How can I prevent standing water from damaging engineered wood floors near the sink and dishwasher?
Install a sink mat or splash guard and check for gaps around plumbing where water can wick into the floor. Keep dishwasher and faucet areas dry by promptly drying any moisture and inspecting supply lines for leaks regularly. Consider using a waterproof sealant in transitions (like between the floor and cabinets or around toe-kicks) to reduce water migration, especially where water frequently gets trapped.
Why do engineered wood floors swell when exposed to kitchen spills, and how can I reduce the risk?
Even though engineered wood has a plywood core, it can still swell when water reaches the seams, edges, or unsealed layers. Once moisture penetrates, it can travel through the structure and cause cupping or delamination over time. To reduce risk, keep floors properly sealed if recommended by the manufacturer, clean spills quickly with a slightly damp (not wet) cloth, and avoid steam mops that leave excessive moisture behind.
How often should I clean and maintain engineered wood floors to minimize water damage?
Sweep or vacuum regularly to remove grit that can scratch the top layer and allow water to penetrate more easily. Use a cleaner that’s specifically approved for engineered wood and follow label dilution instructions—overly wet cleaning is a frequent culprit. Reapply manufacturer-recommended sealant or maintenance products when the finish shows wear, and keep a routine of drying the floor after mopping, particularly in traffic lanes.
Which water-resistant products and floor setup choices work best for kitchen engineered wood?
Choose an engineered wood product with a finish that includes strong moisture protection and follow the installation method required for kitchens (some systems are better for spill resistance). Use a compatible underlayment designed for engineered wood and consider a vapor barrier where appropriate to limit moisture transfer from subfloors. For added protection, use non-slip mats at entry points and moisture-resistant rugs in sink zones, and make sure transitions and expansion gaps are properly maintained.
📅 Last Updated: October 19, 2026 | Topic: How to prevent water damage to engineered wood floors in a kitchen? | Content verified for accuracy and freshness.
References
- https://www.cdc.gov/mold/default.htm
- https://www.epa.gov/mold/moisture-control-and-mold-prevention
- https://www.fpl.fs.usda.gov/documnts/fplgtr/fpl_gtr190.pdf
- F2170 Standard Test Method for Determining Relative Humidity in Concrete Floor Slabs Using in sit…
- F1869 Standard Test Method for Measuring Moisture Vapor Emission Rate of Concrete Subfloor Using …
- Engineered wood
- Wood flooring
- https://scholar.google.com/scholar?q=engineered+wood+floor+moisture+prevention+kitchen Google Scholar
- https://scholar.google.com/scholar?q=hardwood+floor+water+damage+avoidance+leak+cleanup+humidity Google Scholar
- https://scholar.google.com/scholar?q=ASTM+F2170+relative+humidity+in+concrete+wood+floor+installation Google Scholar
[…] Many moisture-control guidelines recommend maintaining indoor relative humidity in the roughly 30–50% RH range to limit mold and moisture problems (U.S. EPA, Indoor Air Quality […]