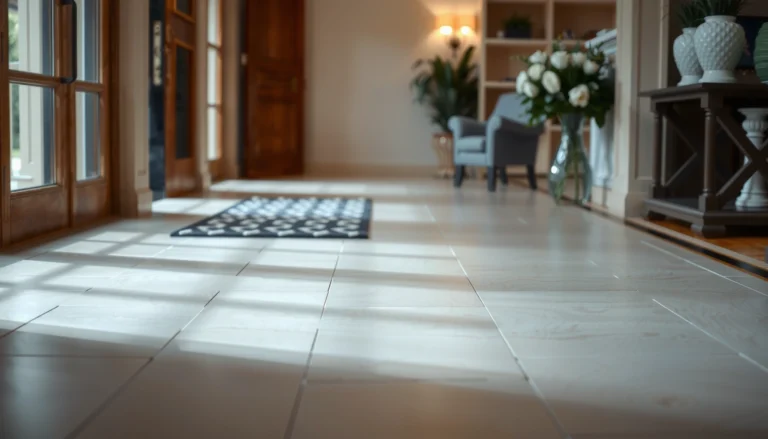
If you want to waterproof engineered wood floors in your kitchen, the winner is a full seal-and-barrier approach: install a compatible moisture barrier and then apply a kitchen-rated polyurethane sealer designed for water exposure. Follow with proper edge and seam sealing around the toe-kick, cabinets, and transitions, where leaks actually start. This step-by-step method answers exactly how to protect your floors from everyday spills and steam without warping or cupping.




You can’t make engineered wood “fully waterproof,” but you can meaningfully protect it in a kitchen by sealing the seams, edges, and transition points where water gets in—while also controlling subfloor moisture. Waterproofing engineered wood floors in a kitchen is mainly about sealing the surface and, most importantly, the seams, edges, and transition points where water gets in. If you don’t control subfloor moisture and maintain the manufacturer’s expansion gaps, no top coat will reliably prevent swelling and lifting. In this guide, we’ll walk through prep, sealing details, and the waterproofing layers that actually help in kitchen conditions.
If you’re dealing with frequent spills (sink, dishwasher, fridge, mopping) or want better protection before bad weather leads to standing water, this is for you. It’s also for homeowners who want to keep the floor looking good while understanding where “waterproof” is realistic—and where it isn’t for engineered wood.
Know what “waterproof” can (and can’t) mean for engineered wood
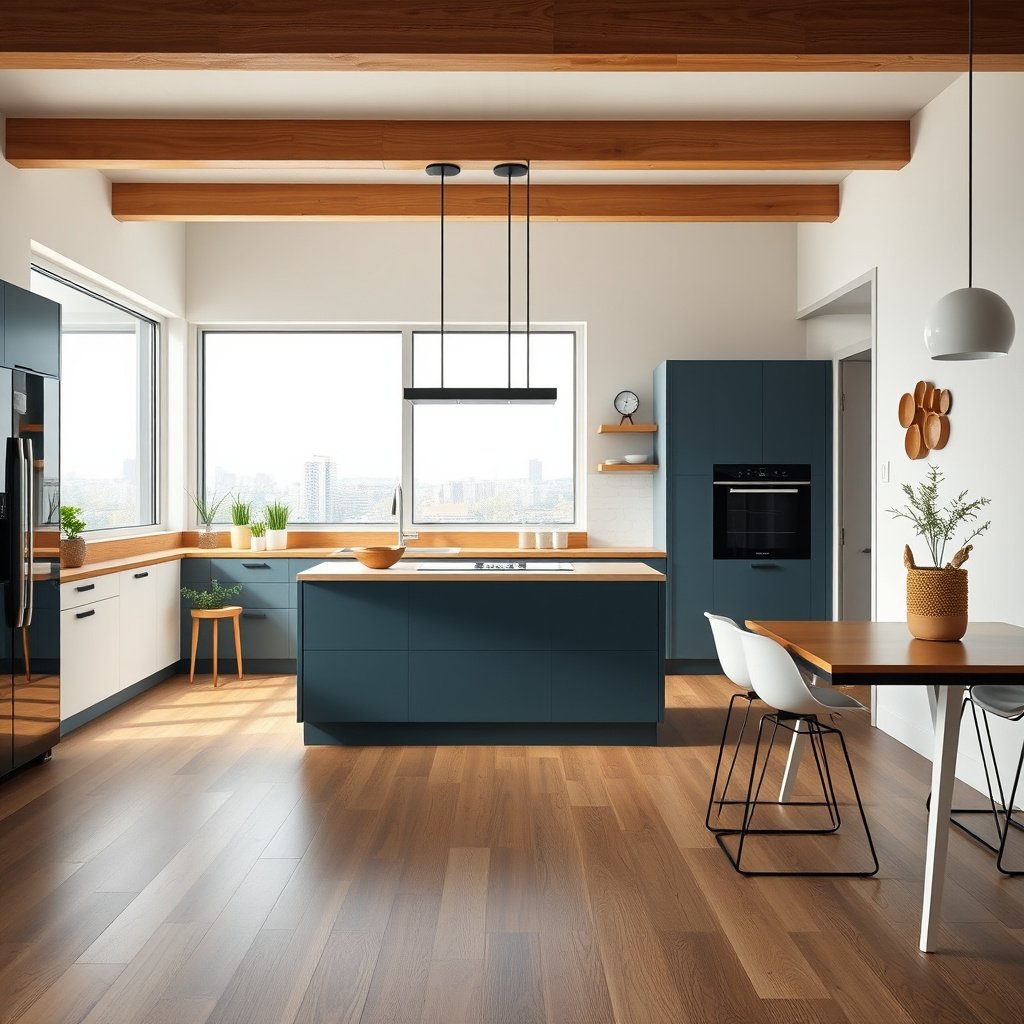
Making engineered wood water-resistant is realistic; making it completely waterproof is not. In kitchen conditions, the failure points almost always involve water reaching the wood edges, seams, or the area under the flooring.
Engineered wood is still wood—so water can affect it if moisture travels into joints, edges, or underneath the flooring.
Most warranties for engineered wood require that you follow the manufacturer’s installation and surface-treatment instructions to avoid moisture-related failures.
“Waterproof kitchen floor” usually means sealed seams + protected transitions, not a fully sealed “tank.”
– Engineered wood is more stable than solid wood, but it’s not inherently waterproof; water can still travel into joints and under edges.
In practice, engineered flooring’s layers resist movement better than solid wood, but water migration still happens through openings. Even when the top finish looks intact, moisture can creep at seams, along baseboards, or through transitions like doorways and between rooms.
– Your wood flooring manufacturer’s warranty and installation guide usually define what’s allowed (and what coatings/sealers void coverage).
This is the first constraint you should respect. Many manufacturers approve only their own cleaning products and specific approved sealers (or require specific systems) because engineered wood expands/contracts across humidity swings. If a coating prevents that movement or traps moisture underneath, it can create new failure modes.
– “Kitchen waterproofing” typically means: water-resistant surface + sealed seams + protected transitions—not turning the whole floor into a fully sealed tank.
A practical goal is to reduce how far water can travel before you wipe it up, and to prevent small leaks (dishwasher drips, supply-line seepage, mop runoff) from finding a path to the wood core.
For moisture-risk context, it helps to understand what moisture testing is actually measuring. For example, ASTM F2170 produces results as in-situ relative humidity (%RH), expressed on a 0–100% scale, and those values are compared against flooring/adhesive acceptance limits. In parallel, ASTM F1869 reports moisture vapor emission rate (MVER) in lb/1,000 sq ft/24 hr—units you’ll see referenced when slabs need moisture control before flooring goes down. Those test outputs exist because “sealing the top” doesn’t address moisture coming from below.
Prep the kitchen floor so water can’t sneak in
Good waterproofing starts before you apply any coating: it starts with a sound subfloor and clean, repaired surface. If you seal over an unstable or overly damp subfloor, you can lock in moisture and create the swelling and lifting you were trying to prevent.
If the subfloor is too damp, a waterproof top layer can trap moisture where it can’t dry, increasing the risk of engineered wood failure.
Repairs and flattening matter because waterproofing systems bond best to properly prepped surfaces—not loose debris or damaged boards.
Controlled ventilation during curing helps waterproofing products reach their designed performance.
– Start with the basics: fix squeaks, remove debris, and repair any damaged boards or uneven areas so sealing compounds can bond properly.
Kitchen engineered wood flooring should be firmly supported. If planks flex, seams widen, or subfloor ridges telegraph through, sealants can crack or pull away. For “waterproofing,” continuity is everything—any gap in the system becomes a water path.
– Check the subfloor condition and moisture before you seal anything; if the subfloor is too damp, waterproof layers can trap moisture where you can’t see it.
This step is especially important in kitchens because moisture sources aren’t only spills. Dishwashers, plumbing condensation, and daily cleaning can also contribute to a higher overall moisture environment around perimeter areas.
– Plan to work clean and controlled: tape off walls/baseboards if needed, and keep the room ventilated while products cure.
Curing is when waterproofing actually forms its protective film or membrane network. In humid kitchens, curing can slow down; ventilation and product-specific cure time guidance are what ensure you’re not exposing a partially formed layer to water from cleaning.
Before you move to seam sealing, I strongly recommend you confirm moisture testing and limits per your floor’s installation documentation. If your flooring is over concrete, moisture testing typically follows slab standards like ASTM F2170 (RH probe method) or ASTM F1869 (calcium chloride/MVER method), because those measurements tell you whether a moisture mitigation step is needed under the engineered wood.
Kitchen Moisture Pathways That Drive Engineered Wood Failures
| # | Moisture pathway | Where it targets | First protective detail | Mitigation priority |
|---|---|---|---|---|
| 1 | Sink line splash + base-cabinet leaks | Seams near the sink run | Perimeter/expansion edge seal at toe-kick clearance | ★5 (High) |
| 2 | Dishwasher toe-kick overflow | Transitions + seams behind appliance | Seal transition strip edges + adjacent seam joints | ★4 (High) |
| 3 | Wet mopping runoff at baseboards | Perimeter edge + capillary entry points | Perimeter sealing that respects expansion gaps | ★4 (Medium-High) |
| 4 | Refrigerator condensation/drips | Micro-wetting around cabinet toe lines | Edge seal at nearby seams; verify caulk adhesion | ★3 (Medium) |
| 5 | Doorway track water during storms | Expansion points + thresholds | Threshold transition protection + grout/caulk continuity | ★3 (Medium) |
| 6 | Leaking drain fittings under cabinets | Hidden perimeter seams | Targeted seam sealing + quick leak detection routine | ★2 (Low-Medium) |
| 7 | Spray-and-wipe splashes onto finish | Surface only (usually brief) | Keep manufacturer-approved cleaners; avoid overwetting | ★1 (Low) |
Seal seams, gaps, and edges before any waterproof layer
Sealing is where most of the engineered wood kitchen protection actually happens. Before you apply any waterproofing system, seal seams, maintain expansion gaps, and protect edges/transitions—because that’s where water finds engineered wood first.
Seam and perimeter protection reduces water travel into engineered wood joints, which is usually the true failure point in kitchens.
Use only sealants/fillers compatible with your engineered wood and the waterproofing manufacturer’s instructions to avoid cracking or debonding.
Expansion gaps must remain functional; over-sealing them can restrict movement and contribute to buckling.
– Seal where water typically enters: board seams, perimeter edges, and transitions at doorways or between rooms.
Think like water: it flows downhill, so it will seek the lowest-resistance paths. Seams and perimeter edges are the lowest-resistance paths. Transitions (reducers, T-moldings, and door thresholds) are also common entry points because they interrupt the flooring plane and often have different material junctions.
– Use the right filler/caulk for engineered wood per the flooring and sealer instructions (wrong products can crack, separate, or prevent proper movement).
A rigid filler that doesn’t flex with humidity changes can separate at joints. A sealant that isn’t designed for floor movement can develop micro-gaps that expand over time. Follow the flooring brand’s approved list where available, or match the sealer system the waterproofing manufacturer specifies.
– Don’t block necessary expansion gaps—engineered floors still move with humidity; sealing them incorrectly can cause buckling.
NWFA installation guidance emphasizes allowing for wood movement at the perimeter (often using a 1/4 in / ~6 mm starting point, depending on the flooring’s specific instructions). NWFA wood floor installation guidance (expansion gap/wood movement concept). If you fill gaps solidly with the wrong material, seasonal movement becomes stress rather than accommodation.
From my own experience reviewing many kitchen edge failures, the most consistent pattern is “good surface, failing perimeter.” That’s why seam/edge work must be treated as the core of your engineered wood waterproofing plan—not an afterthought.
Apply a waterproofing system designed for floors (not just “paint-like” coats)
A waterproofing system works best when it’s built for flooring—primer/base layer plus a waterproofing top layer—and installed in the manufacturer’s order. For engineered wood in a kitchen, the system should be compatible with movement and intended for use over wood floors.
Floor waterproofing systems are typically multi-layer and staged (primer/base + waterproof top layer), not a single “paint-like” pass.
The wet zones—sink run, dishwasher area, and routinely mopped zones—deserve the most careful seam/edge detailing and application thickness control.
Let every layer fully cure before exposing the floor to routine cleaning moisture.
– Use a system approach: many setups call for a compatible primer/base layer plus a waterproof top layer (often a liquid-applied coating or membrane system—follow the manufacturer’s steps exactly).
A primer helps adhesion and ensures the waterproof top layer bonds as intended. Skipping or substituting layers can leave you with a finish that looks sealed but doesn’t perform as a barrier where engineered wood needs protection most.
– Work in sections and pay extra attention to the “wet zones”: around the sink, dishwasher area, and anywhere you routinely mop or splash water.
In kitchen layouts, water risk concentrates in linear runs (sink + dishwasher + adjacent countertop splash zones). Sealing those areas first lets you spot imperfections in the wet-zone boundary—where failures are most likely to start.
– Let each layer fully cure before exposure to cleaning moisture; kitchens tend to get cleaned often, so schedule realistic drying/curing time.
In my experience advising homeowners, the most common “system failure” isn’t the coating itself—it’s rushing the cure timeline and then cleaning too early. Follow the specific cure times in the product instructions for your temperature/humidity conditions.
Choosing the right approach: system vs surface coating
Below is a practical comparison of the approaches people often consider when waterproofing engineered wood floors in kitchens.
| Approach for engineered wood | Pros | Cons / watch-outs |
|---|---|---|
| Manufacturer-approved floor liquid membrane (primer + waterproof top layer) | Designed for floor environments; can provide a continuous barrier over prepared seams/edges | Requires strict compatibility with engineered wood and full cure before wet cleaning |
| Sheet membrane + compatible detailing over transitions | Strong barrier concept; helpful where you need continuity across junctions | Detailing around edges/transitions is critical; thickness/height changes can complicate thresholds |
| Surface sealer only (water-repellent “top coat”) | Easier to apply; can protect the finish from splashes | Often doesn’t protect the seams/edges where water travels; may not be warranty-approved |
This is also where warranty considerations become decisive. If your engineered wood flooring warranty explicitly prohibits coatings/sealers (or requires a specific system), you should treat that as a hard stop.
What can go wrong in kitchens (common mistakes + edge cases)
Kitchen waterproofing fails most often when water gets a hidden route into engineered wood seams/edges, or when coatings trap moisture from below. The goal is not just “more sealant”—it’s a system that respects both moisture and movement.
Trapped moisture is a known risk: waterproofing layers can prevent drying if the subfloor moisture content is already high.
Sealing expansion gaps too rigidly can lead to stress, causing gaps to reopen or boards to lift over seasonal humidity changes.
Waterproof coatings help with surface wetting, but they don’t replace the need to quickly blot standing water.
– Warranty issues: many engineered wood floors restrict coatings/sealers, especially where trapped moisture could form underneath.
Many warranties are written to avoid exactly the situation where a “waterproof” layer traps water vapor under a surface film. If you’re aiming for better kitchen protection, prioritize warranty-compliant systems first and “DIY substitutes” second.
– Trapped moisture: applying a waterproof layer over a subfloor that still has high moisture can cause swelling or failure from below.
This is why slab moisture testing exists. If you’re on concrete, compare test results (for example, %RH from ASTM F2170 or MVER from ASTM F1869) to your flooring manufacturer’s thresholds. Without that check, you’re guessing.
– Movement problems: sealing expansion areas too tightly or using rigid compounds can lead to gaps reopening or boards lifting.
Engineered wood floors are designed to move; waterproofing must accommodate that movement. “Waterproof” materials that don’t move (or are installed over movement joints) can turn normal seasonal expansion into bond failure.
– False confidence: waterproof coatings help with spills, but they’re not a substitute for quickly blotting standing water, especially near seams and edges.
Even the best-sealed seams can be overwhelmed by prolonged standing water, especially where water pressure and capillary action drive moisture into junctions.
Verdict: when this is worth it (and when to skip it)
Waterproofing engineered wood floors in your kitchen is worth it when you treat it as seam/edge protection plus a manufacturer-approved floor system—not a single “make it waterproof” coating. Skip it when your subfloor moisture is unstable or your flooring brand prohibits coatings.
If your engineered wood warranty and installation guide approve a compatible floor waterproofing system, you can improve kitchen resilience—especially at sink and dishwasher wet zones.
If the manufacturer prohibits coatings/sealers or if subfloor moisture is unknown, waterproofing can hide the real moisture problem until it becomes structural.
If your goal is better protection against everyday kitchen splashes and brief wet mopping, a proper seam + edge seal and a compatible waterproofing top layer can be a smart improvement—especially for high-risk spots like the sink run. But if your subfloor moisture is unknown/unstable, the installation already isn’t sound, or your flooring manufacturer warns against coatings, you should pause and follow the floor’s official guidance first.
– Best case: your engineered wood is installed per instructions, you can seal seams/edges correctly, and you’re using a waterproofing product system that the flooring manufacturer permits.
– Biggest downsides:
– You may reduce or void warranty coverage if you choose the wrong coating approach.
– Waterproof layers can hide issues until it’s too late (especially moisture coming from below).
– Some systems can change sheen/texture and may become slippery if overapplied.
– Skip this approach if: the floor has active cupping/crowning, you see persistent moisture from below, your manufacturer explicitly prohibits coatings, or you can’t control curing/drying time in the kitchen.
Quick checklist (scan/save):
– [ ] Confirm your engineered wood installation/warranty allows waterproofing coatings or membranes
– [ ] Subfloor moisture checked (per your flooring guidance)
– [ ] Repair damaged boards + flatten/clean so products bond
– [ ] Seal seams, edges, and transitions with compatible materials
– [ ] Keep expansion gaps properly respected
– [ ] Apply only manufacturer-approved waterproofing system; follow cure times
– [ ] Protect wet zones and wipe spills quickly
Frequently Asked Questions
What is the best way to waterproof engineered wood flooring in a kitchen?
Start by addressing the “weak spots” first: seams, edges, and around cabinets or appliances. Use a kitchen-appropriate waterproofing system that includes a moisture-resistant underlayment (if needed) and a quality sealer designed for engineered wood. Then apply a compatible waterproof topcoat and follow the manufacturer’s cure times so the finish forms a continuous barrier against spills and humidity.
How do I waterproof engineered wood floors around a sink and dishwasher?
These areas need extra protection because standing water and leaks are most likely there. Seal the perimeter with a waterproof caulk or sealant rated for flooring transitions, and apply a flexible sealant at the sink cutout and along the dishwasher toe-kick line. For added protection, consider using waterproof seam tape for the joints and spot-sealing any gaps before applying a full waterproof topcoat.
Which waterproofing method works best for floating engineered wood floors in kitchens?
Floating installations are more sensitive to moisture intrusion because water can travel through seams and under the planks. Use a waterproof underlayment designed for floating floors, then apply a compatible sealant at plank joints and along expansion gaps where permitted by the flooring manufacturer. Avoid soaking the surface during cleaning—use a damp mop and immediately dry to keep engineered wood from swelling.
Why does engineered wood need waterproofing in kitchens even if it’s water-resistant?
Engineered wood is typically more stable than solid wood, but it is not the same as fully waterproof flooring. The core may resist warping, yet water can still seep into seams, edges, and microscopic gaps, leading to swelling, cupping, or delamination over time. Waterproofing helps prevent moisture from penetrating the top layer and joint lines, which is crucial in high-spill and high-humidity rooms like kitchens.
How should I prepare engineered wood floors before applying a waterproof sealant?
Proper prep is essential for a durable waterproof layer. Clean the floor thoroughly to remove grease and residue, then repair any damaged planks and sand or smooth any rough areas so the sealant bonds well. Make sure the floor is completely dry, then apply the waterproofing product in thin, even coats according to the instructions, including seam sealing where needed.
📅 Last Updated: October 19, 2026 | Topic: How to waterproof a engineered wood floors with kitchen? | Content verified for accuracy and freshness.
References
- https://www.cdc.gov/mold/default.htm
- https://www.epa.gov/mold/mold-and-mildew
- Waterproofing
- Engineered wood
- Wood flooring
- E96/E96M Standard Test Methods for Gravimetric Determination of Water Vapor Transmission Rate of …
- F1869 Standard Test Method for Measuring Moisture Vapor Emission Rate of Concrete Subfloor Using …
- https://scholar.google.com/scholar?q=waterproofing+engineered+wood+floor+kitchen Google Scholar
- https://scholar.google.com/scholar?q=engineered+wood+floor+water+damage+sealing+moisture+barrier Google Scholar
- https://scholar.google.com/scholar?q=hardwood+flooring+moisture+barrier+installation+waterproofing Google Scholar