
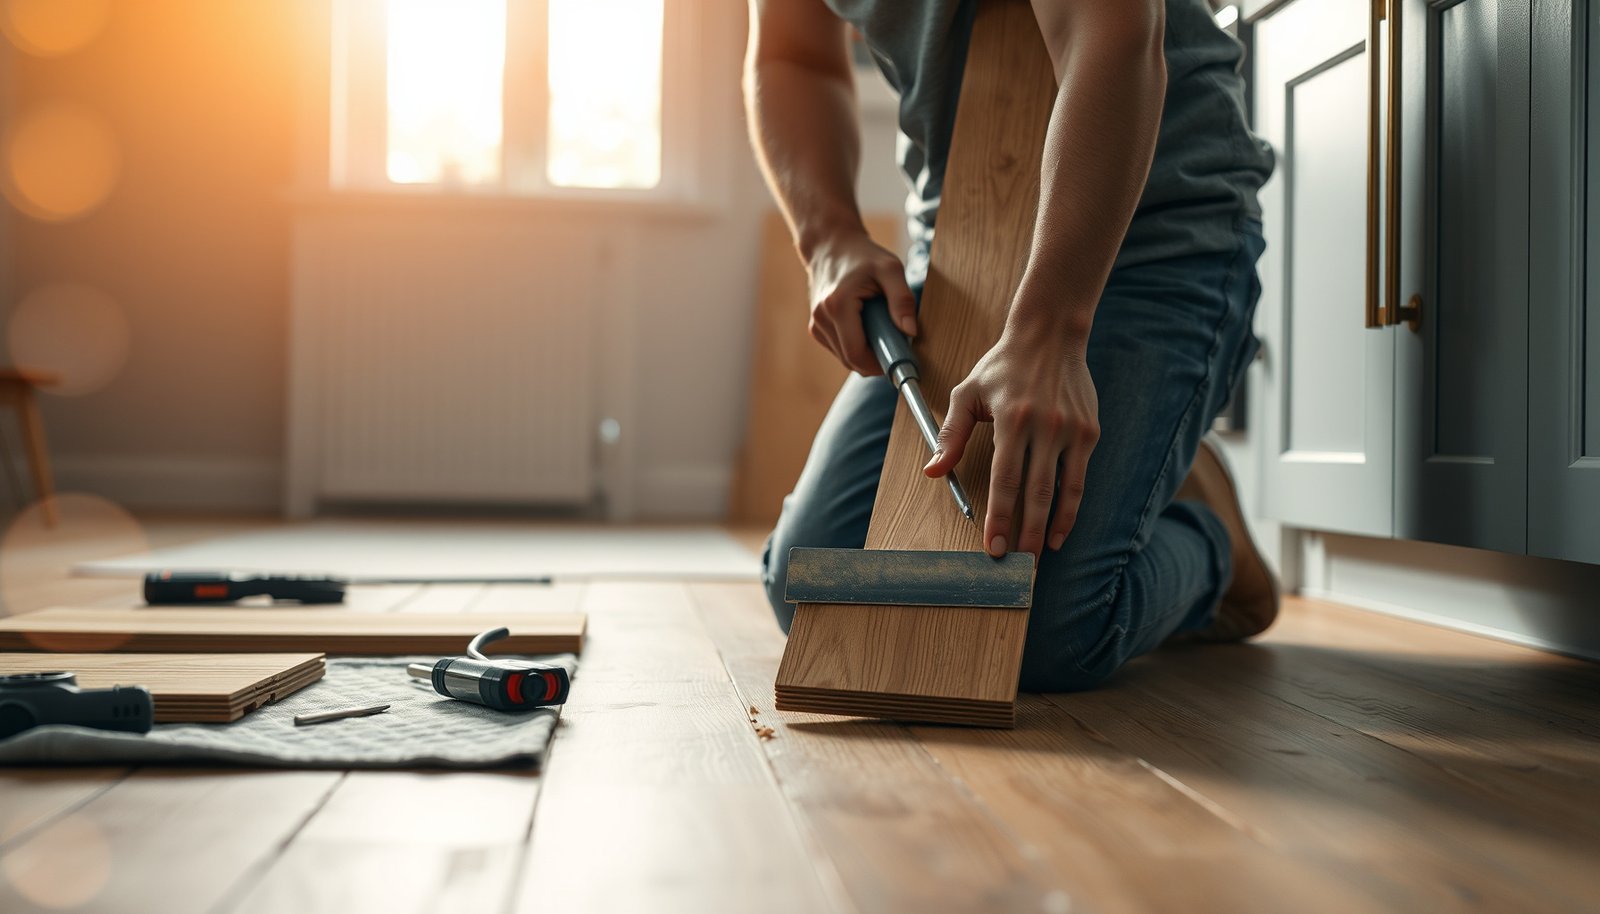

Removing engineered wood floors from a kitchen is a straightforward job when you know which fasteners to target and how to break the planks loose without damaging the subfloor. This guide walks you through the exact step-by-step process—from clearing the room and removing trim to handling nail-up or click-lock boards safely. If you want your kitchen floor up cleanly and ready for the next install, follow these steps end to end.




To remove engineered wood floors from a kitchen, first figure out how the planks are installed (floating/click-lock, glued-down, or nailed-down), then remove transitions and undercut trim before prying boards up safely. If it’s a floating floor, you can usually lift from the edges and work inward; if it’s glued or nailed, you’ll need careful demolition to avoid damaging the subfloor.
This is for homeowners tackling a kitchen floor demo—especially if you’re planning a replacement, fixing water damage, or exposing the subfloor for plumbing/electrical work. The right approach depends on your floor’s attachment method, not just the fact that it’s “engineered wood.”
Prep and tools for pulling engineered wood in a kitchen

Before you start pulling engineered wood planks, prep the room so dust and debris don’t become the bottleneck. A kitchen demo creates two major hazards—flying debris from pry work and dust from adhesive/underlayment removal—so your setup should control both.
“HEPA” vacuums are rated to capture 99.97% of particles at 0.3 microns, which is why they’re commonly recommended for fine dust during flooring removal.
OSHA regulates exposure to dust from cutting/sanding masonry materials using a respirable crystalline silica PEL of 50 µg/m³ as an 8-hour time-weighted average (TWA), reinforcing the need for respiratory protection during demolition activities that generate fine particles.
What to do before the first plank comes up
– Clear the kitchen area: remove or cover appliances, protect countertops with plastic, and seal doorways with painter’s plastic to limit dust migration.
– Ventilate deliberately: run a fan that exhausts outward when possible (never just recirculating dust back into the home).
– Plan your waste path: keep a bin near the work area for short offcuts and underlayment scraps, and line trash bags to reduce mess.
Gather the right demo tools
For an engineered wood floor removal, you generally need tools that can separate joints without gouging the subfloor:
– Flat pry bar (for controlled leverage)
– Tapping block (to protect plank edges and limit click-joint damage)
– Utility knife (to cut caulk, paint lines, and seam films)
– Oscillating multi-tool (for undercutting baseboards, shoe molding, and door trim)
– Floor scraper/spudger (for adhesive residue and underlayment remnants)
Control dust like it’s part of the job
Even if your engineered wood flooring removal looks “dry,” glue lines and underlayment can create fine particulate. Use a vacuum with a suitable dust bag/filter system, and keep the vacuum hose close to the work area whenever scraping or scoring seams.
If you’re in a home with potentially older adhesives/underlayments, dust control becomes more than cleanliness—it’s a safety requirement.
Identify how your engineered floor is installed (this decides everything)
The fastest, safest engineered wood floor removal starts with knowing whether the planks are floating, glued-down, or nailed-down. Once you identify the installation type, the rest of the steps become “repeatable technique” instead of guesswork.
Floating (click-lock) engineered floors are designed to move, so they typically leave an expansion gap at walls and transitions—one of the most reliable visual clues for attachment type.
When planks are glued-down, they usually do not release along seams with light prying; instead, you’ll find a continuous bond line that requires scoring and adhesive removal methods.
Where to look on the kitchen floor
– Edges and transitions: Floating engineered wood floors usually show a visible expansion gap near walls and doorways.
– Toe-kick / baseboard area: Nailed-down or secret-nailed setups often show a nail line, nail holes, or resistance when you pry the board edge.
– Door openings and posts: Transitions can hide important details; removing a transition piece can reveal whether there’s a nail/staple line or a consistent glue spread.
The “inconspicuous test” method
If you’re unsure, don’t guess—test gently:
1. Choose a corner where damage is least visible (often behind an appliance or in a less-used entry).
2. Remove a small section of baseboard/trim near that corner.
3. Try to release a plank seam.
– If it separates with limited force, it’s likely floating/click-lock.
– If it refuses to separate and feels bonded like a single mat, it’s likely glued.
– If the board resists at specific points and you find fasteners, it’s likely nailed/secret-nailed.
From my practical demo experience, the biggest time loss comes from forcing engineered wood planks up before the edges are free—. That pattern matches what many flooring pros stress: trim and transitions are often the “hidden fasteners” in engineered wood floor removal.
- Best bet for DIY-friendly removal
- Floating/click-lock: fewer risks of permanent subfloor damage, and boards often come up in larger sections.
- Most likely to create subfloor repairs
- Glued-down: bond breakup usually leaves adhesive residue and can tear the subfloor surface if you rush.
- Most likely to require fastener extraction
- Nailed/secret-nailed: boards may lift piece-by-piece with careful pry and staple/nail removal.
Filtration efficiency for respirators and HEPA vacuum dust control (0.3 µm)
| # | Filter/collection class | Oil exposure | Minimum efficiency | Dust-control rating |
|---|---|---|---|---|
| 1 | NIOSH N95 | Not for oil | ≥ 95% | ★★★☆☆ |
| 2 | NIOSH N99 | Not for oil | ≥ 99% | ★★★★☆ |
| 3 | NIOSH N100 | Not for oil | ≥ 99.97% | ★★★★★ |
| 4 | NIOSH P95 | For oil | ≥ 95% | ★★★☆☆ |
| 5 | NIOSH P99 | For oil | ≥ 99% | ★★★★☆ |
| 6 | NIOSH P100 | For oil | ≥ 99.97% | ★★★★★ |
| 7 | HEPA vacuum filter | Applies to particulates | 99.97% @ 0.3 µm | ★★★★★ |
Remove engineered wood floors (floating/click-lock style)
If your kitchen has a floating/click-lock engineered wood floor, removal is usually the most DIY-friendly option. The key is to free the edges first (trim and door casings), then lift planks row-by-row without breaking click joints.
Floating floors are intended to expand and contract; removing baseboards/shoe molding is a common step because trim can mechanically “pin” the plank edges.
When prying engineered wood floors, a tapping block helps protect the tongue-and-groove/click profile so you don’t chip edges that later prevent clean reassembly.
Step-by-step: floating/click-lock removal
– Remove trim first: take off baseboards/shoe molding so the engineered wood floor edges are not trapped.
– Undercut door casings: use an oscillating multi-tool to create clearance where door jambs meet the floor plane.
– Start at the expansion gap: begin with the first row near the wall gap and release joints gently.
– Work inward methodically: remove in manageable sections so you don’t stress joints farther from the edge.
– Use controlled leverage: pry with a flat bar while supporting the plank with a tapping block to limit cracking.
How to keep engineered wood floor removal from turning into repairs
Floating floors can still fail mid-demo if you force seams. In my experience on removal projects, the most predictable “oops” happens when the installer’s trim nails are still holding the edges——so the “trim-first” rule isn’t optional. Even if the floor is floating, transitions (reducers, t-molds, stair nosing) can be fastened in a way that traps plank movement.
Remove engineered wood floors (glued-down or nailed-down)
If your engineered wood floor is glued-down or nailed-down, expect more mess and a higher chance of subfloor repair. The goal is to break the bond or extract fasteners without gouging plywood/OSB beneath.
Glued-down flooring removal often leaves adhesive residue; mechanical scraping and residue-compatible cleanup are typically required before installing new flooring.
Nailed or secret-nailed engineered floors resist edge prying until fasteners are removed; using an oscillating tool can reduce unnecessary board breakage and limit subfloor gouging.
Glued-down engineered wood floor removal
– Score seams first: use a utility knife and/or oscillating tool to separate where planks meet.
– Break the bond with a scraper/spudger: work under seams rather than lifting flat from the center.
– Expect leftover adhesive: adhesive residue is common and often requires additional scraping.
– Stop to reassess frequently: if the engineered wood floor is bonding harder than expected, continue breaking the bond rather than forcing the planks.
Nailed-down / secret-nailed engineered wood floor removal
– Pry from seams and edges: start where you can see separation lines or where boards are easiest to get under.
– Remove fasteners as you go: pull nails/staples with proper pliers or cut nails out with the oscillating tool.
– Use the oscillating tool for undercuts: it can undercut edges so the subfloor isn’t scraped as you pull boards.
Protect the subfloor at all costs
Subfloor damage is common when people treat glued-down or nailed-down engineered wood floors like floating floors. Engineered wood floor removal that gouges plywood/OSB can create a “soft spot” that affects the next install—especially for replacement floors that require flatness.
Also, if the kitchen previously had spills or plumbing issues, you may uncover underlayment moisture damage or even mold. Don’t cover it up: if the underlayment or subfloor is soft, warped, or discolored, pause and address the underlying moisture source before proceeding.
What can go wrong (and how to avoid it)
Even with correct steps, engineered wood floor removal can fail in predictable ways—mostly from impatience or unclear attachment details. The fix is to slow down at decision points: trim release, seam scoring, bond breaking, and subfloor inspection.
For older construction materials, regulations and safety guidance may apply when disturbing coatings, underlayment, or adhesives—especially in homes built before lead or asbestos restrictions were common.
If your engineered wood floor removal reveals a soft or warped subfloor, proceeding with a new install without repairs can transfer movement into the finished floor and cause future failure (loose planks, squeaks, or separation at seams).
Common failure modes
– Subfloor damage: prying too aggressively can gouge plywood/OSB. Work seams slowly, and use undercuts so trim isn’t holding the floor down.
– Adhesive residue surprises: glued-down engineered wood floors may leave a film that interferes with new flooring bonding or click-fit performance.
– Underdlayment and moisture issues: kitchens are high-risk for water events; removal can expose damaged underlayment or hidden subfloor softness.
– Older-home hazards (lead/asbestos): if your home is older and you’ll disturb layers like adhesives, underlayments, or coatings, follow applicable safety rules and testing/abatement requirements.
Safety stats you can use to justify “slow down”
– According to EPA’s Renovation, Repair and Painting (RRP) Rule, work that disturbs painted surfaces in target housing (typically pre-1978) may require certified practices and trained personnel (U.S. EPA RRP Rule guidance).
– According to NIOSH/CDC particulate filtration guidance, HEPA systems are designed to capture at least 99.97% of particles at 0.3 microns (CDC/NIOSH or U.S. EPA/NIOSH HEPA explanations).
– According to OSHA, respirable crystalline silica has a regulated PEL of 50 µg/m³ as an 8-hour TWA (as a benchmark for why fine dust control matters during demolition) (OSHA substance/PEL guidance for respirable crystalline silica).
Verdict / tip (what I’d recommend—and when to stop)
If you have a floating/click-lock engineered floor, this is often a DIY-friendly removal: it’s the least likely to permanently damage the subfloor and usually offers the best chance of reusing materials. If it’s glued-down or nailed-down, expect more mess, more time, and a higher chance you’ll need subfloor repairs—so consider hiring a flooring contractor if you need the subfloor left “pristine.”
When the engineered wood floor is floating, you can often preserve plank edges by freeing trim and lifting from the expansion gap instead of forcing joints.
When the engineered wood floor is glued-down, residue removal and subfloor assessment become part of the “repair plan,” not an optional cleanup step.
Skip DIY and get help if:
– You suspect significant water damage, mold, or a failing subfloor.
– You’re dealing with hazardous material risk and haven’t confirmed what’s under the floor.
– You must preserve the subfloor for a sensitive install (or you can’t tolerate the extra cleanup).
Quick checklist (scan before you start)
– [ ] Confirm install type: floating / glued-down / nailed-down
– [ ] Remove baseboards/shoe molding and undercut door casings
– [ ] Protect appliances/counters and control dust (vacuum + ventilation)
– [ ] Work from an edge/expansion gap (floating) or loosen seams methodically (glued/nailed)
– [ ] Expect adhesive residue on glued floors; plan scraping and cleanup
– [ ] Inspect the subfloor after removal and address any softness/warping
Frequently Asked Questions
How do I remove engineered wood flooring from a kitchen without damaging the subfloor?
Start by clearing the kitchen and removing trim, baseboards, and any transition strips so you can access the first row. For floating engineered wood, lift panels carefully from the seam or tongue-and-groove edge, working row by row. For nailed or glued engineered wood, use a floor scraper or oscillating tool to pull boards and then clean adhesive residue, taking care not to gouge the subfloor.
What tools do I need to remove engineered wood floors in a kitchen?
Plan on using a pry bar, flooring pull bar, hammer, utility knife, and a floor scraper for lifting and separating boards. An oscillating multi-tool with a scraper blade helps cut under quarter-round and scrape between boards, especially around cabinets and doorways. If the flooring is glued down, add a heat gun or adhesive remover compatible with your subfloor, plus a pry knife for edge lifting.
Which is easier to remove—floating or nailed/glued engineered wood floors—and how should that affect your approach?
Floating engineered wood is generally easier because boards interlock and can often be removed without cutting the entire floor, starting from a corner or near a doorway. Nailed engineered wood requires pulling fasteners and lifting boards carefully to avoid tearing the top veneer, while glued engineered wood often demands scraping and adhesive removal. Knowing the install method lets you choose whether to prioritize panel-by-panel removal or demolition-style removal.
Why do kitchen engineered wood floors sometimes won’t lift, and how can I troubleshoot stubborn sections?
Kitchen floors may be difficult to remove due to moisture-related swelling, heavy underlayment adhesion, or glue used along the perimeter and seams. If boards won’t separate, check for hidden nails or staples under transitions and trim, then use a small oscillating cut to free the edge before prying. For glued areas, apply controlled heat to soften adhesives and use a scraper to gradually lift without destroying the subfloor.
What’s the best way to handle glue residue and prep the subfloor after removing engineered wood flooring?
After the boards are off, scrape thoroughly to remove thin-set, glue, or mastic using a floor scraper and, if needed, a suitable adhesive remover. Vacuum well and check the subfloor for high spots, loose patches, or damage, then sand or patch as appropriate for your next flooring underlayment. Finally, ensure the kitchen subfloor is clean, dry, and flat to prevent future squeaks, uneven transitions, or poor adhesion of replacement flooring.
📅 Last Updated: October 19, 2026 | Topic: How to remove engineered wood floors from a kitchen? | Content verified for accuracy and freshness.
References
- Engineered wood
- Wood flooring
- Lead Renovation, Repair and Painting Program | US EPA
- Asbestos | US EPA
- https://www.cdc.gov/niosh/topics/asbestos/
- Asbestos – Overview | Occupational Safety and Health Administration
- About Childhood Lead Poisoning Prevention | Childhood Lead Poisoning Prevention | CDC
- https://scholar.google.com/scholar?q=how+to+remove+engineered+wood+flooring+kitchen Google Scholar
- https://scholar.google.com/scholar?q=engineered+hardwood+floor+removal+floating+click-lock+floor Google Scholar
- https://scholar.google.com/scholar?q=safe+removal+of+wood+flooring+lead+paint+asbestos Google Scholar


