
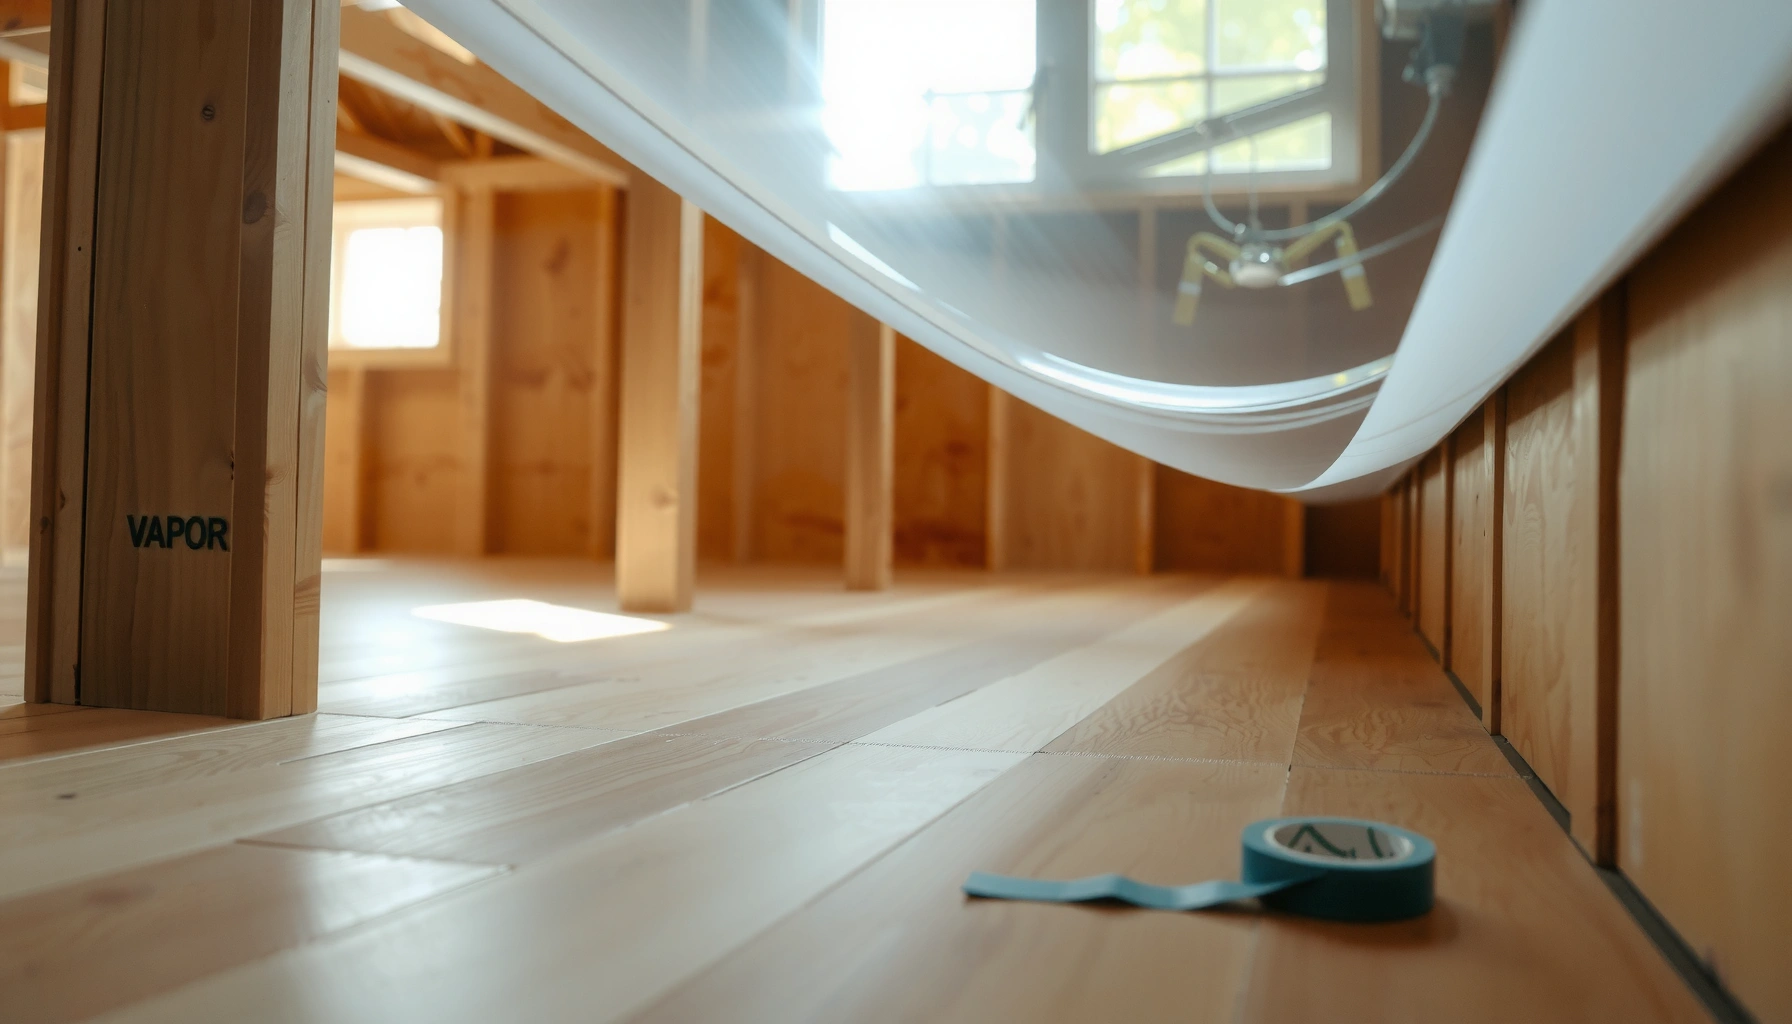

Installing a vapor barrier under engineered wood floors is the fastest way to stop moisture from damaging your subfloor and warping your planks. Follow the right order—prep the subfloor, install and tape the barrier correctly, then set your floating or nailed-down flooring—so you get maximum moisture protection without trapping water. This guide answers exactly how to install it step by step, including what materials to use and where mistakes most often happen.




Install a vapor barrier directly under the engineered wood with lapped, sealed seams so moisture can’t migrate upward into the flooring system. Start by confirming your subfloor condition and moisture needs, then roll the barrier out flat, tape the overlaps, and keep edges secure and properly trimmed at walls and transitions—so you don’t accidentally trap moisture where it shouldn’t be.
This guide is for homeowners and DIYers installing engineered wood over concrete or other moisture-prone subfloors, especially when dampness control is a concern. If your subfloor already has an attached pad, or if your manufacturer requires a different underlayment system, you’ll want to verify those instructions before you install any separate vapor barrier.
Check manufacturer requirements and subfloor moisture
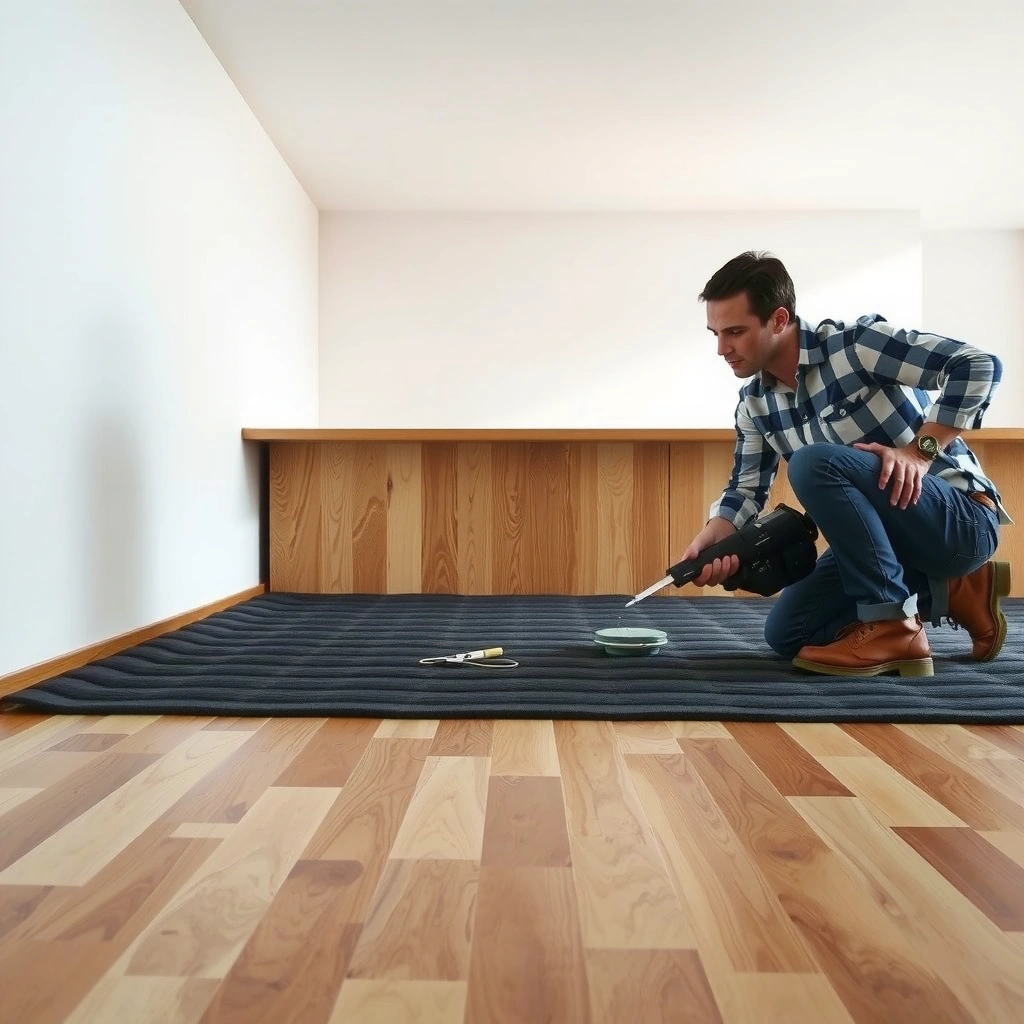
You’ll avoid the biggest vapor-barrier mistakes by checking your engineered wood’s installation requirements and then verifying the subfloor moisture conditions first. The correct barrier plan depends less on “what’s common” and more on the flooring system’s warranty rules and the moisture behavior of the slab or subfloor you’re covering.
Most engineered wood manufacturers specify whether a separate vapor retarder is required or prohibited, and they also name the acceptable materials and placement details.
ASTM E1745 defines vapor-retarder “classes” by permeance (how easily water vapor passes), which is the technical basis behind many installation instructions.
Moisture testing methods for concrete (such as RH testing per ASTM F2170) are commonly required before installing moisture-sensitive floor finishes.
What to verify in the flooring documentation
– Review the engineered wood flooring specs for whether a separate vapor barrier is required (and any thickness/type they permit).
– Look specifically for language about:
– vapor retarder placement (underlayment vs. direct-to-subfloor),
– seam taping requirements,
– whether attached underlayment changes the need for an additional barrier,
– and any “do not use” underlayment combinations.
Determine your subfloor type and moisture approach
– Determine the subfloor type (e.g., concrete slab vs. wood subfloor) and use the moisture approach required for that surface.
– Concrete slabs typically need a vapor retarder plan when they’re moisture-prone, while wood subfloors often require moisture management differently (ventilation, crawlspace control, and subfloor dryness).
Inspect and prepare before you ever roll out plastic
– Inspect for defects first: patch cracks, fill low spots, and address anything that would prevent the barrier from lying flat.
– Ensure the surface is clean and dry enough for the barrier to adhere properly (especially at any spots where you’ll rely on tape or compatible fastening).
Choose the right vapor barrier material and thickness
The right vapor barrier is the one your flooring manufacturer allows—because “effective” usually means “classified and compatible with the system.” In most engineered wood installs over concrete, that means a polyethylene vapor retarder, but seam sealing and placement details matter as much as the base material.
ASTM E1745 categorizes vapor retarders by permeance; Class I is typically the “low-perm” category installers look for under flooring systems.
A vapor barrier only works as a continuous system if the sheet seams are overlapped correctly and sealed with compatible tape.
In practice, barrier thickness affects durability, but the permeability class (perm rating) is what determines moisture-blocking performance.
Vapor retarder classes (what the perm ratings mean)
According to ASTM E1745, vapor retarder classes are defined by permeance:
– Class I: ≤ 0.1 perms
– Class II: 0.1–1.0 perms
(These cutoffs are the technical anchor for many “which barrier should I use?” decisions.)
Thickness: use what matches both specs and durability needs
– Select a vapor barrier rated for flooring use (often a polyethylene sheet).
– Common roll products are around 6 mil (0.006 in / ~0.15 mm), but always defer to your flooring manufacturer’s allowed thickness range.
– Durability matters during installation: thinner film tears more easily when tools, shoes, and transitions press down.
Seam/tape compatibility is not optional
– Verify seam/tape compatibility: the barrier and tape should be designed to seal together so overlaps don’t open over time.
– If the tape isn’t compatible, you can end up with seams that look sealed but don’t actually bond as intended.
Plan layout before you cut
– Plan your layout by measuring the room and deciding how you’ll orient sheets to minimize cutting near walls and tricky corners.
– The goal is fewer seam lines, straighter lapping, and easier trimming—because every extra seam is another potential leak path.
Common Vapor Retarder Options for Engineered Wood Over Concrete
| # | Vapor retarder type | Typical thickness | ASTM E1745 class (common) | Seal reliability | Practical best use | Fit for “DIY seam accuracy” |
|---|---|---|---|---|---|---|
| 1 | Clear polyethylene (sheet) | 6 mil | Class I | ★★★★☆ | Standard concrete slabs | High |
| 2 | Reinforced polyethylene (tear-resistant) | 8 mil | Class I (commonly) | ★★★★★ | Higher-traffic installs | High |
| 3 | Laminated multi-layer film | 4–6 mil | Class I/II (varies) | ★★★☆☆ | When specified by floor system | Medium |
| 4 | Underlayment with integrated vapor control | System-dependent | Varies by product | ★★★★☆ | When required as a matched system | High |
| 5 | Foil-faced vapor retarder (laminated) | 1–3 mil | Often Class I | ★★★☆☆ | When allowed by the floor manufacturer | Medium |
| 6 | Liquid-applied moisture-control coating | Film build varies | System-specific | ★★★☆☆ | When specifically specified for flooring | Lower |
| 7 | “Any plastic you have” (not recommended) | Unknown | Unknown | ★☆☆☆☆ | Only if approved by documentation | Low |
Prep the subfloor so the barrier lies flat
A vapor barrier can’t protect well if it’s wrinkled, bridged by debris, or punctured by raised imperfections. Your goal is a smooth, clean, dry surface so the sheet lays flat and supports a continuous sealed plane.
For vapor retarders, a key performance requirement is continuity—wrinkles and gaps create unintended pathways for water vapor.
Concrete surface irregularities can create voids or stress points where polyethylene films tear during flooring installation.
Most tape-seaming systems rely on proper surface cleanliness so the adhesive can form a durable bond.
Surface cleaning and defect correction
– Remove debris, ridges, and sharp protrusions; a smooth surface prevents punctures and creates better sealing at seams.
– Address high spots or uneven areas that could leave gaps under the sheet.
– If the barrier needs a clean, dry surface to perform properly, let the subfloor reach the required condition before installation.
Confirm moisture testing (when it’s required by spec)
If your flooring documentation requires moisture testing of the concrete, follow the specified method (commonly RH testing per ASTM F2170 or calcium chloride testing per ASTM F1869), and don’t proceed until results meet the manufacturer’s limits.
Lay the vapor barrier correctly (seams, overlaps, edges)
You install the vapor barrier successfully by treating seams as the “real barrier,” because most failures come from seam leakage or barrier damage—not from the film itself. Roll it out flat, overlap in the correct direction, and seal every seam with the recommended tape.
A polyethylene sheet only functions as a vapor retarder when overlapped and sealed; unsealed seams are a predictable leak path.
Keeping the barrier flat reduces stress points that can lead to micro-tears during plank installation.
Perimeter detail matters: where edges lift or shift, seams can open and moisture can bypass the barrier.
Roll out flat and cut cleanly
– Roll out the sheet so it lies flat with no wrinkles; cut to fit around obstacles, leaving space to trim neatly at walls.
– Use careful measuring so you avoid running seams directly under door thresholds or other high-stress transition areas (unless your system’s design allows it).
Overlap seams and tape them the right way
– Overlap seams and seal them using the recommended tape; avoid “taping over gaps” that can compromise the seal.
– Ensure overlap is consistent across the room—random overlap sizes are harder to verify and can lead to weak points.
Secure edges to prevent creeping
– Secure edges and keep the barrier from creeping—especially near doorways and perimeter areas—so it doesn’t shift when boards go down.
– After trimming, maintain the right wall spacing. Excess film bunching can interfere with expansion gaps and transitions.
Protect the barrier during and after wood installation
Even a correctly taped barrier can fail if it’s punctured or blocked by an incompatible underlayment plan. Protect the film during installation, confirm the layering stack-up matches your manufacturer’s requirements, and finish with clean trim work.
Protecting the vapor barrier from punctures is critical because a continuous vapor retarder becomes a patchwork barrier after tears.
Many engineered wood systems require specific underlayment combinations; adding extra layers can conflict with the flooring warranty.
Perimeter trimming affects expansion space—improper edge treatment can create movement restrictions and gapping issues.
Prevent punctures while you work
– Avoid punctures while installing (don’t drag tools across the film); keep shoes and work gear from tearing the sheet.
– If you must walk on it, distribute weight and plan where you step.
Don’t accidentally double up layers
– Use the underlayment/bottom requirements that pair with your flooring—don’t accidentally double up or block required airflow if the manufacturer says otherwise.
– If your system already includes an attached pad or vapor control layer, a separate barrier may be redundant or explicitly prohibited.
Trim excess cleanly after the floor is down
– Trim excess cleanly after flooring is installed so you maintain the correct wall spacing and don’t create bunching that affects transitions.
What can go wrong (and how to avoid it)
Most vapor-barrier problems trace back to predictable installation errors: skipped seam sealing, installation over an unprepared slab, barrier conflicts with attached pads, or physical damage to the film. Fix those four areas and your risk drops substantially.
Unsealed overlaps are the most common failure point for moisture intrusion under plastic-sheet vapor retarders.
Installing a vapor retarder over a slab that is still releasing moisture can trap moisture in the wrong layer, increasing risk of performance issues.
Micro-tears from punctures can turn a “continuous barrier” into multiple small openings that allow moisture movement.
– Skipping overlap sealing: unsealed seams are the most common leak point for moisture intrusion—always tape according to the barrier/flooring guidance.
– Installing over a wet or unprepared slab: if the subfloor is still releasing moisture, the barrier may trap moisture where you don’t want it.
– Barrier conflict with attached pads: some engineered wood has an attached underlayment that may change whether a separate vapor barrier is appropriate. If uncertain, [ADD: source for your flooring’s underlayment/vapor-barrier compatibility rules].
– Wrinkles and punctures: film damage can turn a “continuous barrier” into a set of small openings—inspect for tears before covering.
Verdict: a solid DIY step—if requirements match your flooring
A vapor barrier under engineered wood can be straightforward: prep the subfloor, lay the film flat, seal all seams, and prevent damage during installation. The downside is that if you install the wrong system (wrong material, wrong overlap/tape method, or barrier that contradicts manufacturer instructions), you can create trapped moisture or void warranty requirements—so this is not a place to guess.
If you can’t confirm vapor barrier requirements, if subfloor moisture conditions are unknown, or if your flooring system specifies a different underlayment plan, you should skip this DIY approach and follow pro installation guidance or the manufacturer’s required system. [ADD: source for the specific manufacturer guidance you’re using, or your floor’s warranty excerpt referencing vapor retarder requirements.]
Quick checklist (scan/save)
– [ ] Confirm your engineered wood manufacturer requires (or forbids) a separate vapor barrier
– [ ] Inspect/clean subfloor; patch cracks and flatten high spots
– [ ] Choose vapor barrier type and tape compatible with the sheet
– [ ] Lay barrier flat; cut neatly around obstacles
– [ ] Overlap seams and seal with recommended tape
– [ ] Keep film unpunctured during flooring installation
– [ ] Trim excess and maintain proper wall spacing/transition details
FAQ
Do I need a vapor barrier under engineered wood on concrete?
Often yes, but it depends on your engineered wood manufacturer’s specs and the moisture conditions of the slab. Check the flooring documentation first, then follow the system requirements.
Can I put vapor barrier over a wood subfloor?
Sometimes, but many wood subfloors are handled differently than concrete. The correct answer depends on your flooring instructions and any local moisture/ventilation guidance—[ADD: source for your flooring’s recommended approach over wood subfloors].
What’s the most important step: seams or subfloor prep?
Both matter, but seams are usually the failure point when moisture intrusion happens. Still, if the subfloor is dirty or uneven, the barrier can wrinkle, lift, or puncture—so prep and sealing are equally critical.
Should the vapor barrier go up the walls?
Many installations keep the barrier mostly under the flooring, but height/edge treatment can vary by product and design. Follow your flooring and barrier instructions—[ADD: source for required wall-up detail, if specified].
Sources
– ASTM E1745 — Standard Guide for Specifying Plastic Vapor Barriers and Damp-Proofing Materials
– ASTM F2170 — Standard Test Method for Determining Relative Humidity in Concrete Floor Slabs Using in situ Probes
– ASTM F1869 — Standard Test Method for Measuring Moisture Vapor Emission Rate of Concrete Subfloor Surfaces Using Anhydrous Calcium Chloride
– [ADD: source for your engineered wood flooring manufacturer’s vapor barrier/underlayment requirements—use the exact installation guide for your model]
– [ADD: source for vapor barrier and seam-taping method from the barrier manufacturer’s installation instructions]
A properly installed vapor barrier is less about “covering the floor” and more about maintaining a continuous, sealed moisture-control layer throughout the entire installation. If you verify manufacturer requirements, prep the slab so the film lies flat, overlap and seal seams correctly, and protect the barrier from punctures, you’ll substantially reduce the risk of moisture migrating upward into your engineered wood system.
Frequently Asked Questions
What type of vapor barrier should I use under engineered wood flooring?
Most projects use a 6-mil polyethylene plastic vapor barrier (often 0.15 mm to 0.2 mm), especially for slab-on-grade concrete. If your subfloor already has moisture protection, check your manufacturer’s installation instructions because some engineered wood systems require different underlayment types. For crawl spaces, you may also need a separate, thicker ground vapor barrier below the joists depending on local conditions.
How do I install a vapor barrier correctly under engineered wood floors?
Start by cleaning the subfloor so the plastic lays flat without debris puncturing it. Roll out the vapor barrier with the overlap direction recommended by the sheet manufacturer (commonly 8–12 inches) and tape all seams using a vapor barrier tape, not duct tape. Extend the plastic up to the walls or along the perimeter as directed, then trim excess after installing baseboards/trim so moisture can’t bypass at the edges.
Why do I need a vapor barrier under engineered wood over concrete?
Concrete slabs can transmit moisture vapor upward, which can cause cupping, gapping, or moldy odors under engineered wood. A properly installed vapor barrier under engineered wood helps block that moisture vapor pathway and protects the floor system. Using the correct vapor barrier thickness and sealing seams is important because small gaps can still allow moisture movement.
Which is better: stapling, taping, or using an underlayment pad with a vapor barrier?
In most slab-on-grade installations, the vapor barrier is separate poly sheeting that should be taped at seams; stapling is usually avoided because it creates punctures that can become moisture leaks. Some underlayment pads include an attached moisture barrier, but you must verify it meets your flooring manufacturer’s requirements and your project conditions. If you use an underlayment with a built-in barrier, confirm whether additional plastic sheets are required—mixing layers incorrectly can trap moisture and lead to problems.
What’s the best way to handle overlaps, seams, and edges when installing a vapor barrier?
Overlap seams to create a continuous moisture barrier, then tape every seam and any transitions (including around posts, floor vents, or small penetrations). Run the vapor barrier up at the perimeter so moisture doesn’t migrate behind the baseboards, and keep it flat—wrinkles can create channels for vapor. After installation, do a quick visual check for unsealed seams or holes, and fix them with proper vapor barrier tape to maintain an effective barrier system.
📅 Last Updated: October 07, 2026 | Topic: How to install a vapor barrier under engineered wood floors? | Content verified for accuracy and freshness.
References
- Google Scholar Google Scholar
https://scholar.google.com/scholar?q=vapor+barrier+under+engineered+wood+floor+installation - Google Scholar Google Scholar
https://scholar.google.com/scholar?q=polyethylene+vapor+barrier+under+wood+floor+moisture+control - Google Scholar Google Scholar
https://scholar.google.com/scholar?q=engineered+wood+flooring+vapor+barrier+underlayment+slab+concrete - https://en.wikipedia.org/wiki/Vapor_barrier
- https://www.epa.gov/indoor-air-quality-iaq/moisture-control-homes
- https://www.cdc.gov/mold/default.htm
- Google Scholar Google Scholar
https://scholar.google.com/scholar?q=How+to+install+a+vapor+barrier+under+engineered+wood+floors? - https://en.wikipedia.org/wiki/Special:Search?search=How+to+install+a+vapor+barrier+under+engineered+wood+floors?
- https://www.ncbi.nlm.nih.gov/search/research-articles/?term=How+to+install+a+vapor+barrier+under+engineered+wood+floors?


