
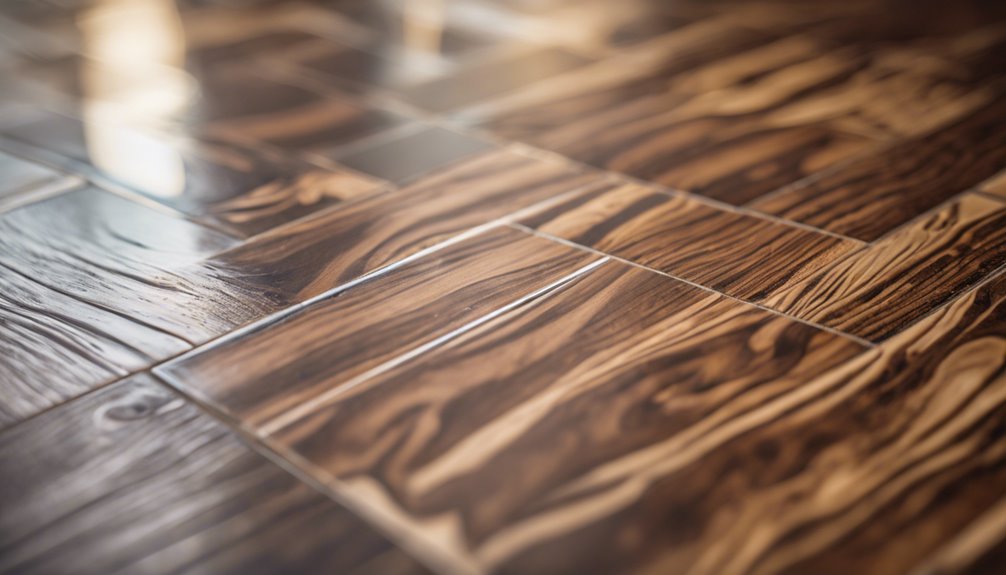

Yes, you can put laminate flooring over tile, and it's a practical way to upgrade your space. First, make sure the tile surface is clean, dry, and even. If there are any uneven spots, you'll want to level them out. Installing a moisture barrier is also a good idea to protect your laminate. With the right underlayment, you'll enhance comfort and sound absorption. Laminate is affordable and easy to maintain, giving your room a fresh look without breaking the bank. Interested in learning more about the process and tips for a successful installation?




Benefits of Laminate Over Tile
While tile flooring can offer durability, opting for laminate flooring over tile has several advantages that might suit your needs better. One of the most significant benefits is the cost comparison; laminate is typically more affordable than tile, allowing you to save money without sacrificing quality. Additionally, laminate flooring comes in a wide range of styles, colors, and textures, enhancing your space's aesthetic appeal. With options that mimic wood or stone, you can achieve the look you desire without the hefty price tag. Laminate is also easier to install and maintain, giving you more freedom to enjoy your home without the stress of constant upkeep. Ultimately, laminate provides a practical, stylish, and budget-friendly flooring solution.
Considerations Before Installation
Before diving into the installation of laminate flooring over tile, it's essential to contemplate a few key factors that can impact the success of your project. First, conduct a thorough subfloor assessment. Make sure the existing tile is level and secure; any imperfections can lead to an uneven laminate finish. Next, consider moisture control. Tile can trap moisture, which can compromise your laminate flooring over time. Installing a moisture barrier might be necessary to protect your investment. Finally, think about the type of underlayment you'll use, as it plays a significant role in sound absorption and comfort. By addressing these considerations, you'll set a strong foundation for a successful laminate flooring installation that enhances your space and lifestyle.
Preparing the Tile Surface
Once you've assessed the subfloor and addressed moisture concerns, the next step is preparing the tile surface for laminate installation. Start with tile cleaning; you want to remove dirt, grease, and any debris. A thorough clean guarantees a strong bond for the laminate. Next, check for any uneven areas. If your tiles are uneven or have grout lines, surface leveling is essential. You can use a leveling compound to create a smooth, even surface. This will prevent any bumps or ridges from affecting your laminate flooring. Once the tile is clean and level, you're ready for the next steps in your laminate installation journey. Taking the time to prepare now will pay off in the long run.
Installation Process Overview
As you commence the installation process for your laminate flooring over tile, it is crucial to understand the steps involved to guarantee a successful outcome. By following these installation steps, you'll create a beautiful new surface without the hassle of removing the existing tile.
- Gather your material requirements: laminate planks, underlayment, and tools.
- Verify the tile surface is clean, dry, and level.
- Lay down the underlayment to provide cushioning and moisture protection.
- Start installing the laminate planks, following the manufacturer's guidelines for the best results.
With these straightforward steps, you'll make the process smoother and more enjoyable. Now, you can look forward to your new flooring that brings freedom and style to your space!
Maintenance Tips for Longevity
To guarantee your laminate flooring over tile lasts for years, regular maintenance is essential. Start with simple cleaning techniques; use a microfiber mop and a pH-neutral cleaner to keep dirt and grime at bay. Avoid excessive water, as it can damage the laminate. For minor scratches, consider using repair strategies like laminate repair kits that can fill in and disguise imperfections. Additionally, place rugs in high-traffic areas to protect the surface and prevent wear. Make sure to avoid dragging heavy furniture across the floor; instead, lift items when moving them. Regularly inspect for any signs of damage, and address them promptly to maintain the beauty and integrity of your flooring. With these tips, you'll enjoy your laminate flooring for a long time!
Frequently Asked Questions
Can I Install Laminate Flooring Over Uneven Tile Surfaces?
You can't install laminate flooring directly over uneven tile surfaces without addressing the issues first. It's essential to make certain your subfloor is even for a successful installation. Use proper surface preparation techniques, like leveling compounds, to create a smooth base. This'll help prevent problems down the line, like warping or squeaking. Taking the time to prepare your surface right will guarantee your new flooring looks great and lasts longer.
Will the Height Difference Affect Door Clearances?
Yes, the height difference can certainly affect door clearances. When you install laminate flooring, you'll want to take into account door adjustments, especially if the new flooring raises the height considerably. It's important to measure the gap between the floor and the bottom of your doors to guarantee they can swing freely. If there's not enough clearance, you might need to trim the doors or make other adjustments to maintain that freedom of movement.
Can I Use Underlayment With Laminate Over Tile?
Imagine your floor as a cozy blanket, wrapping your home in warmth. You can definitely use underlayment with laminate over tile, and it brings several benefits. It cushions the floor, reduces noise, and helps with moisture control. For installation, make sure the underlayment's smooth and even, ensuring a stable base for the laminate. Remember, a well-prepared surface can make all the difference, giving you the freedom to enjoy your beautiful new flooring!
How Does Moisture Affect Laminate Over Tile?
Moisture can greatly affect laminate flooring, especially when placed over tile. If there's humidity concerns, it can lead to moisture damage, causing the laminate to warp or swell. You'll want to make certain the underlying tile is completely dry before installation. Using an appropriate underlayment can help mitigate moisture issues. Always monitor the humidity levels in the area to maintain the integrity of your flooring and prevent any long-term damage.
Is It Possible to Remove Laminate Without Damaging Tile?
Yes, it's possible to remove laminate without damaging the tile underneath. To guarantee tile preservation, use gentle removal techniques like a pry bar and utility knife. Start at a corner and work your way across the floor, being careful not to force anything. If you take your time and proceed cautiously, you can enjoy your new space without the worry of damaging the tile. Just remember, patience is key!

[…] compound to ensure proper installation. If you’re installing over concrete, include costs for a moisture barrier or vapor retarder—this can be essential in many climates and will affect overall hardwood […]
[…] the product directions, then tape or seal joints if required. If the underlayment is paired with a moisture barrier, make sure the barrier is installed with proper overlap and extends to the edges where needed. […]
[…] specifications for required fastening schedule, edge fastening, and whether an underlayment or moisture barrier is allowed over plywood. If you’re unsure, contact the hardwood manufacturer or ask a flooring […]
[…] areas. If you’re installing engineered or solid hardwood, install the recommended underlayment or moisture barrier (especially on concrete) to prevent future warping or cupping in the […]
[…] strategy is to stop moisture before it reaches the plank: control indoor humidity, install a proper moisture barrier, and seal seams so water vapor can’t migrate from the subfloor. If you get that right and keep […]
[…] into the exact number of boxes using the manufacturer’s stated coverage. Plan underlayment/moisture barrier, transitions, and stairs as separate line items so you don’t underbuy—coverage and waste rules […]
[…] it creates punctures that can become moisture leaks. Some underlayment pads include an attached moisture barrier, but you must verify it meets your flooring manufacturer’s requirements and your project […]
[…] If moisture is a concern (e.g., basement or slab floors), choose an underlayment with an attached moisture barrier and follow the manufacturer’s installation requirements. When replacing planks, tape seams per […]
[…] skim-coat, or fill low areas. If you have a concrete subfloor, install a suitable underlayment and moisture barrier as recommended by the LVT manufacturer. Finally, allow your LVT to acclimate in the living room […]
[…] wrong and mold will show up. Start with a dry, properly prepared surface and install with the right moisture barrier and seal any seams and edges. Keep humidity in check with prompt cleanup of spills and a […]