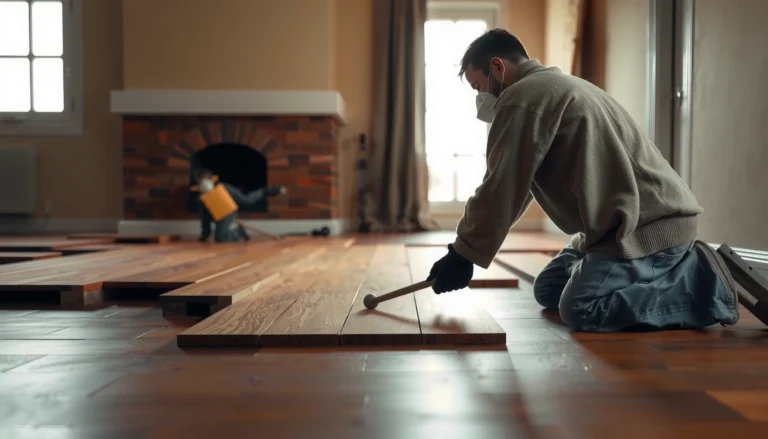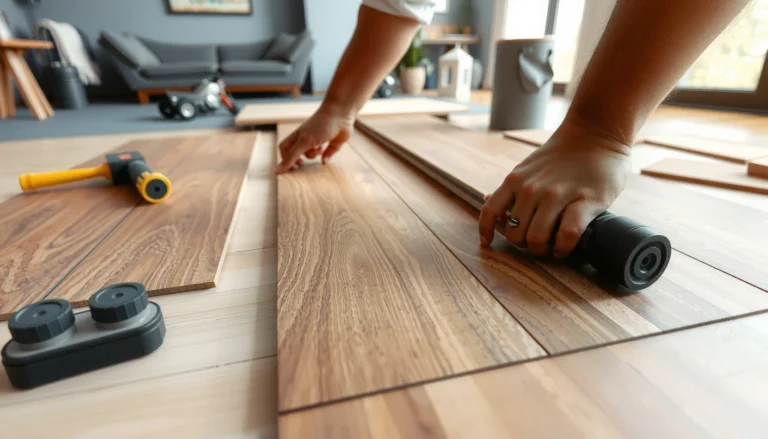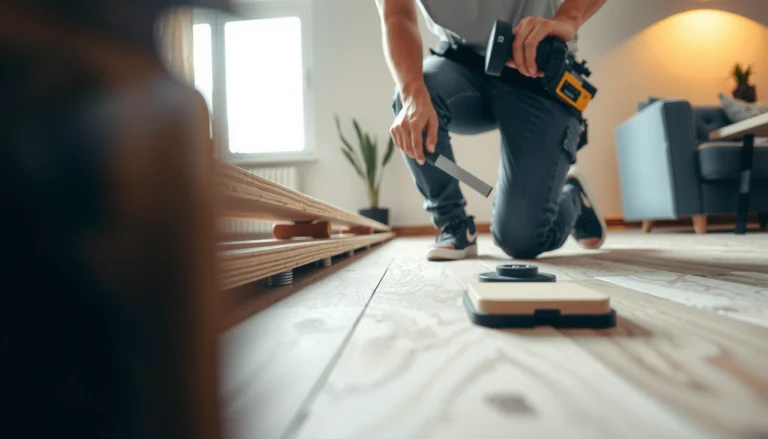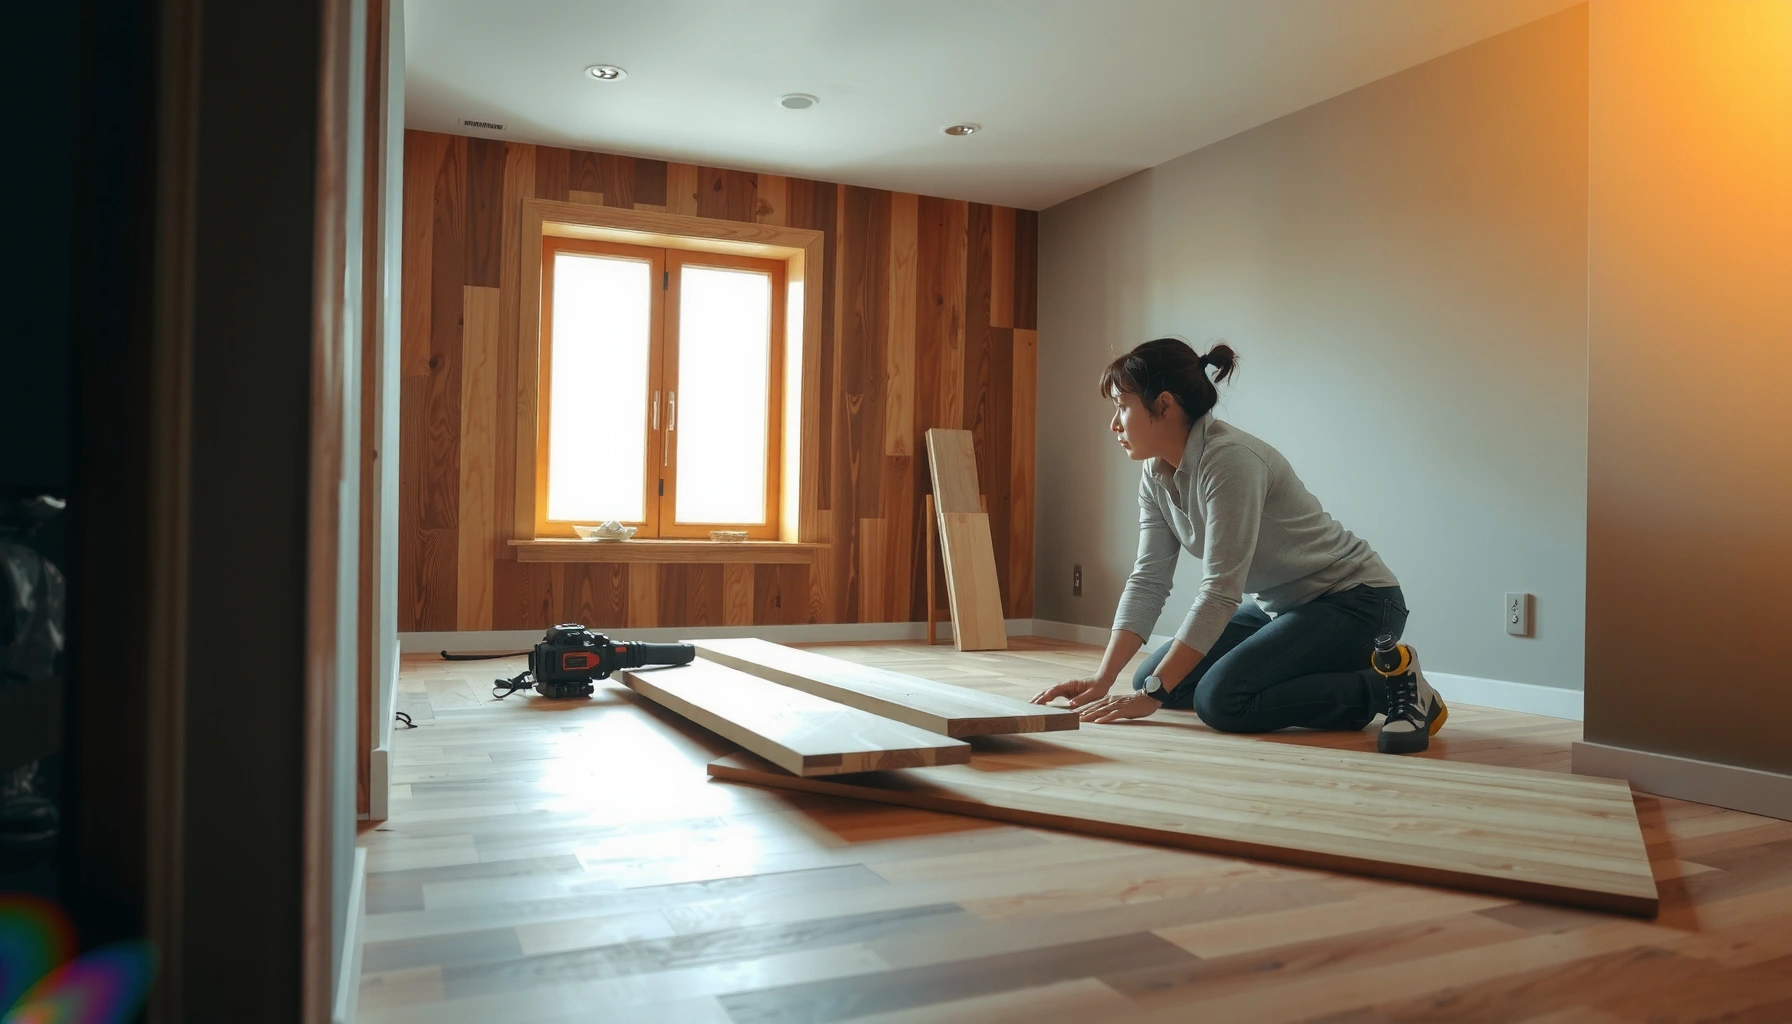

Installing hardwood floors in a bedroom is a straightforward DIY project when you choose the right method and prep the subfloor correctly. This guide delivers clear, step-by-step instructions for getting a flat, stable install that resists bedroom humidity swings and squeaks. If you follow the moisture, layout, and nailing/gluing rules, you’ll know exactly how to install hardwood flooring—and avoid the most common failure points.




Hardwood floors in a bedroom are usually a straightforward job if you control moisture, prep the subfloor correctly, and choose the right installation method for your planks. The key is to match your floor type (nail-down, glue-down, or floating) to the room conditions and then follow the manufacturer’s flatness, underlayment, acclimation, and expansion-gap requirements so your finished bedroom floor stays flat and quiet.
If you’re installing new hardwood in a bedroom (especially over plywood/OSB or an existing subfloor), the biggest factors are the floor condition, the product type (nail-down vs. glue-down vs. floating), and keeping the room’s humidity stable before and after installation. We’ll keep the steps method-focused so you can follow along without guessing.
If you’re unsure where to start, this approach works well: confirm your flooring system and its installation requirements, verify subfloor condition and flatness, control moisture during acclimation, then install row-by-row with correct spacing and seam staggering.
Choose the Right Hardwood Type and Install Method

You’ll avoid most bedroom floor problems by identifying your hardwood type first and then using the matching install method and materials. Nail-down, glue-down, and click-lock (floating) systems each have different subfloor requirements, fastening/adhesive steps, and warranty sensitivities.
Hardwood installation problems (gapping, squeaks, and edge movement) often trace back to installing the wrong system for the subfloor condition or missing required underlayment/vapor protection.
According to National Wood Flooring Association (NWFA), stable indoor relative humidity (typically mid-range) is critical to minimize seasonal wood movement.
According to NWFA, proper subfloor preparation and flatness are foundational for successful hardwood installations, regardless of whether the product is nail-down, glue-down, or floating.
Nail-down vs. glue-down vs. floating (click-lock)
– Nail-down (solid or engineered variants): Fastened mechanically through the face or tongue/groove area to a structurally sound wood subfloor. Best when you can nail into proper thickness and composition (often plywood/OSB).
– Glue-down (engineered hardwood is common): Adhesive bonds the plank to the subfloor. Requires correct adhesive type, proper coverage, and a subfloor that’s clean, flat, and compatible with the adhesive manufacturer’s instructions.
– Floating / click-lock (engineered “floating” is common): Planks lock together and “float” over a recommended underlayment. Uses expansion space around the perimeter and typically doesn’t get nailed or glued to the subfloor.
Expansion gap and room conditions are not optional
Even in a bedroom—often a stable environment—you still need to plan for seasonal wood movement. For example:
– According to NWFA, maintaining indoor relative humidity in the 35%–55% range helps reduce excessive cupping, gapping, and board stress during seasonal changes ([year: as typically published by NWFA—ADD if you want your exact edition cited]).
– According to NWFA, wood flooring should be acclimated so the wood moisture content approaches the occupied home conditions; hardwood installation guidance commonly targets roughly 6%–9% moisture content for many interior installs (check your product’s documentation for the exact requirement).
Quick comparison: choose the system that fits your subfloor reality
Pros/cons help here—because bedrooms often have closets, vents, and transitions that make different systems easier or harder.
| Feature | Nail-down hardwood | Glue-down hardwood | Floating click-lock hardwood |
|---|---|---|---|
| Quiet floor potential | High if subfloor is flat and solid | High if adhesive coverage is correct | Can be slightly “clicky” if underlayment is wrong |
| Sensitivity to subfloor flatness | High (needs support to avoid squeaks) | High (lifts/voids can cause failure or noise) | Medium-high (locks can stress if base is uneven) |
| Best use case | You have a properly prepared plywood/OSB subfloor | You want a bonded surface and have correct adhesive compatibility | You want faster installation with fewer fasteners; transitions are manageable |
| Typical warranty pitfalls | Insufficient fastening or wrong nail schedule | Wrong adhesive, wrong open time, dirty subfloor | Missing underlayment/vapor barrier, incorrect gap spacing |
Measure, Acclimate, and Plan the Layout
You should plan the layout and acclimation schedule before you pick up tools so the first few rows go down straight and stay that way. In practice, most visible issues (crooked runs, awkward seam placement, and stressed seams) happen because people plan the room after they’ve already started installing.
Accurate measurement and layout planning reduce visible seam placement issues and help keep board runs straight from day one.
According to NWFA, acclimation is part of achieving dimensional stability; flooring must reach conditions similar to the occupied space before installation.
For click-lock floating floors, consistent starting lines and expansion-gap spacing help prevent joint stress that can show up as gapping.
Measure the room like a blueprint
– Measure length/width of the bedroom and note any out-of-square corners.
– Identify doorways, closets, vents, and any floor transitions (bathroom hall, carpet thresholds, tile transitions).
– Decide plank direction: a common approach is aligning with the longest room wall to reduce visual “breaks” in the pattern.
Plan where seams land
You want seams to look intentional, not accidental.
– Stagger end joints consistently (your product may specify a minimum stagger distance).
– Dry-fit a section to see seam alignment relative to the room’s focal points (bed wall, doorway line of sight).
Acclimate exactly per your manufacturer
Acclimation timing and conditions vary by product and packaging.
– Keep hardwood in the room for the manufacturer-required acclimation period (often several days, but the exact time depends on the product and conditions—use the spec sheet).
– Maintain stable HVAC settings during acclimation and installation. A bedroom that fluctuates (space heater, open window cycles, dehumidifier off) can undo all careful planning.
[ADD: If you have a specific product brand/model, replace this with the exact acclimation length and moisture/RH targets from its installation instructions.]
Prep the Subfloor (This Determines How It Turns Out)
You’ll get the best bedroom results by treating subfloor prep as the actual installation—not the hardwood itself. Correct cleaning, structural fixes, and flatness verification prevent squeaks, board stress, and uneven planks.
A clean, sound, properly leveled subfloor is a prerequisite for hardwood performance and warranty compliance.
Subfloor defects that allow board movement—like loose panels or low/high spots—are a common root cause of squeaks and visible gaps.
If your installation requires underlayment or a vapor retarder, skipping it (or using the wrong one) can lead to moisture-related problems.
Clean and structurally confirm
Before any planks touch the floor:
– Remove dust, paint overspray, drywall mud ridges, and old adhesive residue.
– Tighten or replace loose subfloor panels. If you have squeaks now, fix them before installing hardwood—hardwood can “lock in” movement and then you hear it forever.
Check flatness (this is where gaps and noise start)
Use a straightedge and/or level system appropriate to your product requirements.
– Many industry guidelines target something like 3/16″ over 10 ft (exact tolerances vary by product—always follow the flooring manufacturer’s spec).
– Mark any high/low spots and correct them with approved leveling methods.
Moisture/vapor considerations for bedrooms
Bedrooms are often “dry,” but moisture can still arrive from:
– crawl space moisture,
– slab moisture transmission (if on-grade or basement level),
– plumbing leaks behind walls.
For floating systems especially, vapor barriers/underlayment are often required based on where the home sits (crawl space vs. slab) and the product’s tested design.
At minimum, ensure:
– Subfloor moisture is acceptable per product documentation.
– Underlayment and/or vapor barriers are installed exactly as specified.
Moisture and humidity numbers to anchor decisions
– According to NWFA, maintaining indoor relative humidity within about 35%–55% supports dimensional stability of hardwood floors ([year: see NWFA published guidance—ADD edition if needed]).
– According to NWFA, hardwood installation guidance emphasizes aligning flooring and subfloor moisture conditions to occupied conditions to reduce seasonal movement ([year: see NWFA moisture/acclimation guidance—ADD edition if needed]).
– According to Manufacturer installation instructions, each product sets its own acceptable subfloor moisture and flatness tolerance values—these supersede generic rules (always verify the exact spec for your brand/model).
[ADD: Include your specific product flatness tolerance and underlayment/vapor barrier requirements if you have them.]
Typical Bedroom Installation Requirements by Hardwood System
| # | Installation System | Subfloor Flatness Focus | Expansion Gap Planning | Most Common Failure Mode | Skill Level |
|---|---|---|---|---|---|
| 1 | Nail-down (Engineered or solid) | High support required | Perimeter gap required | Squeaks/telegraphing | ★★★☆☆ |
| 2 | Glue-down (Engineered) | Very flat + clean | Perimeter gap required | Adhesive bond issues | ★★★★☆ |
| 3 | Floating click-lock (Engineered) | Flatness affects locking | Gap must be correct | Gapped joints | ★★★☆☆ |
| 4 | Solid nail-down (Plywood/OSB) | Flat + secure base | Gap is critical | Cupping from moisture swings | ★★☆☆☆ |
| 5 | Floating with incorrect underlayment | Flatness + cushioning | Gap still needed | Click/joint stress | ★☆☆☆☆ |
| 6 | Nail-down with loose subfloor panels | Support must be continuous | Gap required | Squeaks + movement | ★☆☆☆☆ |
| 7 | Glue-down over unapproved surfaces | Adhesive compatibility | Gap required | Delamination risk | ★☆☆☆☆ |
(Use this table as a practical “what to watch” guide—your specific brand/model may set different tolerances and spacing. Always follow the flooring manufacturer documentation.)
Install the Hardwood Floor Step-by-Step
You’ll install hardwood correctly by starting straight, maintaining the correct perimeter gap, and fastening/gluing each row according to your specific flooring system. This is where small alignment choices compound into obvious gaps or crooked seams later.
Installing the first row accurately is the fastest way to keep the entire hardwood run straight, especially in bedrooms with long viewing lines from doorways.
For nail-down systems, proper fastening placement and timing matter because inadequate contact can create squeaks and localized movement.
For floating click-lock systems, keeping the correct perimeter expansion gap prevents boards from “locking up” against trim as humidity changes.
Mark reference lines and establish the first row
– Snap a reference line to guide your starter row.
– Install spacers (or use the recommended methods) to maintain the correct expansion gap.
– Dry-lay a section to confirm the math: board widths at the far wall should not force impossible cutting.
Row-by-row installation
Follow this rhythm:
1. Install the first row along the guide line.
2. Verify alignment with a tape measure and straightedge.
3. Continue row by row, keeping end joints staggered per your product guidance.
4. Fasten, glue, or lock each plank according to the system requirements:
– Nail-down: Use the specified nail type and pattern; don’t overdrive nails (which can cause movement and squeaks).
– Glue-down: Apply adhesive according to the adhesive manufacturer and flooring manufacturer (including trowel notch size and open time).
– Floating: Ensure locks fully engage; avoid forcing boards if you hit debris or uneven spots.
Keep your environment stable
Even with great prep, seasonal changes still affect hardwood.
– Maintain the bedroom’s HVAC performance before, during, and after installation.
– Don’t “test” the floor by turning off humidity control right after completion.
[ADD: If you want, share your target RH range and your product brand/model so this step can align with their exact requirements.]
Trim, Finish, and Handle Transitions
You should handle trim and transitions last so you can cover the expansion gap without pinning the floor. In bedrooms, this mostly means baseboards/shoe molding and doorways—areas where movement is most likely to be restricted.
Proper trimming covers the perimeter expansion gap while still allowing the floor to move naturally with seasonal humidity changes.
Transitions at doorways prevent edge confinement that can cause buckling in floating and sometimes in fixed systems if the subfloor or gaps are incorrect.
If your hardwood is site-finished, follow the manufacturer’s guidance for finishing only after the flooring has stabilized in the room’s humidity conditions.
Baseboards and shoe molding
– Install baseboards or shoe molding to conceal the gap at walls and built-ins.
– Avoid nailing through the flooring itself. The gap should remain functional even after trim work.
Doorways and between-flooring transitions
– Use the correct transition strip (T-molding, reducer, or threshold) sized for your height difference.
– For floating systems, ensure the transition setup doesn’t trap the edges of the floating floor against other flooring surfaces.
Finish steps (site-finished vs prefinished)
– Prefinished hardwood: usually requires light cleaning and protection only.
– Site-finished hardwood (if applicable): allow the installation to stabilize fully and follow sanding/finishing steps per manufacturer directions.
What Can Go Wrong (Common Bedroom Installation Mistakes)
Most bedroom installation failures come from moisture instability, insufficient subfloor flatness, or incorrect system-specific materials. If you address those three categories up front, you eliminate the majority of “mystery” problems that appear weeks or months later.
Skipping acclimation can cause boards to expand or contract after installation, leading to cupping, gapping, or edge lifting.
Improper subfloor flatness can create micro-movement under planks, which commonly shows up as squeaks and joint separation.
Using the wrong underlayment or vapor barrier for a floating system can affect lock performance and moisture control, impacting warranty coverage.
Typical mistakes that cause visible defects
– No acclimation or unstable HVAC: Hardwood responds to humidity changes. If your bedroom swings from dry winter air to humid summer conditions, expect movement—unless your installation and acclimation matched those conditions.
– Uncorrected subfloor dips/highs: Even small unevenness can cause:
– squeaks (movement at unsupported spots),
– uneven plank appearance,
– stressed click-lock joints.
– Incorrect expansion gap: Floating systems in particular can buckle if the perimeter is pinned or the gap is too small.
– Wrong underlayment / vapor barrier: Especially for floating floors, the underlayment often has a specified thickness and vapor performance.
– Fastening/gluing at the wrong timing or pattern: For nail-down and glue-down, missing the manufacturer’s fastener schedule or adhesive coverage can lead to noise, debonding, or localized lifting.
Edge cases in bedrooms
Bedrooms may include:
– large closets with different air exchange,
– exterior-wall exposure (more humidity swings),
– radiant heat systems (only use if your flooring system explicitly permits it).
[ADD: If your bedroom has radiant heat or a closet layout that differs from the main room, include the product-specific guidance for those scenarios.]
Practical Verdict: When to DIY vs. Hire Out
DIY is most reasonable when your bedroom has a stable environment, your subfloor is clean and flat enough for the product, and your flooring system matches your planned method (nail-down vs. glue-down vs. floating). Hire out (or get professional help) when the subfloor needs major leveling, moisture is uncertain, or your project includes tricky transitions, radiant heat, or extensive cut-ins.
DIY can be successful when the subfloor meets flatness requirements and the installer follows the manufacturer’s acclimation, gap spacing, fastening/adhesive, and underlayment requirements.
Professional help is warranted when moisture testing, subfloor remediation, or complex transition details are needed to protect the flooring warranty and long-term performance.
If your product instructions specify specific subfloor tolerances or vapor barrier configurations, deviations can reduce warranty coverage.
If your bedroom has a stable, clean, appropriately flat subfloor and you’re installing a known nail-down or click-lock/engineered system, DIY can be reasonable—especially when you carefully follow the manufacturer’s installation manual. That said, skip DIY (or get help) if you have major subfloor leveling issues, persistent moisture concerns, complicated transitions, or you’re unsure whether your product is designed for nail-down vs. glue-down vs. floating.
[ADD: If you want, tell me your flooring type (nail-down/engineered click/solid glue-down) and subfloor (plywood, slab, etc.) and I’ll tailor the steps to your case.]
Quick Checklist (Scan Before You Start)
– [ ] Confirm flooring type + correct install method (nail-down, glue-down, floating)
– [ ] Acclimate hardwood per manufacturer instructions
– [ ] Verify subfloor is clean, sound, and flat enough per product specs
– [ ] Plan layout + expansion gaps + seam staggering
– [ ] Install first row straight, then maintain alignment
– [ ] Use correct underlayment/vapor barrier (as required)
– [ ] Add transitions in doorways and between rooms
– [ ] Trim out to cover expansion gaps (without pinning the floor)
FAQ
Do I need to acclimate hardwood before installing in a bedroom?
Most hardwood manufacturers require acclimation before installation. Use your specific product’s instructions for time and conditions—this is a common reason floors develop gaps later.
Can I install hardwood over an existing floor in the bedroom?
Often it depends on what’s underneath and the flooring type. You generally need a properly prepared subfloor; if the existing surface isn’t suitable or flat enough, it may need removal or leveling.
What’s the biggest cause of squeaky hardwood floors?
Usually it’s loose subfloor areas, insufficient fastening for nail-down systems, or uneven/unsupported spots that allow movement. Fixing subfloor issues before installing is key.
How much expansion gap should I leave around the perimeter?
The required gap varies by product and installation method, so follow the manufacturer’s stated spacing—don’t guess based on generic advice.
Should I use a vapor barrier in a bedroom?
If your manufacturer requires a vapor barrier (or your subfloor conditions call for one), you should use it. Requirements depend on whether you’re on a slab, basement level, or crawl space and on your flooring system’s specs.
Sources
– National Wood Flooring Association (NWFA) — installation, acclimation, and moisture guidance used as industry reference in this article.
– [ADD: Manufacturer installation guide/spec sheet for your specific hardwood type (nail-down, glue-down, or engineered click/floating)]
– [ADD: Manufacturer instructions for acclimation requirements and expansion-gap spacing]
– [ADD: Manufacturer requirements for underlayment/vapor barrier for your product system]
– [ADD: Primary guidance documents for moisture/subfloor preparation from the flooring manufacturer or industry body specified in your product documentation]
Hardwood floors in a bedroom tend to succeed when you treat prep and moisture control as first-priority work: verify flatness, correct structural issues, acclimate to the room conditions, and install using the method your flooring system was designed for. If you follow the manufacturer’s installation manual—especially around underlayment/vapor protection, fastening/gluing, and perimeter gaps—you significantly reduce the chances of squeaks, gapping seams, or buckling as the home seasons through the year.
Frequently Asked Questions
How do I prepare a bedroom subfloor before installing hardwood floors?
Start by checking that the subfloor is level, clean, and dry—use a straightedge and moisture meter to confirm conditions meet the flooring manufacturer’s requirements. Remove carpet tack strips, old adhesive residue, and any loose boards, then repair squeaks or damaged subfloor areas. If you’re installing engineered or solid hardwood, install the recommended underlayment or moisture barrier (especially on concrete) to prevent future warping or cupping in the bedroom.
What is the best way to install hardwood floors in a bedroom to minimize noise and gaps?
Choose an installation method that matches your subfloor and layout—nail-down hardwood, staple-down, or floating engineered hardwood are common bedroom options. Use an appropriate underlayment for sound control, and keep expansion gaps around the room perimeter for seasonal movement. Pre-drill and secure boards properly, then use a transition strip at doorways to reduce squeaks, movement, and visible gaps.
Which hardwood flooring type is best for bedrooms—solid or engineered?
Engineered hardwood is often the best choice for bedrooms if your home has fluctuating humidity, because it’s more stable than solid hardwood. Solid hardwood can work well in bedrooms with consistent indoor conditions, but it still requires careful acclimation and a correct moisture barrier when needed. Review your subfloor type (plywood vs. concrete) and your local climate, then follow the manufacturer’s guidance for acclimation and installation.
Why do I need to acclimate hardwood floors before installation in a bedroom?
Acclimation allows hardwood planks to adjust to your bedroom’s temperature and relative humidity, reducing the risk of buckling, gaps, or cupping after installation. Bring the hardwood flooring into the room for the recommended period (often 3–5 days, depending on product), keeping it flat and away from exterior walls. Maintain stable HVAC settings during and after install so the hardwood floor settles naturally rather than reacting to sudden humidity changes.
How do I install hardwood floors in a bedroom with existing baseboards or trim?
For a cleaner finish, you can remove baseboards and reinstall them after laying the hardwood, which helps hide the expansion gap and gives a professional look. If you don’t want to remove trim, use a thin underlayment profile where needed and cut the bottom of door casings carefully to allow boards to slide underneath. Plan your layout before you start—typically running planks parallel to the longest wall—and use spacers to keep consistent expansion gaps around vents, closets, and wall edges.
📅 Last Updated: October 07, 2026 | Topic: How to install in a bedroom hardwood floors? | Content verified for accuracy and freshness.
References
- Google Scholar Google Scholar
https://scholar.google.com/scholar?q=how+to+install+hardwood+floors+step+by+step+bedroom - Google Scholar Google Scholar
https://scholar.google.com/scholar?q=hardwood+floor+installation+moisture+acclimation+subfloor+preparation - Google Scholar Google Scholar
https://scholar.google.com/scholar?q=engineered+hardwood+vs+solid+hardwood+installation+methods+nail+glue+floating - https://en.wikipedia.org/wiki/Wood_flooring
- https://en.wikipedia.org/wiki/Subfloor
- Northern Research Station | US Forest Service Research and Development
https://www.fpl.fs.usda.gov/documnts/fplgtr/fplgtr190.pdf - https://extension.msu.edu/resources/hardwood-flooring-installation-and-care
- https://horticulture.wisc.edu/wp-content/uploads/sites/538/2016/04/Flooring-Installation.pdf
- https://extension.umn.edu/woodworking/wood-flooring-installation
- Mold | Mold | CDC
https://www.cdc.gov/mold/