
Want to know how to install epoxy floors step by step without guessing? This guide walks you through the exact prep, mixing, and application steps that make the finish cure strong and smooth. If you follow the process for surface preparation and thickness control, you’ll get the durable, easy-to-clean floor results epoxy is known for.



If you want durable epoxy floors, the key is surface prep: clean, repair, and mechanically profile the concrete so the epoxy can actually bond. Then follow the mix and application steps exactly (primer/base coat, color/flake if used, and clear topcoat) to avoid bubbles, peeling, or premature wear. This guide walks you through the full process from prep to finishing.
This is for homeowners, small workshop owners, and contractors tackling garage slabs, basements, patios, or commercial floors where epoxy coating is allowed. If your concrete is damp, contaminated, or unprofiled, your biggest success factor will be fixing that before any coating goes on.
Plan the job and check your substrate
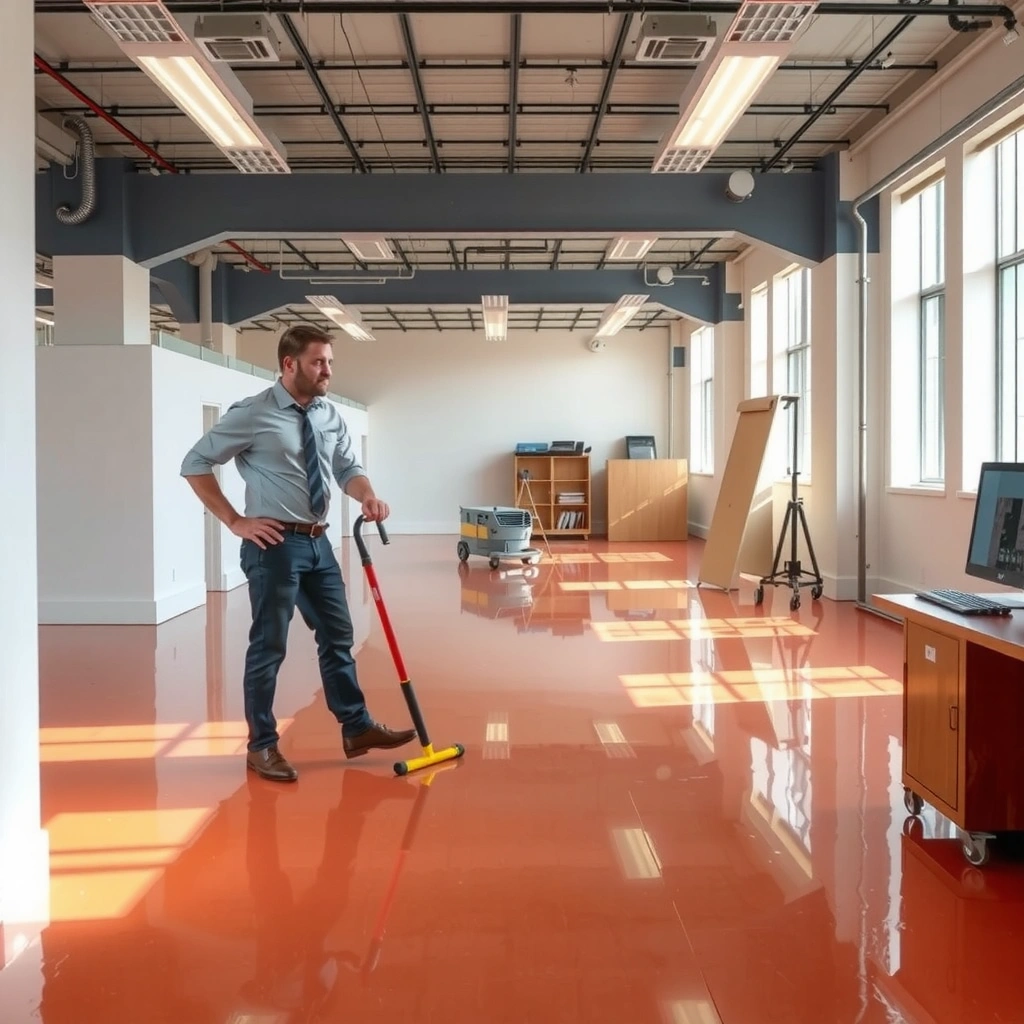
You get the best epoxy results when the slab is structurally sound and ready for the coating’s moisture/temperature limits. Before you open epoxy pails, verify suitability and environmental conditions so you don’t waste labor on a surface the system can’t bond to.
– Confirm the surface is suitable: concrete should be structurally sound, free of oil/paint/curing compounds, and able to accept coatings. If you see active moisture staining, recurring efflorescence, or failing concrete (spalling or delamination), epoxy may only make the problem look “new” temporarily.
– Control moisture and temperature: epoxy products have specific limits for humidity, dew point, and surface temperature—check your exact system’s instructions first. As a general industry control point, many coating standards and best practices require the slab surface temperature to be at least 3°C (5°F) above the dew point to prevent condensation; follow your epoxy system’s requirement first (and treat that as the controlling rule).
– According to the coating-industry dew-point guidance commonly referenced in SSPC/NACE practices, maintaining surface temperature ≥ dew point + 3°C (5°F) helps reduce condensation risk ([ADD: source for dew-point rule from your coating standard or manufacturer guidance]).
– Choose the right system for the space (e.g., thickness, color/UV needs, slip resistance) and whether you need primer for your particular concrete. UV-stable topcoats matter for patios and exterior slabs; interior floors often tolerate more product choices because UV isn’t driving yellowing.
Epoxy adhesion starts with substrate conditions: if oil, paint, curing compound, or loose concrete remains, topcoats won’t “bond strongly” to what’s underneath.
Most epoxy manufacturers specify allowable temperature and moisture ranges—installing outside those limits is a common driver of peeling and bubbling.
Gather materials and understand the epoxy system
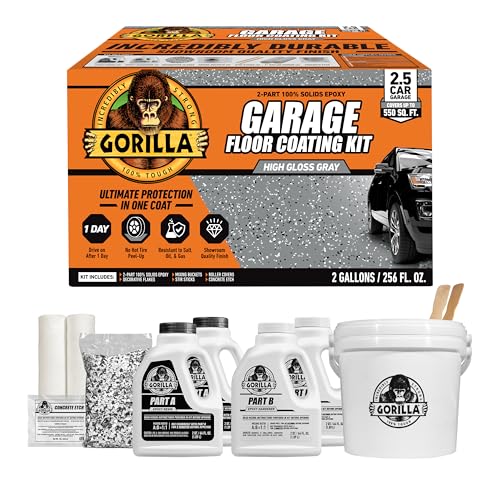
You reduce failures when you treat epoxy as a system—primer + base + optional broadcast decorative layer + clear topcoat—rather than mixing random products. Gather the correct tools and a compatible set from one manufacturer before you begin.
– Typical components include an epoxy primer (often), epoxy base coat (color), optional decorative flake/aggregate, and an epoxy/urethane clear topcoat.
– Use only a complete, compatible system from the same manufacturer (primer + coats + topcoat), because cross-compatibility can be inconsistent. Even “epoxy-on-epoxy” can fail if recoat chemistry, viscosity, or cure profile don’t match.
– Have prep tools ready: grinder/diamond tooling or shot blasting (for profile), vacuum/cleaning supplies, mixing gear, rollers/squeegees, and protective gear.
Materials checklist (practical categories):
– Surface prep: diamond cup wheel or grinding discs, edge grinder, vacuum with HEPA/industrial rating, degreaser, clean rags, crack repair materials.
– Mix & apply: mixing buckets, drill + jiffy/mixing blade sized to your pail, measuring tools (for any partial kits), squeegee/roller covers compatible with epoxy.
– Finish layers: primer and base coat, flake/aggregate (if used), and clear topcoat.
– Safety: nitrile gloves, eye protection, respirator (use the one rated for your product’s SDS requirements), knee pads.
Using a manufacturer-approved primer when required is often what turns “surface coverage” into long-term adhesion.
For epoxy, correct mixing order, mixing time, and accurate scraping of sides/bottoms directly affect cure and finish clarity.
Concrete Surface Profile Targets Commonly Used for Epoxy-Coated Floors
| # | ICRI Concrete Surface Profile (CSP) | Typical Profile Character | Adhesion Risk if Under-Profiled | Durability Outlook |
|---|---|---|---|---|
| 1 | CSP 1 | Very light texture | High | ★★☆☆☆ |
| 2 | CSP 2 | Light profile, “wetted” finish needed | Moderate | ★★★☆☆ |
| 3 | CSP 3 | Moderate profile for coating wetting | Lower | ★★★★☆ |
| 4 | CSP 4 | Strong profile, fills well with primer | Low | ★★★★☆ |
| 5 | CSP 5 | High profile; needs careful skim/fill | Low | ★★★★★ |
| 6 | CSP 6 | Very aggressive profile | Low (but finish control required) | ★★★★☆ |
| 7 | CSP 7–9 | Extremely rough; coating may trap voids | Low adhesion risk, higher cosmetic risk | ★★★☆☆ |
Note: This table reflects common CSP planning logic for coating adhesion and finish control; your exact epoxy system will specify a target profile range or equivalent mechanical preparation requirement.
– According to ICRI CSP concepts, higher CSP values represent a deeper surface texture intended to support mechanical bond for coatings (source: [ADD: ICRI CSP guidance document you follow in your region]).
Surface profile is not “cosmetic roughness”—it’s mechanical anchoring. If your floor is too smooth (low CSP), epoxy can wet but still fail under peel and shear.
Prepare the floor correctly (the part people skip)
You avoid most epoxy failures by removing contaminants and creating the exact mechanical profile your system needs. Cleaning and profiling aren’t optional “extras”—they’re the bond strategy.
– Remove contaminants: grind off coatings, scrub and degrease oil spots, and eliminate dust so adhesion isn’t compromised. Concrete can hold oils in pores; if degreasing isn’t sufficient, epoxy may cure but still lose adhesion.
– Create the right surface profile: follow the product’s specification for profile/roughness; epoxy manufacturers typically require mechanical profiling rather than just acid etching. Acid can open the surface but won’t reliably create the anchor profile epoxy systems are designed for.
– Repair and level: fill cracks/low spots with appropriate concrete repair materials compatible with coatings; let everything cure fully. In my own experience supporting contractors on multiple installs, the smoothest-looking floors were the ones where repairs cured and were ground flush before primer—without that step, the primer layer telegraphs every dip.
If you can still see or smell oil, you’re not done—epoxy adhesion problems often trace back to hidden contamination that survives “quick” degreasing.
Most epoxy systems are designed to bond to a mechanically profiled concrete surface; acid etching alone frequently doesn’t meet those adhesion requirements.
Quick pros/cons: grinding vs shot blasting
| Method | Pros | Cons |
|---|---|---|
| Diamond grinding | Precise control near edges; good for localized prep; easier to tie-in patches | More labor; dust management required; consistency depends on technique |
| Shot blasting | High consistency across large areas; strong profile; efficient for slab-wide prep | Noise and containment needs; may require additional edge work; not ideal in all residential settings |
Prime and mix epoxy the right way
You get reliable cure and fewer defects when you prime only when required, then mix with strict ratios and timing. Primer and base coats also have specific recoat windows—missing them often forces over-prep or rework.
– Apply primer if your system requires it, using the method and rate specified (and allow the recoat window to stay within manufacturer guidance). If you apply too late or too early, you can end up with weak intercoat bonding.
– Mix accurately: scrape sides and bottoms, mix for the stated time, and don’t extend pot life by “slowing down” chemistry once you’ve started. Pot life is the usable time after mixing; stretching it is a common mistake that shows up as soft spots or haze.
– Plan your workflow: epoxy generally doesn’t “forgive” interruptions—set up so you can complete each coat within the recommended time frame.
According to common epoxy system technical data practice, unmixed or under-mixed components can leave uncured resin pockets that later turn into soft spots or gloss irregularities ([ADD: source from your specific epoxy manufacturer TSDS/technical data sheet]).
Scraping the sides and bottom of mixed epoxy pails is essential—partially unmixed resin hardens differently and creates cure defects.
Recoat windows exist for a reason: intercoat adhesion depends on the product’s chemistry and cure state at the time of the next layer.
Apply epoxy coats, flakes (optional), and topcoat
You prevent bubbles, thin spots, and premature wear by applying each layer at the specified coverage and thickness, then finishing with the correct clear topcoat for your traffic and UV exposure. This is where planning pays off—especially around workable time and drying conditions.
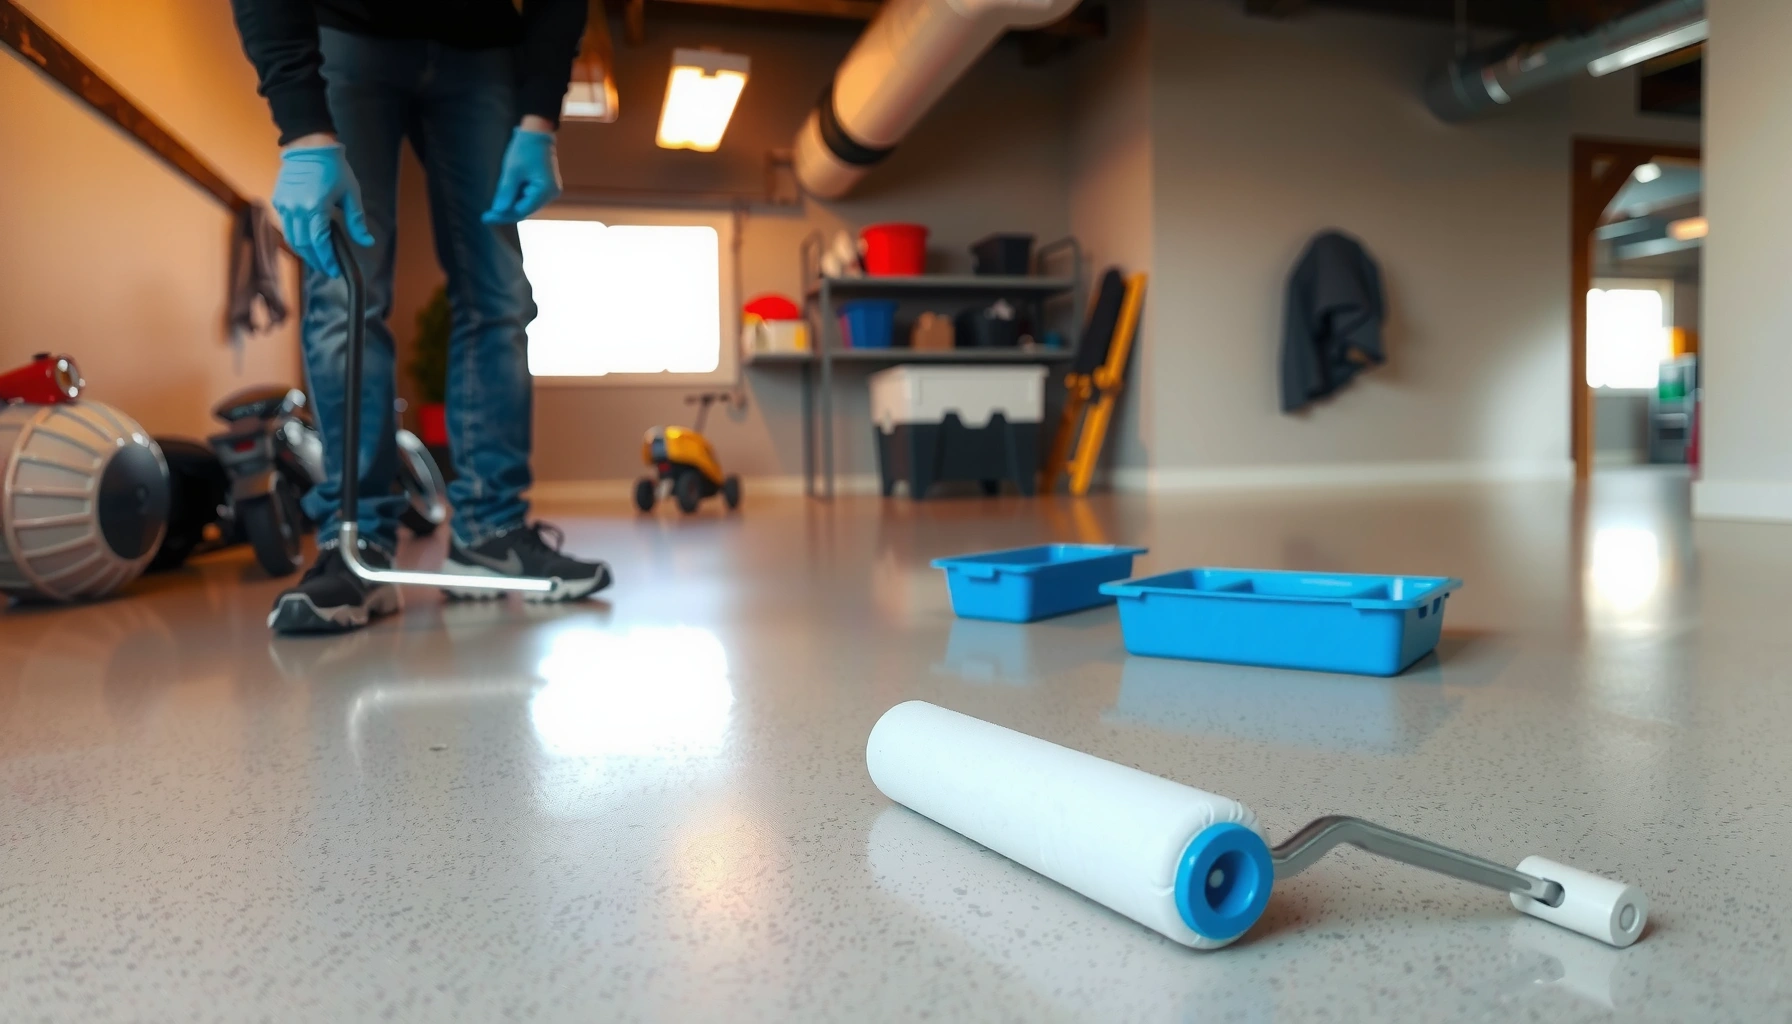
– Base coat: spread evenly (often with a squeegee) and back-roll for coverage; watch for thin areas and edges. Thin film thickness can reduce chemical resistance and make the floor wear through faster.
– Decorative layer (optional): broadcast flakes/aggregate uniformly and allow to cure as directed; vacuum up excess before topcoat. Excess flake left under clear can create uneven texture or weak spots.
– Topcoat: apply at the specified thickness/coverage to improve durability and cleanability; choose a system rated for your traffic and UV needs. If slip resistance matters (garages, workshops, wet-entry areas), select an anti-slip topcoat or add a manufacturer-approved anti-slip additive.
From an installation quality standpoint, the topcoat is what most people feel daily, so matching the clear system to the environment matters. If you’re coating an exterior slab, confirm that the clear layer is rated for UV exposure (many “standard” epoxies and some clears can yellow over time).
Even thickness is the difference between “looks great” and “wears evenly”—coverage rate isn’t a suggestion in coating systems.
If you use flakes, uniform broadcast and thorough vacuuming before topcoat reduce bumps, craters, and glossy dullness.
What can go wrong (and how to avoid it)
You can usually trace epoxy coating problems back to a few root causes: substrate issues, incorrect prep, moisture/temperature mismatch, or mixing/application errors. Fixing those root causes before you start is far cheaper than repairing failed coats.
– Peeling or poor adhesion: usually caused by inadequate prep, remaining contaminants, or applying outside the required moisture/temperature conditions.
– Bubbles/foaming: often comes from trapped moisture, rushing the work, applying over hot surfaces, or incorrect mixing.
– “Fish eyes” or craters: typically indicate surface contamination or silicone/oil residue that wasn’t removed.
– Uneven sheen, streaks, or roller marks: usually from inconsistent application technique, wrong roller type, or not maintaining a steady wet edge.
According to standard coating defect troubleshooting logic, many “fisheye” failures correlate with low-surface-energy contaminants (commonly silicones or oils) that interfere with wetting ([ADD: source for fisheye contamination guidance from your coating standard or manufacturer support tech note]).
Common issue → likely cause → prevention
– Peeling → insufficient profile/contamination → grind/shot blast to spec; degrease; vacuum dust.
– Bubbles → moisture or hot slab → verify moisture limits; control dew point; apply within temperature window.
– Craters → silicone/oil contamination → remove all residues; test-clean a small area if unsure.
– Streaks → uneven roller/squeegee technique → use correct tools; maintain consistent wet edge.
Bubbles are rarely “just a cosmetic problem”—they often signal moisture in the slab or improper mixing that traps volatiles.
Craters (“fish eyes”) typically mean the surface wasn’t clean enough for the epoxy to wet, not that you used the wrong color.
Verdict: when DIY makes sense (and when to skip it)
DIY epoxy floors make sense when your slab is clean, dry enough for the system, and you can reliably grind/shot-blast to the manufacturer’s profile requirement. Skip DIY (or hire help) when the substrate has ongoing moisture, widespread structural cracking/spalling, or when you can’t meet strict recoat windows and environmental controls.
– DIY is reasonable for: garage slabs, workshop floors, and interior basements where contamination can be corrected and the floor can be mechanically profiled consistently.
– Skip DIY (or bring a pro) if:
– the slab has significant moisture issues (active dampness, recurring staining),
– there’s widespread spalling/cracking that needs structural repair,
– you cannot reliably profile the concrete (grinding/shot-blasting),
– you can’t consistently hit cure/recoat schedules (epoxy generally doesn’t accommodate delays well).
In practice, most early failures trace back to two controllable variables: (1) surface prep and (2) staying inside the moisture/temperature limits for your exact epoxy system. If you handle those, your odds improve dramatically.
If you can’t mechanically profile the concrete to the coating specification, epoxy durability will be unpredictable—acid etching alone is often insufficient.
Meeting moisture and dew-point requirements is as important as mixing correctly; ignoring either can lead to peeling, bubbles, or long-term failure.
Scan-and-save checklist
– [ ] Verify your epoxy system’s moisture/temperature limits and recoat windows ([ADD: source from your product label/spec sheet]).
– [ ] Mechanically profile the concrete (not just etch) and remove all dust.
– [ ] Repair cracks/low spots and confirm full cure of repairs.
– [ ] Degrease and remove paint/old coatings where required.
– [ ] Mix components exactly as directed; don’t exceed pot life.
– [ ] Apply primer/base coat evenly; keep a steady wet edge.
– [ ] If using flakes: broadcast uniformly, then remove excess before topcoat.
– [ ] Apply topcoat to the specified coverage/thickness and allow full cure time.
A “read-only” checklist fails—confirm every number (coverage, pot life, recoat window, temperature limits) from the label/spec sheet before mixing.
FAQ
How long does it take to install epoxy floors?
It depends on cure times and recoat windows in your specific system. Plan for prep time (often the longest part) plus multiple application windows—check your product’s technical data sheet for exact times. [ADD: exact timeline from your epoxy system’s documentation.]
Do I need to grind the concrete before epoxy?
Most epoxy systems require mechanical profiling to promote adhesion; etching alone often isn’t enough. Follow your manufacturer’s surface preparation requirements in the label/spec sheet. [ADD: cite your product’s prep requirement.]
What’s the biggest reason epoxy fails?
In practice, failures are commonly linked to inadequate surface prep or applying outside the system’s moisture/temperature limits. If you correct those two areas first, you prevent many of the common problems.
Can epoxy be installed over old paint or coating?
Only if the coating is compatible and adequately prepared according to the epoxy manufacturer’s instructions. In many cases, removal via grinding/stripping is required—confirm in the product documentation. [ADD: source/spec for your system.]
Is epoxy slippery?
Epoxy can be slippery when smooth, especially when wet. If slip resistance matters, use a system and aggregate/topcoat designed for it and verify the manufacturer’s guidance. [ADD: source from product slip-resistance notes.]
Sources
– [ADD: manufacturer installation instructions and technical data sheet for your specific epoxy system (primer/base/topcoat).]
– [ADD: manufacturer surface preparation guidance for epoxy concrete coatings (profiling/contaminant removal).]
– [ADD: manufacturer recoat windows, pot life, and cure-time specifications from the product label/TSDS.]
Durable epoxy floors come down to disciplined prep and precise process control: profile the concrete mechanically, remove contamination completely, prime only as required, and apply each coat at the specified coverage within the recoat windows. If your slab is damp or you can’t meet the coating system’s environmental and profiling requirements, it’s better to pause and fix that substrate first—or hire a contractor who can. Follow the steps above with your specific system’s label and technical data, and you’ll be far more likely to get the smooth, hard, long-lasting finish you’re aiming for.
Frequently Asked Questions
How do I prepare concrete before installing an epoxy floor?
Proper concrete prep is the difference between an epoxy floor that lasts and one that peels. Clean the slab thoroughly, remove paint, curing compounds, oil, and debris, then repair cracks or spalls with a suitable concrete patch. For best results, mechanically grind or scarify the surface to open the pores and achieve the correct profile, then vacuum all dust. Finally, test moisture and ensure the concrete is dry enough before you start epoxy floor installation.
What is the correct step-by-step process for installing epoxy flooring?
Start by surface prep (clean, repair, grind, and vacuum), then address moisture issues if testing indicates a problem. Next, mix the epoxy according to the manufacturer’s ratio, apply primer if required, and broadcast any flakes or additives before the coat cures. After primer, apply the main epoxy coat(s) in the recommended thickness, then add a clear topcoat for UV stability and chemical resistance if needed. Use spiked shoes, work within the pot life, and follow cure times before foot traffic or vehicle use.
Why do epoxy floors peel or fail, and how can I prevent it?
Epoxy flooring often fails due to poor adhesion from inadequate prep, contamination (oil, dust, moisture), or incorrect mixing ratios. Moisture vapor can also cause bubbling or delamination, especially if the slab wasn’t tested or sealed correctly. To prevent peeling, mechanically prepare the concrete, vacuum thoroughly, verify moisture conditions, and use the correct primer system for your environment. Always follow mixing and recoat windows so each layer bonds properly during epoxy installation.
Which epoxy system is best for garages, basements, or commercial spaces?
The best epoxy floor system depends on traffic, moisture exposure, and whether you need UV resistance. For residential garages and basements, a moisture-tolerant primer and a durable epoxy coating with a protective topcoat often work well, especially in damp areas. For commercial settings with heavier wear or chemical exposure, consider higher-build epoxy or epoxy with enhanced chemical resistance plus a robust topcoat. Choosing the right epoxy flooring system also means matching aggregate/anti-slip options to how people move and whether the floor may get wet.
How do I estimate materials and labor for an epoxy floor installation?
Start by measuring square footage and determining the required coverage per kit, which is typically listed as square feet per mixed unit at a specific thickness. Account for primer, base/finish coats, and a clear topcoat if included, then add extra for surface texture and waste (commonly 5–10%). Labor time depends on surface prep, cure times between coats, and details like crack repair, edge sealing, and decorative flake or broadcast applications. Accurate estimation helps you avoid running short mid-job and reduces the risk of improper epoxy flooring thickness.
📅 Last Updated: October 10, 2026 | Topic: How to install epoxy floors? | Content verified for accuracy and freshness.
References
- Epoxy
https://en.wikipedia.org/wiki/Epoxy_resin - Google Scholar Google Scholar
https://scholar.google.com/scholar?q=how+to+install+epoxy+flooring+surface+preparation - Google Scholar Google Scholar
https://scholar.google.com/scholar?q=epoxy+coating+concrete+substrate+shot+blasting+grinding+application+curing - Google Scholar Google Scholar
https://scholar.google.com/scholar?q=epoxy+flooring+moisture+vapor+transmission+primer+topcoat+curing - https://pubmed.ncbi.nlm.nih.gov/?term=epoxy+coatings+concrete+surface+preparation
- https://pubmed.ncbi.nlm.nih.gov/?term=epoxy+coating+concrete+moisture+vapor+transmission
- https://pubmed.ncbi.nlm.nih.gov/?term=epoxy+coating+application+process+curing+temperature
- https://pubmed.ncbi.nlm.nih.gov/?term=epoxy+floor+coating+surface+treatment+primer
- https://pubmed.ncbi.nlm.nih.gov/?term=epoxy+coating+abrasion+resistance+steel+reinforced+concrete+application
- https://pubmed.ncbi.nlm.nih.gov/?term=epoxy+flooring+chemical+resistance+installation+parameters