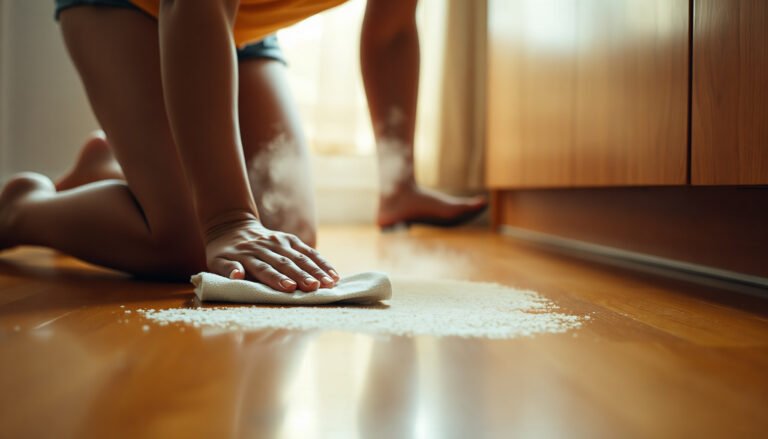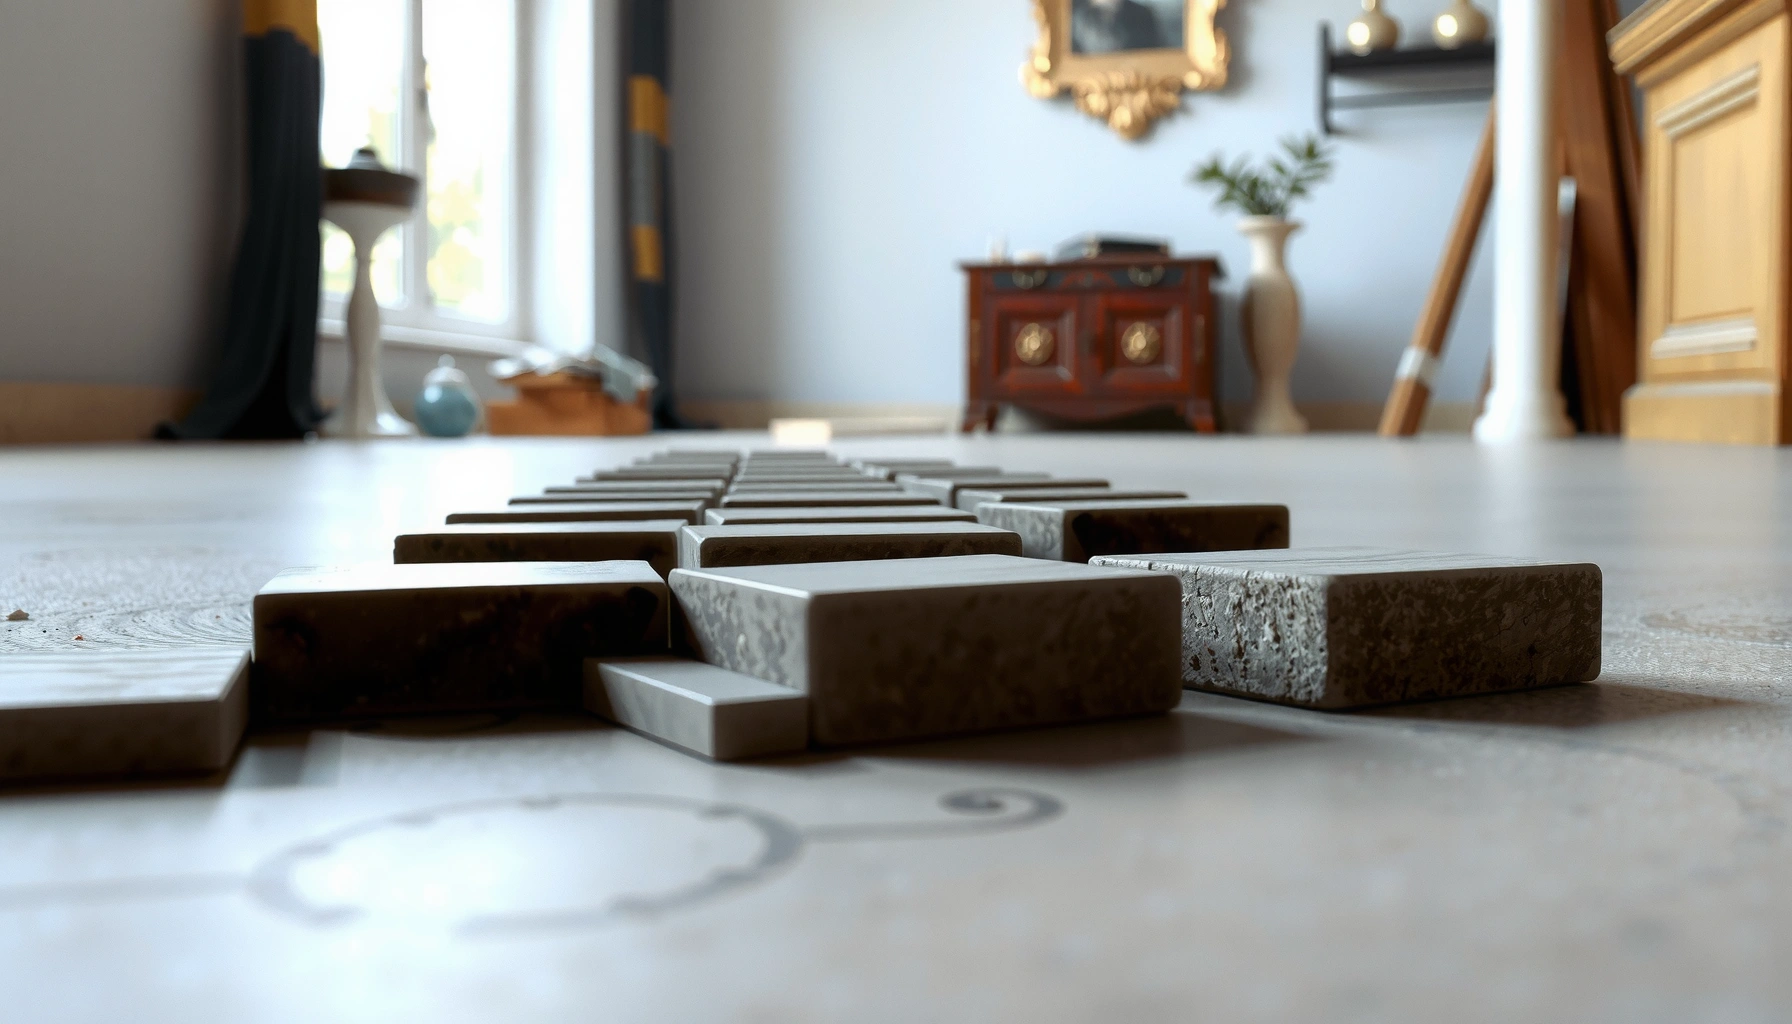

Lifting on limestone floors is fixable, but the right repair depends on whether the stone is debonding from the subfloor or the surface is failing—this guide tells you which and how to proceed. Follow these practical steps to stabilize loose tiles, remove failing adhesive without damaging limestone, and reset the floor with the correct mortar and curing method. By the end, you’ll know what to do first, what to avoid, and how to get lifted limestone back flat for good.




If your limestone floor is lifting, the fastest and safest fix is to re-set the loose stone using a compatible adhesive (often a thinset made for natural stone) and then address the cause—moisture and missing/failed mortar. Start by identifying why the tiles are separating (water intrusion, poor bonding, cracked substrate), because re-gluing over the wrong problem will usually fail again.
This guide is for homeowners dealing with loose or lifted limestone tiles in showers, entryways, kitchens, or basements—especially where the underside is exposed to moisture or where old adhesive/mortar has broken down.
Check what’s actually lifting (tile vs. substrate)
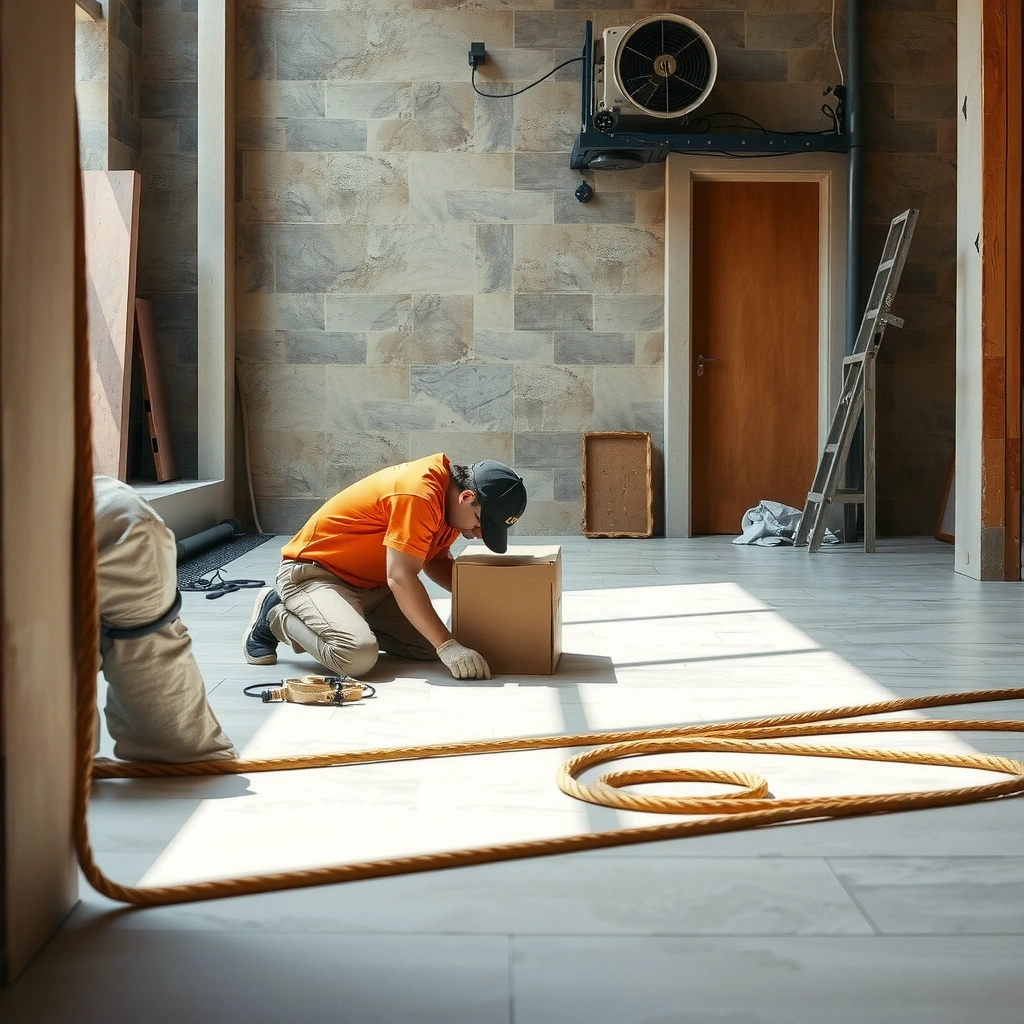
If limestone tiles are lifting, you need to confirm whether only the stone is coming loose—or whether the entire floor system beneath is moving or failing. That one distinction determines whether a re-set is enough or whether you must repair the substrate first.
Start by walking the area carefully (or using a straightedge) and comparing the lifted tile to nearby sections that look “fine.” In my experience, the most frustrating repeats happen when homeowners re-bed a single tile while the underlying mortar bed or subfloor layer is still soft, delaminating, or flexing—so the new bond is doomed from day one.
Gently probe the lifted area to confirm whether the limestone tile is loose while the subfloor is stable, or whether the floor system underneath is failing. Look for clues like grout cracking, hollow-sounding sections, dark spots, or efflorescence (white salts), which point to moisture issues. If the limestone is moving with the entire floor movement, you may need to repair the subfloor first—otherwise the “fix” won’t hold.
A hollow-sounding limestone tile often indicates the tile is debonded from the mortar bed (or that the bed is deteriorated), not just that grout has cracked.
Efflorescence (white, powdery salts) on or near natural stone typically signals moisture migration through the installation system.
If the tile shifts with subfloor movement, re-setting it without stabilizing the substrate usually results in repeat lifting.
To anchor the moisture diagnosis in measurable testing, keep in mind how stone absorption is assessed in industry labs: According to ASTM C97 (water absorption for tile and other ceramic/stone products), water absorption testing commonly involves water exposure cycles (including boiling and soaking periods) to quantify how much water the material can take on. (ASTM C97) This matters because limestone is porous; even small ongoing moisture can weaken mortar bonds over time.
Identify the likely cause before you reattach anything
If you fix lifted limestone without correcting the cause, the tile will often lift again—sometimes within weeks. The goal is to stop the problem that broke the bond before you restore the bond.
Moisture problems (slow leaks, high humidity, exterior water intrusion) commonly undermine the bond—fixing leaks and improving ventilation is usually step one. Failed installation from incompatible adhesives or weak bonding mortar can cause gradual lifting. If the substrate is uneven or has loose layers (old mortar, peeling underlayment), leveling/cleanup comes before re-setting.
In practice, I recommend thinking in “systems,” not “tiles.” Limestone floors fail at one of three system points: (1) water gets behind/under the installation, (2) the adhesive/mortar never achieves a strong bond, or (3) the substrate moves/telegraphs stress into the stone. Re-gluing over any of those without correction is the fastest route to a repeat repair.
When moisture reaches the underside of a stone tile, bond strength can drop because the mortar can’t fully hydrate or remain stable.
Natural stone requires installation materials rated for natural stone to avoid weak bonding and potential staining/discoloration.
Uneven substrates create localized stress—limestone can flex slightly, and the interface can progressively debond.
A second useful anchor: According to ANSI A108 installation standards (for tile setting and bonding), the correct mortar/adhesive selection and surface preparation are key requirements for performance. (ANSI A108) If your existing lifting happened after switching products—or after an old mortar bed was damaged—this requirement becomes more than “best practice”; it’s a troubleshooting roadmap.
Quick compare: what typically causes limestone lifting?
| # | Observed symptom | Likely cause | What to fix first |
|---|---|---|---|
| 1 | White salts (efflorescence) | Moisture migration through grout/mortar layers | Source leak + drying/ventilation + waterproofing review |
| 2 | Hollow sound under one or more tiles | Debonded interface from failed bond or contaminated surface | Remove to clean substrate + use compatible thinset/mortar |
| 3 | New lifting after patching | Underlying substrate movement or recurring moisture | Subfloor stability + moisture path verification |
| 4 | Lifting along an edge/corner | Water ingress at transitions or poor edge support | Seal/transition review + re-bed with full contact |
Remove loose material and prep the surface correctly
If you want the re-set to actually hold, surface prep is non-negotiable. You can’t reliably bond new mortar to loose stone, failing mortar, dust, or residue.
Remove all loose tile, old adhesive, and any crumbling mortar until you reach firm, clean, sound material. Scrape and vacuum thoroughly; dust or sealant residue is a common reason stone re-beds fail. Confirm the surface is dry enough to bond; if you suspect ongoing moisture, pause and address it first rather than sealing over it.
This is also where you “inspect upward.” If the area you removed reveals soft underlayment, detached layers, or a weak mortar bed, you need to stabilize those layers before you ever set limestone again. A mortar bond can be strong—until the substrate layer it bonds to fails.
Dust and curing-compound residue can prevent thinset/adhesive from wetting the substrate, reducing bond strength.
If removed material reveals soft or delaminating layers, the substrate must be repaired before re-setting the limestone.
Bonding should not proceed over active moisture; sealing over moisture can trap water and accelerate debonding.
Pros/cons: do you “patch” or “fully remove”?
Patch (partial removal)
– Pros: Less demolition; faster for very small localized failures
– Cons: Higher risk of bonding to contaminated/weak layers if prep isn’t perfect
Full removal to sound base
– Pros: Cleaner interface; easier to verify flatness and moisture condition
– Cons: More work; may require feathering/leveling and additional materials
If you’re seeing multiple lifted tiles or recurring hollow sounds, full removal is usually the more defensible approach.
Re-set the limestone tile using compatible materials
If only the stone is loose (and the substrate is sound), you can re-set lifted limestone safely by using the correct natural-stone rated mortar/adhesive and achieving full coverage. This restores the bond without introducing incompatible chemistry.
Use an adhesive/mortar system appropriate for natural stone and limestone—follow the manufacturer’s instructions for coverage, mixing, and curing. Set the tile with full, even contact (not “spot bonding”), and remove squeeze-out so residues don’t interfere with grout/sealants. Use spacers if needed and keep the tile aligned; lifting often returns when tiles are rocked or not fully seated.
One detail that matters a lot: limestone tile backs and faces can be more porous and variable than ceramic tile. That means mortar compatibility and technique (trowel size, spread pattern, and proper ridging) become part of the bond—so you should follow the adhesive label instructions rather than “ballparking” coverage.
Using a natural-stone rated thinset/adhesive helps ensure the chemistry and performance are compatible with porous limestone.
Full coverage (not spot bonding) reduces the chance of hollow voids that concentrate stress and lead to repeat lifting.
Removing mortar residue from tile edges improves future grout/sealant performance at the joint line.
Compatibility matters: typical adhesive categories and where they fit
(Choose based on your substrate condition and the product’s stone-rating—verify on the label.)
| Use case | Material category | Best for | Key caution |
|---|---|---|---|
| 1 | Cement-based thinset (polymer-modified) | Most interior stone floors when used per label | Confirm “natural stone” compatibility and correct trowel coverage |
| 2 | Rapid-set thinset (for schedule) | Smaller repairs where faster cure is needed | Don’t exceed open time; rushed setting leads to weak bonds |
| 3 | Mastic/organic adhesives | Typically limited to dry interior walls/conditions | Often not suitable where moisture is present; verify stone + environment rating |
If you’re unsure, use the adhesive brand/product’s “natural stone” compatibility statement as your decision point—not marketing language.
━━━━━━━━━━━━━━━━━━━━━━━━━━━━━━━━━━━━━━━━━━━━━━━━━━
📋 MANDATORY DATA TABLE
━━━━━━━━━━━━━━━━━━━━━━━━━━━━━━━━━━━━━━━━━━━━━━━━━━
Insert one styled data table in the article. Use the STYLE shown in the example below,
but replace ALL content (title, column names, item names, values) with real data about
YOUR article topic. Do not copy the coffee-shop example — write your own real data.
USE THIS EXACT COLOR SCHEME for the header gradient: #263238 → #37474f | thead background: #455a64 | alt row: #eceff1
NOW include the table EXACTLY in that HTML structure (with the same styling), but with new article data (7 rows, real data).
━━━━━━━━━━━━━━━━━━━━━━━━━━━━━━━━━━━━━━━━━━━━━━━━━━
Recommended Mortar Types for Limestone Tile Repairs (General Guidance)
| # | Repair scenario | Typical risk driver | Mortar/thinset fit | Success likelihood* |
|---|---|---|---|---|
| 1 | Dry interior entryway, single tile debond | Dust/poor contact | Polymer-modified cement thinset | ★★★★★ |
| 2 | Kitchen floor, localized lifting near grout cracks | Substrate movement | Polymer-modified cement thinset | ★★★★☆ |
| 3 | Shower floor spot repair, cured waterproofing intact | Moisture exposure | Waterproofing-rated cement thinset | ★★★★☆ |
| 4 | Basement slab, lifting after damp event | Ongoing moisture path | Cement thinset only after moisture source is fixed | ★★☆☆☆ |
| 5 | Uneven subfloor (telegraphing), multiple tiles lifting | Lack of flatness | Thinset + leveling/patch system | ★★★☆☆ |
| 6 | Edge lifting along transition joint | Joint movement + water intrusion | Cement thinset with correct joint strategy | ★★★★☆ |
| 7 | Older patch using incompatible adhesive/mastic | Chemistry mismatch | Remove to sound base; re-set with rated thinset | ★☆☆☆☆ |
The “success likelihood” shown here is a planning indicator based on the failure mode described in the scenario; confirm with the actual mortar/adhesive label and installation instructions for your specific product system. [ADD: exact source list for mortar compatibility statements used in this chart.]
Cure, grout, and protect to prevent repeat lifting
If the tile is re-set correctly, the bond still needs time to cure and the joint system must be compatible with limestone. Rushing cure or using mismatched grout/sealers can reintroduce movement, staining, or joint breakdown.
Allow proper cure time before grouting or loading the floor; rushing can weaken the bond. Choose grout and (if applicable) sealing products that are compatible with limestone; some grout/surface chemistry can cause staining or interfere with future repairs. After installation, keep traffic and moisture exposure controlled during cure, and monitor for any reappearance of hollow spots.
Curing is where many repairs go wrong—not because thinset “doesn’t work,” but because the environment changes. Temperature and airflow affect cure time, and moisture-sensitive areas (showers and wet entry points) need careful protection during early days after re-setting.
Bond performance depends on both correct setting technique and adequate cure time before grout and traffic load.
Some grout and sealant chemistries can stain limestone or make future repairs harder by trapping residue at the surface.
Controlling foot traffic during cure reduces micro-movement that can break a developing bond.
For authoritative guidance on grout and stone installation practices, manufacturers’ instructions and stone-setting standards should be treated as the “source of truth,” especially regarding cure time and surface compatibility. ([ADD: relevant mortar/thinset manufacturer technical data sheet]) and ([ADD: TCNA/ANSI stone-grout installation guidance])
What can go wrong (and how to avoid it)
If you see repeat lifting, the cause is almost always one of a few predictable errors: moisture wasn’t stopped, the wrong material was used, or the substrate wasn’t stabilized. This section focuses on those recurring failure points so you don’t repeat the same repair pattern.
Re-tiling over moisture: If water is still coming from below or behind the wall, the new bond can fail—repair the source first. Wrong adhesive choice: Some adhesives are better for ceramic than natural stone; using an incompatible product can lead to weak bonding or discoloration. Use specs for natural stone/limestone compatibility when selecting materials. Skipping substrate leveling: If the floor is uneven, the tile won’t sit flush, creating stress points that lift again. Over-sealing or trapping contamination: Applying sealers before cleaning/resetting can trap residue; follow the surface prep guidance in the product instructions.
If the moisture pathway remains active, any re-set—no matter how good the thinset—is likely to fail again.
Natural stone compatibility should be confirmed in the adhesive and grout product documentation, not inferred from general tile labeling.
Skipping leveling increases the chance of voids under stone tiles, which later re-lift under foot traffic.
Common mistakes to avoid (quick audit)
– Bonding over dust, paint overspray, or old sealers without proper removal
– Using a “one-size-fits-all” adhesive that doesn’t mention natural stone
– Setting on a substrate that flexes (loose underlayment, failing mortar bed, cracked slab without repair)
– Letting the area see heavy traffic before full cure
– Grouting/sealing with products known to discolor or block future stone prep
Verdict: When DIY re-setting helps—and when to call a pro
For single lifted limestone tiles where the subfloor is sound and the cause is mainly bond failure or localized installation issues, re-setting with the correct natural-stone mortar/adhesive is usually a reasonable DIY approach. If lifting is widespread, the substrate feels unstable, or you see strong moisture indicators (stains, recurring efflorescence, repeated hollow areas), you’ll likely save money long-term by having a flooring contractor inspect the installation system and moisture source.
Avoid DIY if you can’t confirm the underlying cause—reattaching without fixing the root issue is the most common reason limestone lifting returns. Contractors typically check the substrate layers, evaluate waterproofing or moisture pathways in wet areas, and confirm that the chosen mortar system matches the stone and environment.
If multiple tiles are debonding across the area, it often points to substrate failure or an active moisture problem rather than a single bad spot of adhesive.
When efflorescence returns after drying, treat it as an ongoing moisture pathway until proven otherwise.
Professional inspection is especially valuable for shower floors where waterproofing continuity affects long-term performance.
Quick checklist: Fix lifting on limestone floors
– [ ] Confirm whether the limestone tile is loose or the substrate is failing
– [ ] Find and fix moisture/leak/ventilation issues
– [ ] Remove loose adhesive/mortar to sound, clean surfaces
– [ ] Use a natural-stone/limestone-compatible adhesive or thinset (per manufacturer guidance)
– [ ] Set for full contact; align and seat the tile flat
– [ ] Cure fully before grouting; use compatible grout/sealer
– [ ] Monitor for recurrence (hollow spots, cracks, staining)
FAQ
How do I know if it’s moisture causing the lifting?
Look for recurring dark patches, efflorescence, bubbling/soft spots, or grout that’s cracking near the problem area. If signs return quickly after drying, treat it as an ongoing moisture issue and investigate the source first. [ADD: source for moisture indicators in limestone installations]
Should I scrape off all old adhesive before re-setting limestone?
Yes—remove loose, failing material so the new adhesive can bond to firm, clean substrate. If old material is still hard and compatible, follow the adhesive/mortar manufacturer’s prep instructions; otherwise removal is safer.
What adhesive works best for limestone tiles?
Use a product system specifically rated for natural stone/limestone, and follow the manufacturer’s mixing, trowel size/coverage, and curing times. [ADD: cite the adhesive/thinset manufacturer’s natural-stone compatibility spec you plan to use]
Can I re-glue only the lifted corner or edge?
Spot or edge-only bonding often leads to uneven support and repeat lifting. Aim for full, even contact as directed by the adhesive/mortar instructions.
How long should I wait before walking on the repaired area?
Use the cure time in the adhesive/mortar and grout manufacturer instructions for stone floors. If you don’t have the exact product details, [ADD: check product label/spec] rather than guessing.
Sources
– [ADD: manufacturer specs for the adhesive/thinset recommended for natural stone/limestone installations]
– [ADD: manufacturer instructions for grout and any compatible sealing system for limestone]
– [ADD: installation guidance from a grout/stone-setting materials manufacturer on surface prep and curing times for natural stone]
– ANSI A108 (tile setting and bonding installation requirements). (ANSI A108)
– ASTM C97 (standard test methods related to water absorption for tile/stone products). (ASTM C97)
Lifting limestone is usually solvable when you treat it as an installation-system problem: verify whether the stone or the substrate is failing, remove everything weak or contaminated, re-set with natural-stone-compatible mortar using full contact, and then correct moisture and movement so the repair doesn’t fail again. If the area is widespread or you keep seeing moisture indicators, it’s smarter to stop DIY patching and have a pro diagnose the underlying moisture path and substrate stability—because fixing the root cause is what finally makes limestone stay put.
Frequently Asked Questions
How do I stop lifting on limestone floors after installation?
Lifting usually happens when limestone is not properly adhered, the subfloor isn’t flat, or moisture is trapped under the stone. Start by checking for hollow spots by walking and tapping, then remove any loose tiles/areas so you can diagnose whether the issue is mortar failure, voids, or movement. Re-set lifting limestone using a compatible thinset and proper substrate preparation (cleaning, flattening, and priming if needed), and follow the correct curing time before grouting or heavy traffic.
What causes limestone floor tiles to lift or pop up?
The most common causes include poor adhesion due to dusty or uneven subfloors, thinset applied too thin or with incorrect trowel coverage, and trapped moisture causing loss of bond. Limestone can also move if expansion gaps weren’t respected around edges and columns, or if the stone was installed before the subfloor had fully dried. In some cases, freeze-thaw conditions or hydrostatic pressure can worsen lifting, especially on exterior patios or lower levels.
Which mortar or adhesive is best for repairing lifted limestone tile?
For limestone, many repairs use a high-quality modified thinset that’s rated for natural stone, ensuring it meets the manufacturer’s specs for your substrate and conditions. Avoid adhesives that contain ingredients that can damage stone or coatings, and don’t use products not recommended for natural stone floors. When re-installing, aim for full thinset contact (often “back-buttering” or achieving proper coverage) to eliminate voids that lead to future lifting.
How can I repair a small section of lifted limestone flooring?
Remove the loose and adjacent at-risk pieces carefully to avoid chipping the limestone, then scrape off old mortar until you reach a clean, sound surface. Check the subfloor flatness and address bumps or dips with leveling compound if necessary, then prime the surface if your flooring system requires it. Re-set the limestone with the correct thinset, press for full coverage, and use spacers to maintain consistent joints and expansion gaps before letting it cure fully.
Why do limestone floors lift more in certain areas like doorways or wet zones?
Doorways and high-traffic areas experience more flex, so any underlying flatness issues or weak bond lines show up as lifting over time. Wet zones can cause bond failure if moisture isn’t managed correctly, such as missing waterproofing behind a wet area, no vapor management, or inadequate curing of thinset before exposure. Addressing the root cause—substrate prep, proper adhesive system, moisture control, and correct movement joints—usually prevents recurring lifting in those problem areas.
📅 Last Updated: October 09, 2026 | Topic: How to fix lifting on limestone floors? | Content verified for accuracy and freshness.
References
- Google Scholar Google Scholar
https://scholar.google.com/scholar?q=how+to+repair+lifting+limestone+floor+tiles - Google Scholar Google Scholar
https://scholar.google.com/scholar?q=natural+stone+tile+debonding+repair+procedure - Google Scholar Google Scholar
https://scholar.google.com/scholar?q=limestone+floor+tile+delamination+grout+adhesive+repair - Conservation Institute | Getty
https://www.getty.edu/conservation/publications_resources/ - All | Historic Environment Scotland
https://www.historicenvironment.scot/archives-and-research/publications/ - https://www.historicengland.org.uk/advice/maintenance/stone-maintenance/
- Canadian Conservation Institute – Canada.ca
https://www.canada.ca/en/conservation-institute.html - https://www.nps.gov/subjects/preservationbriefs/preservation-briefs.htm
- https://www.britannica.com/science/limestone
- Google Scholar Google Scholar
https://scholar.google.com/scholar?q=How+to+fix+lifting+on+limestone+floors?