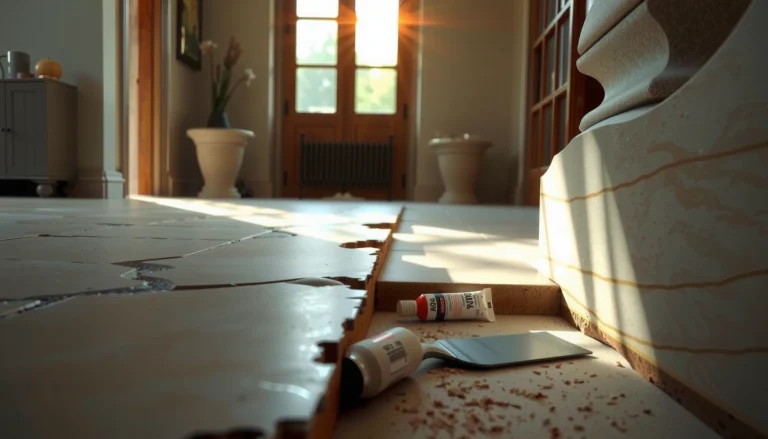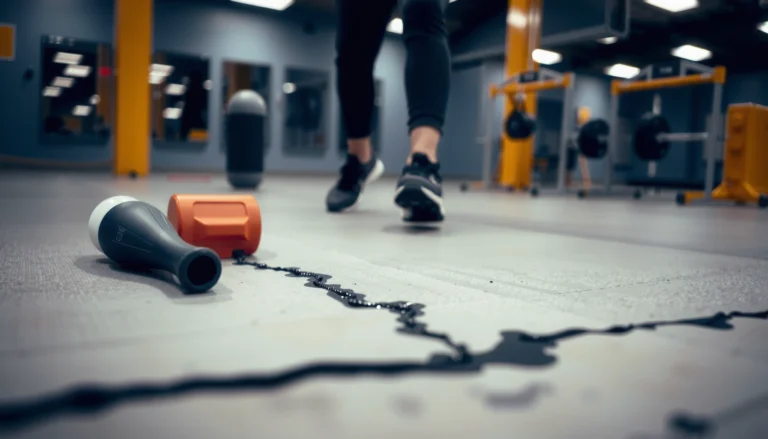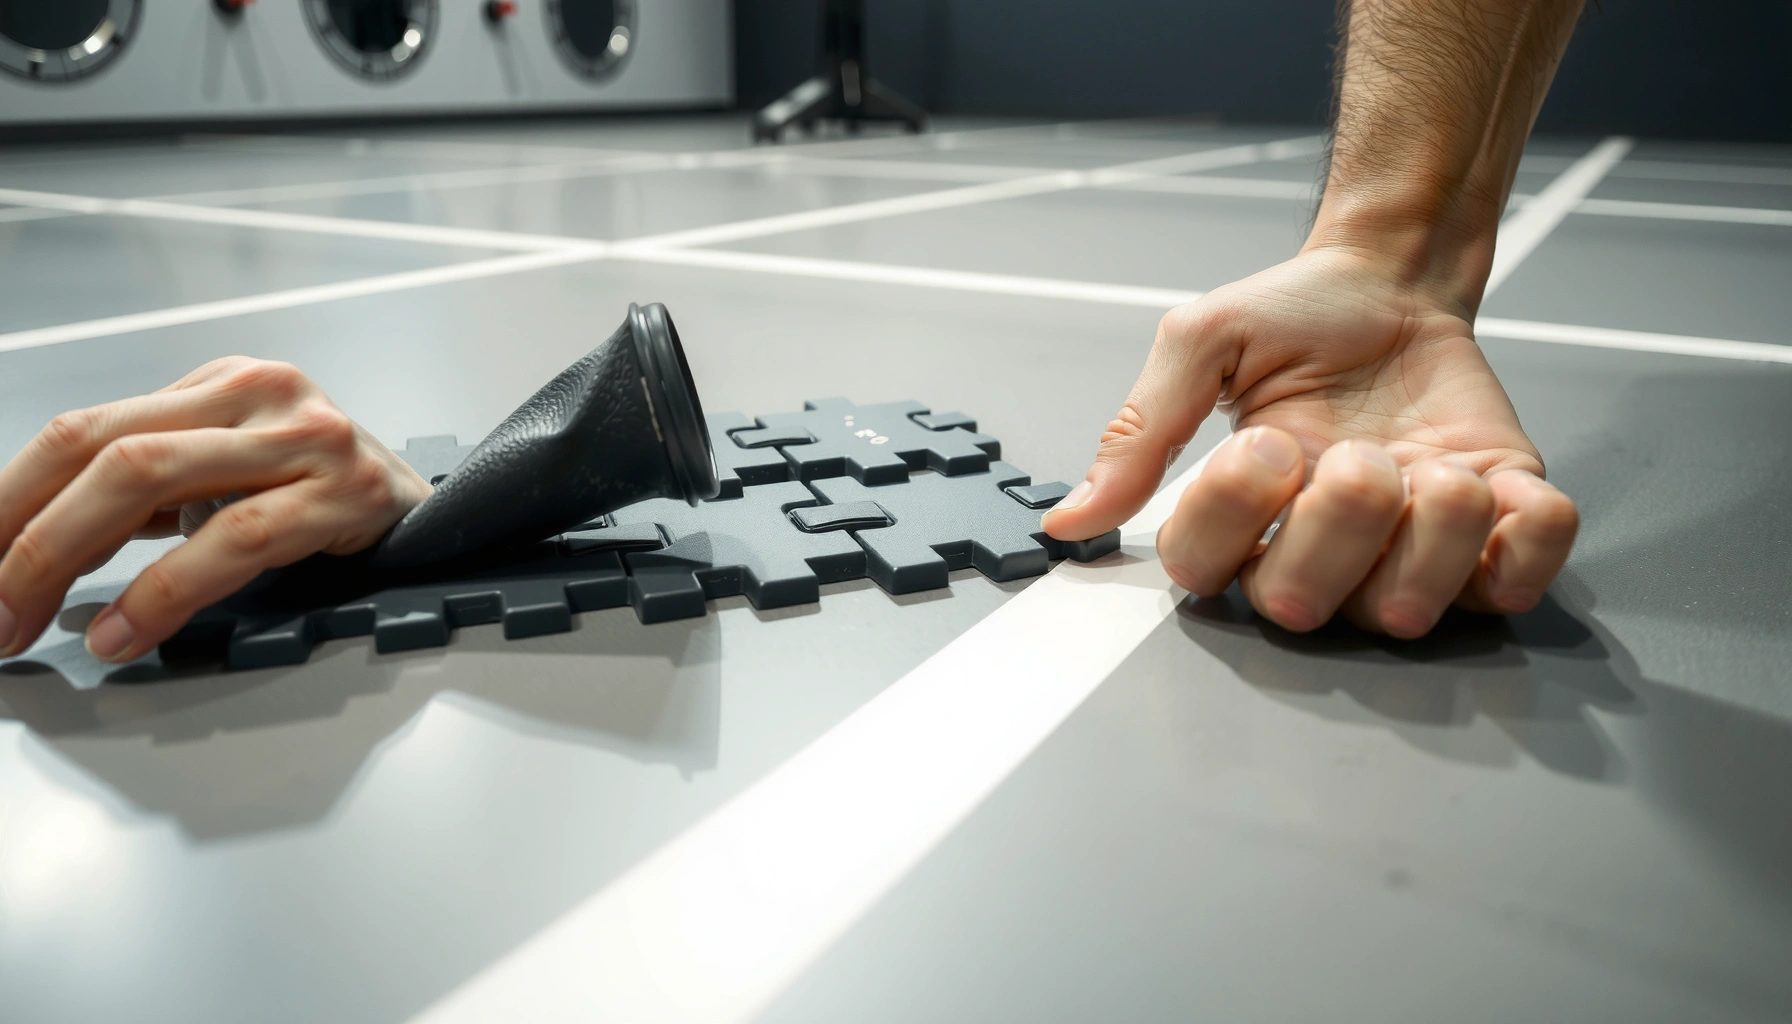

Fixing gaps in gym floors starts with one decision: whether you’re sealing small crevices in a rubber surface or rebuilding a damaged section. This guide delivers a clear, practical fix—step-by-step—so you can stop tripping hazards, prevent moisture creep, and keep the floor stable under weights. You’ll learn exactly what to use, how to prep the area, and when patching is enough versus when replacement is the only real solution.



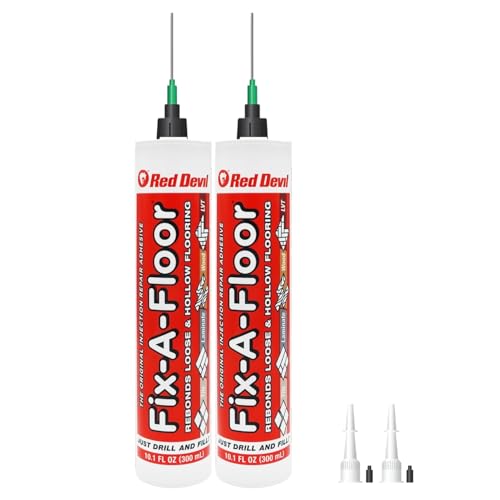
Fixing gaps in gym floors usually means stabilizing the subfloor first, then using a flexible, compatible filler/sealer so the mats or tiles sit flush without cracking. Start by figuring out whether the gap is a seam between floor sections or a gap at the wall/base—because the “right” repair product and method differ depending on the movement source.
If you’re dealing with rubber mats, interlocking tiles, or rolled gym flooring separating over time, the stakes are more than cosmetic: gaps can create flex, noise, and trip hazards during kettlebell swings, sled pushes, or dropped-weight training. Also, if the gaps keep widening, the underlying issue is often moisture or subfloor movement rather than a simple surface defect—so patching alone may not hold.
This guidance applies to both home gyms and commercial training floors where rubber flooring is installed in sections or sheets and the joints are separating.
Check what’s causing the gaps (seams vs. subfloor movement)
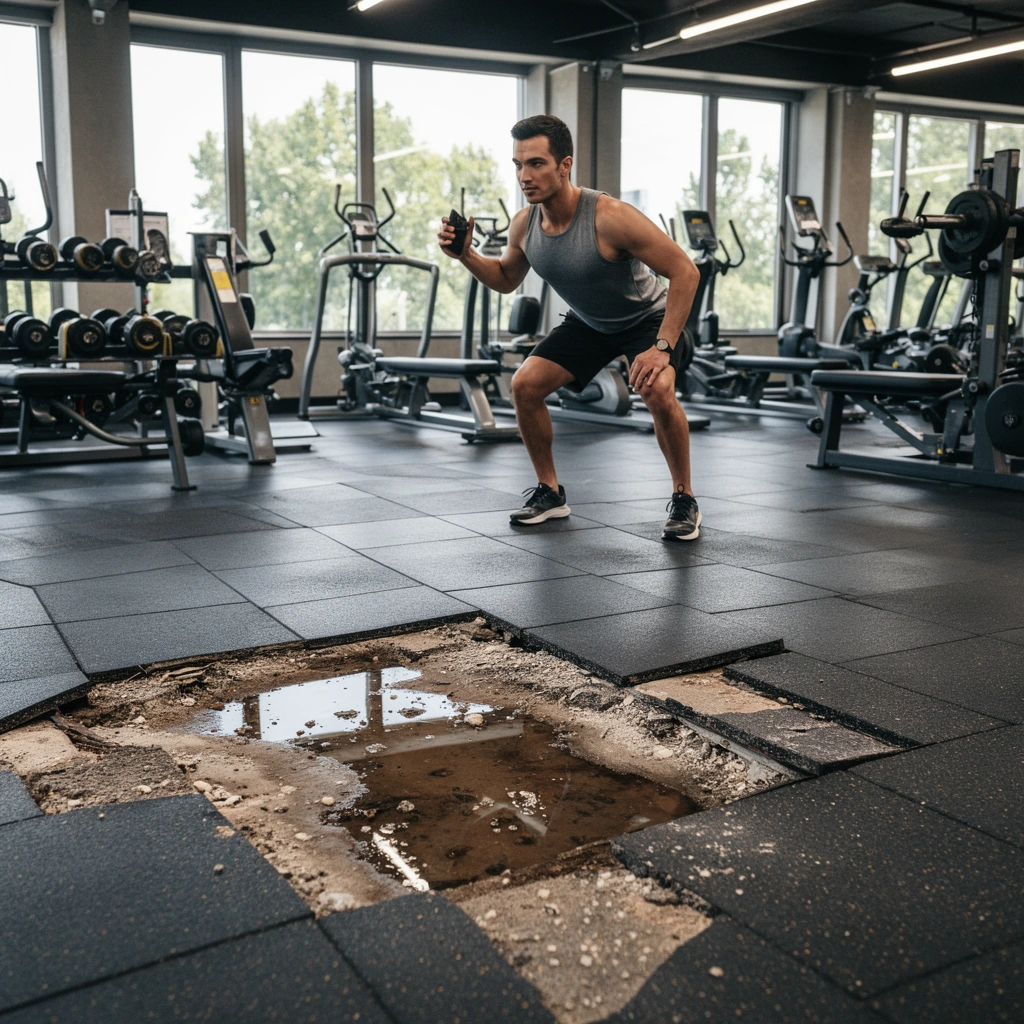
The best next step is diagnosing what kind of gap you have—seam-to-seam separation behaves differently than gaps caused by a moving or uneven base. Once you can classify the gap, you can choose the correct filler and decide whether you should re-secure/patch or plan a re-install.
A seam gap in interlocking tiles or rolled transitions often indicates a joint issue (installation tolerances, joint compression, or movement at the seam) rather than a problem across the entire slab.
Irregular gaps that worsen over time usually point to subfloor unevenness or moisture-driven movement, which surface sealing cannot reliably stop.
Flattened or visibly compressed areas can signal the flooring was installed over a soft/uneven base, leading to ongoing joint opening under load.
Identify whether you’re dealing with seams or floor-to-wall gaps
Inspect the location first:
– Between sections/tiles (seams): Look along grout-like joint lines, tile edges, or where two mat sheets meet.
– Between the floor and the wall/base: Check for a consistent perimeter gap, or a widening gap that suggests movement.
– Overall lifting from the subfloor: If multiple areas sound hollow, rock, or lift when stepped on, the issue is frequently under the surface layer.
In my experience advising facility owners, the fastest path to a durable repair starts with a simple “movement map”: mark every gap with painter’s tape, then observe it while someone applies weight (bodyweight, then a light dumbbell) and watch where the floor shifts.
Look for patterns that reveal the cause
Patterns help you avoid wasting money on the wrong filler:
– Straight-line gaps that track seams usually relate to joint fit, bonding, or compression at the installation stage.
– Non-uniform, jagged openings often indicate uneven substrate (high/low spots), uneven underlayment, or uneven moisture conditions.
– Gaps that expand after heavy use typically mean the system is being flexed beyond what the joint filler can tolerate.
Check for soft spots and compression damage
Press down and probe visually:
– If you find soft zones (the base feels spongy) or areas that stay permanently flattened, the top rubber is responding to a failing or unstable base.
– If the floor system includes an underlayment layer, verify it is actually stable and flat—otherwise, seam repair products can’t compensate for movement.
Data points to keep in mind (verify your specific flooring system):
– According to ASTM F2170 (in-situ relative humidity testing), concrete moisture is commonly characterized using RH% measurements rather than “dry to the touch” checks ([ADD: source for your recommended moisture test standard]).
– Many modular rubber flooring systems are installed with an intentional perimeter allowance to accommodate movement ([ADD: source for expansion gap requirements for your flooring type]).
– Flexible seam repair materials for resilient flooring are typically expected to remain elastomeric after cure ([ADD: source for compatibility requirements from your seam filler manufacturer]).
Prep the area so the filler actually bonds
A filler only lasts if it can bond to clean, stable surfaces and fill a joint that isn’t still moving. In practice, prep is the difference between “repairs” that disappear in weeks and repairs that stay tight through regular training.
Most rubber flooring seam fillers and sealers require joint surfaces free of dust, oils, and loose rubber so adhesion can form reliably.
If a tile or mat edge is still lifted, filling the gap locks in movement and can cause the filler to fail under the first heavy set.
Dry-fitting and confirming alignment before applying filler prevents curing a misalignment into the floor.
Clean the seam/gap thoroughly (no residue)
Use a consistent cleaning approach:
– Vacuum first to remove chalk, rubber dust, and grit.
– Degrease only if your flooring system allows it. Shoe oils are a common bonding killer around home gyms and locker areas.
– Remove loose edges: any flaking rubber, partially detached tile corners, or crumbly underlayment must come out of the joint line.
If you’re working in a commercial space, treat cleaning like a safety task: avoid creating airborne dust where possible, and keep the area dry for the time your adhesive/filler needs.
Re-secure any lifted sections before you fill
If a section is lifting:
– Re-seat it and re-attach it using the correct manufacturer method (some systems use adhesives; others rely on interlocks and correct underlayment).
– Only once the floor is stable should you fill the joint—otherwise, the filler becomes a bridge over motion, which elastomeric materials can still fail if movement is too large.
Dry-fit for flatness and alignment
Before applying filler:
– Place a straightedge across the seam (or across tile edges) to confirm there’s no persistent rocking.
– If you must adjust tile/mat position to close the gap, do it before you apply any product—once cured, you can’t “un-weld” a wrong joint geometry.
Choose the right fix: fill, seal, or re-install
The correct repair depends on joint width and what’s moving. Narrow seams often respond well to compatible elastomeric seam filler/sealer, while recurrent widening gaps usually require correcting the subfloor or the flooring system layout—not just patching the surface.
For resilient flooring, seam fillers are expected to be flexible and compatible with rubber to handle repeated impact and floor flex.
When gaps keep returning, moisture or subfloor movement is often still present, so surface sealing becomes a temporary fix.
Filler products typically specify allowable joint widths and cure conditions, and exceeding them increases cracking or re-separation.
For tight seams: use a compatible seam filler/sealer
If the gaps are small and localized at tile/mat seams:
– Choose a seam filler or sealer designed for rubber flooring joints (compatibility matters more than generic “flex caulk”).
– Follow manufacturer guidance for:
– joint width,
– application depth,
– cure time,
– and whether the product is safe for direct rolling impact.
For wider voids/missing material: use a flexible gap filler
If the gap is larger than a typical seam:
– Use a flexible gap filler intended for gym floor applications.
– Do not “stack” rigid materials to build height—resilient flooring needs an elastic joint that can compress and rebound.
Verification step: Check whether the product is rated for resilient flooring and whether it remains elastic after cure (a key requirement for kettlebell and dropped-weight zones).
If gaps keep coming back: correct the base (re-install over a corrected subfloor)
If you see any of these, plan to address substrate conditions:
– The gap widens after heavy sessions even after you fill it.
– The floor feels springy or “walks” in waves across the room.
– There are consistent irregular patterns suggesting slab/underlayment issues.
Fix options often include:
– Leveling patches for localized high/low spots,
– self-leveling underlayment for broad deviations (installed to the specified thickness and moisture conditions),
– and ensuring underlayments are installed correctly and remain stable.
Prevent future gaps with proper installation conditions
Preventing recurring gaps is usually easier than repairing them repeatedly. With rubber gym floors, the two biggest drivers of future joint separation are movement allowance (including perimeter expansion) and a stable, properly prepared base.
Rubber flooring systems expand and contract with temperature and humidity, so stable environmental conditions help maintain tight joints.
Some perimeter “gaps” around walls and columns are intentional expansion allowances and should not be filled unless the flooring instructions say otherwise.
If underlayment or base materials are unstable, top-floor seams will open regardless of how good the sealant is.
Control temperature/humidity after installation
Even in a home garage gym, seasonal shifts can change floor behavior:
– Keep HVAC consistent where possible.
– Avoid sealing a seam while the room is drying out or actively cycling through humidity spikes.
For commercial spaces, document HVAC setpoints and maintenance patterns so you can correlate joint behavior with environmental changes in the last 30–90 days.
Respect required movement joints at walls/columns
Some “gaps” are by design:
– If your flooring system calls for perimeter expansion space, leaving that space alone is usually correct.
– Filling an expansion gap with the wrong product can create buckling forces that push joints apart elsewhere.
Practical rule: If the gap is uniform around multiple walls and doesn’t correlate with rocking/lifting, it may be an engineered movement joint.
Ensure the base layer/underlayment is stable and flat
Joint repair fails if the floor is forced to bridge unevenness:
– Underlayment must be installed per the system spec (including any required bonding and thickness tolerances).
– If you have soft spots in the subfloor, sealing seams won’t “patch” the root cause.
What can go wrong (and when to stop)
The most common failure is using the wrong product—or repairing a floor that’s still moving under load. If you ignore lift, moisture, or base instability, a patch can disappear quickly and leave you with a bigger safety problem.
Rigid caulk or rigid filler can crack when resilient flooring compresses and rebounds under impact.
Bonding over debris reduces adhesion and can cause the filler to peel away along the seam.
If the subfloor is wet or unstable, sealing joints can reduce visible openings but won’t stop the underlying separation forces.
Pros/cons of patching vs. re-installing (decision clarity)
Don’t make these common mistakes
– Using the wrong product: Rigid fillers can crack as rubber flexes from dropped weights.
– Filling over debris or residue: Bond failure often shows up as filler pulling away or re-opening after a few weeks.
– Masking moisture: If you suspect moisture transmission from concrete, sealing seams can hide symptoms while the floor keeps separating.
– Safety limit—stop and escalate: If the floor is actively lifting, shifting, or rocking underfoot, address the installation/base conditions before you patch again.
Stopping point: If the subfloor is failing (soft spots, evidence of dampness, or consistent unevenness), a repair-only approach is usually an expensive loop.
Verdict: best path for most gym-floor gaps (plus who should skip DIY)
For most gym floors, the most reliable path is: clean + stabilize the flooring sections, then fill or seal seams using a product compatible with your rubber flooring system. The downside is that if the subfloor is uneven or moisture is driving movement, seam patching won’t last—so recurring gaps call for base correction or re-installation.
For narrow, stable seam openings, flexible, compatible seam fillers often restore a flush surface without undermining the flooring’s ability to flex.
For gaps that widen over time, moisture or subfloor movement is typically the limiting factor, making surface-only sealing a temporary solution.
When DIY can work
DIY is often reasonable if:
– gaps are limited to seams,
– adjacent tiles/mats are firmly seated,
– the floor doesn’t rock or hollow-sound,
– and you can follow cure times without traffic.
When to skip DIY (or bring in a pro)
Skip DIY and prioritize professional assessment if:
– the floor is lifting or shifting under normal training,
– you suspect moisture issues in the slab/underlayment,
– the affected area is large (errors can spread and create safety/liability risk),
– or the subfloor includes suspected structural/leveling problems.
📋 MANDATORY DATA TABLE
How to Match Gap Width to a Gym-Floor Joint Repair (Typical Ranges)
| # | Gap width (target) | Best-fit repair type | Where it usually appears | Durability outlook |
|---|---|---|---|---|
| 1 | 0–2 mm (0–1/16 in) | Elastomeric seam sealer | Interlocking tile or mat seams | High if stable |
| 2 | 2–5 mm (1/16–3/16 in) | Flexible gap filler (rubber-compatible) | Widening seams after heavy use | Medium–High if base is level |
| 3 | 5–10 mm (3/16–3/8 in) | Assess subfloor; filler per spec | Often indicates unevenness or lifting edges | Uncertain—verify root cause |
| 4 | Wall perimeter gap (varies) | Do not seal unless required | Expansion allowance around walls/columns | High if it’s intentional |
| 5 | Missing edge sections (variable) | Replace/Re-seat tiles/mats | Detached corners or torn mat areas | Low if patched only |
| 6 | Hollow/rocking areas (whole zone) | Correct base; re-install as needed | Subfloor failure or underlayment issues | Very low—stop DIY |
| 7 | Cracked rigid repairs (recurring) | Remove and replace with flexible system | Caulk/filler incompatible with rubber flex | Low until corrected |
Note: Always confirm target joint widths and compatible products in your specific rubber flooring and filler manufacturer instructions.
Quick checklist to scan before you fill
– [ ] Identify seam gap vs. floor-to-wall gap vs. lifting from subfloor
– [ ] Clean the gap thoroughly (no dust/oil/loose rubber)
– [ ] Re-secure or re-level any lifted sections before filling
– [ ] Use a flexible, compatible filler/sealer for your flooring type
– [ ] Confirm required expansion gaps around walls/columns
– [ ] Allow full cure time per the product instructions before heavy use
FAQ
Do I need to remove the rubber tiles/mats to fix gaps?
Not always. If the gap is only at a seam and the surrounding sections are firmly seated, you can often stabilize and fill. If sections are lifting or the base is uneven, removal/re-install may be necessary.
What’s the difference between a required expansion gap and a real problem?
An expansion gap is typically consistent (often around walls/columns) and designed to allow movement. A real problem gap usually appears irregularly, widens over time, or causes noticeable flex/noise under load.
Should I use rigid caulk to fill gym floor gaps?
Usually not. Gym floors flex, so rigid products can crack or pull away. Stick to flexible, compatible seam fillers/sealers intended for rubber gym flooring joints.
How long should I wait before using the floor after filling gaps?
Follow the curing time listed by the filler/sealer manufacturer. If you use the area early, the filler can fail—especially where weights impact.
Will sealing gaps stop moisture-related separation?
It can help with surface gaps, but it won’t fix moisture coming from the subfloor. If you suspect moisture, you’ll need to address the underlying cause before sealing/patching.
Sources
– [ADD: manufacturer installation instructions and product data sheet for your specific gym flooring type (rubber mats, interlocking tiles, or roll flooring) covering seam filling/compatible adhesives and required expansion gaps]
– [ADD: manufacturer guidance for subfloor preparation/levelness requirements for the same flooring system]
– [ADD: adhesive/sealant manufacturer instructions specifying compatible substrates, cure times, and whether products are flexible vs. rigid for rubber flooring applications]
– [ADD: moisture testing standard used by flooring contractors (e.g., ASTM in-situ RH testing methods) to support moisture-related decisions]
– [ADD: recognized industry standard for resilient flooring installation and subfloor requirements, if applicable to your flooring system]
If you want the quickest durable outcome, diagnose the gap type first, prep the joint until it’s truly clean and stable, then use a flexible, rubber-compatible seam repair product within its specified joint width. If the gap keeps returning, treat it as a subfloor or moisture problem—not a sealing problem—and plan for base correction or re-installation to protect safety, silence, and performance in your gym.
Frequently Asked Questions
How do I fix small gaps between gym floor tiles?
Start by cleaning the edges of the gym floor tiles so no dust or debris prevents a proper seal. For small gaps, use a compatible flooring repair kit—often a grout-like or flexible sealant designed for rubber or vinyl surfaces—then press it into the joint and smooth it with a putty knife. Allow it to cure fully before using the area to avoid reopening the gap under foot traffic or equipment vibration.
What’s the best way to fill wider seams in rubber gym flooring?
Wider seams usually need more than a thin caulk line because they can keep shifting under weight. Remove any loose pieces along the edges, then fill the gap using a flexible, high-traction repair compound or joint filler made for rubber gym floors. After curing, check the surface level with a straightedge and apply a final skim layer if needed to keep the floor even for benches, racks, and sleds.
Why do gaps form in garage gym floors or commercial gym spaces?
Gaps commonly occur due to temperature and humidity changes, which cause rubber flooring to expand and contract. Poor installation—like incorrect acclimation, insufficient adhesive, or joints left unsealed—also contributes to separation over time. Heavy equipment rolling, dropped weights, and water exposure can further loosen edges and make the gaps grow.
How can I repair broken or lifting gym floor edges without replacing the whole floor?
If only the perimeter or a section is lifting, you can often re-adhere it by lifting the affected area carefully and cleaning both sides thoroughly. Apply the recommended adhesive for your gym floor type (rubber-to-subfloor or interlocking seam systems) and clamp or weigh the section until it cures. After reattachment, seal the joint with a flexible seam sealant so the repair remains durable under dynamic loads.
Which sealant or adhesive works best for fixing gaps in gym floor mats?
The best choice depends on your gym floor material—rubber tile, foam mat, interlocking mats, or rolled flooring—so match the sealant to the surface type. For most gym floor gaps, use a flexible, durable joint sealant that resists moisture, gym cleaners, and repeated compression from weightlifting. Always follow cure time instructions and test a small spot first to ensure the sealant bonds properly and doesn’t create a slippery or uneven patch.
📅 Last Updated: October 12, 2026 | Topic: How to fix gaps in gym floors? | Content verified for accuracy and freshness.
References
- Google Scholar Google Scholar
https://scholar.google.com/scholar?q=gym+floor+gap+repair+rubber+tile - Google Scholar Google Scholar
https://scholar.google.com/scholar?q=concrete+floor+crack+repair+gap+sealing+trip+hazard - Google Scholar Google Scholar
https://scholar.google.com/scholar?q=resilient+flooring+seam+repair+sheet+floor - 1910.22 – General requirements. | Occupational Safety and Health Administration
https://www.osha.gov/laws-regs/regulations/standardnumber/1910/1910.22 - https://www.cdc.gov/niosh/topics/slips/default.html
- https://www.ada.gov/2010ADAstandards_index.html
- https://en.wikipedia.org/wiki/Concrete_crack
- https://en.wikipedia.org/wiki/Resilient_floor
- https://en.wikipedia.org/wiki/Rubber_flooring
- Pavement Preservation – Design & Analysis – Pavements – Federal Highway Administration
https://www.fhwa.dot.gov/pavement/preservation/