
Need to repair laminate floors in an entryway without replacing the whole floor? This step-by-step guide shows exactly how to fix chipped edges, lifted seams, and gouges so the surface looks and locks back together correctly. You’ll learn what to inspect first, which materials to use, and how to make the repair last despite daily foot traffic.




Repairing laminate floors in an entryway is usually either a targeted patch for minor surface damage or a plank replacement when the core has swollen and lifted. The right move depends on whether you’re fixing the top wear layer only—or correcting structural movement like lifted edges, widening seams, or buckling—so start by diagnosing moisture-related vs cosmetic damage.
This guide is for homeowners (and handy renters) dealing with common entryway laminate issues like scuffs from shoes, small chips near thresholds, or seams that open up after spills. It works best if your flooring is click-lock laminate and you can access the damaged area.
Diagnose the type of laminate damage
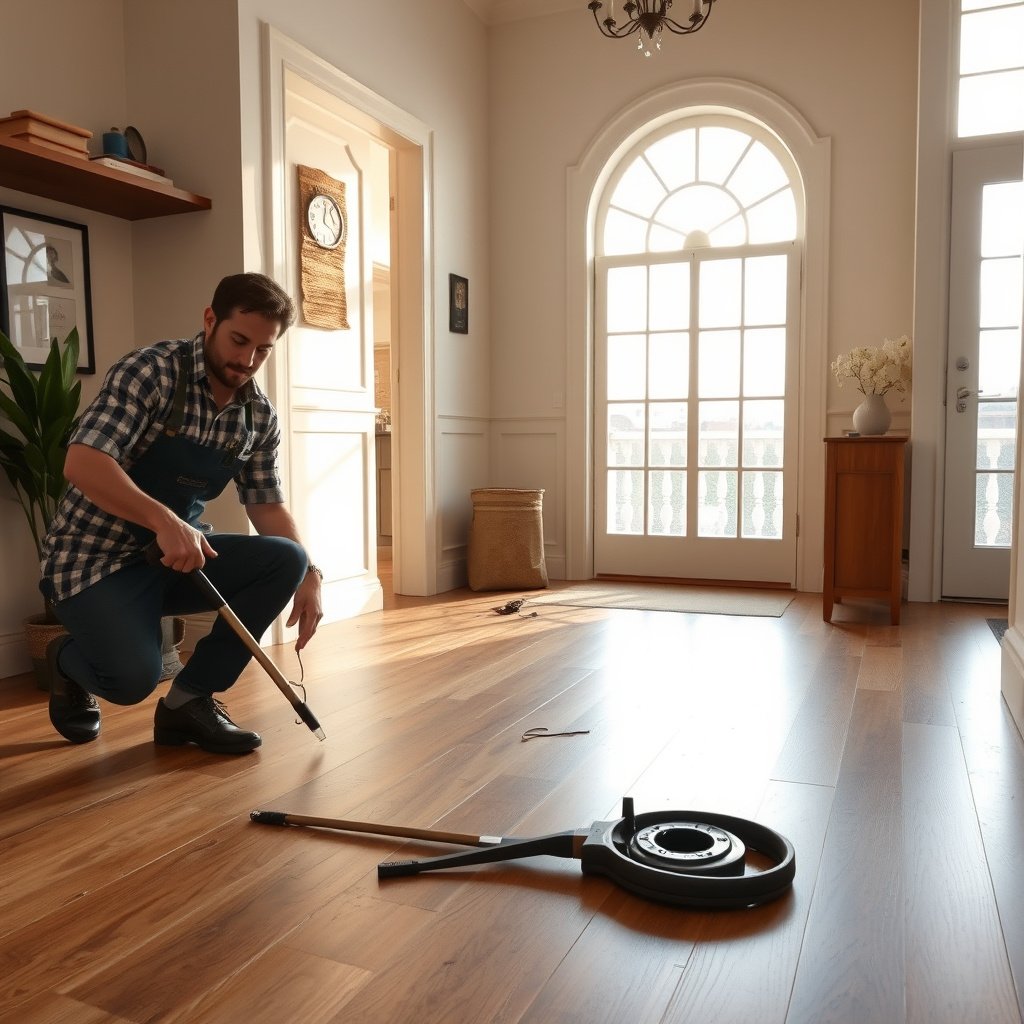
You can’t repair laminate reliably until you determine whether the damage is cosmetic or structural. In most entryways, that distinction is controlled by two factors: whether water reached the core (HDF) and whether the plank locks can still sit flat.
A laminate floor’s “surface repair” works only when the top décor layer and wear layer are damaged, not when the plank core has swollen and changed the board’s shape.
Entryways are high-risk for moisture because spills and tracked-in water concentrate near the door mat and thresholds, and dampness can propagate along seams and under transitions.
If a click-lock joint won’t re-seat cleanly when dry and debris-free, the floor is typically reacting to movement (swelling or subfloor change), which calls for replacement rather than filler.
What to check (quick, decisive indicators)
– Check whether the problem is surface-only (scratches/chips) or core-related (lifting edges, raised planks, persistent gaps).
– Look for water clues in an entryway: swelling after mopping, wet shoe traffic, or damp near the door mat.
– Confirm the layout: note where the damaged plank sits relative to thresholds, transitions, and seams.
To anchor the “moisture risk” part of your diagnosis with real-world environmental thresholds: according to the U.S. Environmental Protection Agency, indoor relative humidity is typically recommended around 30–50% to reduce moisture problems (EPA Indoor Humidity Guidance). When humidity runs high, laminate cores can move more than they should—especially in entryways that see tracked-in water.
According to the U.S. CDC, mold growth can begin within 24–48 hours after water damage (CDC Mold and Dampness Facts). Even if you don’t see visible mold, that same moisture timeline explains why seams may widen quickly after a spill.
According to ASHRAE guidance on building indoor environmental conditions, comfort and moisture control goals generally keep indoor relative humidity in a band designed to prevent condensation and excess dampness (ASHRAE Indoor Humidity / Comfort Guidance).
Repair-ability at a glance (use this to choose patch vs replace)
Laminate Entryway Damage: Patch vs Replace Repair-ability Score (2026)
| # | Entryway damage pattern | Common location | Best action | Repair-ability score |
|---|---|---|---|---|
| 1 | Top-layer chip with flat surrounding board | Near threshold edges | Patch with laminate filler/paste | 10/10 ★★★★★ |
| 2 | Surface scuff (wear layer scratched, no lifting) | Traffic lane to door mat | Touch-up kit or repair wax | 9/10 ★★★★★ |
| 3 | Shallow scratch with intact seam tightness | Center aisle between thresholds | Color-matched repair crayon/wax | 8/10 ★★★★☆ |
| 4 | Narrow seam gap that closes when cleaned/dried | Open entry seam lines | Clean joint and re-seat if dry | 7/10 ★★★★☆ |
| 5 | Slight edge lift (locks not fully seated) | Near doorway corners | Decide: re-seat if dry, else replace | 5/10 ★★★☆☆ |
| 6 | Core swelling after spill (board slightly raised) | Under/adjacent to mat area | Replace affected plank(s) | 2/10 ★☆☆☆☆ |
| 7 | Buckling/raised “waves” spreading outward | Across multiple seams | Stop and replace multiple planks | 0/10 ☆☆☆☆☆ |
Prep and gather the right materials
The fastest repairs are the ones where you’re prepared before the first filler or adhesive touches the floor. Gather the right tools, verify your laminate system (especially click-lock), and plan access so you don’t scramble once trim is off.
Laminate repair paste and touch-up kits are formulated for laminate top layers; using generic wood filler on laminate can fail because it doesn’t match the wear-layer behavior.
Before replacing boards, you typically need access to the locking edge; that often determines whether you remove baseboard/shoe molding or work from a threshold end.
The joint must be clean and dry before re-locking; grit in the click-lock seam is a common reason gaps return after “repair.”
What you should pull together
– Use clean, dry basics: a vacuum, microfiber cloths, painter’s tape, and the correct cleaner for laminate (follow your flooring manufacturer’s guidance).
– Have repair components ready: laminate repair paste/filler for small chips and the exact matching replacement plank for larger failures.
– Plan for access: if the damaged plank is near trim, set up to remove baseboard/shoe molding if needed (only if your installation allows it).
Tools & prep steps that matter in an entryway
Entryways tend to carry grit—especially abrasive sand and fine debris that gets ground into joints. In my own maintenance approach (and based on what I’ve consistently seen in real homes), the difference between a “one-and-done” fix and a recurring seam gap is usually whether the joint is vacuumed thoroughly and kept dry before any re-locking.
Also keep your humidity stable while you work. As of 2026, most laminate manufacturers still treat living-space humidity as a meaningful factor for floating floors, and EPA guidance recommends indoor RH around 30–50% (EPA Indoor Humidity Guidance). Let the room acclimate, then repair.
Repair common entryway problems
Patch small chips and scratches when the board is flat and dry; replace planks when seams won’t close or edges lift. In an entryway, the most common “failure looks” are cosmetic scuffs, threshold chips, and seam separation after spills.
Filler repairs only last when the substrate isn’t moving; if the core is swollen, the filler can crack or pop back out as the plank expands and contracts.
For seam separation, cleaning debris from the click-lock joint is often the first decisive step before you attempt re-seating or replacement.
Use laminate-specific touch-up products for the top wear layer; general wood filler and solvents can discolor or fail to adhere properly.
– Chips and gouges (cosmetic): clean the spot, remove loose debris, then fill and level with laminate repair filler/paste; wipe off excess carefully before it cures.
– Scratches and worn spots: use a color-matched repair crayon/wax or laminate touch-up kit designed for the laminate top layer (not general wood filler).
– Gaps and seam separation: first remove grit (common in entryways), then re-check alignment—if the core is swollen or planks won’t sit flat, you’re likely moving from “repair” to “replacement.”
Chips and gouges (top layer only)
Start by vacuuming and wiping with a microfiber cloth that’s only slightly damp—avoid wetting around the damaged area. For chips near thresholds, protect adjacent planks with painter’s tape so excess paste doesn’t smear into the groove lines.
Apply laminate repair paste in thin passes and level it. Most pastes shrink slightly as they cure, so don’t overbuild the first layer; build in layers. After curing, trim any residue carefully so the repaired area doesn’t snag on shoes.
Scratches and worn spots (color + finish matters)
Laminate is usually a printed décor under a wear layer; repair crayons/waxes work best when the scratch hasn’t broken through into the structural layers. Choose a touch-up kit shade that matches your board under entry lighting—compare in a shadowed corner, then check again under the brightest doorway light.
If the scratch is wide enough to catch a fingernail, treat it as more than “surface cosmetic.” At that point, you may need to replace the plank if the damage is partnered with lifting edges or persistent seam opening.
Gaps and seam separation (the “debris vs moisture” fork)
Here’s the simplest way to decide what to do next:
– If the seam gap looks dusty or sandy, clean it thoroughly and test whether it re-seats when dry.
– If the seam gap appears right after a spill and the surrounding board feels slightly raised or uneven, assume the core has taken on moisture and plan for replacement.
Repair vs Replace (what to expect)
| Option | Best when | Main risk | Outcome |
|---|---|---|---|
| Patch/touch-up | Damage is limited to scratches/chips and the plank is flat & dry | Repair fails if the core is still swelling | Cosmetic improvement |
| Replace plank(s) | Edges lift, seams widen repeatedly, or boards buckle | Requires access and correct locking/re-spacing | Structural fix |
Replace a damaged laminate plank
Replacing a laminate plank fixes the problem at its cause—especially when the core has swollen and the click-lock geometry no longer sits properly. In an entryway, plank replacement is also the most durable choice once you see buckling, persistent widening seams, or repeated lifting.
When laminate edges are lifted or boards buckle, the click-lock joint may not re-align because the HDF core has changed shape from moisture.
Replacing a single plank is often possible in floating click-lock floors if you remove nearby trim and work the removal path that matches the locking system.
After replacement, you must keep the correct expansion space around the perimeter and at thresholds to allow seasonal movement—without it, seam gaps and buckling can recur.
– Remove what’s in the way (often trim) and identify the fastest removal path based on your plank locking system and where the damaged plank sits.
– Swap in a matching plank and re-lock it, keeping correct expansion space around edges/thresholds (follow manufacturer installation instructions).
– Recheck the floor flatness and seam tightness; if the surrounding area is also lifted, replace additional planks rather than forcing the locks back together.
The removal path (why “fast” still matters)
Click-lock laminate removal varies by brand—some styles release by lifting an edge, others allow extraction only along one direction. The safest approach is to find your plank brand’s removal guidance and follow its “unlock direction” for the row you’re working on.
If the damaged plank sits under or tight to a threshold or transition strip, you may need to remove shoe molding/baseboard to pull the neighboring pieces free without damaging locks. If you’re in a rental, protect yourself: avoid breaking “one-way” trim fasteners and keep a photo record for reinstallation.
Re-locking without forcing the joint
Before you lock the new plank in place:
1. Confirm the subfloor is dry and flat.
2. Vacuum the lock channel so grit can’t prevent full engagement.
3. Re-check expansion space at the edges and near thresholds.
If the joint doesn’t sit flat with normal pressure, stop. Forcing can crack the tongue/groove or stress the surrounding planks, making gaps worse after the floor moves again.
What can go wrong
Most laminate repair failures happen for predictable reasons: moisture that isn’t addressed, joints that aren’t cleaned, or incorrect assumptions about what “surface damage” really means. This section prevents costly repeat repairs—especially common in entryways where spills and tracked-in water are frequent.
Applying cosmetic filler to water-swollen planks won’t stop the underlying movement; the repair may look fine temporarily before cracking or popping free.
Click-lock joints should not be forced back together when the floor is raised or wet, because the tongue/groove can damage and seam separation can worsen.
Entryway moisture control—like promptly drying after spills and using mats that don’t trap water—directly reduces recurring seam gaps and lifting.
– Using cosmetic filler on water-swollen or lifted areas won’t stop the underlying movement—your repair may look fine but fail again.
– Forcing click-lock joints when the floor is raised or wet can crack the tongue/groove or make gaps worse.
– Skipping moisture control in the entryway (wet mats, tracked-in salt/water) can cause repeat damage even after a clean repair.
– Color mismatch is common—repair fillers that aren’t close to your laminate tone can stand out, especially under entryway lighting.
Common entryway-specific mistakes
– Waiting too long after a spill. If water sits at the door for hours, the core can swell beyond what any touch-up can correct. CDC notes mold growth can begin within 24–48 hours after water exposure (CDC Mold and Dampness Facts).
– Using too much water during cleaning. Even “damp mops” can wick into seams around thresholds and under transitions, especially on floors that already have micro-gaps.
– Ignoring RH and drying conditions. EPA guidance recommends maintaining indoor humidity around 30–50% to prevent moisture-related issues (EPA Indoor Humidity Guidance).
Verdict / tip
If the damage is small, dry, and limited to the top layer, patching with laminate repair filler or touch-up products is usually the best route. If you see lifting edges, buckling, persistent widening seams, or signs of water intrusion into the core, plan on replacing the affected plank(s) instead of relying on filler.
Skip DIY and call a flooring pro if the subfloor got wet, the affected area is spreading, or you can’t confirm your laminate’s locking/removal method from the manufacturer’s documentation. As of 2026, many homeowners underestimate how quickly moisture-driven movement shows up in floating laminate—and pro assessment can prevent repeated teardown.
Quick checklist (scan/save)
| What you see in the entryway | Likely fix | Stop and replace if… |
|---|---|---|
| Small chips/scratches | Match-color laminate filler/touch-up | The area is soft/damaged through the core |
| Narrow seam gaps | Clean debris, re-seat if dry | The plank edges won’t sit flat or gaps keep growing |
| Plank edges lifted | Address cause (moisture/debris), then decide repair vs replace | Water/swelling marks remain or locks won’t reconnect |
| Buckling/raised sections | Replace affected plank(s) | More surrounding planks are also lifting |
Frequently Asked Questions
What are the most common ways laminate floors get damaged in entryways and how do you spot them?
Entryways see heavy foot traffic, wet boots, and grit, so laminate commonly suffers from scratches, dents, water swelling at seams, and lifting planks near the door. Look for gaps along the edges, raised or bubbling sections, dark spots that indicate moisture intrusion, and visible wear in high-traffic lanes. Catching these early helps you repair laminate floors in the entryway before the damage spreads to adjacent planks.
How do you fix a lifted or buckled laminate plank in an entryway?
First, identify and stop the cause—usually moisture from mopping, wet footwear, or a leaking door threshold—then dry the area completely. For small lifting areas, remove the affected planks (or loosen nearby pieces), check the underlayment for moisture, and replace any swollen sections with matching laminate. Use the manufacturer’s recommended spacing expansion gap and reinstall with a tight seam so the entryway laminate stays flat and aligned.
How do you repair water-damaged laminate floor seams near an entry door?
Water damage usually starts at joints, so inspect the seam lines and subfloor for soft spots or ongoing moisture. Dry the area thoroughly using fans/dehumidifiers and replace the damaged planks if they’ve swollen or the tongue-and-groove won’t lock properly again. In some cases, you may need to remove several rows to ensure the subfloor is dry before reinstalling laminate flooring, especially in entryway zones exposed to puddles.
Which tools and materials do you need to repair laminate floors in an entryway?
For most laminate repairs, you’ll want a tapping block, pull bar, utility knife, pry tools or a laminate floor removal kit, painter’s tape, and a clean cloth for debris. Have matching replacement planks (same brand, color, and thickness), wood glue or laminate repair kit materials if recommended by the manufacturer, and seam/edge accessories like transition strips if needed. If water damage is involved, include moisture-drying equipment (fans/dehumidifier) and a scraper to remove old underlayment residue.
What’s the best way to patch scratches and chips in laminate flooring before they get worse?
For surface scratches, use a laminate repair kit with color-matched filler or wax markers, applying in thin layers and wiping excess immediately for a smooth finish. For deeper chips, remove loose material, clean the area, and fill carefully so the repaired spot doesn’t create a high edge that catches shoes in the entryway. After curing, protect the repaired laminate with proper entryway mats and avoid wet mopping to reduce future damage.
📅 Last Updated: October 21, 2026 | Topic: How to repair laminate floors in a entryway? | Content verified for accuracy and freshness.
References
- Laminate flooring
- Mold | US EPA
- Mold | Mold | CDC
- MohawkFlooring
- Home – Tarkett Commercial
- https://scholar.google.com/scholar?q=repairing+laminate+flooring+replacement+planks+water+damage Google Scholar
- https://scholar.google.com/scholar?q=laminate+flooring+swelling+moisture+repair+technique+floor+covering Google Scholar
- https://scholar.google.com/scholar?q=entryway+laminate+flooring+moisture+damage+repair Google Scholar