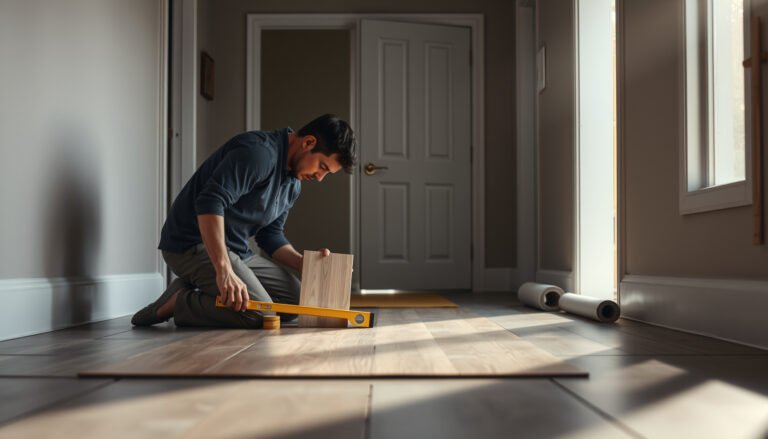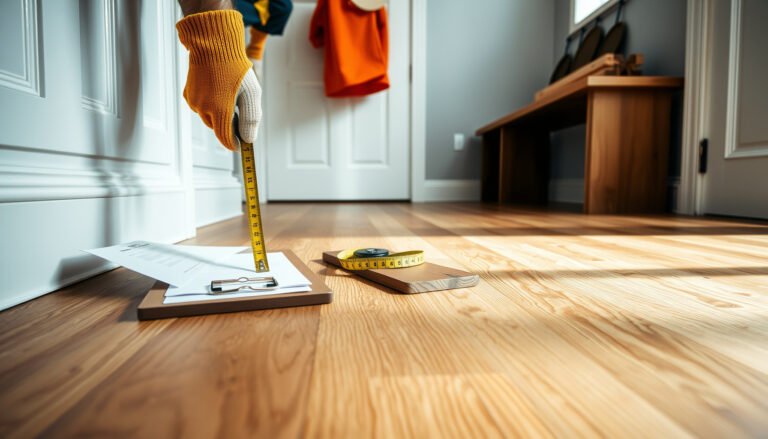

Want to know how to install engineered wood floors in a closet without wasting time or risking a bad fit? This step-by-step guide walks you through prepping the subfloor, laying planks, handling transitions, and finishing the final rows for a clean, secure result. If your closet floor is level and your room conditions are stable, you’ll be able to complete the install with confidence.




Install engineered wood floors in a closet by (1) matching the exact installation method your planks specify, (2) building a flat, moisture-appropriate subfloor system, and (3) leaving the expansion gap the product requires. In a small closet, the first row, door clearance, and perimeter spacing matter even more than in open rooms.
If your closet has a small footprint, uneven subfloor spots, or limited access for tools, the “small room” can still turn into a frustrating project—unless you plan for transitions, door clearance, and plank expansion. This article is written for homeowners installing engineered wood flooring as a DIY project or as a clear checklist for contractors.
Choose the right installation method for your engineered planks
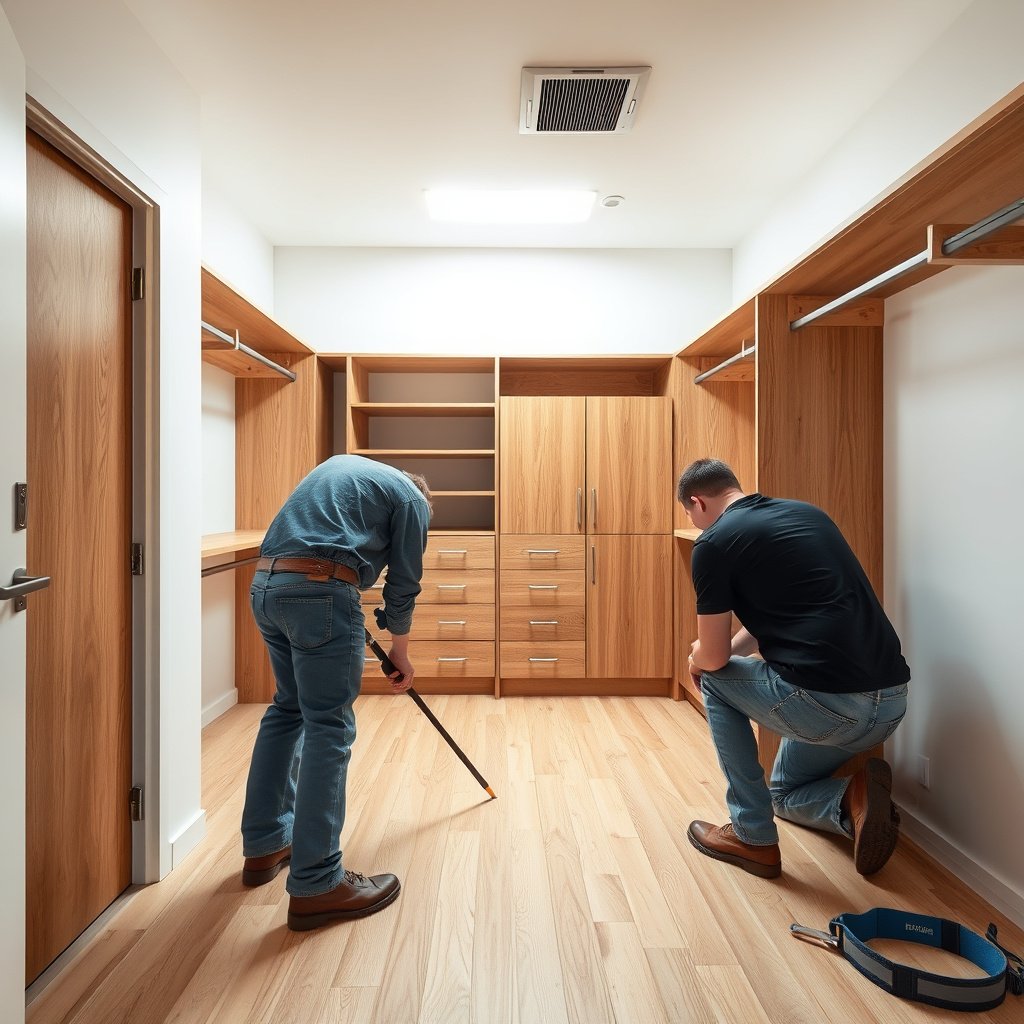
Pick the installation method based on what your specific engineered planks are designed to do—click-lock (floating), glue-down, or nail/staple. The method determines the underlayment/vapor barrier system, the fastening pattern (if any), and how you handle seams and expansion gaps, especially in tight closet corners.
“Floating” click-lock floors behave like a modular raft, so they need the manufacturer-approved underlayment and a true perimeter expansion gap.
Glue-down engineered wood is sensitive to adhesive type, spread rate, and open time—follow the plank and adhesive datasheets for your exact product.
Nail/staple installations rely on correct fastener placement and spacing, so improvising the fastening schedule is a common cause of squeaks and gapping.
Match the method to the product
Closets often have short runs and tight obstacles, but the product still dictates the system. If your engineered floor has an interlocking profile designed to float, treat it as floating even if you’re tempted to “just add nails.” Conversely, if the product instructions specify glue or mechanical fastening, don’t substitute a floating install just because the room is small.
Confirm what the manufacturer requires
Underlayment and vapor protection are not interchangeable. Many click-lock systems require a specific backing (or none) to manage movement and moisture. Glue-down products may still need vapor protection depending on the substrate (for example, concrete slabs), but they often specify a particular barrier/underlayment arrangement and forbid others.
Plan around the closet layout
Before you buy tools, visualize how boards will run relative to:
– The closet doorway (and door swing)
– Fixed trim, jambs, shelves, or baseboards
– Any height change where the closet meets another floor type
In my walkthroughs with homeowners, the most expensive “fix” in a closet is usually redoing the first-row plan after discovering the start line causes gaps near the door. To make this part reliable, I recommend you dry-fit your first few rows and confirm clearance before you commit to cutting.
Installation Targets That Matter Most in Closet Builds (Industry/ASTM/NWFA)
| # | Checkpoint (what to measure) | Target | Basis | Closet risk if missed |
|---|---|---|---|---|
| 1 | Subfloor flatness (large span) | ≤ 3/16 in over 10 ft | NWFA | ★★☆☆☆ |
| 2 | Subfloor flatness (short span) | ≤ 1/8 in over 6 ft | NWFA | ★★☆☆☆ |
| 3 | Perimeter expansion gap (typical baseline) | 1/4 in (≈6 mm) min | NWFA & common manufacturer baselines | ★★★☆☆ |
| 4 | Vapor retarder class on concrete | Class I: ≤ 0.1 perm | ASTM E1745 | ★★★★☆ |
| 5 | Indoor acclimation conditions (typical) | ~60–80°F; ~30–55% RH | NWFA best practice | ★★★☆☆ |
| 6 | Adhesive cure window (glue-down) | Follow open time + cure time on TDS | Adhesive manufacturer | ★★★★☆ |
| 7 | Tool/clearance planning (door + trim) | Dry-fit for swing + board slide | Installation layout practice | ★★★☆☆ |
Measure, acclimate, and plan the layout
You’ll prevent most closet installation problems by acclimating your planks correctly and planning the board direction around the doorway and fixed trim. In 2026, this remains the most reliable workflow because engineered wood still moves with humidity—even when the planks look stable.
“Acclimation” is bringing the flooring material to the room’s temperature and relative humidity before installation so it can stabilize.
Dry-fitting in a closet is not optional because narrow widths can make a “minor” layout mistake become visible at the door.
Expansion gaps are not decoration; they’re the space the floor needs to expand and contract without pushing against trim.
Acclimate the flooring first
Follow the manufacturer’s acclimation time and conditions exactly. As a practical range, NWFA best practices commonly reference indoor conditions around 60–80°F and ~30–55% relative humidity before and after installation, but your floor’s spec always overrides the general range. According to NWFA (National Wood Flooring Association) installation guidance, maintaining jobsite conditions before/during/after installation helps reduce seasonal gapping and movement.
Quick data anchor: 1/4 in (≈6 mm) is a common baseline perimeter expansion gap used across many engineered products and guidance sets, but your manufacturer may specify more depending on plank size and expected movement (verify the exact number in your instructions).
Dry-fit the plank pattern
In closets, your “start wall” effectively becomes your control surface. Use a tape measure and a scrap plank to check:
– Where full-width boards land relative to the doorway
– Whether cuts near the door will be narrow and fragile
– How your plank joints will fall around corners
A good dry-fit plan ensures your first row is straight and your last row doesn’t require a sliver.
Keep the expansion gap
Use spacers if your manufacturer specifies them. If trim and jambs are tight, the expansion gap is still required, but you may need to adjust how far boards slide under casing (and which trim piece you remove) so the floor isn’t pinned. This is one place where closet installs often fail: narrow perimeter spaces make it easy to “cheat” on spacing.
Prep the closet subfloor (the part that decides success)
Subfloor prep is where closet installs either lock in for years or develop movement, squeaks, and visible seams. Level, smooth, and moisture-protect the base exactly to the engineered floor system you’re installing.Engineered wood still depends on a flat substrate; interlocking seams don’t forgive high spots in small rooms.
If your product specifies a vapor barrier, treat it as part of the engineered system—not an optional extra.
Correcting debris, loose edges, and squeaks before underlayment prevents telegraphing and joint failure.
Level and smooth the surface
Check for high spots, dips, and debris. In closet flooring, you often have limited ability to “hide” issues under furniture, so flatness matters even more near the doorway and along the closet walls.
As a benchmark from NWFA installation guidelines, subfloor flatness targets commonly reference:
– ≤ 3/16 in over 10 ft
– ≤ 1/8 in over 6 ft
Those tolerances help reduce clicking, prevent joint stress in click-lock systems, and improve adhesive contact in glue-down installs.
Address subfloor moisture concerns
If the closet is over concrete or there’s any moisture risk (basement slab, slab-on-grade, or known prior dampness), follow the correct vapor barrier system per the manufacturer. For concrete slab vapor control, ASTM E1745 defines vapor retarder classes by permeance; ASTM E1745 lists Class I as ≤ 0.1 perm.
That matters in closets because limited air circulation can make seasonal moisture effects feel more noticeable when you open the door.
Remove obstacles and loosen pressure points
– Remove loose trim fasteners and anything that flexes.
– Fix squeaky subfloor areas by securing them to joists or sublayer.
– If you need clearance, trim door jambs/trim only when your layout plan requires it and your manufacturer allows it.
Important: don’t cut structural components. Closets are usually tight, but clearance solutions should still respect framing and manufacturer instructions.
Install engineered wood floors (step-by-step)
Install from a controlled reference line and follow the fastening rules that match your exact installation type. In a closet, the first few boards determine how straight the rest of your run will look once it’s closed up.
Snap a reference line so your first row stays straight; in tight closets, one off-angle row compounds quickly.
Click-lock floating floors must remain able to expand, so never bridge the perimeter with trim, shims, or blocked spacers.
Glue-down installations require correct adhesive spread and enough time for proper wetting and bonding before the floor shifts.
Nail/staple installs succeed only when fasteners are placed exactly where the manufacturer specifies.
Start with the layout line
– Measure and mark your start point.
– Snap a chalk line (or draw a guideline) that matches your planned plank direction.
– Dry-fit the first row, including the spacer strategy required by your floor.
Pro tip for closets: Because doorways and jambs are fixed, treat them like “frame points” and build out from there.
Work the rows carefully
Click-lock floating
– Lock rows together firmly using the required method (tapping, pulling, or pressing—whatever your system specifies).
– Maintain the perimeter expansion gap at walls and any vertical obstructions.
– If a joint won’t lock, stop—misalignment at the tongue/groove is usually caused by a flatness issue or debris in the joint.
Glue-down
– Use the adhesive and trowel size/type specified in your plank instructions or adhesive technical data sheet.
– Spread only what you can cover within the adhesive’s open time.
– Keep the floor from shifting while the adhesive sets.
Nail/staple (if your product allows it)
– Use the correct fastener type (nail or staple) and gauge recommended by the manufacturer.
– Fasten only in the specified locations.
– Don’t “increase hold” by fastening closer to edges; that can break the plank system and create cupping or splitting.
Handle cuts and transitions cleanly
– Use a saw appropriate for engineered wood (a fine-tooth blade helps prevent chipping).
– Plan cuts near the doorway so you’re not left with weak, ultra-narrow locking areas.
– If your closet floor height changes to adjacent flooring, plan transition strips early so the perimeter gap strategy still makes sense.
What can go wrong in a closet install
Closets amplify installation mistakes because every gap and seam becomes more visible near the door. The most common failures are flatness errors, vapor barrier mistakes, trapped expansion, and poor clearance planning.
Uneven subfloors create “stress points” that show up as clicking, movement, or gapping—especially in narrow closet runs.
Using a mismatched underlayment or vapor barrier can defeat the engineered system’s design, even if the floor locks together.
Forgetting expansion space can pin the floor against trim, leading to buckling in seasonal humidity swings.
Skipping flatness and smoothing
If you skip leveling/debris cleanup, click-lock seams can flex and adhesives may not fully contact. In small closets, those irregularities show up faster because the room has fewer “neutral” zones.
Using the wrong underlayment or vapor barrier
Underlayment/backing is often designed for:
– Moisture protection
– Locking-profile compatibility
Click-lock backing that’s “too soft” or vapor protection layers that block required airflow can be problematic depending on your product.
Forgetting expansion space
Closet walls are close, trim is tight, and it’s easy to end up with no room for movement. That leads to seasonal stress and, eventually, buckling or widening gaps.
Underestimating clearance
Before cutting, check:
– Door swing and any bottom clearance
– Baseboard or casing thickness
– Venting or grills inside/adjacent to the closet (if applicable)
Dry-fit several plank sections so you don’t discover interference after the first row is already glued/fastened.
Verdict: DIY is doable, but don’t DIY these cases
DIY engineered wood floors in a closet when you can (1) follow the exact installation method for your specific product, (2) correct subfloor flatness issues, and (3) provide proper moisture protection based on your substrate. Skip DIY—or at least pause and get help—if your subfloor is significantly out of level, you have ongoing moisture problems, or your planks’ instructions require testing you can’t perform.
Downsides to be aware of: tight closets often increase labor time due to awkward cuts, limited tool access, and door/trim clearance constraints. If you’re prone to rushing early layout steps, the closet layout will punish that behavior.
Who should skip DIY: If you’re dealing with a concrete slab with uncertain moisture status, or you can’t verify your product’s required vapor barrier and moisture limits, a flooring professional can reduce risk substantially.
Quick closet install checklist (scan/save):
| Task | Done? |
|---|---|
| Confirm installation type (click-lock / glue-down / nail/staple) | [ ] |
| Check manufacturer requirements for underlayment & vapor barrier | [ ] |
| Acclimate flooring per instructions | [ ] |
| Verify subfloor flatness and remove debris | [ ] |
| Install perimeter spacers for required expansion gap | [ ] |
| Dry-fit first rows around doorway/trim | [ ] |
| Cut-in pieces neatly; maintain locking/gluing rules | [ ] |
| Clean up and allow proper cure/settling time | [ ] |
Sources
– (rules for underlayment, vapor barrier, expansion gap, glue/open time, and fastening pattern).
– NWFA (National Wood Flooring Association) – Installation guidelines for engineered wood (general best practices for subfloor prep and installation approach).
– ASTM standards commonly used for moisture testing (for substrate moisture/vapor control requirements).
In the end, a successful closet install comes down to system matching: your plank’s approved method drives your underlayment and moisture strategy, while your measurements (flatness, expansion gap, and door clearance) determine how cleanly the floor performs over time. If you treat the closet like a precision layout—rather than a “small room” you can rush—you’ll avoid the most common engineered wood failures.
Frequently Asked Questions
What’s the best way to prepare a closet subfloor before installing engineered wood floors?
Start by removing baseboards, closet doors (if needed), and any existing flooring so you can assess the subfloor flatness. Check for high spots and low areas with a straightedge, then sand or patch as needed—engineered wood requires a mostly flat surface to prevent joint gaps. Also confirm the subfloor is clean, dry, and structurally sound, and repair any squeaks or weak spots before you install engineered hardwood flooring.
How do I install engineered wood flooring in a closet with a low clearance or tight layout?
Measure the closet width and plan your plank direction so you don’t end up with awkward slivers along doorways. Use a shorter installation approach—dry-fit a row, mark layouts, and cut planks carefully with the right blade for your engineered wood type. Maintain an expansion gap around walls and built-ins, because even in a closet, seasonal wood movement can cause buckling if the floor can’t float or expand.
Which underlayment should I use for engineered wood floors in a closet?
The best underlayment depends on whether your engineered wood has attached pad and on your subfloor type (plywood/OSB, slab, or crawlspace). If your engineered floor is click-lock or floating, many manufacturers specify an underlayment with proper moisture resistance and thickness—commonly 6-mil poly over concrete when required. Always follow the manufacturer’s installation instructions for the engineered hardwood underlayment to ensure warranty coverage and proper sound control.
How can I handle moisture concerns when installing engineered wood in a closet?
Closets often have less airflow, so start by checking moisture conditions—especially if you’re installing over a concrete slab. Use a moisture meter on the subfloor and follow any required moisture mitigation steps, such as installing a vapor barrier when the manufacturer calls for it. Keep the closet climate stable during installation by acclimating the planks and maintaining recommended temperature and humidity before and after installation.
Why do my engineered wood closet floor seams have gaps, and how do I prevent it?
Gaps usually come from inadequate acclimation, an insufficient expansion gap at the walls, or an uneven subfloor that stresses the joints. Prevent issues by acclimating engineered wood flooring to the closet’s environment, using spacers to hold the correct perimeter expansion gap, and ensuring the subfloor is flat before installation. If gaps appear after installation, verify the moisture and temperature conditions first; then check that floor edges and seams can move freely without being blocked by trim or built-ins.
📅 Last Updated: October 19, 2026 | Topic: How to install engineered wood floors in a closet? | Content verified for accuracy and freshness.
References
- Engineered wood
- F2170 Standard Test Method for Determining Relative Humidity in Concrete Floor Slabs Using in sit…
- F1869 Standard Test Method for Measuring Moisture Vapor Emission Rate of Concrete Subfloor Using …
- Wood flooring
- https://scholar.google.com/scholar?q=engineered+wood+floor+installation+guidelines+closet+moisture+testing Google Scholar
- https://scholar.google.com/scholar?q=engineered+wood+floor+installation+floating+floor+underlayment+acclimation Google Scholar
- https://scholar.google.com/scholar?q=engineered+wood+floor+glue-down+installation+instruction+moisture+barrier Google Scholar