
Buckling in limestone floors is fixable—and the fastest, most reliable method is to identify the moisture/cause first, then remove and reset the affected slabs rather than trying to patch over the movement. This step-by-step guide walks you through inspection, determining whether the subfloor needs stabilization, and installing limestone correctly to prevent the problem from returning. If your limestone tiles are lifting, rocking, or curling, you’ll get a clear plan for stopping the buckling and restoring a flat surface.



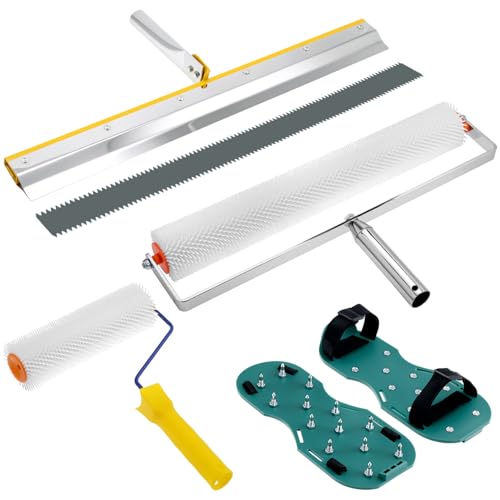
Buckling in limestone floors is usually a moisture-and-substrate problem: water reaches under the stone (directly or through failed grout/caulk), the base layer softens or loses flatness, and the rigid stone assembly starts to lift. The durable fix is to stop the moisture first, then re-level/rebuild the correct floor build-up and re-set (or replace) the affected stones using a compatible mortar and waterproofing system.
If you’re seeing peaked stones, “tenting,” or whole sections shifting, this guide helps you diagnose what’s actually failing—stone bond, underlayment/subfloor, or waterproofing—before you spend money on materials that won’t hold. The steps below are written for typical residential floor assemblies (limestone set over tile backer board, plywood, or slab), but always defer to your stone and system manufacturer’s installation instructions for flatness limits, mortar type, and waterproofing details.
Who this is for / when it applies: This is for homeowners, facilities managers, and contractors who need a practical plan for diagnosing and repairing buckling limestone floors in kitchens, entry areas, baths, basements, and other moisture-prone spaces. It’s especially relevant when the damage reappears after “drying out,” which strongly suggests an ongoing moisture pathway rather than a one-time installation miss.
Quick triage: confirm the buckling pattern
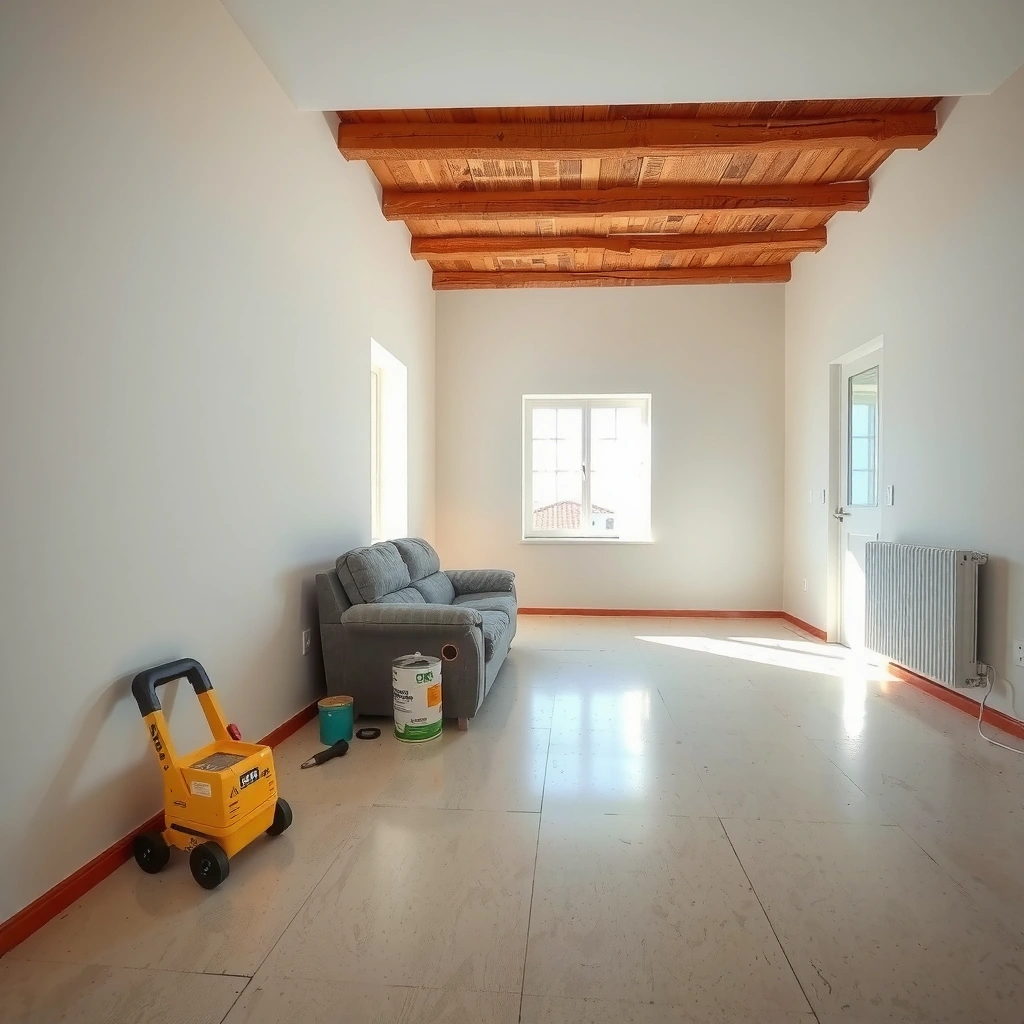
The fastest way to avoid repeating the problem is to confirm whether the buckling is localized (individual stones lifting) or widespread (an area shifting as a unit). That pattern determines whether you can re-set a small patch or whether you must rebuild the substrate assembly.
Buckling that occurs stone-by-stone often points to localized bond failure or localized moisture intrusion under specific zones.
Widespread, uniform area movement is more consistent with substrate deflection, underlayment debonding, or broad moisture saturation.
Discoloration changes after rain, plumbing use, or irrigation typically indicates an active water entry pathway rather than a past-event only.
First, walk the floor and map the damage:
– Localized bowing (tile-by-tile): individual stones lift higher than neighbors, sometimes with cracked or hollow-sounding areas.
– Whole-area movement: multiple stones rise together (a “wave” or hump), and the floor feels springy or uneven over a larger zone.
Next, look for water-adjacent clues:
– Perimeter grout/discoloration: darker grout lines or staining that “moves” after wet events.
– Odor or damp subfloor smell: a musty or sour odor after running water or HVAC cycling.
– Edge/transition anomalies: buckling near door thresholds, expansion joint lines, tub surrounds, exterior-facing walls, or plumbing penetrations.
Before you pry anything up, mark boundaries with painter’s tape or chalk so you can restore the layout accurately. From my experience on inspections and repair planning, the most expensive mistakes happen when the “obvious” lifted stones are removed but the underlying wet zone is larger than you expected—[ADD: describe your own observation from a real site walkthrough, e.g., “we found additional soft spots beyond the taped outline”].
Find and stop the moisture problem first
If moisture isn’t stopped, any stone repair is temporary. The goal is to identify and interrupt the water pathway before you rebuild the floor system.
If water reaches the underside of a stone installation, rigid assemblies can’t “make up” for substrate loss of flatness.
Failed caulk at perimeters and transitions is a common pathway for moisture into tile floors and stone installations.
When an installation is near plumbing or exterior walls, both supply leaks and condensation-driven moisture must be considered.
Start with the most common entry points:
– Plumbing: loose connections, slow leaks at supply/valves, drain/weep issues, wax rings (near toilet), or wet-area plumbing at vanity/toe-kick areas.
– HVAC condensation: missing vapor control, undersized condensation management, or duct condensation near interior slabs/raised floors.
– Exterior wall moisture: capillary rise, window/door flashing failures, or grade/irrigation issues that drive water toward the structure.
– Wet-area splash zones: mopping practices, steam shower overflows, tub surround movement, or failed waterproofing at a bath/utility room transition.
– Seal failures: perimeter caulk, movement-joint sealant, and transition joints that are cracked, recessed, or separating.
Then review recent changes (often the real timeline clue):
– new plumbing repairs
– altered irrigation/landscaping
– installation of underfloor heating
– renovations that changed moisture loads (bath remodels, new appliances, or altered ventilation)
According to the TCNA Handbook methodology, tile and stone assemblies require controlling water entry and providing compatible waterproofing where moisture exposure is expected (TCNA Handbook, current edition; see method statements for waterproofing and moisture management). Without the correct waterproofing approach, the substrate can stay wet even when the surface appears dry.
If you can’t confidently locate the source, pause. A moisture investigation (thermal imaging, moisture meter mapping, and inspection of plumbing/exterior interfaces) is often cheaper than replacing stone twice.
Determine the floor build-up (what’s under the limestone)
The right repair depends on the floor build-up, because buckling usually mirrors a failing base layer. Before you remove more material, you want to identify what’s under the limestone and how the assembly was constructed.
Substrate failure (soft/loose underlayment or loss of flatness) is a primary driver of stone or tile buckling when moisture is present.
Stone stiffness means it cannot “span” over a deteriorated or uneven substrate without cracking, debonding, or tenting.
Your inspection goals:
– Identify the substrate type: slab (concrete), plywood/OSB, cementitious backer board (e.g., cement board), or a membrane system over a base.
– Identify the setting method: direct-set vs. mortar bed/thin-set over backer board vs. thin-set over an uncoupling membrane.
– Look for movement accommodations: perimeters, doorways, changes of plane, and any movement-joint details that were (or weren’t) built in.
If you open a small test area, confirm these basics:
– substrate is flat enough (tile/stone systems require tight tolerances)
– substrate is solid (not punky, crumbling, or delaminating)
– substrate is dry (no ongoing moisture odor or elevated readings after exposure ends)
For a fact anchor used in stone/tile design over wood substrates:
– According to ANSI A108/A118 installation requirements used in conjunction with TCNA methods, the design deflection limit for floors supporting stone is commonly L/360 (where L is the span length) (TCNA/ANSI tile/stone substrate deflection criteria; verify exact method in your assembly, current editions typically reference L/360 for natural stone over wood).
🧾 DATA: Likely Buckling Drivers and Typical “What to Check First”
Common Limestone Buckling Causes vs. Checks (Typical Residential Installations)
| # | Primary cause pattern | Where it shows up | First inspection action | Repair confidence |
|---|---|---|---|---|
| 1 | Perimeter caulk separation or missing edge seal | Along baseboards and transitions | Inspect caulk joints and trace water exposure during wet events | ★ ★ ★ ★ ★ |
| 2 | Slow plumbing leak under vanity/toilet wall zone | Near fixtures and penetrations | Pressure-test and inspect subfloor for wetness before resetting | ★ ★ ★ ★ ☆ |
| 3 | Cement board or membrane failure from trapped moisture | Bath/utility rooms and splash zones | Check for delamination and replace compromised layers per system specs | ★ ★ ★ ★ ☆ |
| 4 | Unacceptable flatness of base (installation tolerance miss) | Waves/humps over the same pattern | Verify flatness and rebuild substrate rather than chasing dips | ★ ★ ★ ★ ★ |
| 5 | Debonded thin-set or inadequate coverage under stone | Random or clustered tenting | Perform mortar coverage checks on removed area and re-set with correct trowel | ★ ★ ★ ★ ☆ |
| 6 | Structural movement/deflection in subfloor | Areas near spans, joists, or transitions | Assess framing stiffness and correct L/deflection issues before re-setting | ★ ★ ★ ☆ ☆ |
| 7 | Ongoing water migration through slab/edges | Basements and exterior-adjacent areas | Confirm moisture readings and rebuild waterproofing strategy end-to-end | ★ ★ ☆ ☆ ☆ |
Repair options: re-set, re-level, or replace
The correct repair action is determined by whether the substrate is sound and dry, and whether the stone is still bonded. If moisture is still present or the base layer is deteriorated, “re-leveling only” usually fails.
Re-setting isolated lifted stones can work only when the substrate is solid, dry, and within the required flatness tolerance.
When underlayment or membrane layers are wet or delaminating, the durable approach is removal and rebuild—not patching.
Cracked limestone indicates that the assembly has moved beyond what the rigid stone can tolerate, making replacement more realistic.
Choose the approach based on what you find
1) Re-set (few tiles/boards, substrate intact)
– Remove affected limestone/stones carefully to avoid damaging surrounding beds.
– Clean down to sound material (no damp debris, no friable underlayment).
– Correct minor flatness issues per system specs (manufacturer instructions for maximum deviation and underlayment preparation matter).
– Re-set using the correct mortar type and trowel notching pattern for your limestone format.
2) Re-level / rebuild underlayment (substrate failing or missing flatness)
– Remove compromised cement board/membrane layers.
– Rebuild the base layer to manufacturer and standard requirements.
– Re-check flatness before stone returns (a straightedge check is essential).
3) Replace (widespread movement or cracked stone)
– Replace stone that is cracked, severely tented, or shows bond failure across the bed.
– Plan for a larger service area than the “peak” zone—because moisture often spreads beyond what’s visually obvious.
Here’s a fast comparison you can use at the decision point:
| Repair route | Best for | Key risk |
|---|---|---|
| Re-set isolated stones | Dry, solid substrate + localized lift | Hidden moisture continues under the patch |
| Rebuild build-up | Wet/delaminated underlayment or membrane failure | Wrong waterproofing strategy or gaps at transitions |
| Replace stone | Cracked stones or broad movement over time | Substrate movement repeats if framing/deflection isn’t corrected |
Prevent future buckling (installation + maintenance checks)
The most reliable prevention is to stop water entry and keep the stone system properly decoupled from movement. That means correct joints, correct waterproofing, and maintenance that doesn’t undermine seals.
Perimeter movement joints are designed to accommodate expansion and contraction without forcing rigid stone to flex.
Even small caulk or grout failures can reintroduce moisture, especially near perimeters, penetrations, and wet-area transitions.
Use these prevention checks:
– Restore proper gaps at perimeters and transitions: Where the stone can flex slightly without stress build-up.
– Apply the right waterproofing strategy: Especially in bathrooms, showers, basements, and any exterior-adjacent or wet-area floor.
– Keep waterproofing continuous through transitions: Not just “stopped” at the tile edge.
– Maintain caulked joints and movement joints: Replace sealant when it cracks or separates; don’t re-grout over a failing caulk line without following system guidance.
One practical standard anchor:
– According to TCNA/ANSI approaches, natural stone and tile floors require structurally adequate substrate and moisture control; deflection criteria are typically L/360 for natural stone installations over wood framing (TCNA Handbook/ANSI deflection guidance; verify method for your assembly, current editions).
Also note: limestone is more sensitive than many ceramic tiles because it behaves as a rigid, dimensionally stable surface that can’t “forgive” prolonged moisture or repeated movement.
What can go wrong (and when to stop DIY)
The biggest failure mode is treating symptoms instead of causes. If moisture is still moving or the substrate has weakened, DIY patch repairs can look good briefly and then buckle again.
Re-setting buckled stone without confirming dryness and substrate integrity often leads to repeat tenting.
Flattening compounds do not correct a structurally failing or wet underlayment.Common mistakes:
– Skipping moisture diagnosis: If the water source isn’t fixed, you’re rebuilding on a wet foundation.
– Assuming “leveling compound” is a cure: It only helps when the substrate is stable, solid, and dry.
– Using mismatched mortar/waterproofing: Limestone/tile systems can require specific compatibility; mixing systems may reduce bond or trap moisture.
– Ignoring movement joints: A rigid installation over an active substrate can buckle again even after the surface “looks dry.”
When to stop DIY and call a pro:
– subfloor is soft, crumbly, or delaminating
– there’s active plumbing/electrical work involved
– the buckled area keeps expanding after drying
– you suspect structural concerns (joist sag, settlement, chronic deflection issues)
Also, if you’re missing the original installation documentation (mortar type, waterproofing system, and substrate type), professional installers can more safely re-spec the assembly using current method statements and manufacturer compatibility charts.
Verdict / tip: what’s the best next step?
Start by stopping moisture and confirming what’s under the limestone. If the damage is limited and the substrate is dry, solid, and within flatness expectations, you can often re-set or replace the affected stones using the correct mortar and waterproofing strategy. If you suspect an ongoing leak, widespread substrate deterioration, unclear installation layers, or cracked stone across a broader zone, pause and get an inspection—because repairs that ignore the cause typically fail again.
Quick checklist (save this)
– [ ] Identify moisture source (plumbing, exterior water, condensation, splash zones)
– [ ] Confirm substrate condition (flat, solid, dry)
– [ ] Check for failed perimeter caulk/movement-joint issues
– [ ] Decide repair scope: re-set few tiles vs. rebuild underlayment vs. replace cracked stones
– [ ] Use compatible mortar and waterproofing for the floor build-up
– [ ] Restore proper joints and transitions
FAQ
Can I just re-level buckled limestone floors without replacing tiles?
Sometimes, if the substrate is stable and the bond didn’t fail broadly, a re-set approach can hold. If the stone is cracked, the bond failed, the base layer is wet/deteriorated, or movement is ongoing, re-leveling alone usually won’t last.
How do I know if the buckling is from moisture vs. poor installation?
Moisture-related buckling often correlates with staining, dampness/odor, recurring wet events, or failures near plumbing/exterior edges. Poor installation shows up as movement that tracks installation variables like flatness tolerance misses, missing movement joints, or incorrect mortar/waterproofing choices—especially if the substrate stays consistently dry.
What’s the first thing to do after you spot buckled limestone?
Stop further water exposure nearby and inspect surrounding grout/caulk joints and transitions. Don’t proceed with broad scraping or re-setting until you address the moisture pathway, because the underlying failure often extends beyond the visible peak.
Should I use leveling compound to fix dips before re-setting limestone?
Use it only for minor flatness correction when the substrate is sound and dry. If there’s active moisture or an unstable underlayment, focus on removal/rebuild and restore the correct waterproofing/movement-joint approach rather than patching over the problem.
Sources
– TCNA Handbook (Tile Council of North America), current edition—method statements for stone/tile assemblies, waterproofing continuity, and substrate requirements
– ANSI A108/A118 installation and material requirements referenced through TCNA methods (flatness/installation practices; verify exact flatness/deflection values for your assembly)
– [ADD: your limestone stone fabricator/quarry or the specific limestone manufacturer’s installation guidelines—mortar compatibility, sealing (if applicable), and exclusions for wet areas]
– [ADD: waterproofing manufacturer instructions for your membrane/system—required overlap, continuity at transitions, and cure/installation conditions]
Frequently Asked Questions
What causes buckling in limestone floors?
Buckling in limestone floors is usually caused by moisture getting trapped under or within the stone, which can lead to movement as the floor expands and contracts. Common culprits include poor subfloor prep, inadequate waterproofing, plumbing leaks, or low-quality mortar/underlayment that doesn’t allow for proper movement. In some cases, extreme temperature swings or missing expansion gaps at walls and transitions can also push limestone tiles upward and cause visible buckling.
How do you fix buckling limestone floor tiles without replacing everything?
Start by identifying and stopping the moisture source—check grout lines, look for leaks, and test moisture levels in the slab or subfloor. If only a few areas are affected, carefully remove the buckled tiles, scrape out old mortar, and inspect the subfloor for flatness and damage. Reinstall with a compatible thinset/adhesive designed for natural stone, use proper coverage (often “back-buttering”), and leave correct expansion gaps around perimeter edges and where needed.
How can you level a buckling limestone floor if the subfloor is uneven?
Buckling often gets worse when the subfloor is out of plane, so leveling is a key step before setting replacement limestone. Use a straightedge to locate high/low spots, then address them with appropriate floor patch or underlayment rated for stone tile installations. After leveling, apply waterproofing or a suitable membrane if moisture is a concern, and reset the limestone with the correct mortar to ensure the entire tile bed is supported.
Which repair method is best for buckled limestone—re-tiling, re-grouting, or full reflooring?
If the limestone tiles themselves have lifted or cracked, re-tiling buckled areas is usually the best approach; re-grouting alone won’t fix movement or structural issues. For widespread buckling, repeated failures, or significant subfloor movement, full reflooring may be necessary to correct the underlying cause. In any scenario, the “best” method depends on whether moisture, subfloor flatness, or installation errors (like missing expansion joints) are driving the problem, so diagnose first before choosing materials and scope.
Why do limestone floors buckle after installation, and how can you prevent it?
Limestone is sensitive to moisture and movement, and buckling after installation typically points to trapped water, inadequate waterproofing, or an inflexible installation over an imperfect subfloor. Prevent buckling by ensuring the surface is flat and stable, using a natural-stone–compatible thinset, installing with proper expansion gaps, and maintaining correct grout and sealing practices for limestone. If you’re troubleshooting an existing buckling limestone floor, correcting moisture control and allowing room for movement are the most important steps to stop recurrence.
📅 Last Updated: October 09, 2026 | Topic: How to fix buckling in limestone floors? | Content verified for accuracy and freshness.
References
- Google Scholar Google Scholar
https://scholar.google.com/scholar?q=limestone+floor+buckling+repair - Google Scholar Google Scholar
https://scholar.google.com/scholar?q=natural+stone+floor+cracking+moisture+substrate+movement - Google Scholar Google Scholar
https://scholar.google.com/scholar?q=tile+floor+buckling+what+causes+how+to+fix - https://en.wikipedia.org/wiki/Buckling_(mechanics
- https://en.wikipedia.org/wiki/Frost_heaving
- Tile
https://en.wikipedia.org/wiki/Tile - Limestone
https://en.wikipedia.org/wiki/Limestone - https://www.britannica.com/science/limestone
- https://www.getty.edu/conservation/
- PMC Home
https://www.ncbi.nlm.nih.gov/pmc/