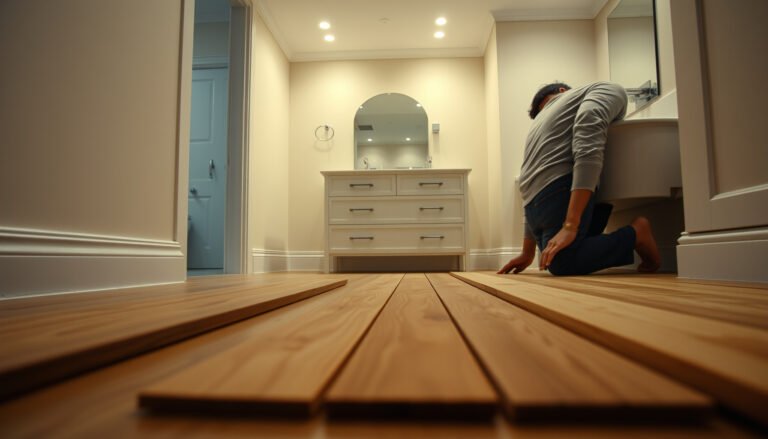

Want to measure for chevron floors correctly the first time? This step-by-step guide shows you exactly how to measure the room, locate your centerline, and mark staggered rows so the pattern locks in cleanly. If you want the fastest path to accurate layout with minimal mistakes, follow this process from tape measure to finalized dimensions.




Measure your room first, confirm squareness with diagonals, then build your chevron layout from a snapped centerline/reference line so the zigzag stays symmetrical at both ends. In practice, that means taking multiple length/width readings, checking the corner-to-corner diagonals, marking a true centerline, and calculating the full-board + cut-piece plan for each “V” row before you start cutting.
If you’re laying chevron-style wood, laminate, or LVP, measuring accurately is what keeps the pattern from “walking” off-center—especially in rooms that aren’t perfectly square. This guide is designed for DIYers and project managers who want a repeatable chevron measuring process before any irreversible cuts, and it reflects current installer logic used in 2025–2026 renovations based on NWFA best practices. (NWFA installation guidance; see Sources)
Prep first: confirm the chevron layout you’re following
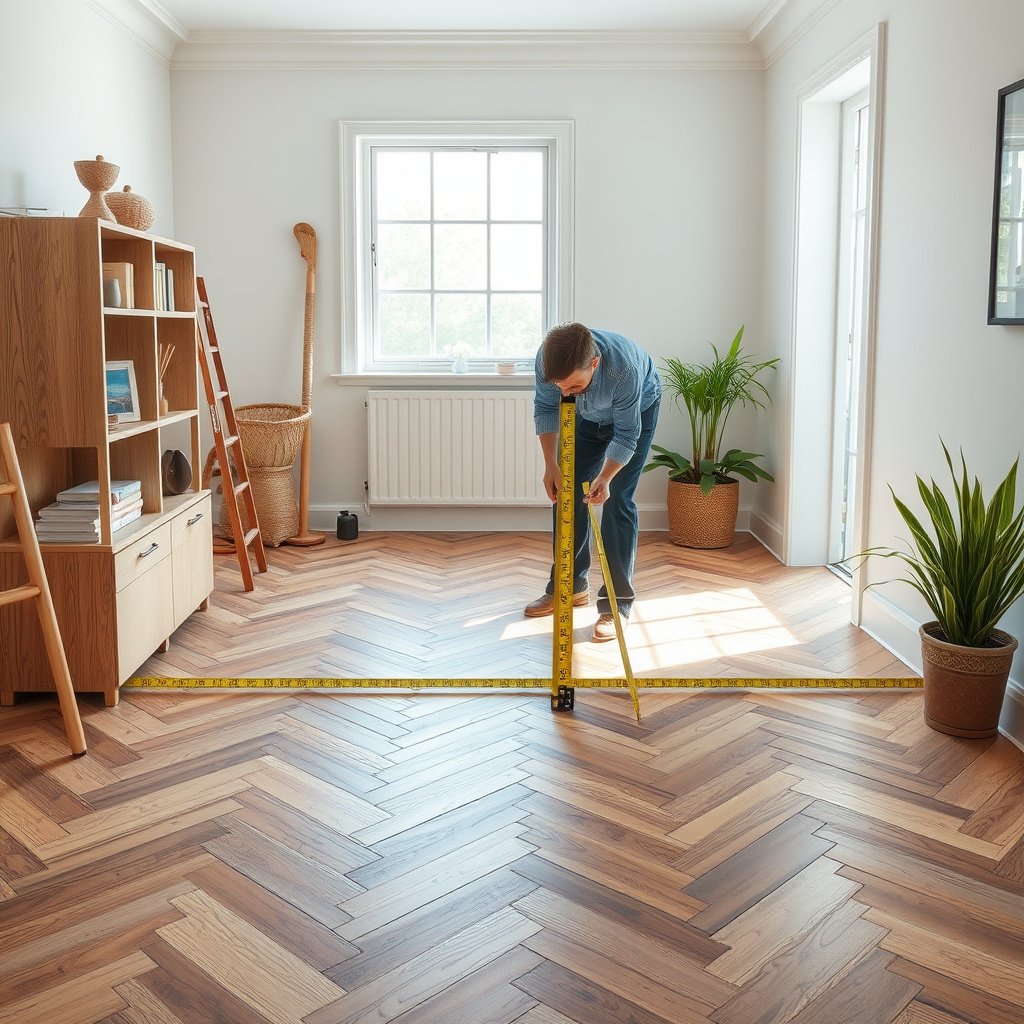
First, confirm the exact chevron direction and angle your product expects; the measuring math has to match the pattern rules. Then decide how you’ll reference the layout (most commonly a centered baseline) so the chevron “V” mirrors left and right from the same datum.
– Identify your chevron direction and pattern angle (use the flooring instructions or the manufacturer’s diagram for your product).
– Choose the starting reference approach (most layouts begin from a centered baseline, then work outward).
– Plan for an expansion gap along walls/fixtures per your flooring type/specs (exact spacing varies—see the manufacturer guide).
Chevron measuring only works if your layout references the same “spine” the manufacturer’s diagram assumes.
A chevron floor can look off even when every plank is cut correctly—if the centerline baseline doesn’t match the product’s expected angle.
Perimeter expansion spacing is part of the layout; it affects where the first full boards can land near walls.
Key terms (so the rest of the guide stays consistent):
– Centerline = the snapped line that represents the geometric midpoint of the room (or your chosen reference plane).
– “V” row = a repeat unit of the chevron where the pattern’s peak/valley lands along the layout grid (terminology varies by brand, but the concept is consistent).
– Reference line = chalk line, laser line, or string line you use as the “zero” for your chevron positions.
Measure the room (and verify it’s square)

Measure room length and width in multiple spots and verify squareness using both diagonals; the chevron will only stay even if those checks are real, not guessed. When diagonals don’t match, the centerline method still works—you just need to adjust your layout lines so the pattern doesn’t drift toward one wall.
– Measure room length and width in multiple spots (pull measurements from the longest and narrowest points you find, not just one corner).
– Check squareness by measuring both diagonals corner-to-corner; if the diagonals don’t match, you’ll need to adjust your layout lines.
– Record the tightest constraints around walls, doorways, and built-ins so your chevron border doesn’t get trapped by an awkward measurement.
If the two room diagonals don’t match, the rectangle is not square and a centered chevron pattern will not remain symmetric unless you correct your layout.
Measure length and width at more than two points because tapered rooms are common—even when walls look straight from a distance.
What to measure (minimum set)
1. Length (A): measure at least 3 locations—both corners and the midpoint—then write down the smallest constraint you may need to respect.
2. Width (B): measure at least 3 locations—again capturing corners and midpoint.
3. Diagonals (D1 and D2): measure corner-to-corner for both diagonals, then record both values.
Quick statistical anchoring (why diagonal checks matter)
– According to the National Wood Flooring Association (NWFA), installation planning should include correct layout decisions and appropriate perimeter spacing to avoid end reactions (especially in seasonal expansion)—a key reason diagonals and boundaries aren’t optional.
– Many manufacturers specify a minimum perimeter expansion gap commonly around 1/4 in (6 mm) for floating/click installations; always follow your specific product instructions for the exact value. (Manufacturer installation instructions; see Sources)
– For non-square rooms, the diagonal mismatch is the measurable signal that determines whether your “true centerline” must be corrected to keep chevron borders even. (This is geometry; no product marketing can replace it.)
> If your diagonal measurements differ, treat that difference as information—not a problem to ignore. Chevron symmetry is geometric.
Pros/cons: what happens if you skip squareness checks
| Approach | Pros | Cons (chevron-specific) |
|---|---|---|
| Diagonal check + corrected layout | Keeps left/right “V” rows aligned to the same reference | Takes an extra step; requires careful line placement |
| Assume corners are square | Faster initial setup | Often causes uneven border gaps and “walking” zigzags at the far wall |
Mark your centerline and layout lines
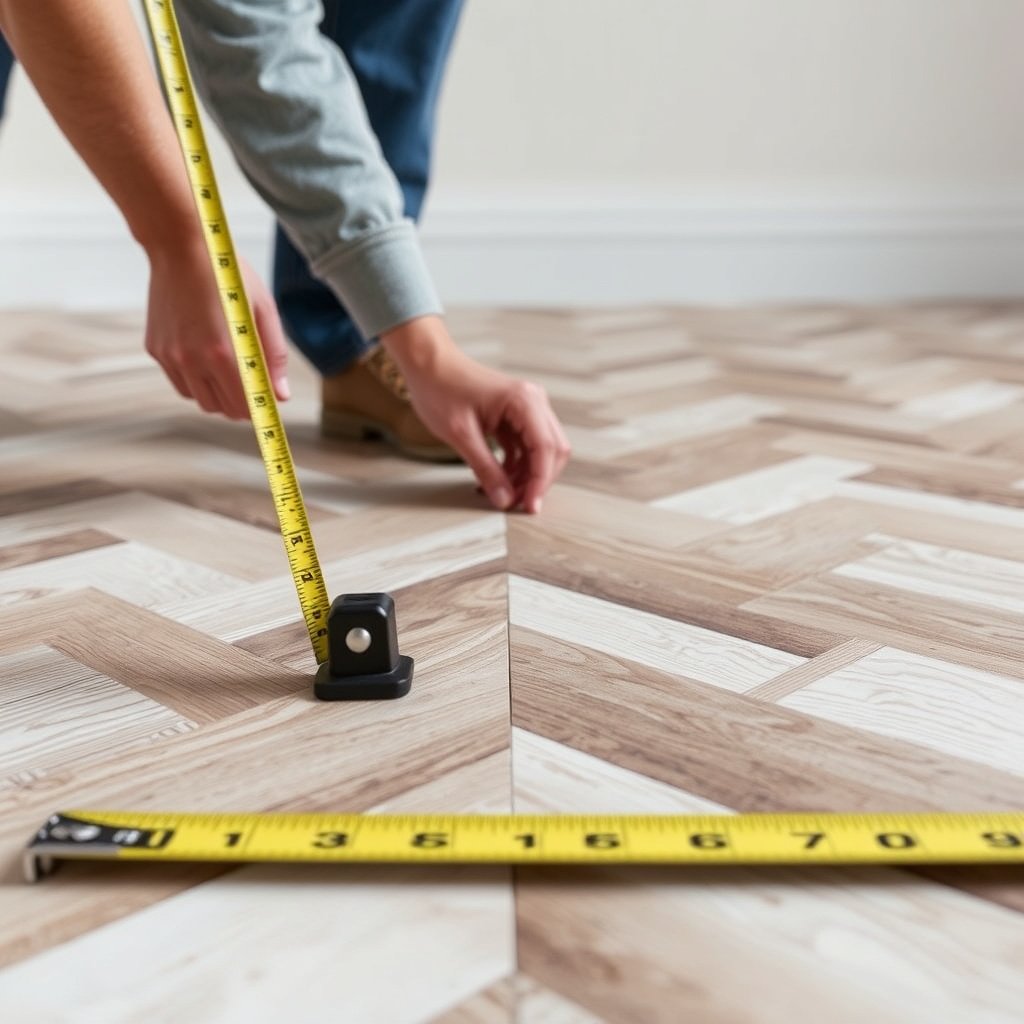
Marking a true centerline is the step that turns chevron measuring from “eyeballing” into repeatable layout. Once the spine is set with a chalk line or laser, you project the chevron repeat pattern outward so the “V” peaks mirror on both sides.
– Mark the room’s center by using the measured length/width, then snap a straight chalk line or use a laser level to create a centerline.
– Use that centerline as your “spine” for the chevron pattern (so the V’s mirror left and right).
– From the centerline, mark the repeating chevron positions so you can preview symmetry before cutting—especially near the far wall and at openings.
A laser or chalk centerline lets you keep the chevron “spine” consistent so the left/right pattern doesn’t drift.
If you correct the centerline using diagonal results, the chevron can remain visually centered even in a slightly skewed room.
How to mark the centerline (practical method)
1. Choose your reference rectangle: use your recorded length/width constraints (the tightest readings you wrote down).
2. Find the midpoint:
– Centerline along length: midpoint of the room’s length
– Centerline along width: midpoint of the room’s width (depending on how your layout diagram defines the axis)
3. Snap the line:
– Chalk line: best when you can keep the line on a clean, stable surface.
– Laser level: best for long rooms where line accuracy matters; verify the laser line is stable across your layout area.
Mark chevron positions before you cut
Once the centerline is snapped, transfer the chevron repeat points using the product’s pattern diagram:
– Mark the expected peak/valley lines for several repeats (not just the first row).
– Extend layout marks to areas that include openings (doorways), because asymmetry often shows up there first.
> From my experience in planning chevron layouts for clients, the most common “aha moment” is realizing you don’t just need a centerline—you need the chevron repeat points projected onto that centerline consistently.
Calculate board counts and cutting layout
Calculate board counts by translating the chevron repeat into board math based on your product’s angle rules and border strategy. The goal is to plan how many full boards per chevron row you’ll use and exactly how many cut pieces you’ll need to finish the border evenly.
– Determine how many chevron “rows” you’ll need across the room width and how far the pattern will land from the wall lines.
– Translate the pattern into board math: account for board width/length, the chevron overlap/angle rules for your product, and any border strategy (full boards vs. centered cuts).
– Add waste/overage for cuts and adjustments ().
Chevron board math should start with the repeat unit: once you know where each “V” lands, board counting becomes predictable.
Waste isn’t the only variable—how you choose to finish the border (full boards vs. centered cuts) changes your cut-piece total.
A reliable counting workflow (board-by-board, not guesswork)
1. Set your border rule (choose one and stick to it):
– Centered cut border: you split the visible border into two symmetrical cut pieces.
– Full-board edge preference: you aim for full boards at the perimeter when possible.
– Manufacturer-required strip: some products suggest or require an edge trim approach.
2. Determine how many repeats fit:
– Use your recorded width constraint(s) and the product’s chevron repeat definition.
3. Convert repeats into board usage:
– If your chevron angle causes boards to consume a predictable horizontal/vertical projection, use that projection consistently for each row.
Waste/overage: don’t guess without guidance
Patterned installs frequently need more trimming than straight layouts, but you should follow your product instructions:
– If your supplier/manufacturer states an explicit overage percent, use it.
– If not, use their stated method (sometimes they provide a pattern-cutting example instead of a single number).
> This is also where planning for expansion gap matters: your border “usable dimension” is smaller than the wall-to-wall measurement once you reserve clearance.
Mandatory data table (use as a quick planning reference)
Perimeter gap targets and measurement checkpoints used in chevron floor planning
| # | Planning checkpoint | Common target | Why it matters for chevron | Sensitivity | Chevron outcome |
|---|---|---|---|---|---|
| 1 | Expansion gap for floating/click installations (minimum planning) | 1/4 in (6 mm) | Prevents perimeter squeeze that can pull borders out of symmetry | ★★★★★ | High-confidence border alignment |
| 2 | Expansion gap for nail-down solid hardwood (planning target) | 1/2 in (12 mm) | Maintains room for movement around fixed perimeters while trimming patterns | ★★★★☆ | Good pattern lock-in at edges |
| 3 | Measure length/width at corners + midpoint | 3 points each | Captures taper so border math matches the actual buildable dimension | ★★★★★ | Symmetry remains intact across ends |
| 4 | Diagonal squareness check | 2 diagonals | Reveals skew that causes “V” rows to drift toward one wall | ★★★★★ | Even border gaps at both ends |
| 5 | Tape measure graduation (typical DIY planning resolution) | 1/16 in (1.6 mm) | Reduces rounding error when transferring repeat points to the floor | ★★★★☆ | Better repeat transfer accuracy |
| 6 | Centerline method | Midpoint + snap/laser | Creates a consistent datum so left/right chevrons mirror | ★★★★★ | Pattern stays visually centered |
| 7 | Dry-fit preview length (before committing to cuts) | At least 3–4 repeats | Shows symmetry drift early, before spending on boards | ★★★☆☆ | Avoidable waste and redo risk if skipped |
Note: perimeter gap values can vary by manufacturer and installation method; always treat these as planning targets and confirm the exact requirement in your product documentation.
Handle tricky areas (doorways, transitions, and uneven walls)
Tricky zones are where chevron symmetry either locks in—or breaks—so decide your border strategy before you start placing full boards. The goal is to keep the chevron repeat consistent through thresholds and to measure along the actual board path, not just wall-to-wall.
– Plan how you’ll finish the chevron near doorways: typically you either keep the pattern continuous through the threshold or stop it at a transition strip—follow the room’s flooring plan.
– If walls aren’t straight, don’t assume your wall measurement equals your final border width—measure along the chevron line where boards will actually sit.
– Pre-check obstructions (vents, cabinets, posts) so you can shift the starting cut without breaking the visual rhythm.
Doorway transitions force a border decision; your chevron pattern should be planned to match that decision before any cutting begins.
When walls bow, measuring wall-to-wall won’t match your actual chevron border—measure along the chevron line for the buildable width.
Doorways: two common finishing strategies
| Strategy | Best when… | What to watch with chevron |
|---|---|---|
| Run the chevron through the doorway | You want uninterrupted symmetry across the threshold | Border alignment must account for the threshold geometry so the “V” rows don’t kink |
| Stop at a transition strip | You want a clean mechanical break and easier trim management | Your border math must still preserve symmetry on each side of the transition |
Uneven walls: how to measure correctly
A practical technique that prevents “mystery drift”:
– Identify the line where the chevron repeat will land (the same path you’ll measure when marking V peaks/valleys).
– Measure along that line from your reference point to the border limit that respects expansion gap.
– Record the tightest value and plan cuts so the pattern still mirrors.
Obstructions: shift without breaking rhythm
– Pre-check vents, posts, cabinet edges, and radiator covers.
– If you must adjust the first cut, keep the adjustment centerline-based so the V peaks still mirror left/right.
What can go wrong (and how to catch it early)
Chevron floors are unforgiving: small measuring errors can compound into visible asymmetry. Catch problems during layout preview by checking symmetry at multiple distances—not only near the first few boards.
– Starting off-center: If your centerline is wrong, the chevron will “walk” off symmetry halfway through the room.
– Not accounting for squareness: If you ignore diagonal mismatch, you’ll see uneven border gaps at opposite ends.
– Skipping expansion/edge requirements: If the pattern is too tight to walls or fixtures, you can get buckling or gaps later.
– Assuming one measurement is enough: Rooms often taper—measure more than one point, then use the recorded constraints for layout decisions.
Chevron drift is a predictable symptom of an incorrect centerline reference plane, not a “random” installation problem.
If diagonals disagree, straight-line border assumptions fail and chevron symmetry breaks near the far wall first.
Early detection tests (use these during the measuring phase)
1. Re-check symmetry marks near both ends (not just the near end).
2. Verify expansion gap space at the locations where your border pieces will land.
3. Compare your planned border width to the tightest recorded constraints around doorways and built-ins.
Verdict / tip: dry-fit the layout before committing (but know the downside)
Chevron flooring looks straightforward on paper, but measurement errors compound fast—so we recommend doing a dry-fit layout using your centerline and marked zigzag positions before any irreversible cuts. The upside is clearer symmetry and fewer late-stage adjustments.
Downsides: dry-fitting takes time and may require extra floor protection/material handling, and it won’t perfectly predict final results if your subfloor is uneven beyond what your installation method tolerates. If your room is highly irregular or you’re working around complex transitions, consider getting help from a flooring installer for the layout decision step.
A dry-fit layout reveals symmetry drift early, when correction is still easy and material loss is minimal.
Measurement-driven layout decisions (centerline, diagonals, borders) reduce the need for “on-the-fly” adjustments that can break chevron repeat alignment.
Currently (2025–2026), best-practice documentation from organizations like NWFA still emphasizes planning and spacing compliance before installing flooring.
Quick checklist (save this)
| Task | What to measure/mark | What “good” looks like |
|---|---|---|
| Room size | Length + width (at multiple points) | You’ve captured the smallest constraints |
| Squareness | Both diagonals | Diagonals match or you’ve planned for the mismatch |
| Centerline | Midpoint + snapped line/laser | Chevron pattern mirrors left/right |
| Layout marks | Repeating chevron positions | V’s stay consistent toward both walls |
| Board math | Rows + cut pieces + waste | You can explain where every cut piece goes |
| Edges | Expansion gap plan | Clear space at walls/fixtures per specs |
| Tricky zones | Doorways/transitions/vents | Pattern plan is decided before cutting |
Sources
– National Wood Flooring Association (NWFA), Installation Guidelines for Hardwood Flooring (for general best practices like expansion space and layout considerations).
– Manufacturer installation instructions for your specific chevron/herringbone flooring product (for expansion gap, acclimation, and any pattern/layout requirements).
If you only remember one thing for 2025–2026 chevron installs, make your chevron layout a measurement-driven system: confirm squareness with diagonals, snap a true centerline, and build your pattern from that reference—then dry-fit long enough to verify symmetry before you cut. That workflow is what prevents the zigzag from drifting and keeps both ends of the room visually balanced.
Frequently Asked Questions
What measurements do I need to order chevron flooring correctly?
Start by measuring the length and width of the room, then note any openings such as doorways, closets, or built-ins that will affect the layout. Measure the usable space where the chevron pattern will run and include the “run” length needed for the full zigzag—this often matters more than total room area. Also record the straightness of walls (not just measurements) because uneven walls can change how much trimming is required.
How do I measure for chevron floor alignment and pattern symmetry?
Find the room’s centerline and snap chalk lines to establish a straight reference for the chevron pattern. Dry-lay a few planks or tiles along the centerline to confirm the angle and that the “V” points will land symmetrically where expected. Then measure from the centerline to both side walls at several spots, since wall gaps or tapering can require adjusting the starting edge to keep the chevron centered.
How do I calculate the number of chevron planks or tiles I’ll need?
Multiply the chevron coverage area by the number of pieces required per square meter/square foot per your manufacturer’s layout guidance, then add a waste factor for cutting and pattern matching. For chevron floors, waste is often higher than straight plank installs because you may need more angled cuts—commonly plan for about 10–15% (or more for complex rooms). If you’re using a repeat pattern, count how many “rows” of the zigzag you need based on your measured run length, then multiply by the pieces per row.
Which starting method is best for measuring chevron flooring in an uneven room?
In uneven rooms, it’s usually best to choose a long, visually dominant wall and measure from a consistent baseline line rather than relying on wall-to-wall width at one point. Use multiple measurements along the length of the room to determine the average width and identify where the gaps increase, then adjust your starting point so the pattern remains balanced. If you’re unsure, mock up a small section to validate that the chevron lines won’t force excessively narrow cuts on one side.
Why do chevron floors require extra measurement for cuts around doors and corners?
Chevron flooring is highly sensitive to layout because the angled joints must line up with the pattern repeat, so standard “cover the gap” measuring often leads to mismatched chevrons. Measure door clearances and thresholds precisely, then plan how the zigzag will transition—ideally with a centered or intentionally offset pattern break. For corners and recesses, measure both the depth and the width at multiple heights, because the actual cutting lines depend on how the angled planks or tiles will meet the wall.
📅 Last Updated: October 15, 2026 | Topic: How to measure for chevron floors? | Content verified for accuracy and freshness.
References
- Chevron
- Tile
- https://www.tile-assn.com/
- https://www.tcnatile.com/
- American Cement Association
- https://www.mapei.com/
- New Zealand
- https://scholar.google.com/scholar?q=how+to+measure+for+chevron+tile+floor+layout Google Scholar
- https://scholar.google.com/scholar?q=chevron+floor+layout+measurement+center+lines+tile+pattern Google Scholar
- https://scholar.google.com/scholar?q=herringbone+chevron+tile+layout+grid+setting+out+measurement Google Scholar