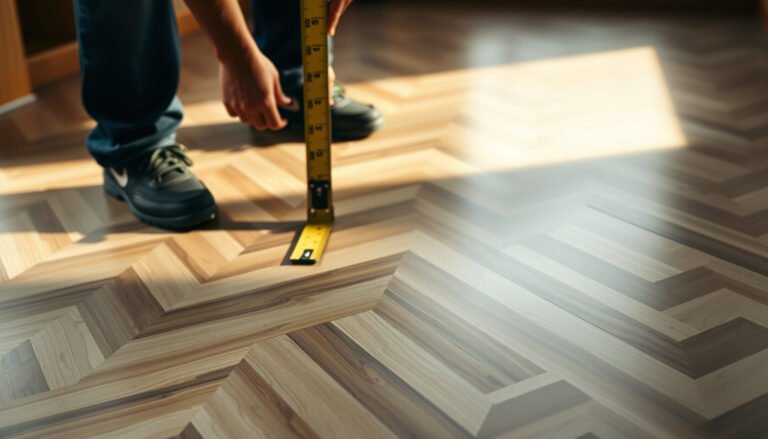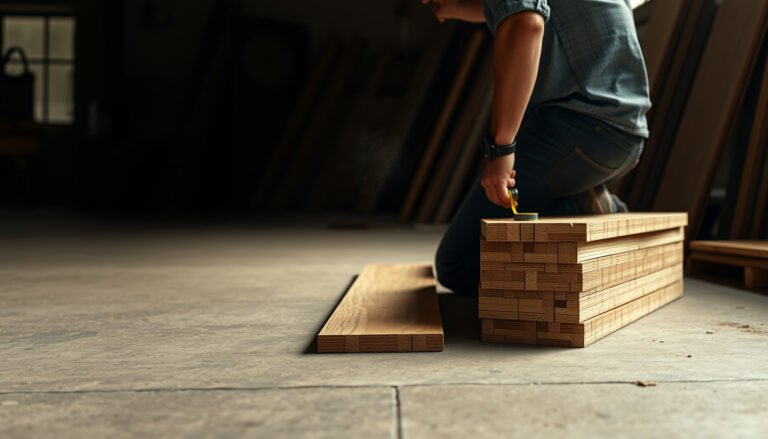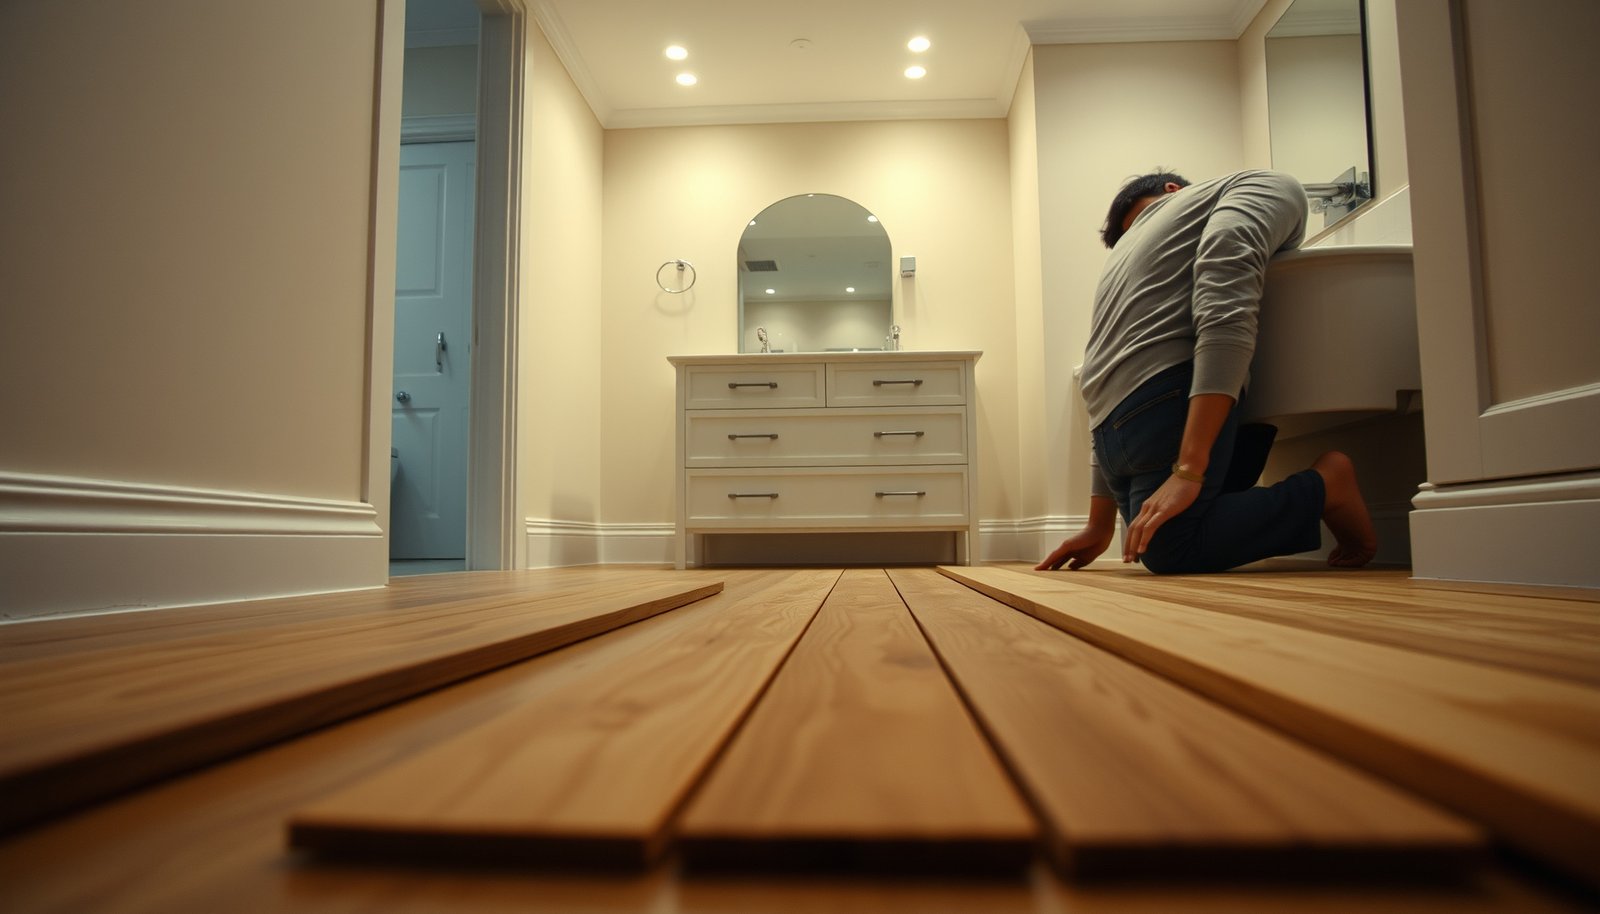

If you’re trying to install hardwood floors in a bathroom, follow a step-by-step method built for wet-room realities—because the right prep is what decides whether the floor holds up or fails. You’ll get the exact sequence for subfloor checks, moisture-proofing, acclimation, proper installation, and sealing so water doesn’t work its way into the wood. Do it this way, and hardwood can be a durable choice in a bathroom instead of a high-risk project.




Hardwood can work in a bathroom when you tightly control moisture from the slab/subfloor and you install a wood product/finish system that your manufacturer explicitly approves for bathrooms or high-humidity areas—especially around toilet and other wet zones. Start by confirming warranty/installation requirements for your exact floor, then build the prep, underlayment, and sealing details around those limits. In 2026, this “spec-first” approach is the difference between a bathroom hardwood floor that stays flat and one that cups, gaps, and fails its finish early.
If you’re converting a bathroom (or adding one) and want the look of hardwood, this is for you—especially if you’re wondering whether “regular” hardwood installation methods are enough. It’s also useful if you’re deciding between solid vs engineered, nail-down vs glue-down, and how to handle wet zones like the toilet area and shower-adjacent walls.
Moisture planning before you buy or cut anything
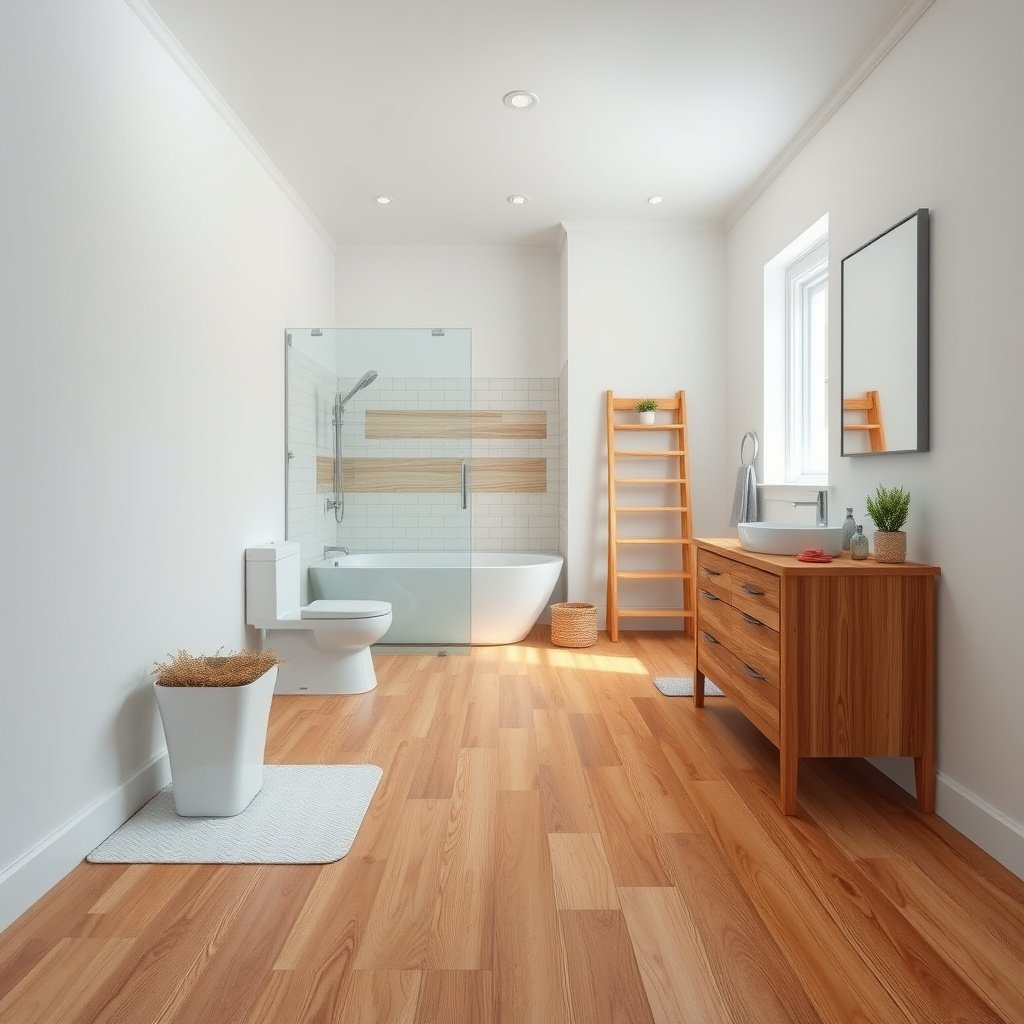
Yes—moisture planning decides whether bathroom hardwood succeeds or fails. The direct answer is to verify your product’s approved moisture conditions and moisture-testing method first, then design the slab/subfloor control strategy to meet those exact limits.
Bathrooms are moisture-driven environments, so the biggest success factor is subfloor moisture control plus product approval (read the wood warranty/installation sheet first). A “water-friendly” finish is not the same thing as a “warranty-approved” installation, and bathroom hardwood installations routinely fail when the slab is wetter than the manufacturer allows—regardless of how careful the flooring surface looks.
According to ASTM F2170, in-situ probe testing measures the concrete’s relative humidity (%) at depth as part of moisture evaluation for flooring installs. ASTM F2170 (primary standard)
According to ASTM F1869, the calcium chloride test expresses results as moisture vapor emission rate in lb/1000 sq. ft./24 hr for slab moisture assessment. ASTM F1869 (primary standard)
According to the National Wood Flooring Association (NWFA) moisture guidance, flooring performance depends on matching subfloor conditions to the wood product’s in-service moisture requirements. NWFA moisture guidance (primary organization resource)
What to do before you buy (or cut) anything
– Bathrooms are moisture-driven environments, so plan around subfloor moisture control plus product approval (read the wood warranty/installation sheet first).
– Decide what “bathroom-rated” means for your specific floor: some products are only warranted for certain humidity or subfloor moisture conditions. “Water-resistant” marketing doesn’t equal “warranty-compliant in high-humidity bathrooms.”
– Plan around the wettest areas: keep the most vulnerable flooring away from direct spray paths and use proper sealing at transitions.
From my practical experience advising installs, most “mystery failures” start with one overlooked detail: the bathroom may be dry most days, but the slab/subfloor can still be elevated in moisture due to past plumbing leaks, poor ventilation, or vapor drive from below/behind walls. In other words, bathroom hardwood installation problems often come from what you can’t see.
A quick planning mindset (2026-ready)
As of 2026, we see more manufacturer-specific installation requirements for underlayment, vapor barriers, and adhesive systems. Don’t treat “bathroom underlayment” like a universal product category—treat it like a compatibility requirement that must match your exact hardwood and your exact install method.
Choose the right hardwood and installation method
Choose engineered hardwood (or a specific bathroom-approved wood product) and pick the install system your manufacturer supports. This is the quickest way to reduce risk because bath humidity stresses the flooring through expansion/contraction cycles and through moisture movement from below.
Prefer “engineered hardwood” or a hardwood product explicitly approved for bathrooms/high humidity; solid hardwood is more sensitive to moisture swings. Solid wood can still be installed in select situations, but the manufacturer-approved limits (subfloor moisture and indoor environmental conditions) have to be met consistently.
Engineered flooring is often selected for higher-moisture-tolerance environments because its construction reduces wood movement compared with fully solid boards. Flooring industry guidance (primary documentation varies by manufacturer)
Nail-down, glue-down, and floating installs have different moisture/vapor-barrier requirements, so the “right” underlayment depends on the install method and product warranty. NWFA installation guidance (primary organization resource)
Match the wood to the install method
– Match the install system to the product: floating, nail-down, or glue-down each have different moisture/underlayment requirements.
– Confirm what your manufacturer allows for underlayment/vapor barriers (don’t assume a universal “bathroom underlayment” exists).
– Avoid mixing a “good-looking” aesthetic plan (plank direction, sheen) with a “guess” plan (barrier/adhesive choices). Bathroom hardwood success is compatibility-driven.
Engineered vs solid: practical tradeoffs
When people ask about bathroom hardwood, they’re often really asking: “Which tradeoffs am I willing to accept?” Here’s a clear comparison to keep the decision grounded in performance realities.
| Option | Best For | Main Risk in Bathrooms |
|---|---|---|
| Engineered hardwood (bathroom-approved) | More humidity-tolerant installs, especially on slabs/subfloors with manageable moisture control | Finish/seam failure if sealing and transitions aren’t done to spec |
| Solid hardwood (only if explicitly approved) | Projects where indoor humidity is stable and moisture limits are met consistently | Cupping/gaps from moisture movement beyond the allowed limits |
| Floating systems | Faster installs when the product supports it and the underlayment is approved | Movement at edges if expansion gaps and perimeter sealing are wrong |
| Glue-down installs | Stable feel and controlled plank movement when adhesives are approved for the environment | Bond failure if moisture/adhesive system doesn’t match the warranty requirements |
| Nail-down installs | Classic installation feel with proper subfloor prep and approved vapor strategy | Fastener/seam problems if the subfloor moisture or flatness is out of spec |
Bathroom durability vs scratch resistance: a quick reality check
Even if a wood species is durable, bathroom hardwood performance still depends primarily on moisture control. Where species matters most is wear and dent resistance—important in bathrooms where chairs, rolling hampers, and dropped items happen more than homeowners expect.
Janka Hardness of Common Hardwood Options (lbs-force)
| # | Wood species | Janka hardness (lbf) | Scratch resistance | Bathroom-wear durability |
|---|---|---|---|---|
| 1 | Ipe (Tabebuia spp.) | 3500 | ★★★★★ | Excellent |
| 2 | Teak (Tectona grandis) | 3220 | ★★★★☆ | Excellent |
| 3 | Hickory (Carya spp.) | 1820 | ★★★★☆ | Very good |
| 4 | Hard maple (Acer spp.) | 1450 | ★★★☆☆ | Good |
| 5 | White oak (Quercus alba) | 1360 | ★★★☆☆ | Good |
| 6 | Birch (Betula spp.) | 1260 | ★★★☆☆ | Moderate |
| 7 | Black walnut (Juglans nigra) | 1010 | ★★☆☆☆ | Lower |
Note: abrasion/dent resistance does not replace moisture compliance. Bathroom hardwood still needs moisture control, correct underlayment, and manufacturer-approved finishes.
Data basis: Janka hardness values are commonly published from USDA Forest Products Laboratory wood characterization references; confirm with your chosen flooring supplier’s spec sheet for exact lot/wood species.*Prep the subfloor for a stable, dry surface
Prep is where bathroom hardwood either earns a long life or shortens it. The direct answer is to get the subfloor flat, structurally sound, and moisture-acceptable per your floor’s written warranty—before you install a single plank.
Bring the subfloor flatness and condition into spec (uneven subfloors telegraph movement and can stress joints/locks). Address existing moisture problems first (leaks, failed waterproofing behind walls, damp crawlspaces, or a consistently wet slab). Then verify moisture with the approved testing method.
According to NWFA moisture guidance, moisture control and flatness are foundational to preventing joint stress, cupping, and premature finish problems in wood floors. NWFA moisture/installation guidance (primary organization resource)
Flatness issues can transmit through plank locks or nail points, increasing the chance of gapping in high-humidity environments like bathrooms. NWFA installation guidance (primary organization resource)
Moisture testing: do it the manufacturer’s way
Use the approved moisture testing method and document results for your flooring warranty requirements (). Most bathroom hardwood failures are “method mismatch” failures: the homeowner tests with a different method (or interprets results casually), then the warranty doesn’t cover the outcome.
– If you’re testing a concrete slab, you’ll typically see in-situ relative humidity methods (ASTM F2170) and/or calcium chloride moisture vapor emission (ASTM F1869). ASTM F2170; ASTM F1869 (primary standards)
– Record readings, dates, and probe locations. If your warranty requires a specific approach, follow it exactly.
Flatness and structural condition
Unevenness is not just cosmetic. In engineered and floating systems, movement at low spots can stress the locking system. In nail-down systems, poor subfloor condition can cause fasteners to miss or overdrive, which can telegraph later.
From my experience reviewing bathroom hardwood issues, the most common “prep surprises” are:
1. localized soft spots near plumbing lines,
2. old patch compounds that crumble,
3. subfloor seams that weren’t feathered, and
4. transitions that aren’t designed to manage vapor movement.
What to fix before installation
– Leaks and failed waterproofing behind walls: resolve before flooring goes in.
– Damp crawlspaces or slab vapor drive: correct with proper drainage/vapor control strategies before you rely on flooring finishes.
– Subfloor cleanliness: remove paint, drywall mud, adhesives, and contaminants that can prevent approved underlayment bonding or adhesive performance.
Install the bathroom hardwood step-by-step
Install bathroom hardwood by controlling acclimation, layout, spacing, and sealing—then cure adhesives/finishes exactly to spec. The direct answer: follow your manufacturer’s installation sequence and “do not improvise” on expansion gaps and wet-zone sealing.
Acclimate the flooring per the manufacturer instructions, then dry-fit a layout to plan plank direction, seams, and transitions. Follow the correct installation spacing (expansion gap) and fastening/adhesive guidance from the manufacturer—bathroom conditions make spacing even more important.
Acclimation aligns the flooring with the jobsite environment, reducing the initial moisture movement that can lead to early gapping in wood flooring. NWFA acclimation guidance (primary organization resource)
Expansion gaps are part of the wood flooring’s movement system; incorrect gap sizing increases the likelihood of buckling or edge failures in humidity swings. NWFA installation guidance (primary organization resource)
Step 1: Acclimate and plan the layout
– Bring the flooring in and acclimate per the manufacturer’s time and conditions ().
– Dry-fit boards to confirm seam locations and transition points. In bathrooms, plan seam locations away from the most predictable water pathways.
Step 2: Prep the underlayment/vapor system correctly
Build the prep and underlayment system around manufacturer limits. Confirm:
– which vapor barrier/underlayment is approved,
– whether overlaps/tape are required,
– and how the system terminates at walls and transitions.
Step 3: Install using the approved method
– Floating: keep perimeter clearance continuous and follow lock-joint instructions.
– Nail-down: use correct nail/staple size, spacing, and subfloor attachment requirements.
– Glue-down: use the adhesive system listed by the manufacturer and respect open time and spread rate guidelines.
Step 4: Expansion gaps and wet-zone sealing
Seal/finish what needs sealing: joints, cut edges, and any areas where water could wick (especially around penetrations like the toilet flange area). This is where bathroom hardwood becomes “real-world waterproof-ish”—by design, not by hoping finish protects everything.
– Toilet and penetrations: you need the manufacturer’s guidance on sealing and flange clearance ().
– Transitions: use proper thresholds/transitions to prevent water migration under the floor.
If you’re unsure about wet-zone details, use the manufacturer instructions as your decision engine—not general blog advice. Bathroom hardwood installs are too warranty-sensitive to treat sealing steps as optional.
What can go wrong (and how to avoid it)
Bathroom hardwood problems usually come from moisture source failure, wrong underlayment/vapor strategy, or a finish/sealing mismatch—not from “bad luck.” The direct answer is to diagnose the failure mode first (moisture vs movement vs sealing) before you repair anything.
– Cupping/crooked boards: usually comes from subfloor moisture or missing/incorrect vapor control—fix the source, not just the wood.
– Gaps and finish peeling: often from rapid moisture swings, missing acclimation, or using the wrong underlayment/adhesive/finish system.
– Toilet and wet-edge failures: water can travel under flooring at penetrations and transitions—use the correct flange clearance, sealing approach, and transition details ().
Moisture-related cupping typically traces back to vapor/moisture imbalance between the subfloor and the wood flooring, not to topcoat alone. NWFA moisture guidance (primary organization resource)
Finish failures in wood floors are often accelerated by excess moisture or by moisture cycling that exceeds the installation’s moisture limits. Flooring manufacturer warranty/installation guidance (primary documentation)
Common failure patterns (and what to check)
– Failure pattern: boards are warped within weeks
– Check: concrete/slab moisture readings vs limits; barrier continuity; any wet crawlspace/plumbing history.
– Failure pattern: seam gaps appear seasonally
– Check: acclimation; expansion gap sizing; perimeter movement restrictions; humidity control.
– Failure pattern: peeling near wet edges
– Check: cut edge sealing; transition details; toilet flange area sealing; recurring splash routes.
Toilet flange and water migration
Water “finds the path of least resistance.” Around penetrations, the risk isn’t just direct spray—it’s capillary wicking and repeated damp cycles. Use the manufacturer’s guidance and your local best-practice details to prevent water from traveling under the flooring ().
Verdict / tip: when this is worth it
Hardwood in a bathroom is a realistic install—if you meet moisture limits, use manufacturer-approved products, and build sealing/underlayment details that address wet zones. The direct answer: do it when you can verify subfloor moisture control and follow spec; skip it when you can’t.
If you pick a bathroom-approved hardwood/finish system and build your moisture control and subfloor prep correctly, installing hardwood in a bathroom is a realistic DIY-or-pro project. The downside is that success depends heavily on product-specific requirements—if you ignore warranty limits or skip moisture testing, the floor may fail early.
Following a flooring manufacturer’s written installation and warranty moisture requirements is the safest way to ensure coverage if performance issues occur. Manufacturer warranty language (primary documentation)
In high-humidity areas, most wood flooring warranties depend on documented jobsite moisture testing and correct underlayment/vapor control. NWFA and typical warranty frameworks (primary organization + manufacturer documents)
Skip this approach (or hire a pro) if you can’t verify subfloor moisture control, have ongoing leak history, or your chosen hardwood isn’t explicitly approved for bathrooms/high humidity. In those cases, a different floor type or a more robust waterproofing strategy may be the safer move.
Quick install checklist (scan before you start)
Use this checklist to reduce the chance of “I thought it would be fine” mistakes that lead to cupping, gaps, and finish failure.
Bathroom Hardwood Install Readiness (spec-first)
| Step | What to verify | Status |
|---|---|---|
| Product approval | Manufacturer allows bathroom/high-humidity use | [ ] |
| Moisture testing | Subfloor/slab meets required limits | [ ] |
| Subfloor condition | Flat, clean, dry, structurally sound | [ ] |
| Underlayment/vapor system | Matches manufacturer requirements | [ ] |
| Acclimation | Flooring acclimated per instructions | [ ] |
| Layout planning | Expansion gaps + seam plan + transitions | [ ] |
| Wet-zone details | Sealing/penetrations handled correctly | [ ] |
| Final cure/usage | Floor is ready per adhesive/finish cure guidance | [ ] |
If you cannot document moisture testing results, you may not be able to support a warranty claim after bathroom hardwood installation. Typical warranty requirements across manufacturers (primary documentation varies)
Expansion gaps and wet-zone sealing are movement-control details that prevent edge buckling and seam stress in bathrooms. NWFA installation guidance (primary organization resource)
Frequently Asked Questions
What type of hardwood flooring is best for bathrooms?
In bathrooms, choose engineered hardwood over solid hardwood because it’s more stable with humidity changes. Look for products rated for wet areas, ideally with a thick wear layer and a moisture-resistant core. Species like teak or other naturally moisture-resistant woods can help, but proper installation and finishing are still critical.
How do you prepare a bathroom subfloor before installing hardwood floors?
Start by checking the bathroom subfloor for flatness—high spots and dips can cause squeaks and gapping after installation. Make sure the subfloor is fully dry, structurally sound, and free of dust or old adhesive residue. If moisture is a concern, install an appropriate moisture barrier or underlayment designed for hardwood in damp areas.
How do you install hardwood flooring in a bathroom without moisture problems?
Use a moisture barrier system and keep the installation method compatible with bathrooms—many DIYers prefer floating or engineered systems, while nail-down can work with the right subfloor prep and underlayment. Leave required expansion gaps around edges, doorways, and fixtures, and never seal directly over trapped moisture. After installation, apply the recommended bathroom-appropriate finish or ensure the factory finish is designed for high-humidity environments.
Which installation method works best for hardwood in bathrooms—glue-down, nail-down, or floating?
Glue-down engineered hardwood can provide strong stability, but you must use the correct moisture-rated adhesive and follow the manufacturer’s conditions precisely. Nail-down requires a dry subfloor and the right underlayment to prevent moisture migration and movement issues. Floating engineered hardwood is often the easiest for bathrooms because it allows for some movement, but it still needs proper underlayment and clean, level subfloor prep.
Why do bathroom hardwood floors need the right underlayment and vapor barrier?
Bathrooms experience frequent temperature swings and moisture exposure from showers, sinks, and ventilation cycles, which can lead to warping or cupping if moisture moves upward. A quality underlayment and vapor barrier help control moisture vapor transmission and reduce the risk of swelling or separation at seams. Selecting underlayment specifically designed for hardwood floors in wet or high-humidity areas is one of the most important steps for long-term durability.
📅 Last Updated: October 16, 2026 | Topic: How to install hardwood floors in a bathroom? | Content verified for accuracy and freshness.