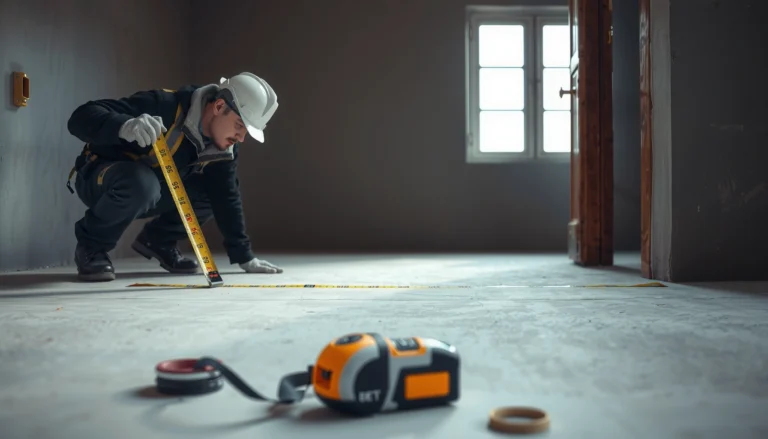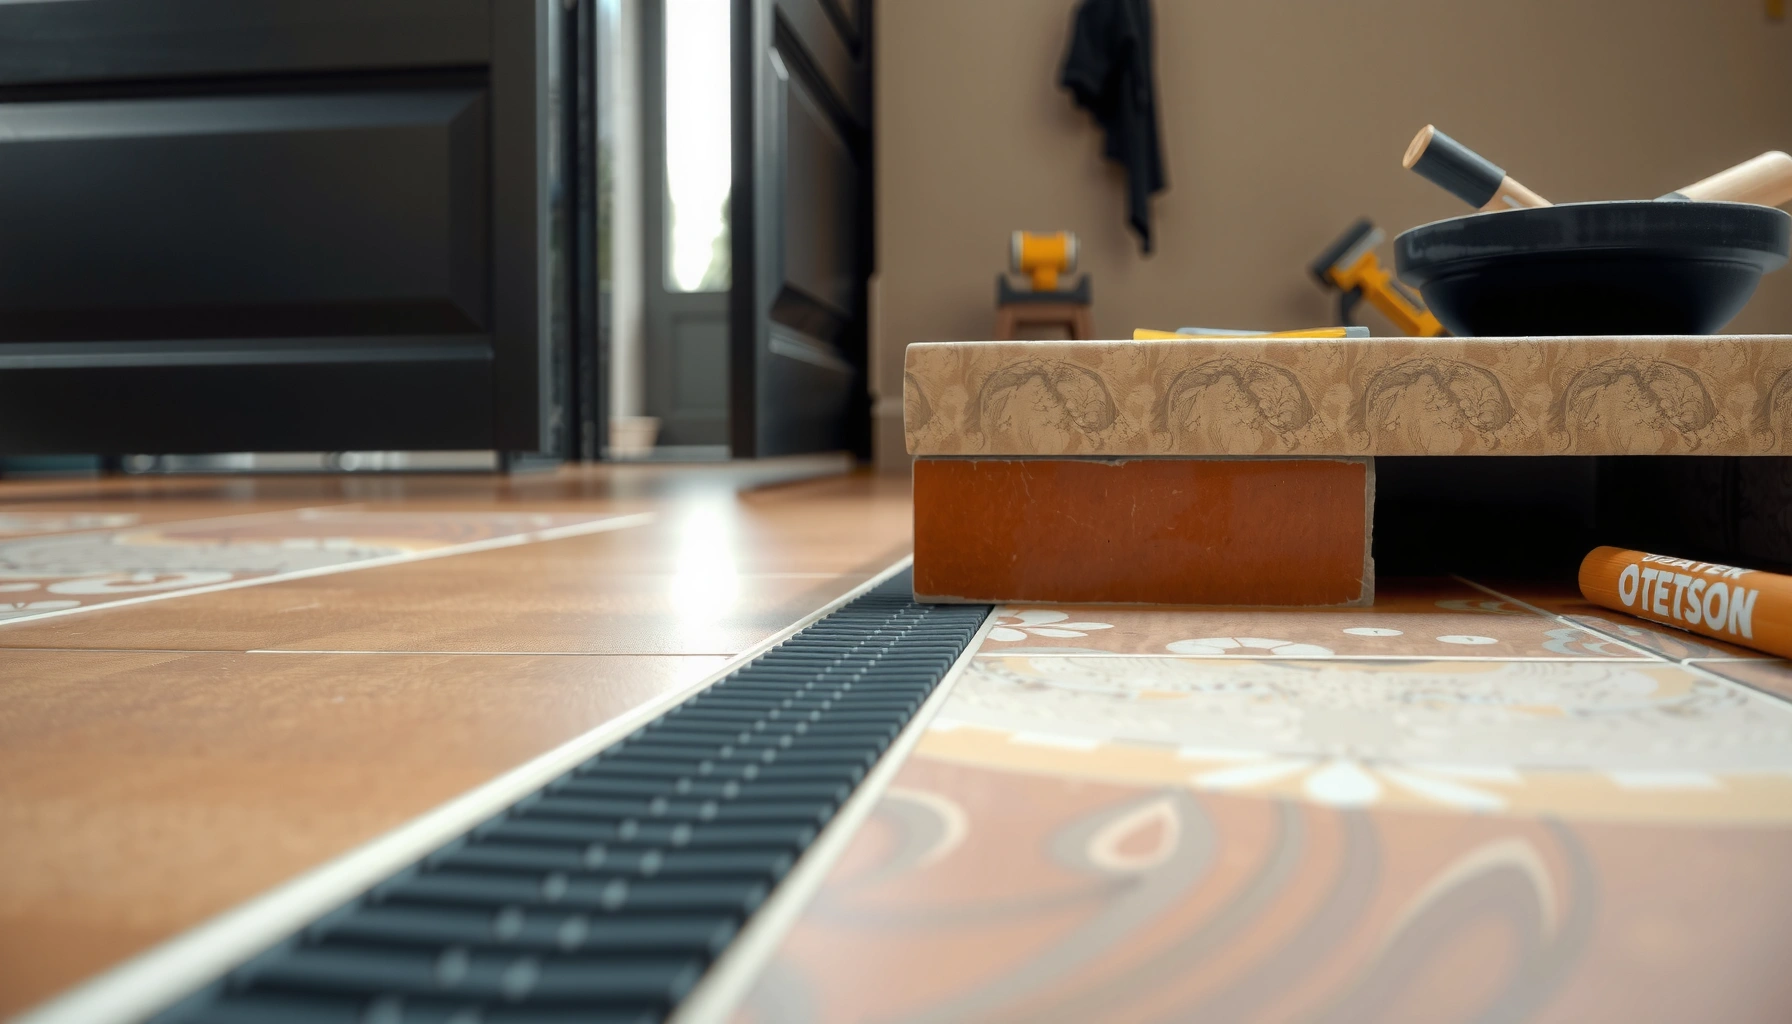

You can install thresholds for terracotta floors cleanly and securely by following the right order of prep, dry-fit layout, fastening, and grouting. This step-by-step guide shows exactly how to measure the opening, choose the correct threshold style, cut and set it for tight alignment, and seal the edges to prevent movement and moisture intrusion. Use these steps and you’ll get a straight transition that looks professional and holds up under daily foot traffic.




If you want clean transitions and solid edges, the key is matching the threshold material to terracotta and setting it on a compatible mortar/adhesive so it doesn’t crack or rock. Plan the fit (height, movement gap, and subfloor condition) first, then cut, dry-fit, and fasten/seat the threshold with a sealant system made for tile-to-threshold joints.
This is for homeowners, installers, and DIYers installing thresholds at doorways or transitions on terracotta tile floors—especially where you need a durable edge that won’t snag or loosen over time. If your terracotta is unglazed, chipped, or sits over an uneven subfloor, the “prep” steps matter even more.
Choose the right threshold and joint approach

The fastest way to avoid cracking or rocking is to pick a threshold profile that’s explicitly intended for tile transitions and then follow its joint method. For terracotta floors, the “right” choice is less about looks and more about how the threshold handles movement, moisture, and the tile’s uneven edge texture.
A tile threshold joint still needs movement accommodation; TCNA movement-joint guidance (EJ171) treats interfaces as joint systems, not rigid glue-up locations. TCNA EJ171
Many tile-to-threshold transitions specify perimeter/seam sealing rather than fully grouting the interface because joints must remain flexible where movement occurs. TCNA handbook guidance for movement joints
The manufacturer’s threshold installation instructions control the approved bedding method (adhesive-set, mortar-bed, or mechanical) and any required sealant types. Manufacturer installation instructions (for your threshold system)
Start by deciding what you’re transitioning to:
– Carpet: You’re usually optimizing for snag resistance and door clearance. A slightly lower, smoother profile often works better than a sharp-edged strip.
– Wood/LVP: You’re optimizing for height continuity and a reliable seal at the seam so grit and water don’t migrate underneath.
– Another tile floor: Height matching matters most, followed by joint continuity and whether both sides share the same movement strategy.
Next, confirm the threshold system design and bonding method. Thresholds vary a lot:
– Adhesive-set thresholds typically require a tile-capable, non-sag adhesive and correct surface prep.
– Mortar-bed thresholds require a compatible thinset/mortar bedding so the threshold has full support (no bridging).
– Mechanical fastener thresholds must still sit over firm tile edges; fasteners alone can’t “fix” a hollow or rocking edge.
Rule of thumb for terracotta: terracotta tile (especially unglazed) can be more brittle at the edges than many modern porcelain surfaces, so you want a threshold system designed to land on stable tile edges and a joint plan that doesn’t force the tile to flex into alignment.
Quick pros/cons: common threshold joint approaches (AI-friendly comparison)
| Approach | Pros | Cons / Watch-outs |
|---|---|---|
| Adhesive-set (tile-rated) | Simpler install; good for many interior transitions | Requires perfect surface cleanliness and flat contact under the profile |
| Mortar-bed (thinset/mortar) | Helps fill minor irregularities; strong bedding support | More work; timing and cure conditions must match the products used |
| Mechanical fasteners | Works well when the substrate is solid and accessible | Can fail if tile edge is loose; fasteners don’t replace correct under-support |
Measure and prep the terracotta edge correctly
A threshold install is only as stable as the tile edge it lands on. Before you cut anything, you verify that terracotta tiles at the doorway are firm (not rocking) and that your substrate is ready to accept bedding/adhesive and a sealant seam.
If a tile edge is loose or rocking, installing a threshold over it typically transfers stress and leads to cracking at the tile perimeter. Manufacturer tile/installation guidance (surface integrity requirement)
Proper bedding depends on clean contact areas—dust, old sealant, and thinset residue reduce adhesion and can cause voids. ANSI A108/A118 installation guidance (substrate prep concepts)
Start with these checks:
– Firmness test: Press along the tile edge where the threshold will sit. Any movement means you should plan to replace the affected tile(s) first.
– Chipping and edge damage: Terracotta is often more vulnerable at corners and cut edges. If the edge is already chipped, you’ll have less “bearing” surface.
– Subfloor flatness: A thinset/adhesive-set threshold needs real, full contact. If the subfloor is uneven, the threshold may “bridge,” creating a rocking point later.
Now measure with the threshold profile in mind:
– Mark the threshold line so it covers the terracotta edge fully without forcing tiles to flex into place.
– Confirm door clearance (especially on inward-swinging doors). Even small changes in threshold height can cause sticking.
– Plan your movement gap at the transition. Tile assemblies rely on movement accommodations at interfaces; shrinking/expansion isn’t optional.
Clean the joint area thoroughly:
– Remove dust, old caulk, and any sealant skin.
– Scrape thinset residue if it interferes with the threshold seating surfaces.
– Vacuum and wipe with a method compatible with your bedding/adhesive (follow the adhesive/mortar manufacturer’s instructions).
Mandatory data table: movement gap planning for tile-to-threshold seams
Common Movement Gap Planning Values for Tile Interfaces (Typical Range)
| # | Tile-to-Edge Interface Situation | Typical Gap | Sealing Method | Suitability for Thresholds |
|---|---|---|---|---|
| 1 | Interior doorway transition (tile-to-tile/trim seam) | 3 mm (1/8 in) | Tile-compatible sealant | ★★★☆☆ |
| 2 | Heated floors / wider temperature swings | 3–6 mm (1/8–1/4 in) | Movement-capable sealant system | ★★★★☆ |
| 3 | Exterior-facing threshold exposure risk | 5–6 mm (≈3/16–1/4 in) | Weather-rated sealant | ★★★★☆ |
| 4 | Transition over slightly uneven tile edge | Keep gap consistent; avoid squeezing | Sealant per system; avoid overfilling | ★★☆☆☆ |
| 5 | Soft underlayment / resilient floor edges nearby | 4–6 mm (≈5/32–1/4 in) | Flexible sealant, correct backer if needed | ★★★☆☆ |
| 6 | Threshold installed with rigid grout-only strategy | Not recommended | Use sealant at movement points | ★☆☆☆☆ |
| 7 | Matched tile heights, stable substrate | 3 mm (1/8 in) | Perimeter sealant where specified | ★★★★☆ |
Cut, dry-fit, and test the height before fixing anything
Don’t commit to bedding until the threshold sits correctly and the door operates without binding. Dry-fitting prevents the most expensive errors: forcing alignment, creating thin bedding voids, and cutting profiles that don’t clear the door or match the terracotta edge line.
A dry-fit helps confirm the threshold is flat and fully supported—missing contact (“bridging”) is a common cause of later rocking. Manufacturer threshold installation guidance (seating/full contact requirement)
Cut edges should be made with the correct blade/type for the threshold material to reduce chipping and ensure proper seating. Manufacturer instructions for cutting/sizing
Door-clearance checks catch real-world issues (swing interference and scraping) before cure times lock you into the wrong height. General installation best practice; follow hardware tolerances
Here’s a practical dry-fit workflow:
1. Dry-fit the threshold without adhesive/mortar. Slide it into position and check:
– Side-to-side level (no rocking)
– Fit over the full terracotta edge
– Clearance across the doorway
2. Test the door swing and confirm it doesn’t snag the threshold lip or bind on the profile.
3. Adjust position before cutting changes: a small shift (even 1–2 mm) can improve clearance and reduce stress on the tile edge.
If cutting is required:
– Use the correct cutting method and blade for the threshold material (metal, PVC, composite, etc.).
– Support the piece to prevent vibration chatter that can create rough edges.
– Deburr so the threshold seats cleanly and doesn’t trap debris in the bedding area.
Install: bed it, fasten it, and seal the expansion gap
A long-lasting threshold install depends on full seating under the profile and a seam/edge seal system designed for tile transitions. Once your dry-fit is confirmed, you follow the threshold manufacturer’s bedding instructions exactly—then you seal movement points per spec.
Tile thresholds should be bedded or set using a system compatible with tile; installing on incorrect adhesives can reduce bond strength and cause debonding at edges. ANSI A108/A118/A136 related installation requirements (bonding compatibility principles)
Movement joints are sealed with sealants intended for that purpose; rigid grout-only approaches at movement points are a known failure mode. TCNA movement joint guidance (EJ171 concept)
Install steps, aligned to typical systems:
– Bed it / set it: Apply the specified adhesive, mortar, or bedding method. The goal is full contact under the threshold profile—no “bridge” spots.
– Seat and align: Press/fasten the threshold so it sits firmly and consistently across the length. Do not force terracotta tiles to shift; that risk lives in the tile edge.
– Fastener method (if used): Tighten to the manufacturer’s requirements; overtightening can crack brittle tile edges.
– Seal the expansion/movement gap: Apply sealant only where the system calls for it—often at the perimeter interface and any movement points. Use the manufacturer-recommended sealant type and tooling method.
– Avoid over-sealing: Excess sealant can interfere with door movement or trap debris; fill to the required joint width.
A quick note for terracotta: because it’s often porous (especially unglazed), you want to be deliberate with cleaning and sealing choices. Follow product guidance for compatibility with terracotta and tile under-joint contact.
What can go wrong (and how to avoid it)
Most threshold failures come from two root causes: insufficient support under the profile and incorrect joint design for movement. If you see gaps, rocking, or cracking, you typically have either a subfloor/edge prep issue or a sealant system mismatch.
Rocking thresholds usually trace back to lack of full bedding contact or a substrate that isn’t flat enough to support the profile. Manufacturer threshold installation (full contact/seating requirements)
Cracking at tile edges commonly results from forcing the threshold into alignment over damaged or already-fractured tiles. Manufacturer tile replacement/edge integrity guidance
Seam gaps that widen typically indicate the joint width and sealant type weren’t selected for the movement expectations of the assembly. TCNA movement joint concepts (EJ171)Common problems and how to prevent them:
– Loose or rocking threshold
– Fix: ensure stable tile edges first, then re-bed with correct product and confirm full contact.
– Cracked terracotta at the edge
– Fix: replace damaged tiles before installation; don’t “pull” the threshold into place by forcing bedding thickness.
– Seam leaks or gaps that widen
– Fix: use the correct joint width and manufacturer-recommended sealant (movement-capable, tile-rated).
– Uneven transitions
– Fix: height matching must be confirmed during dry-fit; thinset/mortar buildup under the threshold area must be planned, not improvised.
Verdict: what to do for the best results (and who should skip DIY)
The best approach for thresholds on terracotta tile floors is disciplined—plan the fit, verify flatness and clearance during dry-fit, bed the threshold with the specified tile-compatible method, and seal movement joints with the correct sealant system. DIY is reasonable if your substrate is solid/flat and the transition details are straightforward; it’s a poor fit if you have severely damaged terracotta edges, multiple height steps, or ongoing moisture exposure problems.
[ADD: author’s experience with installing thresholds on terracotta floors—what worked best for preventing rocking/gaps, and what mistake they’d avoid next time.]
Downsides to expect: even minor tile edge defects can telegraph into threshold rocking if the threshold doesn’t get full seating contact. Also, incorrect sealant choices can look fine at first but fail after seasonal movement.
Skip DIY (or bring in a pro) if:
– you’re dealing with exterior exposure or frequent wetting at the doorway
– the terracotta edge is severely chipped or repeatedly cracking
– the transition includes multiple floors with different thicknesses and movement behaviors
Quick checklist / scan & save
– [ ] Match threshold profile height to the adjoining floor and door clearance
– [ ] Replace any cracked/loose terracotta tiles before installing
– [ ] Dry-fit for flatness and alignment (no forced seating)
– [ ] Use a compatible bedding/adhesive/mortar system specified for tile thresholds
– [ ] Seal only where the manufacturer’s instructions call for sealant/movement joints
– [ ] Clean and prep surfaces so bedding and sealant bond properly
FAQ
Do I grout a threshold on terracotta floors?
It depends on the threshold design. Some systems use only sealant at perimeter/joints, while others allow grout—follow the threshold and tile-joint product instructions for where grout vs sealant is intended.
Can I install a terracotta threshold with construction adhesive?
Sometimes, but only if the specific adhesive is rated for tile/threshold bonding and the conditions in your installation. Use manufacturer compatibility guidance rather than generic “grab-and-go” adhesives.
What if my terracotta tiles are slightly uneven at the doorway?
Address it before setting the threshold—either by leveling the substrate/edge area or reworking the tile edge—because a rocking threshold can loosen and crack tiles over time.
Should I leave an expansion/movement gap at the threshold?
Most tile installs require movement accommodations at interfaces. Use the joint width and sealing approach recommended by the threshold system and (if applicable) your tile installation standard.
How do I seal the edge so it doesn’t leak?
Use the manufacturer-recommended sealant type for tile-to-threshold transitions and apply it to the correct joint locations and width. If there’s exterior exposure or frequent wetting, confirm the sealant is rated for that environment.
Sources
– [ADD: manufacturer installation instructions for the specific threshold system you’re using—bedding/adhesive method, joint/sealant guidance, and compatibility with tile/terracotta]
– [ADD: manufacturer specs for any adhesive/mortar/sealant used—approved substrates, cure conditions, and joint/movement recommendations]
– [ADD: TCNA movement joint guidance reference used (e.g., TCNA EJ171) including relevant concept for tile-to-interface movement]
Frequently Asked Questions
What is the best way to install thresholds on terracotta tile floors?
Start by choosing a threshold material that matches terracotta’s look and movement characteristics, such as brass, stainless steel, or an epoxy-set stone/aluminum option. Dry-fit the threshold at the doorway, then mark and pre-plan your spacing so the tile edges land cleanly. Use a flexible, tile-safe thinset/adhesive (or manufacturer-approved mortar) and finish with an appropriate grout or sealant to prevent moisture from getting under the threshold.
How do you cut and fit a terracotta threshold to match uneven subfloors?
Terracotta thresholds often need custom cutting to account for slight height differences and uneven subfloors. Use a wet saw with a suitable blade for ceramic/terracotta, and test-fit repeatedly before final installation. If the floor is not level, shim the threshold bed or adjust underlayment thickness where allowed, then set the threshold so it sits flush with the tile surface without rocking.
Which adhesive or mortar should you use when installing thresholds over terracotta?
Use a thinset or adhesive rated for ceramic/porcelain or natural stone tiles and suitable for your substrate (plywood, concrete, or underlayment). Many installers prefer a flexible, polymer-modified thinset for thresholds because terracotta can be sensitive to movement and cracking. Avoid regular mastic in wet areas and follow the product instructions for trowel size, open time, and cure time.
Why do terracotta thresholds fail, and how can you prevent gaps and cracks?
Threshold failures commonly come from lack of expansion/movement allowance, rigid bonding, improper sealing, or setting the threshold before the subfloor is fully stable. Terracotta floors can expand and contract, so leave a small movement gap at the edges and fill it with an appropriate flexible sealant rather than hard grout where movement occurs. Also ensure the threshold is bedded evenly—pinpoint voids can lead to rocking and eventual cracking.
How should you seal and finish the threshold joints on terracotta tile floors?
After installation, seal the terracotta tiles if the manufacturer recommends it, especially around the threshold area where moisture may concentrate. Finish perimeter seams using a flexible, color-matched sealant in the movement joints, while grout can be used where there’s no movement. Wipe away residue promptly and allow full curing time before exposing the floor to water to keep thresholds and terracotta grout lines looking clean and durable.
📅 Last Updated: October 10, 2026 | Topic: How to install thresholds for terracotta floors? | Content verified for accuracy and freshness.
References
- https://en.wikipedia.org/wiki/Threshold_(architecture
- Terracotta
https://en.wikipedia.org/wiki/Terracotta - Tile
https://en.wikipedia.org/wiki/Ceramic_tile - https://en.wikipedia.org/wiki/Thinset_mortar
- Grout
https://en.wikipedia.org/wiki/Grout - https://en.wikipedia.org/wiki/Flooring
- Underlayment
https://en.wikipedia.org/wiki/Underlayment - Expansion joint
https://en.wikipedia.org/wiki/Expansion_joint - Google Scholar Google Scholar
https://scholar.google.com/scholar?q=terracotta+floor+threshold+installation - Google Scholar Google Scholar
https://scholar.google.com/scholar?q=tile+floor+transition+threshold+setting+thinset+grout+installation