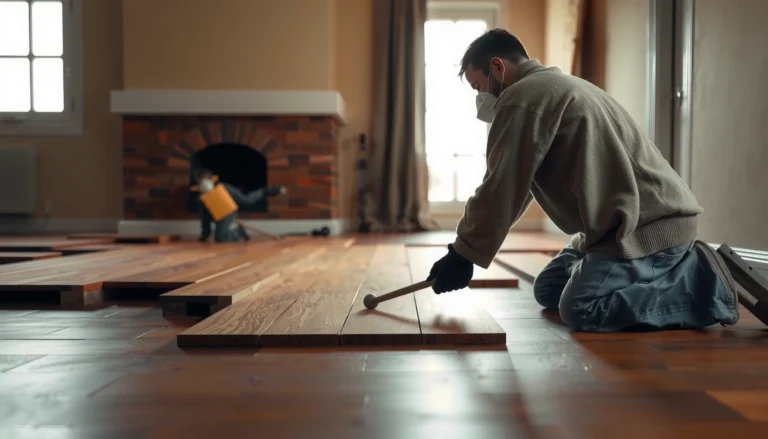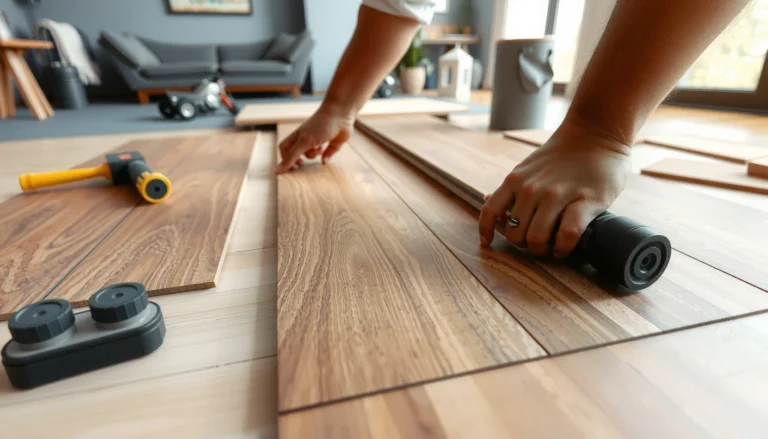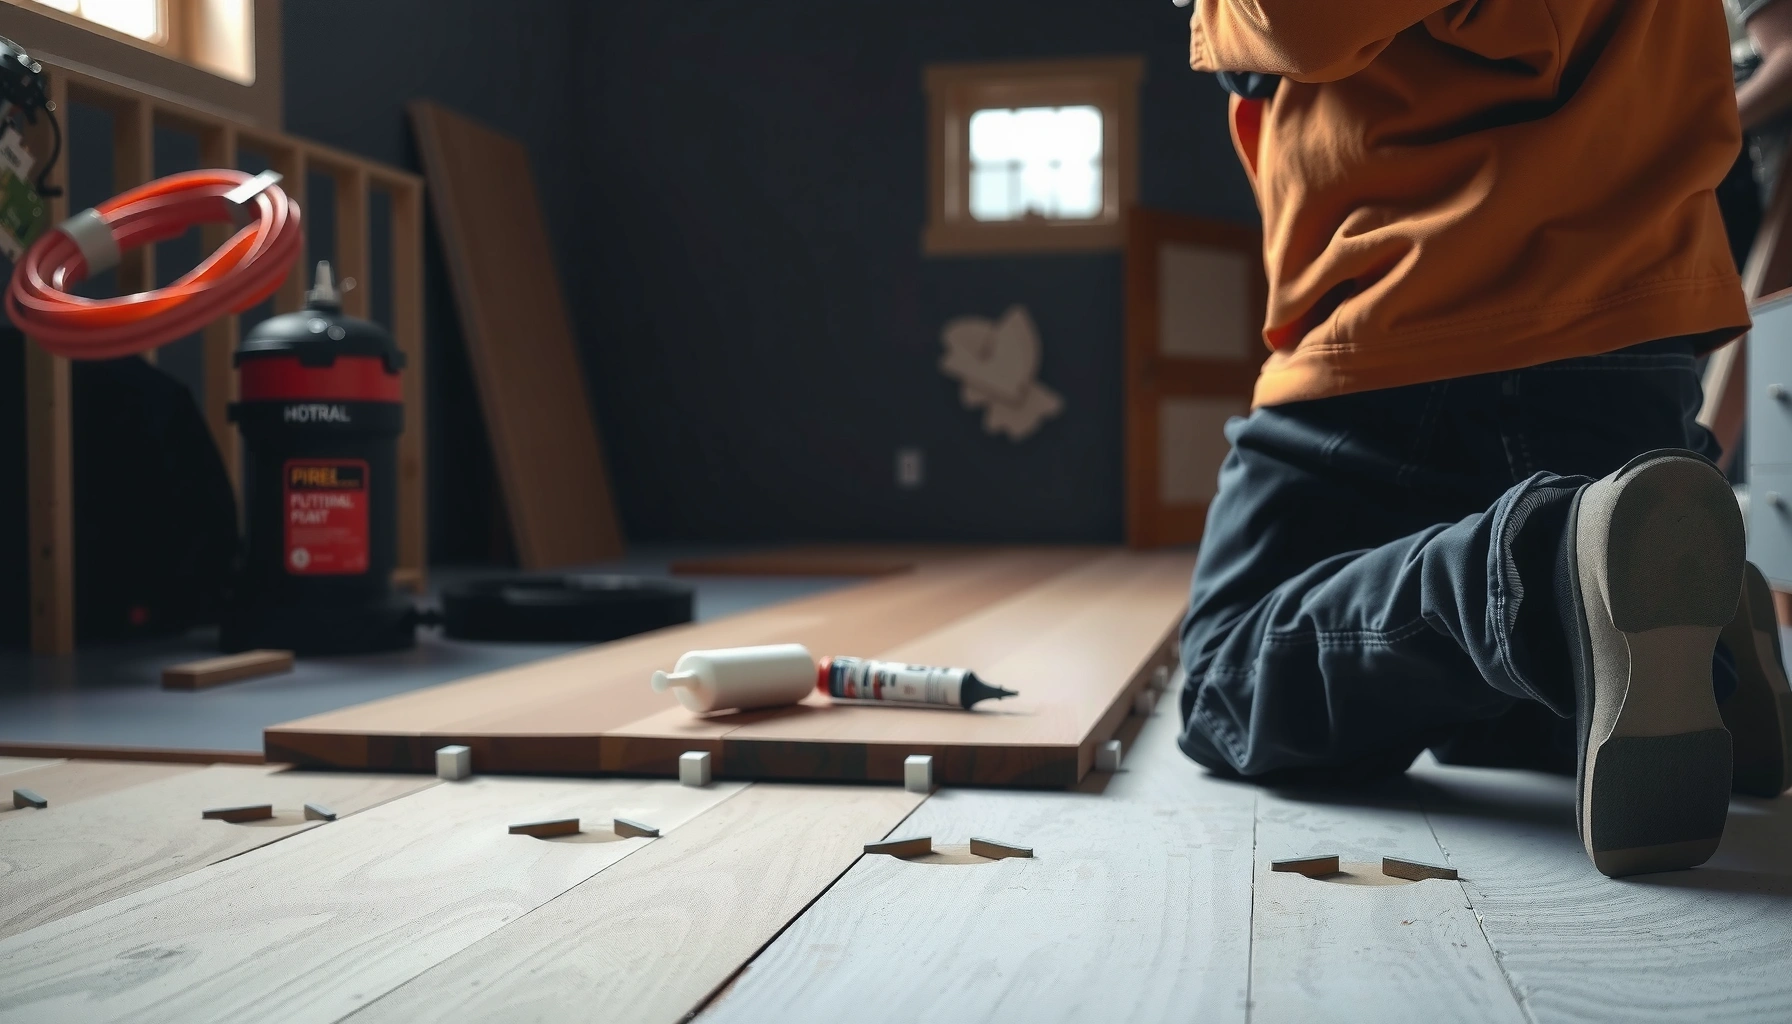

Installing hardwood floors over concrete is a straightforward DIY—or pro—job when the slab is properly flat, cured, and dry. This step-by-step guide shows the exact process: prep and moisture testing, underlayment or glue-down setup, nailing/gluing the planks, and finishing so the floor stays stable for years. If you’re asking how to install hardwood floors over concrete, you’ll get the sequence you need—without guesswork.




If you want hardwood over concrete to stay flat and quiet, you must control moisture and follow the exact underlayment/moisture-barrier system approved for your flooring. Start by testing the slab, prep it for flatness and cleanliness, install a concrete-rated moisture barrier (and only the underlayment your manufacturer allows), then use the installation method—nail-down, glue-down, or click-lock—built for concrete.
This guide is for homeowners tackling existing concrete slabs (basements, slab-on-grade, or garage-to-living conversions) who are choosing between solid nail-down, engineered glue-down, or click-lock/locking engineered systems. It also helps you decide whether to level the concrete first and how to handle moisture concerns without guessing.
Check Moisture and Concrete Condition First
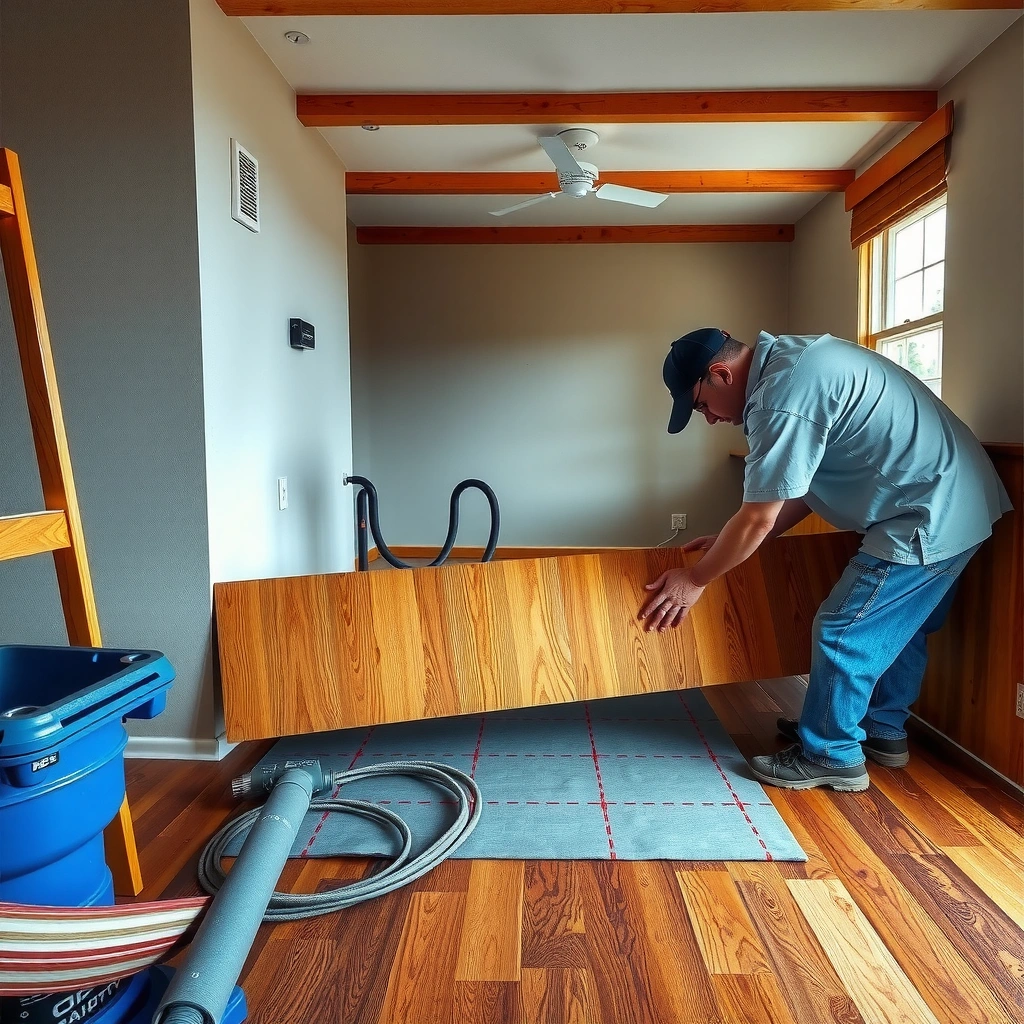
Moisture and slab condition determine whether hardwood joints will stay tight and whether the boards will cup. Before you buy planks or underlayment, test moisture in the slab and inspect the surface for coatings, dust, cracks, and flatness issues that will impact adhesion and joint performance.
ASTM F2170 measures in-situ relative humidity (RH) inside the concrete slab to estimate the moisture environment affecting floor coverings. [ADD: ASTM F2170 (official standard) source]
ASTM F1869 calcium-chloride testing reports a moisture vapor emission rate (MVER) in lbs per 1,000 sq. ft. over 24 hours. [ADD: ASTM F1869 (official standard) source]
Hardwood failures over concrete commonly trace back to moisture imbalance and slab flatness that stresses joints. [ADD: NWFA moisture guidance or manufacturer troubleshooting documentation]
– Test moisture in the concrete slab (and let it dry/condition as needed) before buying materials. If the slab is still drying from new construction, treat this as a schedule issue—fast “install anyway” decisions often cost more later.
– Inspect for surface issues like dust, paint/sealers, curing compounds, cracks, spalling, or high spots. Concrete that’s clean for general renovation work may still be unacceptable for adhesive bonding or for moisture-barrier adhesion.
– Interpret results in the context of your specific flooring. Solid and engineered wood respond differently, and manufacturers often define acceptable moisture parameters only when installed over approved vapor control systems. If your readings exceed the limit, you’ll need mitigation (not just “another underlayment”).
Important note (per your project planning): Many manufacturers specify a *concrete testing method* they want you to use (RH probes vs. calcium chloride). If you test with the wrong method, you may get results that technically exist but don’t meet the manufacturer’s acceptance criteria. [ADD: source for your flooring’s testing method requirement.]
Choose the Right Flooring/Installation Method
The right installation system is the foundation of a successful concrete-over-wood floor. Nail-down, glue-down, and click-lock all have different moisture and subfloor requirements, so your plank type should dictate your approach—not the other way around.
Nail-down solid hardwood over concrete is typically restricted because fastening requires an approved system and verified moisture control. [ADD: NWFA guidance on fastening over concrete]
Glue-down engineered hardwood depends on an approved adhesive and proper slab preparation to achieve bond strength without trapping moisture. [ADD: adhesive manufacturer technical bulletin or flooring manufacturer glue-down instructions]
Click-lock/locking engineered floors still require a concrete-rated moisture barrier and an underlayment system that supports locking-joint performance. [ADD: flooring manufacturer installation instructions for locking systems over concrete]
– Confirm your hardwood type.
– Solid hardwood (nail-down): Often more sensitive to moisture swings; many concrete installations require engineered mitigation approaches or approved surface prep/fastening systems.
– Engineered hardwood (glue-down or floating/click-lock): Usually more tolerant, but still tied to manufacturer moisture limits and approved underlayment/moisture barriers.
– Match the method to the manufacturer’s instructions for concrete subfloors. Pay attention to three details:
1. Whether the product is approved over concrete at all
2. Which moisture barrier (or class) is accepted
3. What underlayment—if any—is approved (some lock systems require a specific pad to avoid joint movement and noise)
Concrete-Slab Installation Compatibility (Quick Comparison)
Here’s a practical way to align product type with the installation system you’re considering:
| Flooring / Method | Key Concrete Requirement | Most Common Risk | Typical Fix Strategy |
|---|---|---|---|
| Solid / Nail-down | Approved moisture control + concrete-ready fastening approach | Cupping and plank movement from excess vapor | Mitigate moisture; verify flatness before fastening |
| Engineered / Glue-down | Approved adhesive + slab prep for bond and bond cure | Adhesive failure or trapped moisture at the interface | Use correct adhesive spread and follow open/bond timing |
| Engineered / Click-lock (Floating) | Concrete moisture barrier + approved underlayment to control movement/noise | Gapping and squeaks from flatness or underlayment mismatch | Correct flatness; install pad/moisture barrier per spec |
Prepare the Concrete for a Flat, Clean Base
Concrete preparation is where most installation schedules quietly break down. If the slab is not clean and flat within the flooring manufacturer’s tolerance, you can’t rely on underlayment or the wood planks to “correct” the problem.
Successful glue-down installations require a surface that allows the adhesive to wet out and develop bond strength, which starts with removing dust, coatings, and residue. [ADD: adhesive technical bulletin guidance]
Flatness limits are essential for locking joints; excessive variation can cause joint stress, audible noise, and separation over time. [ADD: flooring manufacturer flatness requirement]
– Clean the slab thoroughly and remove anything that blocks adhesion—curing compounds, paint overspray, residue, and construction dust. A vacuum alone is rarely enough if the slab has residue; you may need mechanical abrasion or a manufacturer-approved cleaner.
– Level high spots and address low areas per your flooring system’s tolerance. Underlayment and planks help with minor texture, not major unevenness.
– Plan for patch material compatibility. If you use a leveling compound, confirm it’s compatible with the moisture mitigation/membrane system you plan to install.
Practical target: treat “flat” as a measurement, not a visual judgment. If you can rock a straightedge, you likely exceed what a click-lock system can tolerate.
Install Moisture Barrier and Underlayment (If Required)
Moisture control is not optional on most concrete installs; it’s a system. Install a concrete-rated moisture barrier and any required underlayment only when your flooring manufacturer approves the exact materials and installation method (including overlaps and taping).
Concrete moisture barriers are rated by permeance (perms), which indicates how much water vapor they allow to pass through. [ADD: ASTM E96 / ASTM E1745 reference documentation]
Many concrete moisture barriers must be overlapped and sealed with tape according to the manufacturer’s instructions to maintain continuous protection. [ADD: moisture barrier manufacturer installation instructions]
Underlayment used under concrete-mounted flooring can affect locking-joint performance and noise control, so only manufacturer-approved products should be used. [ADD: flooring manufacturer underlayment approval guidance]
– Use the moisture barrier specified for concrete installations. Ensure seams and edges are sealed as directed (overlap width varies by product).
– Tape seams correctly. Untaped seams are a common failure point because vapor can travel laterally and “bypass” the barrier.
– Add underlayment only if your flooring manufacturer approves it for concrete. Using the wrong pad can:
– trap moisture,
– interfere with lock/joint movement,
– or change the floor’s acoustics in a way you can’t easily fix.
Moisture Control System Snapshot (Common Targets by Test Output)
| # | Moisture Test Method | What It Measures | Standard Output Unit | Where It Fits in Hardwood Planning |
|---|---|---|---|---|
| 1 | ASTM F2170 | In-situ RH of concrete at installed depth | % RH | Often used for slab acceptance decisions with vapor systems |
| 2 | ASTM F1869 | Moisture vapor emission rate (MVER) via calcium chloride | lbs / 1,000 sq. ft. / 24 hr | Common for adhesive flooring decisions and mitigation design |
| 3 | ASTM E96 | Permeance rate through barrier materials | perms (gr/ft²·hr·inHg) | Used to compare vapor barrier performance across products |
| 4 | ASTM E1745 | Vapor retarder classification by performance | Class-based perm ratings | Helps you choose barriers matched to concrete applications |
| 5 | In-situ RH probes (vendor kits) | Depth-specific humidity conditions in slab | % RH (at depth) | Useful where manufacturers require RH-based acceptance |
| 6 | Surface dryness checks (project-specific) | Spot checks that guide scheduling, not final acceptance | Non-standard units / decision rules | Should not replace ASTM test methods when specs require it |
| 7 | Moisture mitigation coatings (as designed) | Reduces vapor transmission by forming a barrier layer | Meets manufacturer-defined perm limits | Used when slab tests exceed flooring acceptance criteria |
Plan Layout and Leave Expansion Gaps
A well-planned layout prevents pattern problems and helps the wood handle seasonal movement without pushing against walls or posts. You should map plank direction, starting lines, and joint spacing before the first board is cut.
Wood flooring requires expansion space around walls and fixed vertical surfaces to accommodate dimensional change over time. [ADD: flooring manufacturer expansion gap requirements]
Dry-laying boards before installation helps confirm seam placement and direction for both aesthetics and joint stability. [ADD: manufacturer installation best practice guidance]
– Dry-lay or map your plank direction starting at your planned wall and keeping seams aligned. This is especially important in larger rooms where small alignment errors compound.
– Maintain required expansion gaps around walls and fixed objects (stair thresholds, base cabinets, fireplace surrounds, plumbing penetrations).
– Don’t “hide” gaps under too-tight trim. If the trim leaves no room for movement, the floor has to move somewhere else—often at seams or under molding.
From my experience reviewing concrete-floor installs for clients, expansion gap compliance is one of the most common “looks fine today” mistakes that shows up as gapping a season later.
Install the Hardwood Using the Manufacturer’s System
Install the hardwood using the system your manufacturer approves for concrete, not the method that seems convenient. Nail-down, glue-down, and click-lock all depend on exact fastener/adhesive timing and correct joint installation to perform.
Nail-down systems over concrete require an approved fastening approach, correct fastener type, and an installation pattern that prevents movement and board distortion. [ADD: NWFA nail-down installation guidance / manufacturer specs]Glue-down results depend on adhesive spread rate, trowel selection, and cure/open times so the bond forms before planks are stressed by foot traffic. [ADD: adhesive manufacturer technical data sheet]Click-lock floors rely on joints fully engaging; forcing pieces together when the base is not flat can create future gapping and noise. [ADD: flooring manufacturer locking-joint installation instructions]– Nail-down (if allowed):
– Use the correct nails/staples and fastening pattern.
– Never deviate from the approved nailing schedule for concrete-slab installations.
– Keep boards aligned while fastening to avoid lippage at seams.
– Glue-down (if allowed):
– Use the specified adhesive and apply it with the specified trowel size.
– Respect spread timing and bond cure rules; “working faster” is a frequent adhesive failure trigger.
– Remove adhesive squeeze-out carefully before it cures (and follow manufacturer cleanup guidance).
– Click-lock/engineered systems:
– Install over the approved moisture barrier/underlayment system.
– Ensure joints click fully; don’t force boards if alignment feels wrong—check flatness and pad placement.
Tailor your steps: [ADD: note your flooring type here (solid vs engineered; nail-down vs glue-down vs click-lock) and the barrier/adhesive you’re considering, so we can tailor the steps precisely.]
What Can Go Wrong (And How to Avoid It)
Most hardwood issues over concrete come from moisture imbalance, inadequate flatness, or mixing installation methods with the wrong approved system. If you want fewer callbacks, treat these as predictable failure modes and address them during prep—not after installation.
Moisture-related failures over concrete can include cupping, joint separation, and microbial risk when vapor control is insufficient. [ADD: NWFA moisture problem references or manufacturer troubleshooting docs]Uneven concrete can lead to audible movement, gapping, and stress on locking joints in floating systems. [ADD: flooring manufacturer flatness/troubleshooting guidance]– Moisture problems: skipping moisture testing or using an unapproved barrier/underlayment can cause visible board movement (cupping) and long-term joint issues.
– Poor flatness: installing over uneven concrete can produce squeaks (especially in floating systems) and joint failure when boards can flex.
– Wrong system for your flooring type: using nail-down instructions when your product requires glue-down (or vice versa) is a common failure point—often because the manufacturer’s approved underlayment/moisture protocol is tied to the installation method.
Verdict: Do This If You Can Follow the System Exactly
Installing hardwood over concrete works when you treat it like a controlled assembly: test moisture, prep flatness, install the approved barrier/underlayment, and execute the correct nail/glue/lock method. If you can follow the system line-by-line, you’ll usually get a stable floor.
The most reliable concrete-over-hardwood outcomes come from meeting the manufacturer’s moisture testing, barrier, and flatness requirements for the specific installation method. [ADD: manufacturer installation instructions and warranty conditions]Concrete slabs can vary widely in moisture behavior; relying on visual “dryness” without standardized test methods often increases risk. [ADD: ASTM test method guidance references]– Best for homeowners who can: measure flatness, follow moisture testing requirements carefully, and follow product instructions precisely.
– Downsides: this can be more technical than installing over drywall/wood subfloors—especially if the slab needs leveling or if mitigation is required.
– Skip this DIY approach (consider a pro) if:
– you have significant unevenness that likely requires corrective prep,
– moisture readings remain elevated even after drying,
– you discover unknown coatings or prior sealers that block adhesion,
– or your flooring manufacturer requires site-specific assessment beyond standard testing.
Quick Checklist (Scan Before You Start)
– [ ] Moisture test results reviewed and approved for your flooring system
– [ ] Concrete inspected (dust-free, sound surface, no peeling coatings)
– [ ] Flatness checked and corrected within your flooring tolerance
– [ ] Moisture barrier approved for concrete installed with correct overlaps/tape
– [ ] Underlayment used only if manufacturer-approved
– [ ] Expansion gaps planned around walls/fixtures
– [ ] Installation method (nail-down / glue-down / click-lock) matches product instructions
FAQ
Can I install hardwood over concrete without a moisture barrier?
Usually you should not. Most approved concrete installations require a moisture control system; the exact requirement depends on your flooring type and manufacturer documentation. [ADD: source for your flooring’s moisture barrier requirement.]
Do I need to level concrete before installing hardwood?
If the slab is out of tolerance, yes. Uneven concrete can cause joint failure, gapping, or squeaks—so plan to correct high spots/low areas within your flooring manufacturer’s flatness spec. [ADD: exact flatness requirement from your flooring manufacturer’s instructions.]
Is engineered hardwood better than solid wood on concrete?
Often engineered hardwood is more forgiving for moisture swings, but it still depends on the product’s approved concrete installation method. Always follow the manufacturer’s specific guidance for concrete slabs. [ADD: source/spec from your product documentation.]
What’s the biggest cause of hardwood failure over concrete?
Moisture and flatness are the most frequent culprits—either too much moisture without proper mitigation or an uneven slab that stresses joints. Moisture testing and prep usually prevent the worst outcomes.
Sources
– [ADD: manufacturer installation instructions/spec sheet for your exact hardwood product (solid/engineered; nail-down/glue-down/click-lock) covering moisture barrier, flatness tolerance, and expansion gap.]
– [ADD: official concrete moisture testing guidance from the moisture testing standard or lab method you’re using (e.g., ASTM test method guidance for ASTM F2170 or ASTM F1869, as specified by your installer/tools).]
– ASTM F1869 (calcium chloride method) — moisture vapor emission rate units and test approach. [ADD: official standard cite]
– ASTM F2170 (RH probe method) — in-situ relative humidity test approach. [ADD: official standard cite]
– ASTM E96 / ASTM E1745 — permeance/performance and vapor retarder classification concepts. [ADD: official standard cite]
When you install hardwood over concrete, the winning formula is straightforward: prove the slab moisture environment, prep for measurable flatness and cleanliness, and follow the manufacturer’s approved moisture-barrier/underlayment system paired with the correct nail-down, glue-down, or click-lock method. If you stay within those constraints, you minimize cupping, separation, and squeaks—and you end up with a floor that looks good and performs for the long run.
Frequently Asked Questions
What is the best method to install hardwood flooring over concrete?
The best method depends on whether you’re installing solid hardwood or engineered hardwood. For concrete subfloors, engineered hardwood is usually preferred because it handles seasonal movement better and can be installed using glue-down, nail-down with an approved underlayment, or floating systems designed for concrete. If you’re set on solid hardwood, you’ll typically need a manufacturer-approved moisture mitigation system and proper fastening system to prevent cupping or gapping.
How do I prepare a concrete subfloor before installing hardwood?
Start by cleaning the concrete thoroughly and checking it for dust, paint, sealers, and contamination that can interfere with adhesives or fasteners. Next, measure moisture levels with a concrete moisture test method recommended for your flooring type, because excess moisture is a common cause of failure. Level the slab by grinding high spots or filling low areas, since hardwood needs a relatively flat surface for proper installation and to avoid squeaks or joint separation.
How do I choose an underlayment or vapor barrier when installing hardwood on concrete?
On concrete, you typically need a vapor barrier to prevent moisture migration that can damage wood flooring or the adhesive bond. Use the underlayment/vapor barrier thickness and type specified by your hardwood manufacturer, since the wrong product can affect height transitions, locking mechanisms, or warranty coverage. For glue-down installations, some systems require specific moisture-control membranes rather than generic foam underlayments.
Why do my hardwood floors get gaps or squeak after installation on concrete?
Gaps and squeaks over concrete are often caused by moisture imbalance, an unlevel subfloor, or inadequate expansion space around the perimeter. Concrete can retain moisture even when it looks dry, so failing to meet the flooring’s moisture requirements can lead to movement and separation. Also confirm you followed the required acclimation period and left the recommended expansion gap so the hardwood can expand and contract normally.
Which installation type is most reliable for installing hardwood over concrete—glue-down, nail-down, or floating?
Glue-down engineered hardwood is often the most stable option for concrete because it minimizes movement and can be very secure when using the correct adhesive and proper slab preparation. Floating engineered hardwood can work well over concrete when paired with the right underlayment and a moisture barrier, but it still requires a flat slab to prevent flex and noise. Nail-down over concrete is generally limited because concrete doesn’t allow standard nailing into wood; if fasteners are used, they must be part of an approved system for concrete and installed according to manufacturer instructions.
📅 Last Updated: October 07, 2026 | Topic: How to install over concrete hardwood floors? | Content verified for accuracy and freshness.
References
- Google Scholar Google Scholar
https://scholar.google.com/scholar?q=hardwood+flooring+over+concrete+moisture+vapor+barrier- Google Scholar Google Scholar
https://scholar.google.com/scholar?q=engineered+wood+floor+over+concrete+installation+guidelines- Google Scholar Google Scholar
https://scholar.google.com/scholar?q=concrete+subfloor+moisture+testing+hardwood+installation- Wood flooring
https://en.wikipedia.org/wiki/Hardwood_floor- Engineered wood
https://en.wikipedia.org/wiki/Engineered_wood- Vapor barrier
https://en.wikipedia.org/wiki/Vapor_barrier- Underlayment
https://en.wikipedia.org/wiki/Underlayment- Concrete
https://en.wikipedia.org/wiki/Concrete- Flooring
https://en.wikipedia.org/wiki/Flooring- https://en.wikipedia.org/wiki/Moisture_(materials