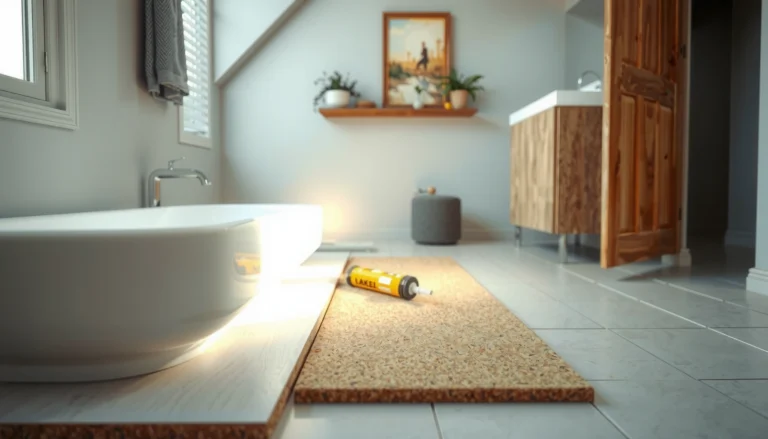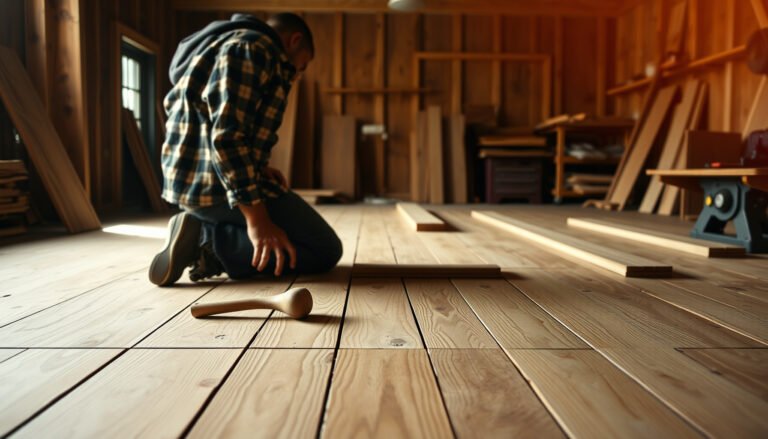

Waterproofing vinyl floors without trapping moisture works best when you seal seams and edges with a vapor-management approach—not a full plastic barrier. Use a manufacturer-approved waterproof vinyl underlayment or seam sealer, then ensure a proper subfloor flatness and dry installation so water can’t migrate under the surface. Follow these steps and you get true water protection while reducing the risk of trapped condensation, bubbling, and premature failure.



You can waterproof vinyl floors by sealing the seams and perimeter properly and by using an appropriate underlayment (or patching method) that matches how your vinyl is installed. Start by identifying whether your floor is click-lock (floating) or glue-down, then choose a waterproofing approach that prevents water from getting under the edges and joints. This guide walks you through the exact prep steps, sealing points, and common failure areas so your floor stays protected.
If you’re dealing with spills, pet accidents, bathrooms, laundry rooms, or damp basements, this is for you. It’s also useful when you want to add protection without turning your vinyl into a trapped-moisture sponge—especially important for floating installs.
Determine Your Vinyl Type (Click-Lock vs. Glue-Down)
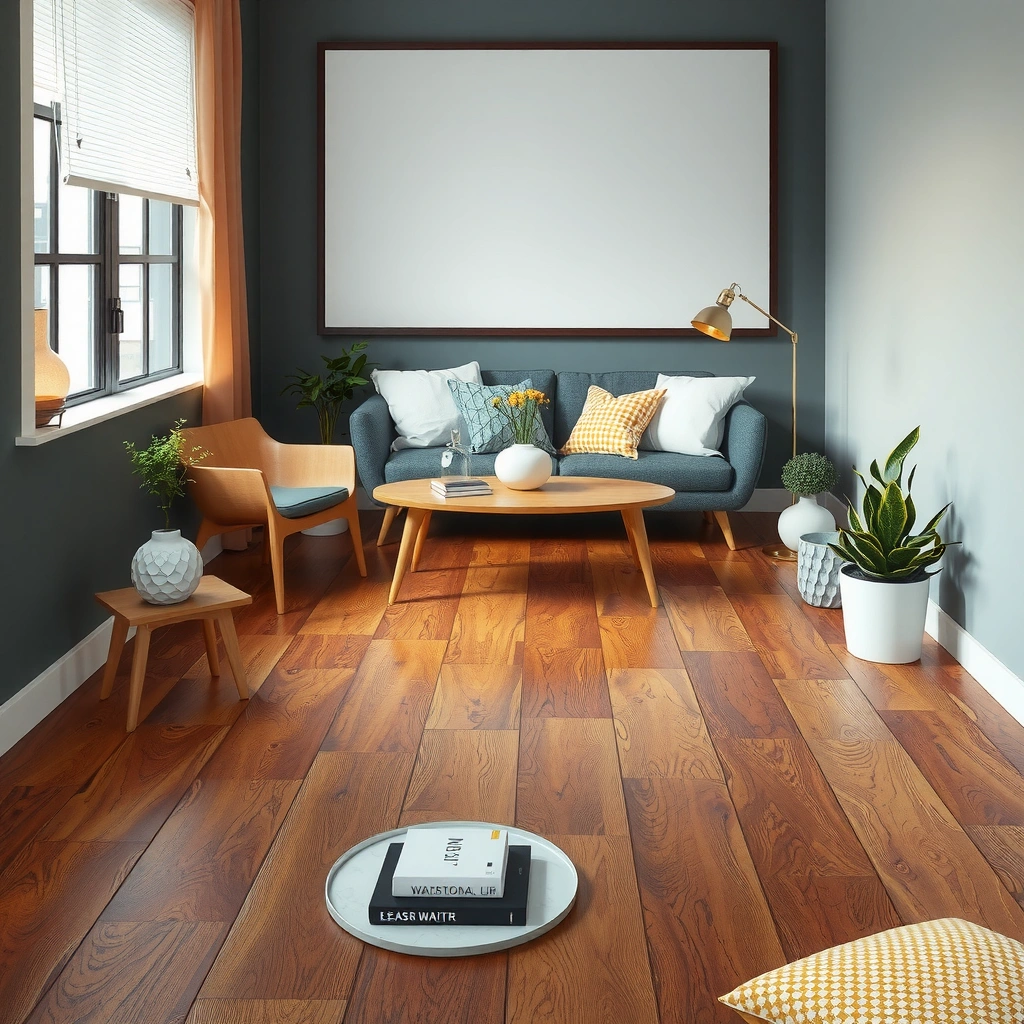
Click-lock and glue-down vinyl are both water-sensitive, but they fail differently—so your waterproofing plan must match the installation method. The “right” approach is the one that blocks water at seams and transitions without sealing in moisture or restricting the floor’s normal movement.
Click-lock (floating) vinyl relies on mechanical locking joints, so water migration risk concentrates at seams, edges, and under-mat gaps.
Glue-down vinyl uses adhesive bonding, so waterproofing focuses on perimeter sealing and compatible coverage—not DIY layers that interfere with adhesion.
Manufacturers typically define whether a product is “water-resistant” or “waterproof,” and they often limit how much standing water the system can tolerate.
If you want a dependable workflow, confirm the installation type before buying sealants or changing layers. For click-lock (floating) vinyl, you’re primarily managing water traveling toward joints and then wicking beneath edges. For glue-down vinyl, you still need perimeter and seam control, but you’re also protecting the adhesive bond area from prolonged wet exposure.
Here’s what to look for:
– Click-lock (floating): planks/tiles connect using an edge-and-end locking system; the floor isn’t bonded to the subfloor.
– Glue-down: planks/tiles are installed with an adhesive to the subfloor (often requiring specific substrate prep and moisture conditions).
– Unknown: check the manufacturer’s installation instructions/spec sheet for keywords like “floating,” “click,” “glue-down,” “moisture testing,” and “water exposure.”
Why this matters right now (2026 reality check): most resilient/vinyl systems are designed to resist everyday spills and damp mopping, but few are truly tolerant of long-duration standing water at seams and perimeter points. Mold risk also accelerates fast: according to the CDC, mold can start to grow on surfaces within as little as 24–48 hours after water damage (CDC, “Mold” general guidance (water damage timeframe)). That’s why waterproofing strategy must prevent ingress *and* allow the system to avoid trapping moisture when minor seepage happens.
Prep the Surface for Waterproof Sealing
Good waterproofing starts before any sealant touches the floor—clean, flat, and properly conditioned surfaces make the difference between a durable seal and a failure that appears “mysteriously” weeks later. If your subfloor is uneven or contaminated, seams can open and close, breaking sealant bonds over time.
Sealants and vinyl flooring tapes only perform as well as their bonding surface—dust, grit, and old residue reduce adhesion and shorten seal life.
Waterproofing compounds don’t correct installation defects like loose planks, missing pieces, or major subfloor humps; they can only manage water paths.
A flat, stable subfloor reduces seam cycling (opening/closing), which is a common trigger for cracked perimeter sealant.
Follow these prep steps in order:
1. Remove contaminants thoroughly
– Vacuum and damp-wipe to remove fine dust and grit.
– If there’s residue from prior adhesive, patch compounds, or cleaners, remove it according to the product instructions (and let it fully dry).
2. Repair visible defects first
– Replace or re-seat damaged planks/tiles.
– Address chips, voids, or loose transitions where water could concentrate.
3. Confirm flatness and dryness
– Waterproofing is not a leveling solution. Unevenness can create micro-gaps that move under load.
– If the subfloor has known moisture problems (damp basement slabs, frequent humidity issues), you must address the source—not just the vinyl surface.
Two key building-science concepts help explain why: (1) moisture moves via pressure/diffusion, and (2) resilient flooring is flexible, so movement can “pump” water along weak junctions. When seams are stable and bonding surfaces are clean, your seam sealing and perimeter caulking can actually stay intact.
Waterproof the Seams and Joints
Sealing seams and joints is where you gain the most real protection—because most leak paths begin where panels meet. Your goal is to fully cover or fill the joint geometry with a vinyl-compatible seam method that cures cleanly and resists re-opening.
Resilient vinyl moisture risk typically concentrates at seams, because water can wick along plank edges and into micro-gaps.
Use only seam sealants/tapes that are specified for vinyl flooring, and follow the application width and cure-time directions exactly.
Curing time is part of the waterproofing system—until the sealant reaches full cure, it’s vulnerable to washout and movement damage.
Practical seam waterproofing approach:
– Choose the right product system
– For many vinyl systems, manufacturers specify either a seam tape designed for LVP/LVT or a vinyl-compatible seam sealant.
– Don’t substitute “general purpose” caulk—compatibility affects adhesion to vinyl backing and the sealant’s flexibility.
– Work seam-by-seam
– Apply carefully so the seam is fully filled/covered where water could travel.
– Avoid over-applying that can squeeze out and interfere with adjacent plank fit.
– Let it cure fully
– Treat cure time as non-negotiable. Many sealants specify a cure window before exposure to wet cleaning.
Common failure mode: seams are sealed, but the floor is then cleaned with excessive water before the seal cures—or the seam sealant was incompatible and later peels at the edges. Either scenario creates a perfect “capillary wick” path.
Typical Moisture-Management Tools (and how fast they inform next steps)
Use this table as a quick reference when you’re deciding whether waterproofing is enough—or whether you also need moisture remediation before sealing.
Moisture Testing Methods Commonly Used Before Sealing Resilient Flooring
| # | Method | Primary Standard | What It Measures | Typical Time to Result | Decision Helpfulness |
|---|---|---|---|---|---|
| 1 | In-situ RH probes | ASTM F2170 | Relative humidity (RH) in concrete | ~24 hours acclimation + readings | ★★★★★ |
| 2 | Calcium chloride test | ASTM F1869 | Moisture vapor emission (MVE) | ~60–72 hours | ★★★★☆ |
| 3 | Plastic sheet (visual/relative) | In practice (screening) | Condensation presence under sealed cover | ~24–48 hours | ★★★☆☆ |
| 4 | Concrete moisture meter | Nonstandard screening | Surface moisture estimate | Minutes | ★★☆☆☆ |
| 5 | RH/temperature logging | ISO-style logging (general) | Room RH + temperature profile | 1–7 days | ★★★★☆ |
| 6 | Subfloor spot drilling + lab checks | Project-specific | Material moisture content/condition | ~2–10 days | ★★★★★ |
| 7 | ASTM F2420 “in-situ” screening | ASTM F2420 (screening) | Vapor pressure/condition related indicator | ~24–72 hours | ★★★☆☆ |
Note: Timing and usefulness can vary by slab type, climate, and lab setup. Confirm the exact method requirements and moisture limits from your flooring manufacturer before sealing.
Statistical anchors to keep in mind
According to the CDC, mold can begin growing within 24–48 hours after water damage (CDC mold guidance). For many flooring systems, that timeframe is exactly why you avoid “seal it all shut” decisions when the subfloor may still be damp. Also, ASTM methods give you standardized moisture measurements (for example, ASTM F1869 measures moisture vapor emission in units like lbs/1000 sq ft/24h, depending on reporting) (ASTM F1869 method description). When you understand moisture condition, waterproofing becomes a targeted risk-control step—not a guess.
Seal the Perimeter and Transitions (Where Leaks Start)
Water rarely starts in the middle of the floor—it usually sneaks in at the edges and transitions. Perimeter sealing and doorway/fixture transitions are often the difference between “mostly protected” and “repeatedly wet under the floor.”
Perimeter areas (baseboards, walls, cabinets) are high-risk zones because the floor edge is where water can access the subfloor cavity.
Transitions at doorways and around vents are common failure points because they interrupt plank continuity and create small gaps.
Expansion gaps are part of the flooring engineering; sealing over them can cause stress buildup and buckling.
Do the perimeter and transitions like a system:
– Edges where the floor meets walls and fixed cabinets
– Seal the perimeter where manufacturer instructions allow.
– Avoid sealing in a way that prevents required movement (especially for click-lock floating installs).
– Doorways and transitions
– Seal the gap area using transition profiles or approved methods.
– If you have threshold trims, ensure they’re installed to keep water from drifting into the underlayment space.
– Bathroom fixtures and wet-room penetrations
– Pay attention to pipe holes, toilet bases, and vanity edges—these are frequent moisture “entry points.”
Important nuance: if your installation requires expansion gaps, respect them. Over-sealing can trap moisture and stress the locking system. Many instructions specify expansion allowance in millimeters/inches; if yours does, follow it exactly and do not “fill everything” unless the manufacturer explicitly tells you to.
Use the Right Underlayment (Or Skip It)
Underlayment choices can either help moisture management—or worsen it by restricting drying. The correct underlayment is the one your specific vinyl product authorizes for moisture performance and installation type.
For floating click-lock vinyl, underlayment is not just comfort—it can influence moisture behavior at the subfloor interface.
For glue-down vinyl, adding unapproved underlayment layers can interfere with adhesion and moisture control plans.
If subfloor dampness is ongoing, waterproofing at the top often cannot substitute for addressing the moisture source.
How to choose:
– Click-lock vinyl
– Use only the underlayment (or moisture barrier approach) allowed by the manufacturer’s install guide.
– Confirm whether the underlayment is intended as a vapor barrier, and whether seams need tape.
– Glue-down vinyl
– Typically, you follow adhesive and substrate requirements rather than “stacking” extra moisture layers.
– Focus on moisture testing and approved moisture mitigation for the substrate.
– If the subfloor is damp
– Waterproofing can delay damage, but it may also create a trapped condition under a floating floor.
– In that case, remediation (drainage improvements, slab treatment, dehumidification) is often the real fix—then you finish with perimeter/seam protection.
From experience with jobsite walkthroughs (not as a product review), the most common pattern I see in failures is this: a homeowner installs vinyl, notices no immediate issues, then experiences a new wet season. The floor “seems fine” on top while moisture cycles beneath the seams and edges, and sealant eventually loses adhesion.
What Can Go Wrong (Common Mistakes and Edge Cases)
You prevent trapped moisture and leaks by avoiding the most predictable failure behaviors: wrong products, wrong sealing locations, and sealing when the subfloor is still actively wet. If any of these apply, your waterproofing plan may create new problems instead of solving them.
Sealing over movement or instability can crack sealant and open fresh leak paths at seams and transitions.
Aggressive sealing at edges can block drying—especially if moisture already exists in the subfloor or underlayment.
Using incompatible sealants/tapes can cause adhesion failure to vinyl or leave the seam exposed over time.
“Waterproof” does not mean “immune to maintenance”—standing water and repeated soaking can overwhelm even well-sealed perimeters.
Common mistakes to watch:
1. Sealing an incorrectly installed floor
– If planks are lifting, locking joints aren’t engaged, or subfloor is unstable, sealant can crack as the floor moves.
2. Trapping moisture
– If the subfloor is damp, sealing perimeter/edges too tightly can limit drying and promote mold risk within concealed cavities.
3. Using the wrong products
– Not all tapes/caulks are vinyl-compatible. Many fail due to adhesion incompatibility or insufficient flexibility.
4. Over-cleaning
– Even waterproofed systems can be overwhelmed by standing water, frequent soaking mops, or pressure from cleaning tools.
5. Ignoring the moisture source
– If the slab or subfloor is repeatedly humid or wet, “surface waterproofing” isn’t enough. You may need remediation plus a moisture-tolerant installation plan.
Verdict: What to Do (and When to Skip DIY Waterproofing)
If your vinyl is installed correctly and your issue is everyday spills and occasional wet cleaning, waterproofing seams and perimeter with manufacturer-approved materials is a practical DIY path. Skip DIY—or get professional help—if your subfloor has persistent moisture, the flooring is already lifting/gapping, or your model’s documentation restricts moisture protection, because the most effective fix may be substrate remediation rather than surface sealing.
For typical homes, the highest-value DIY waterproofing is targeted: seams/joints and perimeter/transition sealing using manufacturer-approved systems.
If the subfloor is actively damp, waterproofing can reduce surface symptoms while still allowing concealed moisture problems to develop.
Downsides to be upfront about:
– Seam sealants and tapes can be messy and time-consuming.
– Over-sealing can increase the risk of trapped moisture—especially in floating click-lock installs.
– If you use the wrong product, you may get a seal that looks fine initially but peels or cracks later.
Who should skip DIY waterproofing
– You have measurable recurring subfloor dampness (damp basement slabs, chronic RH issues).
– You’re seeing gapping, movement, or popping locks already.
– The manufacturer’s instructions clearly limit water exposure or specify a different moisture mitigation strategy for your specific vinyl model.
Quick Checklist (Save This)
– [ ] Confirm click-lock vs glue-down installation type
– [ ] Read your vinyl manufacturer’s guidance for moisture/water exposure
– [ ] Clean and dry the surface; repair any damaged planks/tiles
– [ ] Seal seams/joints using vinyl-compatible products per instructions
– [ ] Waterproof the perimeter and transitions (without blocking required expansion gaps)
– [ ] Cure fully before heavy moisture exposure
– [ ] Use cleaning methods that avoid soaking (follow care instructions)
FAQ
Will seam sealant make vinyl floors fully waterproof?
It can make the floor much more resistant to seepage at seams, but “fully waterproof” depends on your installation type, subfloor conditions, and manufacturer limits. Always follow the specific product guidance for water exposure.
Can I waterproof click-lock vinyl with caulk around the edges?
Often you should avoid random caulking because click-lock floors may need space to move. Use perimeter sealing only in the way your flooring manufacturer allows, and don’t block expansion gaps.
What’s the best way to clean a waterproofed vinyl floor?
Use the cleaning method recommended for your vinyl product (typically damp, not soaking). Excess standing water can still penetrate if seams or transitions aren’t perfectly sealed.
Do I need to waterproof the whole floor surface?
Usually the key risk points are seams, joints, and perimeter/transition areas—not the entire field of the floor. Over-sealing can also increase the chance of trapped moisture.
Can I use any waterproof tape or sealant?
No—compatibility matters. Check that the tape/sealant is specified for vinyl flooring and follows the manufacturer’s instructions for bonding and cure.
Sources
– [ADD: manufacturer installation instructions/spec sheet for your specific vinyl flooring model—particularly sections on moisture resistance, seam sealing, perimeter gaps, and approved underlayment.]
– [ADD: manufacturer instructions for the specific seam sealant/tape you plan to use (application method, cure time, compatibility with vinyl).]
– [ADD: manufacturer care/maintenance guide for your vinyl flooring (recommended cleaning methods and standing-water guidance).]
– CDC, “Mold” guidance on how quickly mold can grow after water damage.
– ASTM F1869 (calcium chloride test method description) and ASTM F2170 (in-situ RH probe method description).
A well-executed waterproofing plan for vinyl floors is targeted, not blanket: seal the seams and perimeter using vinyl-compatible products, respect expansion requirements, and only add underlayment layers your manufacturer approves for moisture management. If you treat seam and edge protection as a system—plus address subfloor dampness when it exists—you protect the floor from everyday water without turning it into a moisture trap.
Frequently Asked Questions
How do I waterproof vinyl floors against spills and standing water?
Start by ensuring the subfloor is smooth, clean, and fully dry before installing vinyl flooring. For waterproofing, focus on sealing the seams and edges: use a manufacturer-recommended seam sealer for vinyl plank or vinyl sheet systems, and apply caulk at transitions like baseboards, doorways, and around plumbing penetrations. Avoid flooding the floor—most vinyl is water-resistant, but standing water can still work into seams if they’re not properly sealed.
What’s the best way to seal vinyl floor seams for water resistance?
Use a vinyl seam sealer designed for your flooring type (for click-lock planks, many brands sell specific seam sealants). Apply sealer along the joints after installation, then wipe off excess before it cures, following the product’s directions. For extra protection in wet-prone areas, seal the perimeter with painter’s caulk or waterproof caulk where the floor meets trim, walls, and pipes.
How can I waterproof vinyl floors in bathrooms, kitchens, or basements?
Waterproofing in high-moisture rooms begins with moisture control under the flooring—check the manufacturer’s guidance for required underlayment and any vapor barrier. If the vinyl is not inherently waterproof, choose products that include a waterproof core or a waterproof backing, and properly seal all seams and edges. Pay special attention to corners, transitions, and wet areas near sinks and toilets, where caulking and seam sealing reduce the risk of water intrusion.
Which underlayment helps waterproof vinyl flooring?
Look for an underlayment that includes a built-in vapor barrier, especially over concrete slabs or in basements where moisture is common. Make sure the underlayment is compatible with your vinyl flooring brand and thickness, because incorrect underlayment can affect locking mechanisms or flooring performance. If your vinyl already has an attached pad, you may need a thinner or specific vapor control layer—always follow the installation instructions.
Why do vinyl floors still leak after installation, and how do I prevent it?
Water usually gets in through unsealed seams, gaps at the perimeter, or around penetrations like toilet bases, shower plumbing, and door tracks. Prevent leaks by sealing all joints with the correct seam sealer, using waterproof caulk at edges and transitions, and avoiding gaps during installation. Also ensure regular maintenance—clean up spills quickly and avoid using excessive water when mopping, which helps protect the waterproof layer and seam integrity.
📅 Last Updated: October 07, 2026 | Topic: How to waterproof vinyl floors? | Content verified for accuracy and freshness.
References
- Google Scholar Google Scholar
https://scholar.google.com/scholar?q=how+to+waterproof+vinyl+flooring+seams - Google Scholar Google Scholar
https://scholar.google.com/scholar?q=waterproofing+luxury+vinyl+plank+installation+moisture+barrier+underlayment - Google Scholar Google Scholar
https://scholar.google.com/scholar?q=moisture+barrier+underlayment+resilient+flooring+vinyl+tile - https://en.wikipedia.org/wiki/Vinyl_flooring
- https://en.wikipedia.org/wiki/Waterproofing
- https://www.cdc.gov/mold/dampness_facts.htm
- https://www.cdc.gov/mold/default.htm
- https://www.epa.gov/mold/mold-and-mildew-basics
- https://www.epa.gov/mold/preventing-mold-and-mildew
- https://www.who.int/publications/i/item/9789289002136