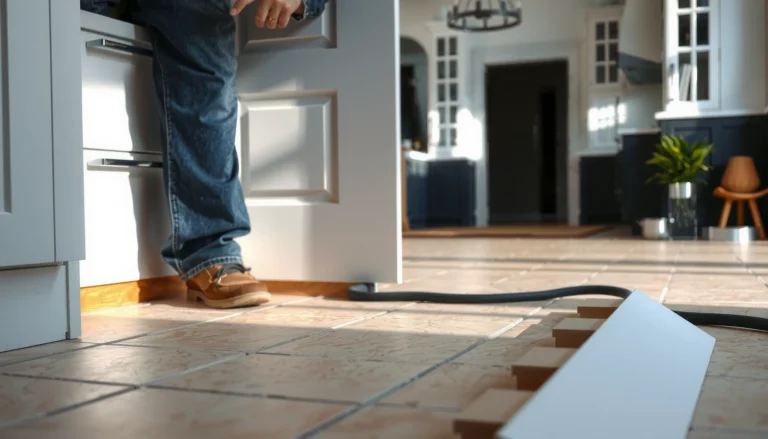
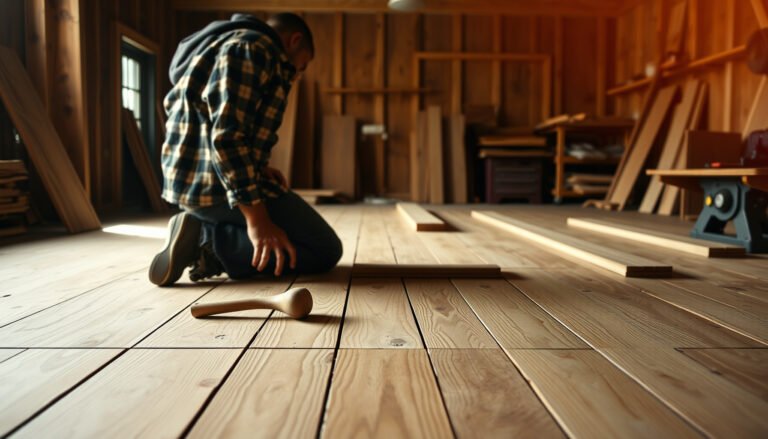
Want to install bathroom cork floors and avoid the usual water-damage mistakes? This step-by-step guide shows exactly how to prep the subfloor, choose the right waterproof cork system, lay the planks, and seal the edges so the floor holds up in a wet environment. Follow these instructions and you’ll get a tight, level installation that performs where bathrooms demand it most.




You can install cork bathroom flooring successfully, but only with a bathroom-rated system that controls moisture end-to-end. That means a dry, flat subfloor, the correct underlayment/vapor barrier (when required), and sealed seams/edges so water can’t migrate underneath.
If you want cork floors in a bathroom to last, the key is using a waterproof, bathroom-rated system: a proper subfloor that’s dry and flat, plus the right sealant/underlayment and edge protection. Plan for moisture control first, then install the planks/tiles with tight seams and sealed transitions so water can’t seep underneath.
This guide is for homeowners and DIY installers laying cork flooring (floating, click-lock, or glue-down) in a bathroom—especially where daily splashes, steam, and occasional standing water risk exist. If your bathroom has an ongoing leak, fixing that comes before any flooring work.
Prep the bathroom for cork (moisture + subfloor)
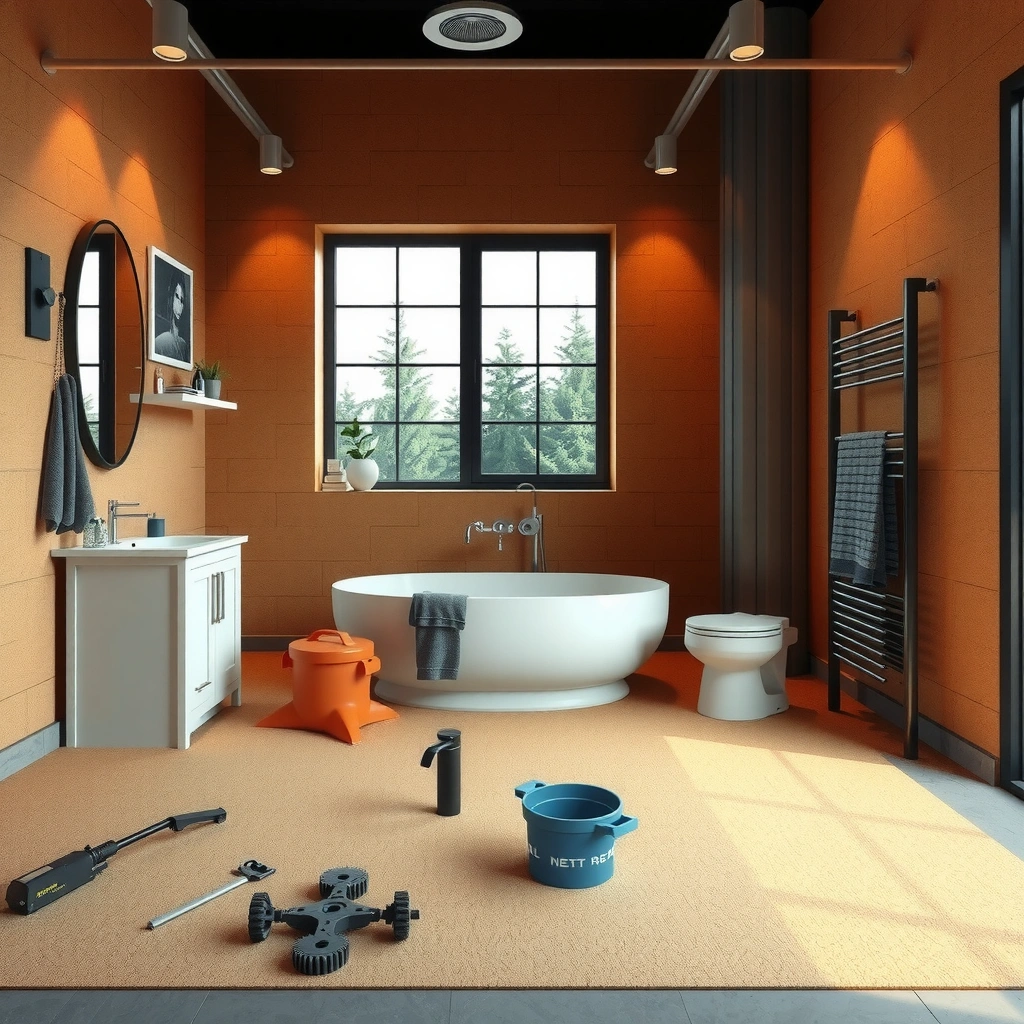
The fastest way to avoid cork bathroom failure is to treat subfloor moisture and flatness as the real “installation.” Cork can handle day-to-day humidity better than many materials, but it can’t correct wet, uneven, or structurally inconsistent subfloors.
Moisture testing and compatible vapor control are core requirements in standard resilient flooring installation practices, including ASTM methods such as ASTM F2170 for in-slab relative humidity. ASTM F2170
Subfloor flatness matters because click-lock and glue-down systems can fail differently on uneven surfaces—locks can stress, and adhesive can telegraph ridges. [ADD: cite your cork manufacturer’s flatness requirement]
If water gets trapped under a floor covering, failure often shows up first at seams and perimeter edges—exactly where cork must be sealed and protected. [ADD: cite a relevant flooring failure reference or manufacturer warranty language]
Check dryness the way your system expects
Start with the slab/subfloor condition that your cork flooring manufacturer specifies. Cork is natural and inherently water-sensitive compared with fully waterproof rigid-core products, so your goal is “controlled exposure,” not “waterproof by default.”
Do this:
– Confirm the subfloor is fully cured (for new concrete) and dry before you install.
– Use the moisture test approach the manufacturer allows (commonly ASTM F2170 for in-slab RH; or ASTM F1869 for moisture vapor emission rate).
– According to ASTM F2170, in-slab relative humidity testing is used to evaluate moisture conditions in concrete subfloors.
– According to ASTM F1869, moisture vapor emission rate testing measures moisture vapor leaving the slab.
If you’re working over an existing subfloor (plywood, OSB, or underlayment), confirm the moisture reading approach still fits the manufacturer’s instructions. When in doubt, pause and match your test method to the cork product documentation.
Make the subfloor solid and level (not just “good enough”)
Cork won’t “hide” dips. Also, cork can transmit small imperfections into the click joints or into adhesive bonds.
– Remove old flooring thoroughly.
– Scrape/level high ridges; fill low spots using an approved patch/leveler.
– Vacuum, then re-check flatness and cleanliness (dust is a bond-killer for glue-down systems).
Practical guidance: Plan for flatness and bond behavior differences:
– Floating/click-lock: uneven floors can cause gapping at joints.
– Glue-down: uneven floors can create voids under planks/tiles, leading to edge lifting or reduced bond strength.
[ADD: Your cork manufacturer flatness tolerance in mm/in and whether it’s “within X over Y feet/meters.”]
Choose the right cork installation type for bathrooms
The best bathroom outcome comes from choosing the installation type that your cork product documentation actually approves for wet-area conditions. In practice, the “system” (underlayment + sealing details + transitions) matters as much as the planks locking method.
Installation type (floating/click-lock vs glue-down) is tied to required underlayment and moisture barrier details in manufacturer instructions. [ADD: cite your cork product installation guide]
Bathrooms introduce recurring humidity and splashing, so “splash-zone friendly” products may not be approved for areas with frequent wetting. [ADD: cite your cork product’s wet-area limitations]
A moisture barrier is not optional when the manufacturer requires one; leaving it out can turn a manageable humidity load into chronic underside wetting. [ADD: cite the moisture barrier requirement from your cork system]
Confirm bathroom approval (not just “water-resistant”)
Look for explicit wording in the cork documentation about bathroom use. Terms you may see:
– Water-resistant (surface-level performance only)
– Suitable for bathrooms (approval for wet-area exposure)
– Limitations (for example, “only in dry areas,” or “avoid standing water”)
If your product is only approved for “indirect” moisture or “light splashing,” treat it like a restricted use case. Many warranties hinge on installation compliance.
Match the underlayment/system to the installation method
Pick the underlayment (and any primers/sealers) that the cork manufacturer specifies for your system:
– Floating/click-lock: often requires a specific moisture barrier (sheet vapor barrier) and an acoustical/cushion layer as allowed.
– Glue-down: typically requires an approved subfloor preparation and adhesive compatibility; some systems still use moisture mitigation layers, but not all.
Here’s where DIY goes wrong: homeowners use a “generic underlayment” because it feels right. In reality, thickness, permeability, seams/overlaps, and edge detailing must match the cork system.
Install the cork correctly (layout, gaps, seams)
Correct layout and tight seams determine whether moisture has a clean escape path—or a hidden highway underneath. In bathrooms, the perimeter is usually the weak link, so planning your cuts and expansion gaps early is essential.
Floating floors typically require perimeter expansion gaps to allow seasonal movement and prevent buckling at walls. [ADD: cite the expansion gap value from your cork manufacturer]
Seams that are misaligned or gapped create capillary pathways that can pull water underneath over time. [ADD: cite a manufacturer seam/edge sealing requirement]
Dry-fitting a layout helps avoid small “trap cuts” near doorways and fixture zones that are hardest to seal neatly later. [ADD: cite best-practice guidance from your installation manual]
Plan the layout for the real wet zones
Bathrooms rarely experience uniform exposure:
– High splash areas near sinks
– Frequent water contact around shower/bath edges
– Traffic and steam patterns near doorways and towel areas
Plan your board/row direction and seam placement to keep:
– Avoidable seams out of direct splash lines when possible.
– Awkward slivers and tiny end-cuts at high-moisture transitions.
Dry-fit 2–3 rows before committing adhesive or locking long runs. This reduces rework and helps you keep joint alignment consistent.
Maintain required expansion gaps (especially at vertical edges)
Floating/click-lock installations generally need expansion space around:
– Walls and built-ins
– Pipe penetrations and vertical transitions
– Any rigid framing that the floor can’t move around
In many flooring systems this gap is commonly around 6–10 mm (about 1/4–3/8 in), but you must follow your cork manufacturer’s exact value.
– According to [ADD: manufacturer installation spec], maintain the required expansion gap to prevent edge restriction.
Keep seams tight as you go
– For click-lock systems: engage joints fully; avoid forcing.
– For glue-down systems: set planks/tiles flat and control adhesive squeeze-out or residue per the adhesive instructions.
– Re-check alignment after each row; correcting small seam issues early is far easier than fixing them once the layout is locked in.
Seal and protect seams, edges, and transitions
If you only do one “extra” step for bathroom cork, make it sealing the details where water travels. In real-world installs, the perimeter and penetrations usually fail first—so your sealing plan must treat those as non-negotiable.
Perimeter sealing and sealing transitions are repeatedly emphasized in flooring warranty language because they protect the underside from moisture ingress. [ADD: cite your cork warranty/installation requirements]
Wet-area caulking at wall/floor interfaces is typically required when the manufacturer specifies a sealant system for bathrooms. [ADD: cite sealant type and application guidance]
Transitions (doorways, hall entries, and floor height changes) must be finished to prevent water migration along edges. [ADD: cite transition detailing requirements]
Seal joints and perimeter edges per the manufacturer’s system
Manufacturers may require:
– Cork seam sealing (for some systems)
– Perimeter sealing after installation
– Specific sealant types compatible with cork and your underlayment
General best practice (only if approved by your product):
– Use a bathroom-rated caulk that remains flexible (especially at wall interfaces).
– Seal around fixtures/trim transitions as directed.
– Don’t “seal everything” blindly—some products need breathable layers or specific joint strategies.
Use bathroom-appropriate detailing for transitions
Where bathroom flooring meets:
– Hallways (lower/lower exposure)
– Tile entry zones
– Different floor heights
…you need a consistent plan. That usually means:
– A transition strip or threshold detail that covers the edge gap.
– Caulk where the manufacturer calls for it, especially at movement points.
Seal penetrations (toilet/sink/wall pipes)
Every penetration is a micro-risk for water movement. The correct approach depends on:
– Your installation method (floating vs glue-down)
– The flooring’s sealing instructions
– The fixture mounting method
[ADD: source for your specific cork product’s penetration sealing guidance.]
What can go wrong (and how to avoid it)
Bathroom cork fails when moisture gets underneath and stays there long enough to swell, loosen, or stress joints. Most problems aren’t from “a little water”—they come from repeated exposure plus one missing part of the approved moisture-control system.
Skipping the manufacturer-specified moisture barrier or using a non-approved underlayment is a common reason for flooring warranty denial and premature failure. [ADD: cite warranty conditions from your cork manufacturer]
Click-lock joints can separate when the floor moves on an un-flat subfloor, while glue-down failures can show up as edge lift over adhesive voids. [ADD: cite relevant failure mechanism and/or manufacturer notes]
Unsealed perimeter gaps create a recurring moisture path that can repeatedly refill under the floor after every cleaning or splash event. [ADD: cite best-practice guidance for perimeter sealing]
Common mistakes and prevention
1) Moisture barrier mistakes
– Mistake: using a generic underlayment that isn’t part of the system
– Prevention: install exactly what your cork manufacturer specifies (including barrier seams/overlaps and any taped edges)
2) Subfloor flatness shortcuts
– Mistake: leaving ridges, waves, or low spots
– Prevention: meet the cork maker’s flatness requirement before install
– [ADD: exact tolerance from your cork product documentation]
3) Missing transitions/edge sealing
– Mistake: relying on baseboards/trim alone
– Prevention: seal the perimeter and transitions per the manufacturer—baseboards can help hide gaps but don’t always stop moisture movement underneath.
Pros/cons comparison: installation approach in bathrooms
| Factor | Floating / Click-Lock Cork | Glue-Down Cork |
|---|---|---|
| Moisture control emphasis | Very high at seams + perimeter; barrier details are critical | Very high at bonding edges; underside moisture still matters |
| Subfloor flatness sensitivity | High (locks can stress on dips) | High (adhesive can telegraph ridges/voids) |
| Repair approach | Sometimes easier to replace sections if boards lift cleanly | Often messier (adhesive residue, patching color/edge continuity) |
| Bathroom suitability fit | Best only when the system and sealant/underlayment meet wet-area requirements | Best only when adhesive + prep are explicitly approved for your bathroom moisture profile |
About “standing water” risk
Even with a good system, prolonged puddles can exceed what many cork products and adhesives tolerate. If your bathroom sees recurring standing water (leaky valves, cracked shower pan, clogged drains), fix that first—flooring can’t compensate for plumbing issues.
Verdict / tip (when to DIY vs when to pause)
Cork can work in bathrooms if—and only if—you follow a bathroom-rated approach: dry, level subfloor; correct underlayment/sealant system; and fully protected seams and edges. The downside is that cork can still be vulnerable to prolonged standing water, and repair can become complicated if moisture gets underneath.
From a risk-management perspective, DIY is reasonable when:
– Your cork product clearly approves bathroom installation
– You can verify subfloor dryness/flatness to the manufacturer’s requirements
– You’re comfortable executing detailed sealing at seams, edges, penetrations, and transitions
Skip (or pause) your DIY plan if:
– You suspect an active leak or see recurring moisture/wet subflooring
– You can’t confirm dryness/flatness to the product spec
– The product documentation does not clearly approve bathroom exposure levels
This is one of those projects where the right answer isn’t “cork is waterproof” but “your installation system must be waterproof enough for the exposure you actually have.”
Quick checklist (scan/save)
– [ ] Subfloor is dry, sound, and meets the cork maker’s flatness requirements
– [ ] Cork product is explicitly approved for bathroom use (per manufacturer)
– [ ] Correct underlayment/moisture barrier is installed (if required by system)
– [ ] Expansion gaps are maintained around all walls/verticals
– [ ] Joints and perimeter edges are sealed exactly as directed
– [ ] Transitions are finished with appropriate wet-area detailing (caulk/trim plan)
– [ ] Fixtures penetrations (toilet/sink/wall pipes) are sealed properly
FAQ
Can I install cork floors in a bathroom without sealing?
Usually you shouldn’t. Many cork flooring warranties and best-practice installation instructions require sealing seams/edges and using wet-area caulking at transitions—check your product documentation.
Do cork floating/ click-lock floors handle bathroom moisture better or worse?
It depends on the exact product and whether it’s built and sealed for wet conditions. In general, floating floors still rely heavily on moisture barriers and sealed edges, so the “system” matters as much as the locking mechanism.
What’s the biggest cause of bathroom cork failure?
Most failures come from moisture getting underneath: missing/incorrect underlayment, unsealed perimeter/penetrations, or an unaddressed leak. Subfloor moisture and poor sealing details are the usual culprits.
Should I remove the toilet to install bathroom cork?
Often it’s recommended to follow the flooring manufacturer’s guidance for bathroom fixtures and penetrations. [ADD: source for the specific cork product’s toilet/fixture installation guidance]—because methods vary by system.
📊 DATA
Bathroom Cork Installation: Moisture-Control Items and What They Protect
| # | System item | Where it matters most | Risk reduced (rating) | Follow manufacturer? |
|---|---|---|---|---|
| 1 | Moisture testing method (ASTM-based) | Concrete/over-slab decisions | ★★★★★ | Yes |
| 2 | Flatness correction/leveling | Click joints + adhesive contact | ★★★★☆ | Yes |
| 3 | Bathroom-approved moisture barrier/underlayment | Underside water migration | ★★★★★ | Yes |
| 4 | Expansion gaps at perimeter | Wall movement + edge stress | ★★★★☆ | Yes |
| 5 | Seamed joint engagement (floating) / clean bonding (glue-down) | Row-to-row water pathways | ★★★☆☆ | Yes |
| 6 | Seal perimeter edges and required joints | Perimeter underside protection | ★★★★★ | Yes |
| 7 | Penetration + transition detailing | Toilet/sink pipes, door thresholds | ★★★★☆ | Yes |
Sources
– [ADD: source for your specific cork flooring manufacturer’s installation instructions for bathrooms, moisture limits, and required sealing/underlayment]
– [ADD: source for the underlayment/moisture barrier manufacturer’s guidance used with your cork system]
– ASTM F2170 (standard practice for in-slab relative humidity testing)
– ASTM F1869 (standard test method for moisture vapor emission rate from concrete)
– [ADD: source for the cork product/system subfloor requirements from the manufacturer, including flatness tolerance and expansion gap value]
Cork bathroom floors are achievable, but they’re not a “set it and forget it” material—your success depends on matching a waterproof system to a dry, flat subfloor and then sealing the details that water uses to travel. If you follow the manufacturer’s approved underlayment/moisture barrier requirements and protect seams, edges, and transitions exactly, cork can be a comfortable, warm-looking upgrade for years.
Frequently Asked Questions
How do you prepare a bathroom subfloor before installing cork flooring?
Start by checking that the subfloor is level, dry, and structurally sound—cork floors can telegraph bumps and gaps. Remove old adhesive and debris, then repair any squeaks, cracks, or low spots with a leveling compound. In a bathroom, also confirm moisture conditions; if the slab is damp, address it before installing cork to prevent long-term issues. Finally, acclimate the cork planks or tiles in the bathroom area so the material adjusts to local humidity and temperature.
What type of cork flooring is best for bathroom installation—floating, glue-down, or click-lock?
For bathrooms, the “best” option usually depends on how well you can control moisture and how you plan to seal edges. Glue-down cork flooring can provide strong stability and a more controlled installation when combined with an appropriate waterproof subfloor system and seam sealing. Floating or click-lock cork floors are convenient, but they must have strong water resistance and proper underlayment, with careful attention to expansion gaps near wet zones. For areas exposed to frequent splashes, prioritize a water-resistant cork design and seal transitions thoroughly.
How do you seal cork flooring in a bathroom to protect it from water?
Use a bathroom-suitable cork sealer or finish that is compatible with your specific cork product, and apply it according to the manufacturer’s instructions. Pay special attention to joints, edges, and transitions between rooms, because these areas are where water can penetrate over time. Use proper silicone caulk at perimeter gaps and around fixtures, and install thresholds to reduce water travel into the dry areas. After sealing, keep maintenance consistent—use a damp mop rather than soaking and dry the floor quickly after spills.
Which underlayment and moisture barrier should you use under cork floors in a bathroom?
Choose an underlayment specifically designed for cork flooring and bathroom conditions, ideally including a moisture barrier where required by the flooring manufacturer. For click-lock systems, a thin, engineered underlayment helps with comfort and sound while preventing moisture from reaching the floating joints. For glue-down cork, you may not need underlayment, but you will need a compatible substrate moisture solution and surface prep to ensure good adhesion. Always follow the cork floor’s installation guide for the approved moisture barrier thickness and type to avoid warranty issues.
Why do cork bathroom floors need expansion gaps and proper transitions?
Cork is a natural material that can expand and contract with humidity changes, so expansion gaps help prevent buckling or gapping. In bathrooms, where moisture and temperature fluctuate, leaving the correct perimeter clearance is especially important. Use the manufacturer-recommended gap size, then finish edges with silicone caulk and cover transitions with trim or thresholds to limit water infiltration. Proper transitions at doorways and wet-area boundaries help keep the bathroom cork floors protected and looking consistent over time.
📅 Last Updated: October 11, 2026 | Topic: How to install in a bathroom cork floors? | Content verified for accuracy and freshness.
References
- Google Scholar Google Scholar
https://scholar.google.com/scholar?q=cork+flooring+bathroom+installation+moisture+barrier - Google Scholar Google Scholar
https://scholar.google.com/scholar?q=how+to+install+cork+flooring+floating+installation+underlayment+acclimation - Google Scholar Google Scholar
https://scholar.google.com/scholar?q=cork+flooring+moisture+resistance+bathroom+subfloor+preparation - https://en.wikipedia.org/wiki/Cork_flooring
- Cork
https://en.wikipedia.org/wiki/Cork - https://en.wikipedia.org/wiki/Floor_underlayment
- https://en.wikipedia.org/wiki/Floating_floor
- https://www.cdc.gov/mold/default.htm
- https://www.epa.gov/mold/moisture-control-home
- https://www.who.int/news-room/fact-sheets/detail/dampness-and-mould