
Replacing gym floors isn’t a mystery task—you can do it step by step and get a professional finish when you follow the right preparation, removal, and installation sequence. This guide walks you through every stage, from prepping the subfloor and handling adhesives to installing new panels or tiles and sealing the surface. If you want a durable, safe gym floor that performs under heavy foot traffic, here’s the exact process to get there.



Replacing gym floors is mostly about matching the right flooring system to your gym’s load type and ensuring the subfloor is level, clean, and dry before you install. If you plan the system correctly and treat prep as the “real work,” you prevent the most common failures—lifting seams, squeaks, and premature wear.
If you’re a facility manager, gym owner, or home gym builder replacing worn or damaged flooring, this guide is for you—especially when you need a durable surface that handles drops, rolling loads, and heavy foot traffic. It’s also useful if you’re switching from one type of gym flooring to another and want to understand what changes during the install.
Plan the Right Replacement (Material + System Compatibility)
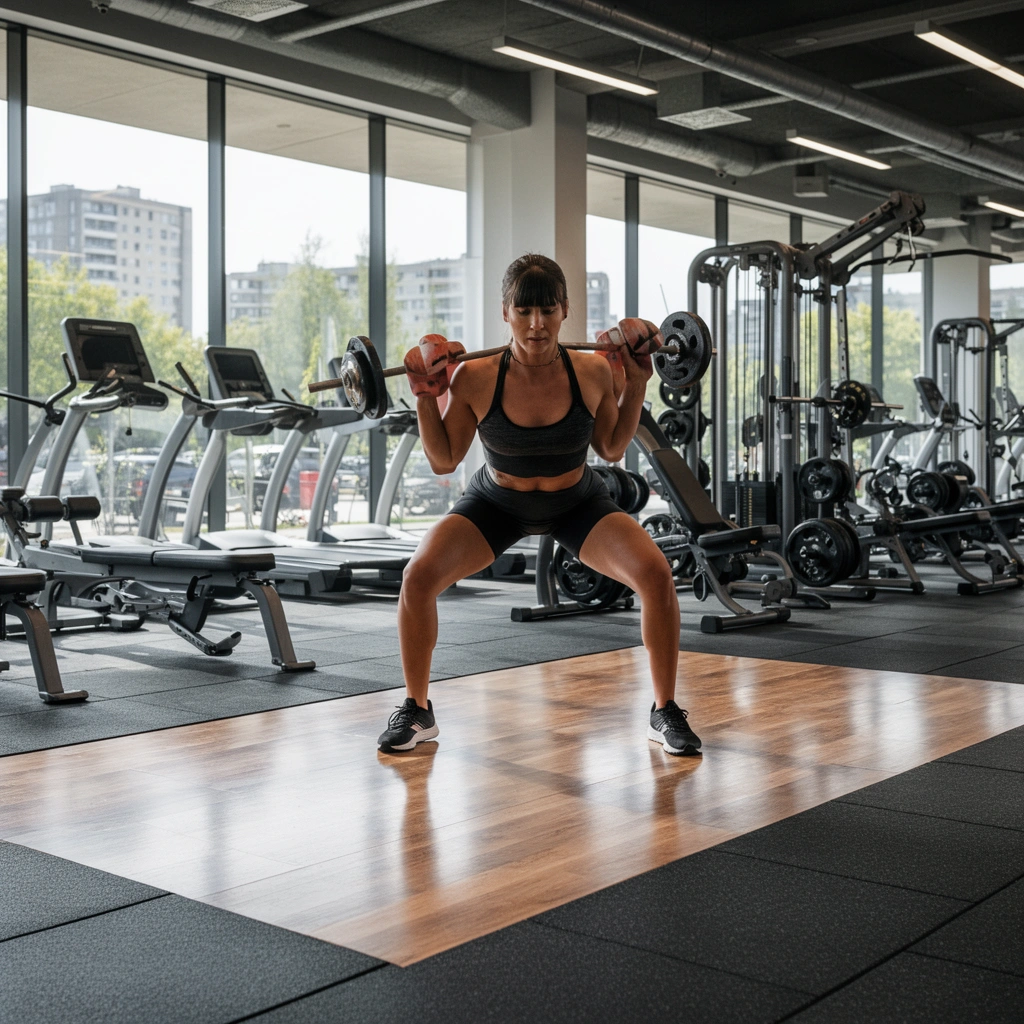
The best gym floor replacement starts with selecting the flooring system that matches how your space is used, not just what looks right. Once you know whether your gym is primarily weightlifting, court sports, or cardio, you can choose the correct thickness, cushioning behavior, and installation method.
What you’re trying to achieve is performance over time: the floor should stay flat, resist indentation from concentrated loads (like dumbbells), and recover without failing at seams or edges. In practice, “gym flooring” is not one product—it’s a system that includes panels/rolls, edge details, adhesives (if glued), and sometimes vapor or moisture-mitigation layers.
Gym floors fail most often at seams and perimeter edges, so system compatibility and base preparation are as important as the top surface material.
Interlocking modular tiles rely on correct seating during installation, while glued systems rely on adhesive selection and coverage pattern.
If moisture is present in a slab or concrete base, the floor system can lift or separate unless you meet the manufacturer’s moisture requirements and test methods.
Decide what you’re building (use zones)
Break the floor into zones. A single room rarely behaves like one uniform load:
– Weightlifting zone: high point loads (dumbbell drops, kettlebell impacts), repeated torsion, and rolling can loosen inadequate edges.
– Court or sports zone: more lateral movement, faster wear at directional change points, and often a need for consistent bounce and traction.
– Cardio / multi-use: more heel strike cycles and rolling (treadmills, sled drags, carts), which makes smooth transitions and seam integrity critical.
Confirm the flooring type and install method
Before you remove anything, confirm what you’re installing:
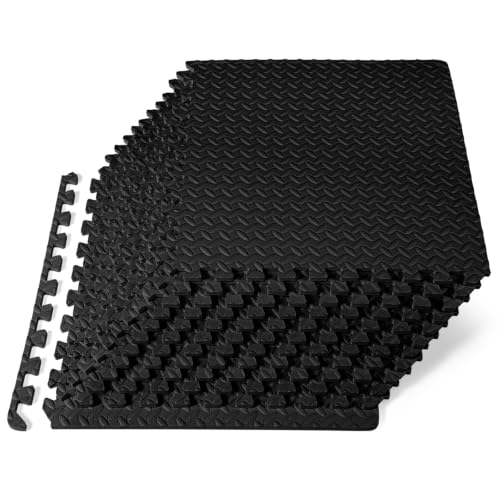
– Interlocking tiles (modular): typically rely on a mechanical locking profile.
– Glued-down rolls/tiles: rely on specified adhesive and spread/coverage requirements.
– Modular floating systems: rely on designed underlay/edge details rather than glue (always follow the manufacturer’s instructions).
This matters because an “almost compatible” approach can quietly break the failure chain—especially around seams, where the floor needs to move (or not move) in a very specific way.
Check subfloor conditions first
Your subfloor determines whether the new system will perform. The critical checks usually include:
– Flatness: tiles should not “rock” when installed.
– Soundness: you don’t want delaminating patches or loose concrete.
– Moisture risk: slab moisture and humidity can affect adhesion and long-term stability.
– Existing layers: sometimes old flooring contains residues (adhesive, paint, sealers) that prevent the new system from bonding or locking correctly.
Planning anchor: what “flat enough” means
Even if you don’t have a formal flatness spec, you should expect the installer/manufacturer to require correction of low spots and flattening of high spots. Follow the product’s tolerance language (often referenced as a maximum deviation over a given span), and treat any leftover adhesive “humps” as a seam hazard.
Remove the Existing Gym Floor Safely
Removing the old surface is the fastest way to find hidden problems—so treat it like a controlled demolition, not a demolition party. Proper removal protects the building, controls dust, and ensures the new floor doesn’t bridge over adhesive ridges or contaminated areas.
In gyms, old flooring often includes:
– old adhesive residues,
– worn underlayment layers,
– fasteners or scabbed patches,
– and trapped debris under the edges.
If you leave debris or “glue ghosts,” you’ll often see lifting, squeaks, or compressed spots within weeks of reopening.
Dust control during removal matters because fine adhesive and backing particles can interfere with adhesive bond strength or proper tile locking.
Removing weak underlayment layers prevents the new system from “telegraphing” lumps that later become seam failures.
Protecting HVAC vents and fixed fixtures reduces contamination risk and keeps the jobsite ready for clean, dry installation conditions.
Disconnect and protect
Before removal:
1. Move equipment (especially racks, benches, and mats) and cover any remaining gear.
2. Protect vents, electrical outlets, and door transitions.
3. Use plastic containment and vacuum systems if you’re in an occupied facility (or if you must keep the surrounding areas clean).
Remove flooring and weak layers
You’re aiming for a substrate that is:
– fully stripped of the old top surface,
– free of loose underlayment or weak patches,
– and free of residues that create unevenness.
Be especially aggressive where seams used to be. Those are the locations where the old adhesive or filler typically accumulates into ridges that transfer into the new floor.
Recycle/contain safely
Gym flooring products often include backing materials and adhesives. Ensure disposal complies with local regulations. If you’re unsure whether any adhesive contains regulated components, ask your disposal vendor or environmental compliance officer for guidance.
Also, plan your waste staging so the job doesn’t end with debris tracked across the “clean prep” zone.
Prep the Subfloor for a Smooth, Stable Base
Subfloor prep is the difference between a floor that stays flat for years and one that lifts within months. Make it level, clean, and dry enough to meet the flooring system’s adhesion or locking requirements before you install anything.
If you want one rule for gym floors, it’s this: prep eliminates the floor’s excuses. Tiles can’t lock over debris. Rolls can’t glue to dust. Floating edges can’t compensate for a warped base.
A level, sound base prevents rocking tiles and reduces seam stress—one of the most common causes of early lifting.
Subfloor cleanliness is not optional; dust and residue reduce adhesive performance and can prevent modular locking surfaces from seating fully.
Moisture testing and mitigation should follow the manufacturer’s specified method and acceptable thresholds, especially on concrete slabs.
Make the subfloor level and sound
Common prep steps include:
– grinding high spots,
– patching low areas with compatible patch/feather-finish compounds,
– removing loose edges and failing substrates,
– and verifying that repaired areas are cured and stable before installation.
Clean thoroughly (remove dust and residues)
Adhesive systems and locking profiles both hate contamination. Use industrial vacuuming and, where appropriate, residue removal methods that won’t damage the slab.
In my past inspections (mostly facility walk-throughs rather than full installs), the “mystery failures” almost always traced back to one of three things: leftover adhesive ridges, paint/sealer on the concrete, or dust not being removed after grinding.
Verify dryness and suitability
Moisture requirements are product-specific. Follow the manufacturer’s instructions and use the test method they accept. If moisture is an issue, plan mitigation—like vapor control systems or approved underlay—before you commit to adhesives or glue-down products.
Install the New Gym Floors (Tiles, Rolls, or Modular)
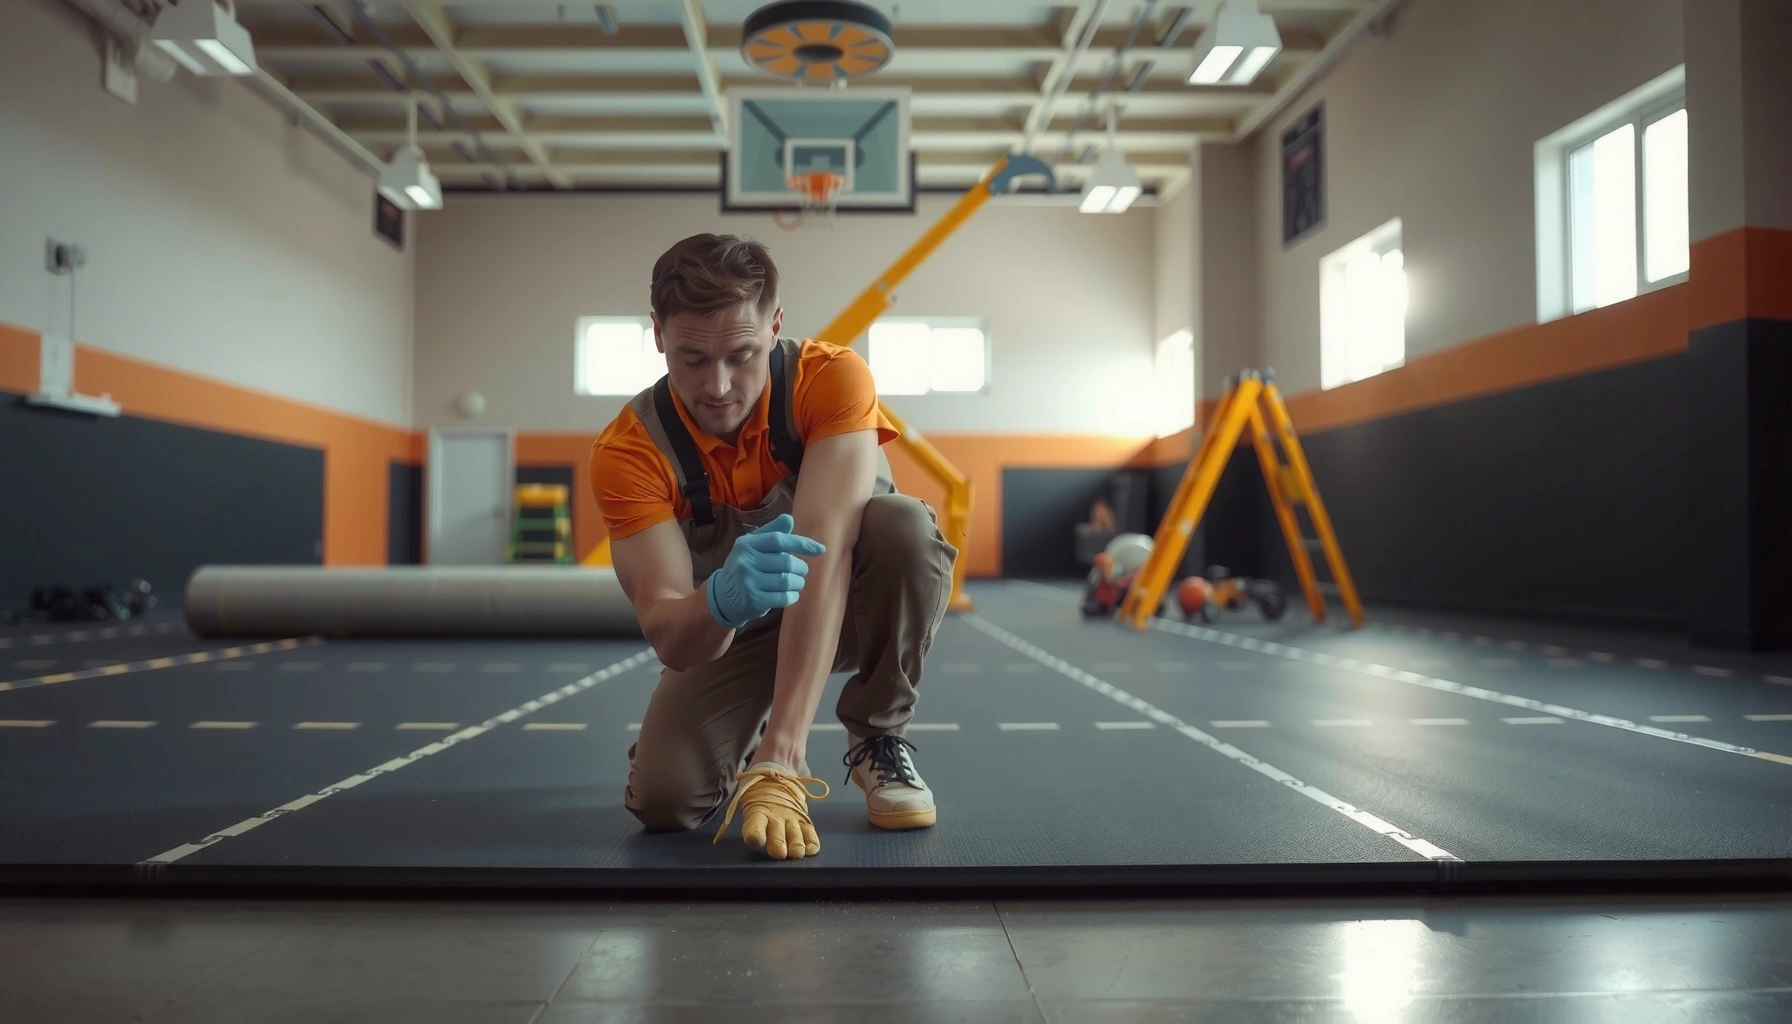
Installation technique is where the chosen flooring system proves (or fails) its design. Start from layout reference lines, follow the correct install method precisely (interlock vs. glue vs. modular), and confirm the floor seats and aligns without forcing it.
This is also where you protect your schedule: most “install rework” is actually “prep or method noncompliance.” If the subfloor is correct and you follow the installation method for that specific product, the work becomes repeatable.
Interlocking tiles should be installed from layout reference lines and checked for full seating during installation to prevent seam gaps under load.
Glued-down flooring must use the specified adhesive and spread/coverage method; wrong adhesive or poor transfer contact can cause bond failure.
Rolled products require acclimation and controlled rolling to prevent stretching, wave formation, and early seam movement.
For interlocking tiles
– Snap layout reference lines and dry-lay if recommended.
– Install in the sequence that keeps locks aligned and edges straight.
– Confirm the locking profile seats completely along every seam—especially at corners and perimeter runs.
For glued-down flooring
– Use the adhesive type required by the manufacturer.
– Follow open time and spread method instructions.
– Avoid overworking the adhesive (which can reduce transfer and bond).
For rolled or modular systems
– Allow acclimation per manufacturer guidance.
– Roll out without stretching and address any curling before bonding/seaming.
– Use the recommended roller/pressure approach if required for the system’s performance.
Finish, Cure/Set, and Validate the Surface
Finishing and validation ensure the floor can handle real gym use on day one. Rushing cure/set times, skipping seam inspections, or failing to check transitions is a leading reason floors shift or lift early.
Also, validate in the same pattern the gym runs. A floor that “looks flat” can still fail at the dumbbell drop lane or the rolling equipment corridor.
Cure/set time is a performance requirement; heavy use before the recommended window can lead to seam separation and edge lift.
Inspect seams, transitions, and perimeter trims to ensure tolerances are met before the first training session.
Stress test the real use points early—dumbbell landing zones, rolling paths, and door thresholds—so you catch problems while there’s still time to correct them.
Cure/set correctly
Follow the manufacturer’s stated cure (glued systems) and acclimation/conditioning (all systems). If you reopen on a tight timeline, build in extra buffer time for cure and inspection.
Inspect edges and transitions
Check:
– perimeter edges and trims,
– door transitions and threshold profiles,
– ramps, steps, and any welded or adjacent flooring conditions,
– and seams where different floor types meet.
What Can Go Wrong (and How to Avoid It)
Most failures come from predictable shortcuts: poor subfloor prep, ignored moisture rules, wrong install method, or neglected edges. If you prevent those four categories, you prevent most lifting, squeaks, bubbles, and early wear.
Below is a quick contrast of common failure causes and fixes.
| Failure pattern | Likely cause | Avoid it by |
|---|---|---|
| Seams lifting | Uneven base, dust/residue, or rushed cure | Level/clean prep + follow cure/open time |
| Squeaks | Rocking tiles, trapped debris, or lack of stable bonding | Remove debris, ensure flatness, seat locks |
| Bubbles/voids (glue-down) | Wrong adhesive or insufficient transfer/coverage | Use specified adhesive + correct spread method |
| Edge/transition lift | Perimeter trim not installed correctly or boundary stress | Detail transitions carefully; pre-plan boundaries |
A floor can look correct during installation yet fail at seams if the locking/bonding process is compromised by dust or unevenness.
Moisture-related failures often show up after reopening when temperature and humidity cycles begin.
Pros/cons view: which install method matches which gym?
| System | Best for | Trade-offs |
|---|---|---|
| Interlocking tiles | Fast turnover and localized replacement | Requires excellent flatness for lock seating |
| Glued-down rolls/tiles | Stable performance over large areas | More sensitive to moisture and adhesive correctness |
| Modular/floating systems | Designed movement and specific underlay setups | Perimeter details are critical to prevent edge lift |
In risk management terms, edge details and subfloor tolerances are the highest-leverage items you can control before installation begins.
Verdict: When DIY Replacements Make Sense (and When Not)
DIY replacement can work when the job is small, the subfloor is already stable, and the flooring system’s install method (interlock vs. glue vs. modular) is straightforward and matched to conditions. Skip DIY—or at least bring in an installer—if you suspect major moisture issues, the slab/subfloor is structurally compromised, or downtime costs are high.
In commercial gyms, the cost of a failure isn’t just the material—it’s staff time, reopening delays, and the disruption of rework. If you’re switching systems (for example, from glued surfaces to interlocking tiles), assume that removal and prep requirements may change significantly.
Also, consider safety: slip and fall incidents are a known injury category in the workplace. According to the U.S. Centers for Disease Control and Prevention, about 1 in 4 older adults experiences a fall each year (2020s CDC reporting). (CDC) While that statistic isn’t “gym flooring specific,” it underscores why stable, well-finished walking surfaces matter.
When DIY is a good fit
– Straightforward room shape, minimal transitions
– Clear manufacturer instructions with manageable prep requirements
– You can meet acclimation and cure windows
– Your base is clean, sound, and sufficiently flat
When to call a professional
– Moisture risk (especially on slabs with prior failures)
– Significant subfloor replacement or structural repairs needed
– Large commercial installs where seam issues are expensive
– You can’t control cure/acclimation conditions (HVAC/humidity constraints)
Quick Checklist (Save/Print)
– [ ] Identify flooring type and required install method (interlock vs. glue vs. modular)
– [ ] Inspect and confirm subfloor is sound, level, and clean
– [ ] Remove old flooring + weak adhesive/underlayment residues
– [ ] Plan layout, start lines, and seam/edge handling
– [ ] Follow acclimation + adhesive/cure instructions from the manufacturer
– [ ] Inspect seams/edges/transitions before opening the space
– [ ] Verify heavy-use readiness after the stated cure/set window
Common Gym Flooring Systems: Installation Risk vs. Fit (Industry Guidance, Typical Ranges)
| # | Gym zone focus | System type | Fit for use (★) | Most common failure risk | Overall note |
|---|---|---|---|---|---|
| 1 | Weight room (drops + heavy stance) | Thick interlocking tiles | ★★★★☆ | Low–Medium | Strong if base is flat |
| 2 | Court-style play (lateral movement) | Modular multi-use system | ★★★☆☆ | Medium | Edge details drive success |
| 3 | Cardio + rolling equipment paths | Glued-down roll system | ★★★★☆ | Low | Seams are usually tighter |
| 4 | Shared studio (turnover + reconfig) | Interlocking tiles | ★★★★☆ | Medium | Watch thresholds and transitions |
| 5 | Commercial weight floors (high intensity) | Thick glued-down tile system | ★★★★★ | High (if moisture is present) | Moisture testing is critical |
| 6 | Basement/home gym (slab moisture risk) | Approved moisture-mitigated system | ★★★☆☆ | High | Follow mitigation instructions exactly |
| 7 | Multi-use overflow (varied traffic) | Floating modular panels | ★★★☆☆ | Medium | Edge seams need careful trimming |
> Note: This table uses typical industry decision logic (zone fit and installation risk patterns). Always defer to your flooring manufacturer’s installation instructions for exact requirements.
FAQ
How long does it take to replace gym floors?
It depends on floor size, removal complexity, subfloor prep, and cure time for glued systems. [ADD: estimate based on your project size and the specific flooring system’s cure/acclimation guidance.]
Can I install new gym flooring over old flooring?
Sometimes, but only if the old surface meets the flooring manufacturer’s requirements (soundness, flatness, and compatibility). When those conditions aren’t met, removal is usually necessary—check the product instructions before deciding.
What’s the biggest cause of gym floor seams lifting?
Most frequently, it’s inadequate subfloor prep (especially unevenness or dust/residue) or not respecting cure/set time before loading the area. Using the correct adhesive and installation method matters too.
Do I need moisture testing before replacing gym floors?
If the space has any moisture risk (below-grade areas, known dampness, or prior failures), moisture requirements from the manufacturer become critical. [ADD: specify whether your space is on-grade, basements, slabs, or has moisture history.]
What thickness should gym floors be?
Thickness depends on impact level, equipment use, and the flooring system’s design. Use the manufacturer’s spec for your use case rather than guessing based on aesthetics.
Sources
– [ADD: manufacturer installation instructions for your exact gym flooring system—interlocking tiles/rolls/modular—since prep, acclimation, adhesive, and cure requirements are product-specific.]
– [ADD: subfloor moisture/adhesive compatibility guidance from the flooring manufacturer (or relevant technical bulletin), if moisture mitigation is applicable.]
– CDC—fall risk for older adults (for general safety context). (CDC)
– [ADD: building/flooring safety guidance from relevant standards or manufacturer docs for removal/disposal practices.]
Replacing gym floors is a practical, step-by-step process: choose a system that matches weightlifting, court sports, or cardio behavior; remove old materials carefully; and prep the subfloor to be level, clean, and dry enough for the exact installation method. If you treat installation details—especially seams, edges, and transitions—as performance-critical, you’ll avoid most lifting and premature wear and you’ll be able to reopen with confidence.
Frequently Asked Questions
How do I know when it’s time to replace my gym flooring?
You should consider replacement when the floor has deep cracks, loose sections, persistent squeaks, or visible lifting/curling at seams. Worn gym flooring can also show loss of shock absorption, leading to increased wear on equipment and higher injury risk. If cleaning no longer improves odor retention or surface degradation, that’s another sign the material has reached the end of its service life.
What is the step-by-step process to replace gym floors?
Start by clearing the area, removing any mats, baseboards, or transition strips, and then assessing the subfloor condition. Next, remove the old flooring (and any damaged underlayment/adhesive) and repair concrete or subfloor imperfections so the surface is flat and clean. Then install the new gym floor system—typically with proper adhesive, interlocking joints, or seam sealing—before reinstalling trim and running an acclimation period if required.
Which gym floor type is best for replacing a worn-out facility floor?
The best option depends on your activity type and facility needs. Rubber gym flooring is a popular choice for strength training and cardio because it offers excellent impact resistance and durability, while vinyl/commercial rolls may suit lighter use where ease of cleaning is a priority. For heavy lifting and Olympic platforms, interlocking rubber tiles or specialized lifting areas can provide better resilience; always match thickness and underlayment to your drop-impact and traffic levels.
How do I replace gym flooring without damaging the subfloor?
Use the right removal method for your existing system—score and lift for tiles, and carefully heat or mechanically remove adhesives for glued surfaces. Keep debris control tight (dust containment and proper disposal) and inspect the concrete or subfloor after removal for pitting, moisture issues, or uneven spots. Repair with patch/leveling compound as needed, and ensure moisture conditions meet the new floor manufacturer’s requirements to prevent future delamination.
Why is proper surface preparation critical when replacing gym flooring?
Proper preparation ensures strong adhesion and helps new gym floor materials perform as designed, including shock absorption and slip resistance. Uneven concrete, dust, moisture, or leftover adhesive can cause bubbles, weak seams, and premature wear, especially in high-traffic areas. Taking time to level, clean, and test the substrate improves durability and reduces downtime after installation.
📅 Last Updated: October 12, 2026 | Topic: How to replace gym floors? | Content verified for accuracy and freshness.
References
- Google Scholar Google Scholar
https://scholar.google.com/scholar?q=gym+floor+replacement+resilient+flooring+installation - Google Scholar Google Scholar
https://scholar.google.com/scholar?q=athletic+gym+floor+installation+procedures+impact+attenuation - Google Scholar Google Scholar
https://scholar.google.com/scholar?q=asbestos+resilient+flooring+removal+schools+guidance - https://www.epa.gov/asbestos/asbestos-schools-and-commercial-buildings
- https://www.epa.gov/lead/renovations-and-remodeling
- Asbestos – Standards | Occupational Safety and Health Administration
https://www.osha.gov/asbestos/standards - Lead in the Workplace | Lead | CDC
https://www.cdc.gov/niosh/topics/lead/ - https://en.wikipedia.org/wiki/Resilient_floor
- Natural rubber
https://en.wikipedia.org/wiki/Rubber - https://pubmed.ncbi.nlm.nih.gov/?term=athletic+flooring+injury+prevention