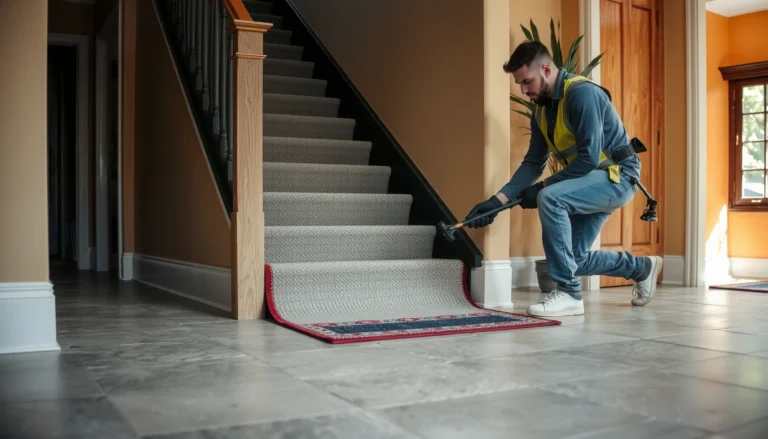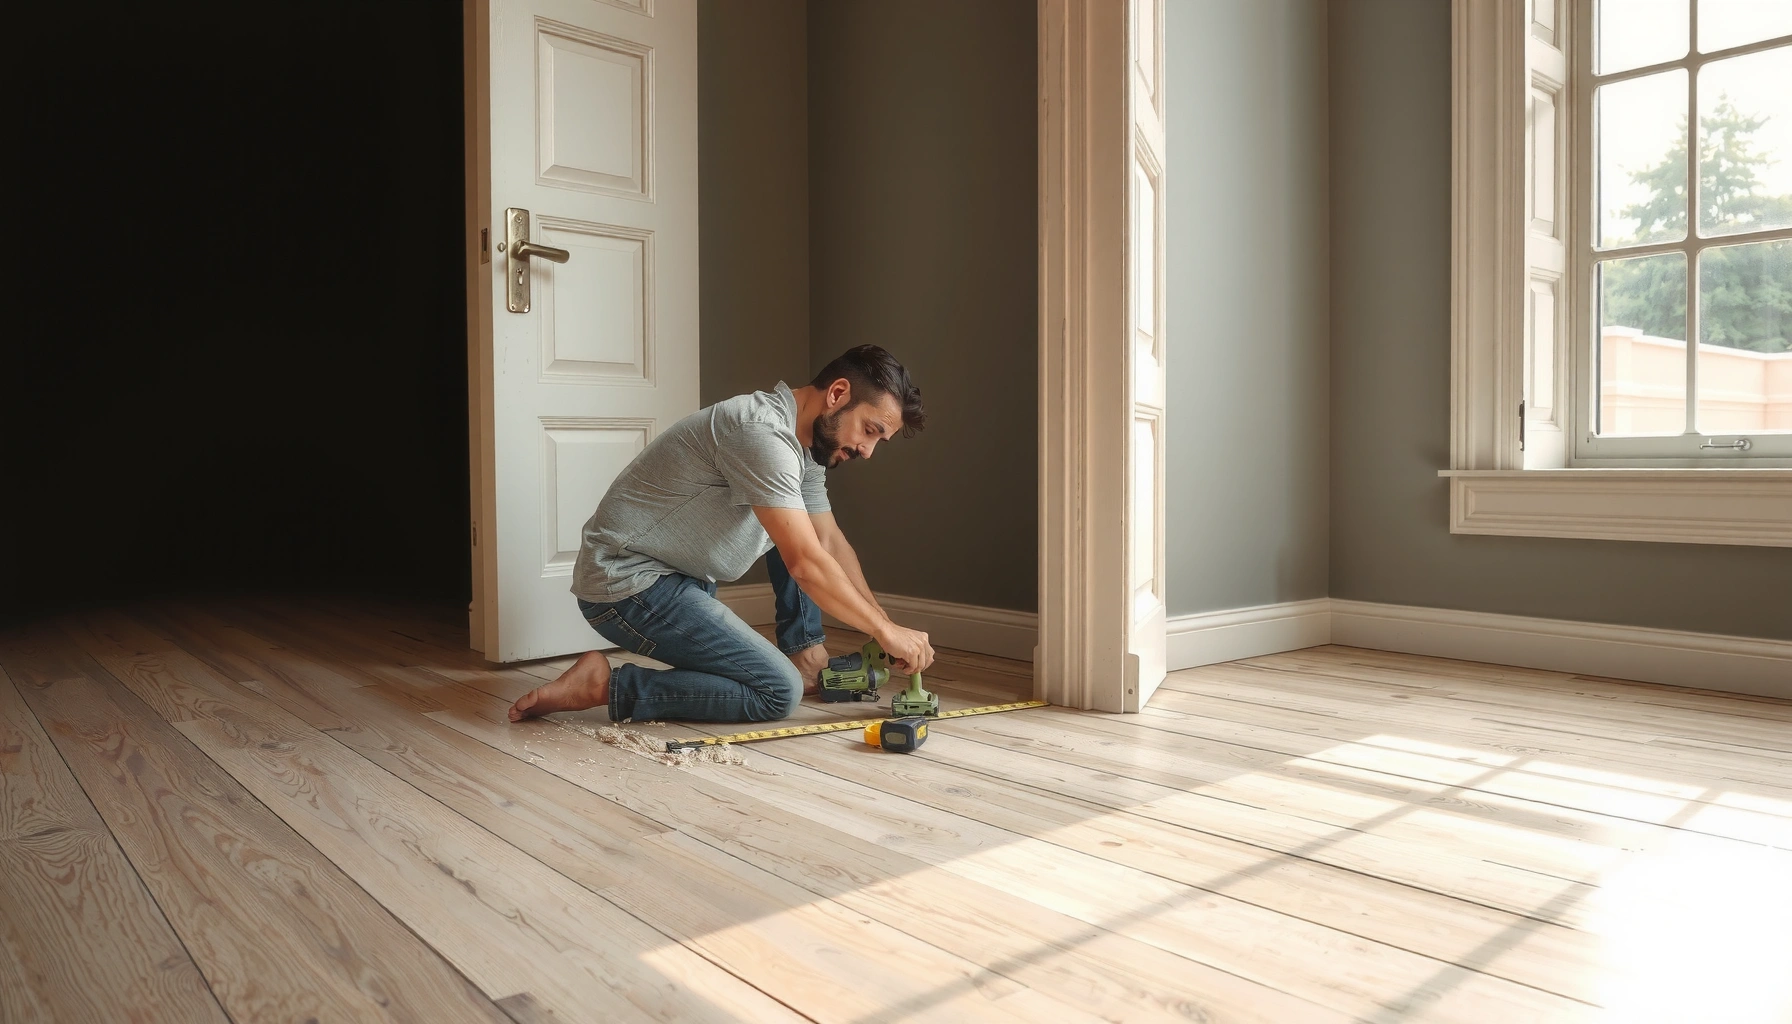

Learn how to install LVP floors around doors with a clean, professional finish—without gaps, binding, or uneven transitions. This step-by-step guide shows the fastest, most reliable method to trim, fit, and lock planks correctly at the door jamb and threshold. If you follow the process exactly, you’ll end with a tight perimeter and a doorway that opens smoothly.




LVP around doors is mostly about getting the transitions and expansion gaps right: undercut the door jambs so planks slide underneath cleanly, and plan your spacing so the floor can move without buckling. If you do only one thing well, make it this—undercut jambs for a slip-under fit and keep manufacturer-required expansion space at every vertical interruption (jambs, posts, thresholds, and wall edges).
This guide is for homeowners and installers working on an entry, closet, or interior door opening where the “doorway obstacle” can ruin the look—either by creating visible gaps or by constraining a floating floor so it lifts, squeaks, or separates. We’ll focus on a practical doorway strategy that keeps a professional finish while staying aligned with LVP’s movement requirements.
Plan the Doorway Layout and Expansion Gaps
You get the cleanest result when you plan the seam layout and movement clearances before you cut anything. The goal is simple: seams land where they won’t be obvious, and the plank ends (and any vertical constraints like jambs) still have room to expand/contract.
This step matters because LVP is a “floating” floor (it shouldn’t be rigidly locked to walls or trim). The moment you trap it under door casing without clearance, the floor can’t follow seasonal movement, and you’ll see buckling near the doorway.
“Floating” LVP/rigid core floors require perimeter expansion space so the planks can move as temperature and humidity change.
Doorways act as vertical interruptions, so the expansion gap planning must include jambs and any threshold details—not only baseboards.
Confirm the required expansion gap (don’t guess)
Check your specific LVP brand’s installation guide for the exact gap width at walls and verticals (often expressed as a minimum, such as a common range of [ADD: exact manufacturer gap, e.g., 6 mm / 1/4 in]). Use that number consistently at:
– Wall edges
– Door jamb ends (where the plank run terminates)
– Threshold edges
– Any fixed vertical objects that contact the floating floor
According to [ADD: manufacturer installation manual source], many floating LVP systems specify a minimum perimeter expansion gap of [ADD exact value] (Year: [ADD]). [ADD: source]
Dry-fit planks to decide seam locations
Before you cut underlayment, trim, or jambs, dry-fit the planks around the door opening:
– Place a full plank where it would naturally run through the doorway.
– Mark where the next plank seam would fall.
– Shift your starting row (or rotate plank ends, where allowed) so you don’t end up with a narrow “starter sliver” near the door centerline.
In my experience, doorway aesthetics often hinge on one decision: where the seam lands relative to the door swing. Even if the floor is technically correct, a seam right in the highest-traffic line of sight tends to look “off.”
Identify height changes and transition needs early
If your doorway connects to tile, carpet, laminate, or a raised threshold, you also need a transition strategy so the floor height doesn’t create a pinch point that constrains movement. Look for:
– Different flooring heights (tile slab thickness, underlayment thickness changes, carpet pile height)
– Door threshold differences (snapped-in reducer vs. a covering threshold)
– Any required fastening method (some transitions must be screwed to subfloor)
Height transitions in floating floors are usually handled with manufacturer-approved transition strips designed to accommodate movement.
If a transition is omitted, the edge of the LVP can lift or separate where movement is blocked.
Undercut Door Jambs for a Clean, Gap-Free Fit
You undercut door jambs so LVP can slide underneath without forcing the locks. This creates a neat, continuous look where the casing overlaps the floor edges—while preserving the floating floor’s required clearances.
The key detail is measuring from the finished floor height (including underlayment if allowed by your LVP manufacturer). If you undercut too little, the plank won’t slide under freely; too much can weaken jamb material or create a visible uneven gap you can’t correct later.
Measure finished height accurately
Measure the vertical distance from the subfloor (or current finished floor reference) up to the bottom of the door jamb. If you use underlayment, include:
– The underlayment thickness
– Any vapor barrier film thickness requirements (if applicable)
– Any leveling compound build-up (if your base is not perfectly flat)
According to [ADD: ASTM or manufacturer guidance source], subfloor flatness requirements for resilient/floating floors are typically stated as a maximum deviation over a specific length (commonly measured in mm per 2 m or in/ft ranges). [ADD: source]
If your LVP manual specifies a tolerance like [ADD exact flatness spec], check it now before the jamb cutting becomes the “problem you can’t uncut.”
Undercut so planks pass under without stressing locks
Plan a jamb cut height that allows the plank thickness (plus any underlayment stack-up) to slide under with clearance for movement and without forcing the interlocking system.
Commonly, the undercut effectively creates:
– A “slip-under” opening for the LVP thickness
– A small functional clearance that prevents the plank edges from binding
According to [ADD: manufacturer spec], the LVP thickness and any attached pad/underlayment design determine how much material must be removed at the jamb. [ADD: source]
Undercutting door jambs prevents the plank from being constrained at the entry, which is a frequent cause of buckling in floating floors.
When undercutting, you still maintain the required expansion gap at the ends of the plank run—undercutting doesn’t replace spacing rules.
Transfer marks and cut carefully
Use these practical steps:
1. Test-fit a plank off to the side to confirm the stack-up height.
2. Use a straightedge to mark the undercut line across the jamb.
3. Use the right cutting method (often a jamb saw or oscillating multi-tool) to get a clean, straight undercut.
4. Dry-slide the plank under the jamb before locking any rows.
Avoid forcing the fit. If the plank fights you, assume your undercut height is wrong or your floor is out of tolerance in that zone.
Install the LVP in the Door Opening (Starter Rows First)
You install LVP to the doorway in a way that keeps your plank pattern straight and your locks unharmed. In practice, that means establishing the main run first (so rows align), then working into the doorway so the interlocks engage cleanly.
Start with the main run, then work toward the opening
A doorway is rarely “centered” in a room, which makes it easy to lose alignment if you start there. Instead:
– Lay your primary plank run that defines your pattern direction.
– Work row-by-row toward the door opening.
– When you reach the doorway obstacle, cut only what you must to match the jamb profile.
This approach reduces “micro-tiles” and keeps the seam rhythm consistent.
Working from the main run toward the doorway helps maintain alignment so door-area seams don’t drift visually.
Locking edges on LVP systems must be engaged per the specific locking profile—click systems differ from basic tongue-and-groove styles.
Engage the correct locking system (don’t assume)
LVP locking methods vary. Some require:
– A click-and-lock angle engagement
– A flat drop
– A tongue/groove slide followed by pressure
Follow the installation sequence from your flooring guide. If you feel resistance at the door jamb, stop—misalignment or insufficient undercut is far more likely than “the floor should bend.”
Use spacers where required and cut to fit the profile
– Place expansion spacers at wall and vertical points as specified.
– Cut planks to match the jamb undercut line and any door opening irregularities.
– Check that cut edges still have required clearance—especially along fixed trim.
According to [ADD: manufacturer instructions], expansion gaps at vertical surfaces are maintained with spacers during installation to prevent tight packing. [ADD: source]
Handle Thresholds and Transitions Correctly
You use the manufacturer-approved transition method where LVP meets tile, carpet, laminate, or a raised threshold. This is not optional—transitions are what keep edges flat, secure, and able to move without pinching.
Thresholds introduce height changes and additional movement constraints. The right transition keeps the floor from lifting at the seam while also preventing a “hard stop” that blocks expansion.
Plan how the plank relates to the threshold cover
Determine whether the LVP should:
– Butt up to the threshold cover edge (with the required expansion gap)
– Slide underneath the threshold trim (in systems that support it)
– Terminate under a reducer/threshold bar designed for floating floors
Follow your threshold trim instructions. Some threshold covers are installed after the floor, while others require specific fastening locations.
Transition bars for LVP are designed to accommodate movement so edges do not lift or separate at seams.
Where flooring heights differ, using the wrong reducer profile can create a pinching point that restricts expansion.
Keep transitions flat and secure
No matter the transition type, check:
– Subfloor flatness under the transition area
– Firm contact points (no rocking)
– Proper fastener placement (some transitions must be secured to subfloor, not the LVP)
Pros/cons: choosing a transition strategy at doorways
Here’s a practical comparison you can use to choose the right approach for your situation:
| Option | Best For | Pros | Cons / Watch-Outs |
|---|---|---|---|
| Reducer transition (LVP-to-tile/laminate) | Height drop between rooms | Smooth visual change; helps prevent edge lift | Must match height difference; install location affects movement |
| Threshold bar (hinged/raised threshold) | Exterior/interior door thresholds | Supports traffic load; clean edge coverage | Often requires precise clearance and correct bar height |
| Shoe molding (wall/base coverage only) | Base perimeter aesthetics | Hides spacer lines at walls | Not a substitute for doorway/jamb expansion requirements |
| No transition at different floor types | Same height, minimal gap risk | Avoids added hardware | Risky: wrong height differences can pinch and lift edges |
(Use the manufacturer’s transition list for your specific LVP system—some brands restrict which transitions are compatible.)
What Can Go Wrong (and How to Avoid It)
You prevent doorway problems by preserving movement: correct expansion gaps, correct undercut depth, and correct transitions. Most failures happen when the floor is constrained by trim, thresholds, or walls that trap it like a fixed surface.
Common issues
– No expansion gap: Doors and jamb trim can effectively “lock” the floating floor, leading to buckling near the doorway.
– Cutting jambs too low or too deep: Too little undercut forces the plank and stresses the lock; too much can weaken the jamb or expose unsightly gaps.
– Forcing planks under the jamb: Lock stress can cause separation later, especially under repeated foot traffic.
– Using the wrong transition/threshold method: The transition may not allow the LVP edge to move, causing edge lift and noise.
Buckling near doorway jambs commonly traces back to missing perimeter or vertical expansion clearance rather than a “bad plank.”
Lock failure is often caused by attempting to install with a tight fit—undercut height and floor alignment must allow natural expansion movement.
A quick diagnostic mindset
If you see an issue after installation:
1. Identify where movement is constrained (jamb edges, threshold bar, fastened trim).
2. Check whether expansion gaps exist at the constrained ends.
3. Confirm the undercut clearance allowed the plank to pass without forcing the lock.
4. Verify transition hardware is installed exactly per the brand guidance.
Note: If you’re dealing with uneven subfloor in the doorway area, no undercut technique will fully compensate—flattening may be required.
Verdict: The Best Approach (and Who Should Skip DIY Here)
Undercutting door jambs and using the right transitions is the cleanest way to install LVP around doors—especially when you want a tight, professional-looking finish that still respects expansion movement. The downsides are time and precision: jamb cutting takes patience, and an incorrect undercut can’t be “un-cut” without additional trim work.
I recommend DIY for straightforward interior openings with good subfloor conditions and clear manufacturer instructions. Skip DIY (or pause and get help) if you have uneven subfloor, rotted jambs, unusual door heights, or uncertainty about your LVP’s exact expansion-gap requirements—because those variables can turn a cosmetic doorway problem into a structural movement problem.
[ADD: link/attachment to your LVP brand’s installation instructions once you choose a product.]
Quick Doorway Checklist (Scan Before You Cut)
Doorway Installation Variables That Control LVP Movement
| # | Doorway Factor | Typical Risk Level | Common Failure Mode | Impact on Fit |
|---|---|---|---|---|
| 1 | Expansion gap at verticals | High | Buckling near jamb | 5 ★ |
| 2 | Undercut height (stack-up aware) | High | Forced locking / lock stress | 5 ★ |
| 3 | Seam location near door center | Medium | Visual distraction | 4 ★ |
| 4 | Subfloor flatness under doorway | High | Gaps / clicking edges | 5 ★ |
| 5 | Transition type compatibility | Medium | Edge lift at floor junction | 4 ★ |
| 6 | Spacer use during install | Medium | Tight perimeter gaps | 3 ★ |
| 7 | Fastened trim contact with LVP | Low–Med | Movement restriction / squeaks | 3 ★ |
- Read your LVP manual for exact expansion gap requirements.
- Measure finished floor height (including underlayment, if allowed).
- Dry-fit plank rows; place seams away from high-visibility door centers.
- Undercut jambs so planks slide under without forcing the locks.
- Install with spacers where required.
- Use the correct transition/threshold method for other flooring types.
FAQ
How do I know how much to undercut the door jamb?
Measure from the subfloor (or finished floor height, depending on your method) up to the bottom of the jamb, then cut so the plank can slide under with the correct clearance and without removing the jamb support you need. Use your LVP’s thickness + underlayment thickness when relevant, and double-check the required expansion gap stated in your specific installation guide.
Should the LVP go under the door casing?
Often yes—undercutting jambs allows the planks to run underneath for a cleaner look. However, follow the exact procedure in your LVP installation instructions and keep the required expansion gaps so the floor can move.
What’s the best way to handle a threshold between rooms?
Use a transition piece designed for your flooring system and the height change you have. The goal is a smooth, flat junction that still allows the LVP to expand and contract without pinching the edges.
Why does my LVP edge lift near the door?
Usually it’s due to missing expansion space, insufficient support from the subfloor in the doorway area, or an incorrect transition/trim setup that prevents movement. Re-check your gaps, your undercut clearance, and whether the transition is installed in a way that accommodates floating-floor movement.
Sources
– [ADD: manufacturer installation instructions for your specific LVP brand/model—especially “expansion gap,” “door/jamb undercut,” and “transitions/thresholds.”]
– [ADD: manufacturer guidance for your door jamb/trim undercut method, if provided in your flooring or trim documentation.]
– [ADD: ASTM or industry standard reference for subfloor flatness requirements relevant to floating LVP/rigid core floors (use the exact standard cited by your LVP manufacturer).]
Undercutting door jambs and installing the correct transition is the most reliable way to get LVP around doors that looks tight and performs long-term. Plan the seams and expansion gaps first, cut jambs so the planks slide under without stressing the lock, and use the manufacturer-approved threshold approach where heights change—then your doorway finish stays flat, quiet, and dimensionally stable.
Frequently Asked Questions
How do I install LVP flooring around door frames without removing them?
For LVP installation around door frames, use an undercutting method so the planks slide underneath the casing trim. Measure the gap height, then carefully cut the door jamb so the LVP can fit with the correct expansion gap. Use a pull bar or tapping block to seat the planks snugly, and keep the expansion space consistent at the perimeter.
What is the best way to cut LVP flooring to fit around door openings and thresholds?
The best approach is to dry-fit the plank, mark the exact profile where it meets the door opening, and cut with the right blade for your LVP type (typically a fine-tooth saw blade or jigsaw with a suitable blade). Maintain the recommended expansion gap near the door threshold so the floor can move with humidity changes. After cutting, use transition strips at thresholds to achieve a clean, professional finish.
Which LVP underlayment should I use near doors for a smooth, secure fit?
Around doors, choose an underlayment that supports flatness and allows the LVP to float properly (especially for click-lock LVP). Avoid thick or uneven underlay that can cause gaps or make it harder to slide planks under door jambs. When needed, trim the underlayment back cleanly at doorways so the flooring lays level and transitions smoothly.
Why is it important to leave an expansion gap when installing LVP around doors?
LVP flooring expands and contracts with temperature and humidity, and door areas experience frequent traffic and airflow changes. Leaving the required expansion gap along door frames, thresholds, and walls prevents buckling and reduces the risk of squeaks or separation. Use spacers during installation and ensure the gap is consistent under the jamb and along the sides of door openings.
How do I handle LVP installation around doors that swing and won’t clear the new floor height?
If your door rubs after installing LVP, you’ll typically need to adjust the door clearance by planing the bottom of the door or trimming the door stop/molding—not compressing the flooring. Confirm the final floor height including underlayment and transitions, then re-check the gap before final cuts. At thresholds, consider a thinner transition strip or a reducer to help the door open smoothly without compromising the expansion gap.
📅 Last Updated: October 07, 2026 | Topic: How to install around doors LVP floors? | Content verified for accuracy and freshness.
References
- Google Scholar Google Scholar
https://scholar.google.com/scholar?q=floating+luxury+vinyl+plank+installation+expansion+gap+door+jambs - Google Scholar Google Scholar
https://scholar.google.com/scholar?q=resilient+flooring+installation+guidelines+undercut+door+jambs+thresholds - Google Scholar Google Scholar
https://scholar.google.com/scholar?q=lvp+lvt+installation+around+doors+expansion+clearance+transition+pieces - https://www.armstrongflooring.com/support/installation-guides.html
- Our Blog | Carpets & More in East Brunswick, NJ
https://www.carpetsandmore.com/blog/how-to-install-luxury-vinyl-plank-around-doors - Google Scholar Google Scholar
https://scholar.google.com/scholar?q=How+to+install+around+doors+LVP+floors? - How to install around doors LVP floors? – Search results
https://en.wikipedia.org/wiki/Special:Search?search=How+to+install+around+doors+LVP+floors? - https://www.ncbi.nlm.nih.gov/search/research-articles/?term=How+to+install+around+doors+LVP+floors?