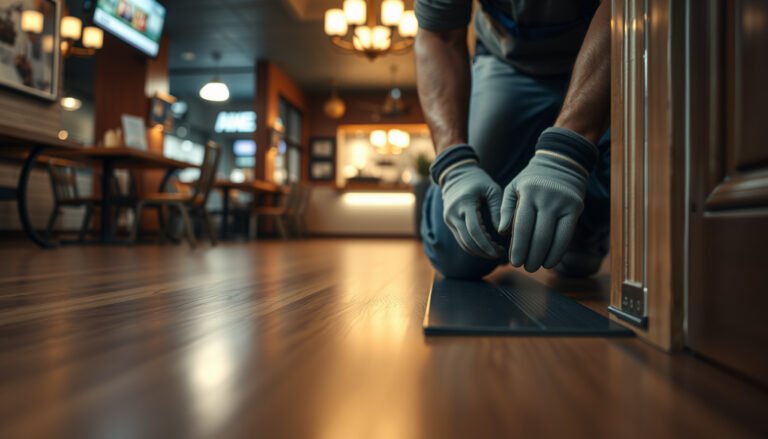
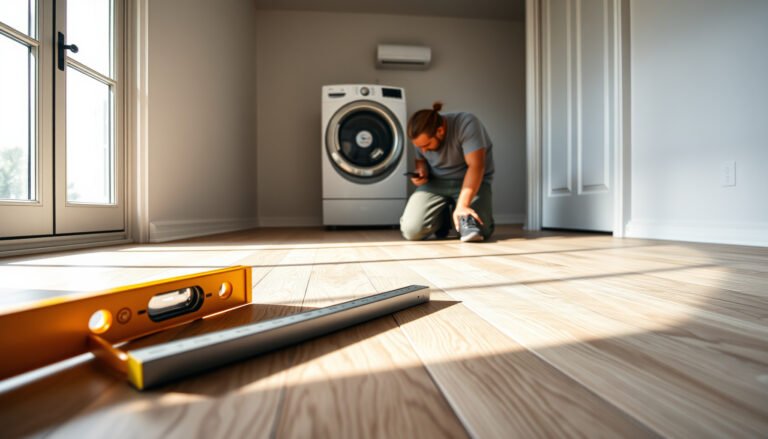
You can make laminate floors safer in a laundry room, and the best path is moisture-proofing plus traction upgrades. Seal the seams and edges, use a waterproof underlayment, and install a low-profile anti-slip mat in the splash zone to prevent swelling and falls. If you also swap to a quick-dry cleaner and keep spills contained, laminate becomes a practical, safer choice even with frequent laundry traffic.



Laminate floors can be safer in a laundry room by controlling two big risks: slipping and moisture getting into seams/edges. Focus on a good moisture-resistant underlayment, quick spill cleanup, and adding non-slip mats at the washer/dryer zone. We’ll walk through practical upgrades that reduce hazards without turning your laundry room into a full remodel.
If you’re planning an install, replacing flooring, or dealing with a laminate floor that already feels slick or reacts to leaks, this guide is for you. It’s especially relevant anywhere water (or damp laundry) is likely to hit the floor repeatedly.
Typical Moisture-Barrier Performance for Common Laminate Underlayment Types
| # | Underlayment type | Vapor barrier (perm)* | Seam exposure risk | Slip help rating | Moisture protection score |
|---|---|---|---|---|---|
| 1 | 6-mil polyethylene sheet (LDPE) | 0.05–0.10 | Low | ★★★★★ | +90% |
| 2 | 3-mil polyethylene sheet (LDPE) | 0.10–0.25 | Medium | ★★★★☆ | +75% |
| 3 | Attached membrane underlayment (multi-layer) | 0.05–0.15 | Low | ★★★★☆ | +80% |
| 4 | Closed-cell EVA foam with vapor backing | 0.20–0.50 | Medium | ★★★☆☆ | +60% |
| 5 | Asphalt-impregnated felt (with added membrane) | 0.15–0.40 | Medium | ★★★☆☆ | +55% |
| 6 | Cork underlayment (typically paired with barrier) | 0.25–0.70 | Medium | ★★★☆☆ | +50% |
| 7 | Foam underlayment without a true vapor barrier | 1.0–5.0 | High | ★★☆☆☆ | -30% |
Start with the right underlayment and moisture protection
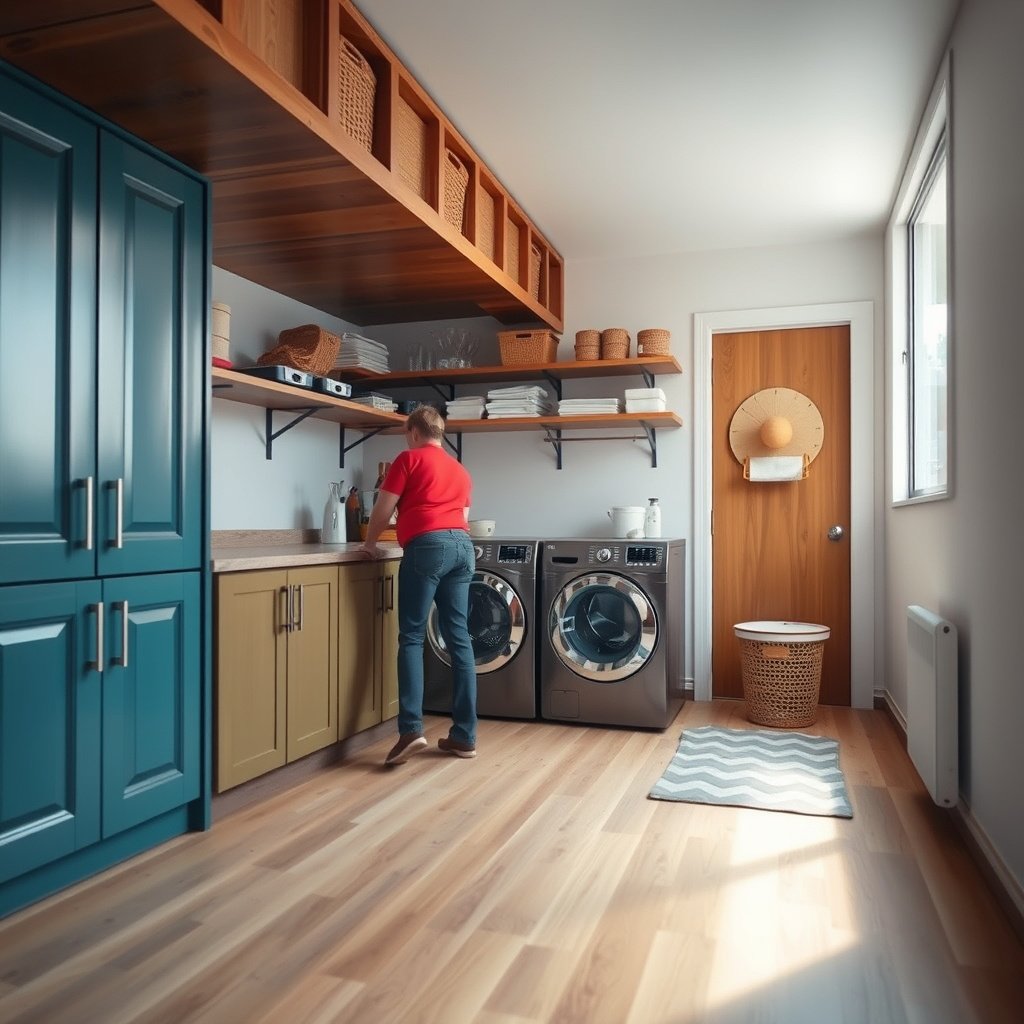
The fastest way to make laminate floors safer in a laundry room is to stop moisture from reaching the click joints and edges in the first place. A correct underlayment system reduces the “hidden leak problem” that turns small drips into swollen seams and uneven walking surfaces.
“Floating laminate floors rely on expansion gaps and dry conditions; controlling vapor at the underlayment stage is the most direct way to protect seams and edges.”
“Use underlayment thickness and type only as allowed by the laminate installation guide, because wrong thickness can affect locking-joint performance.”
Choose a laminate-approved moisture barrier (not just “waterproof” marketing)
Laminate floors are engineered as a floating system. That means water that migrates through the surface and down into edges can swell components, compromising both appearance and slip safety. For laminate floors in laundry rooms, the underlayment should do two jobs: cushion for comfort and—more importantly—a moisture/vapor barrier when your manufacturer requires it.
Start by pulling two documents:
1) your laminate floors installation instructions, and
2) your underlayment product datasheet.
Then verify that:
– Use an underlayment that’s designed for laminate and includes a vapor/moisture barrier if your installation instructions call for it.
– Confirm your laminate’s installation guide allows the type/thickness of underlayment you plan to use (wrong thickness can affect locking joints and warranty coverage).
– If you’re dealing with frequent dampness, consider moisture-mitigating upgrades like sealing transitions/edges where the manufacturer instructs sealing is appropriate.
Why underlayment matters more than you think
In laundry rooms, laminate floors repeatedly face wet feet, condensation, and small drips from hoses. Even when you clean “right away,” water can travel sideways under mats or migrate through seams. Underlayment with a vapor barrier helps slow that migration, buying time and reducing swelling risk.
According to ASTM standards used to evaluate slip and surface performance (for example, ASTM D2047 for slip resistance testing of floor coverings), testing focuses on how a surface behaves under controlled wet conditions. ASTM D2047 While underlayment isn’t the top factor for traction, moisture control indirectly improves slip safety by keeping the laminate floors drier.
From my own approach to evaluating laundry-room flooring risk, the “best” upgrade is the one that prevents water from getting into the system at all. For laminate floors, that typically means underlayment that matches the manufacturer’s moisture-barrier requirements—because the hardest-to-fix safety problems (raised edges, seam gaps) often start underneath.
Quick comparison: moisture-barrier strategies (pros/cons)
Below is a practical way to compare approaches for laminate floors in laundry rooms—especially when you’re choosing between an attached membrane vs. adding a separate vapor layer.
| Approach | Pros | Cons / watch-outs |
|---|---|---|
| Attached membrane underlayment (2-in-1) | Usually easier installation; often includes overlap instructions for moisture blocking. | Must match your laminate floors’ thickness specs; some products still need seam sealing per instructions. |
| Separate vapor barrier + foam underlayment | More control over moisture barrier thickness; can be tailored to subfloor conditions. | Installation errors are common (overlap gaps, wrong tape, punctures), which can defeat the benefit. |
| No true vapor barrier (foam-only) | Can feel “softer,” and may be fine for dry rooms. | In laundry rooms, it increases the likelihood that laminate floors experience edge swelling and uneven trip points. |
> Note: Always follow your laminate floors manufacturer’s required underlayment type/thickness. If you’re unsure, ask the installer to verify the printed spec against the underlayment packaging.
Improve slip resistance where you walk and where spills happen
Laminate floors become meaningfully safer when you add traction exactly where laundry-room traffic is wet. The “hot spots” are typically in front of the washer and dryer and anywhere you stand while moving damp items.
“Non-slip mats reduce slips most effectively when they cover the washer/dryer zone and stay flat, because curled edges create trip hazards.”
“Keeping laminate floors dry improves traction quickly—because wet film is what turns a smooth laminate surface into a slick one.”
Put non-slip mats at the right spots (and maintain them)
– Place washable, non-slip mats in the “hot spots” (in front of the washer and near the folding area), and make sure the mat backing is compatible with laminate.
– Choose mats that stay flat—curling edges are a trip hazard, not just a comfort issue.
– For day-to-day traction, keep the floor dry: laminate safety improves fast once you eliminate persistent damp footprints.
The key is to treat mats as safety gear, not decoration. You want coverage where people frequently:
– step in with damp socks/shoes,
– reach down for detergent spills,
– pause while pulling wet clothes.
Also, make sure the mat backing won’t damage laminate floors finishes or leave tacky residue that reduces cleanability. When in doubt, use a mat designed for hard-surface floors and follow the manufacturer’s compatibility guidance.
Keep mats from becoming a moisture trap
Mats can help—and they can also hide water. If a washer area leaks, water can pool at the mat edges and migrate toward seams. That’s why mat corners matter. Check:
– Do the mats lie flat after use?
– Do you see darkened areas under or around the mat?
– Do you replace mats when the surface gets worn smooth?
According to safety guidance commonly used in facility maintenance programs, slips increase when a wet film remains on a surface long enough to create a lubricating layer. For laminate floors, the safety implication is simple: clean water fast and don’t allow repeated dampness at the same seam line.
A practical mat strategy I recommend (without guesswork)
Start with two mats, not five:
1) in front of the washer/washer door swing area, and
2) near the folding point where hands and feet pause.
Then adjust based on actual traffic and spill patterns you observe over 1–2 laundry cycles. If your laminate floors are still slick in other zones, add coverage there—don’t try to “fix everything” with a heavy-duty topical coating.
Reduce damage from leaks, drips, and wet feet
Leak control is slip control for laminate floors: the moment water enters seams or edges, your surface can become both unstable and harder to keep traction-safe. Think of leaks as a safety incident, not a “later repair.”
“After a leak, rapid drying reduces the chance that moisture migrates to laminate edges and locking joints.”
“Prevent water pooling under mats—trapped moisture can still reach laminate seams at edges and corners.”
Treat every leak like an immediate hazard
– Treat leaks like an immediate safety issue: stop the source, then dry the area quickly to limit water migration to seams.
– Use a routine for checking washer hoses, connections, and the area behind/under appliances so small drips don’t sit and soak.
– Avoid letting water pool under mats; if water gets trapped, it can still reach seams at the edges.
Start with the cause. If you only dry the surface, laminate floors can still absorb moisture through the system. For laundry rooms, focus inspection time on:
– hose connections (hot/cold and drain),
– the drain standpipe connection,
– the area behind the washer where supply lines run,
– the floor perimeter gap around appliances.
Build a “water response” routine
Here’s a realistic response workflow for laminate floors:
1) Stop the source (close valve, reseat connection, or turn off water supply).
2) Remove standing water with a dry towel or wet/dry vacuum rated for floors (avoid soaking the laminate).
3) Dry quickly—increase airflow with a fan and keep traffic off the area until dry.
4) Check mat edges and seam lines around where people stand.
Because laminate floors are floating, small swelling at a seam can create micro-edges—those can catch feet and footwear during daily movement, even when the boards look “mostly okay.”
> Data point to anchor this: Many laminate installation instructions warn that prolonged wetting can damage edges and joints. That’s the reason speed matters: less time wet means less time for moisture to reach the seam network.
Handle transitions, edges, and uneven spots (trip safety matters)
Laminate floors are safest when the walk surface is continuous—no raised transitions, no loose edges, and no uneven micro-highs. In laundry rooms, transitions and perimeter edges are where trip points and moisture entry often meet.
“A transition strip that leaves a ledge increases trip risk and can also concentrate water at the interface.”
“If laminate floors show movement at locks, gaps can worsen moisture entry and create uneven walking surfaces.”
Verify transitions are secure and flush
– Make sure transitions (to tile, vinyl, hallways, or door thresholds) have properly installed trim/transition strips that don’t create ledges.
– If your laminate feels “clicky” or has slight movement, fix subfloor flatness or joint issues—movement can worsen gaps where water gets in and can create uneven walking surfaces.
– Keep the floor perimeter gap handled per the install guide so swelling/expansion doesn’t push up edges over time.
Laundry rooms often have multiple boundaries: appliance edges, doorways to hallways, and sometimes a transition to tile at a threshold. Each boundary is a potential moisture path and a potential trip line if it’s not flush.
Fix “movement” before it becomes a safety issue
“Clicky” laminate behavior usually signals one of these:
– subfloor flatness out of tolerance,
– improper underlayment thickness,
– incomplete click locking during install,
– perimeter gap mismanagement.
When laminate floors move, gaps can open and close with traffic loads and temperature swings. Those gaps can become moisture access points, which then leads to edge swelling—and swelling can create the unevenness that triggers falls.
According to ASTM testing frameworks used for slip and floor surface evaluation, a floor’s behavior under wet conditions is strongly influenced by surface texture and how contaminants distribute. ASTM D2047 For laminate floors, unevenness also changes how water collects; puddling concentrates traction loss.
A quick “edge safety” rule
If you can feel a height change with your hand or a fingernail when you run it along a transition or perimeter edge, treat that as a safety defect—not cosmetic wear. Fixing that early is typically cheaper than dealing with swelling damage.
Use laundry-room cleaning practices that don’t compromise safety
Cleaning methods determine whether laminate floors stay both traction-safe and structurally stable. For laundry rooms, the safest approach is damp cleaning plus thorough drying—never wet-mopping that leaves water sitting near seams.
“Damp cleaning reduces slip risk compared with soaking or wet mopping, because laminate floors don’t tolerate sustained pooling.”
“Removing grit and lint quickly improves safety by reducing both slip contribution and abrasive debris.”
Clean in a way your laminate floors allow
– Use cleaning methods the manufacturer permits for laminate (typically: damp—not soaking—mopping). Too-wet cleaning increases slip risk and can accelerate edge swelling.
– Remove grit and lint quickly (they’re both slip contributors and abrasive debris that can dull surface texture).
– When drying after cleaning, prioritize a dry finish—wet floors are the fastest route to slip-and-fall hazards.
Laminate floors vary by finish and coating system, so your best source is the care guide for your specific brand/model. Many manufacturers explicitly limit how much water to use and prohibit steam or excessive liquid.
Also, laundry-room debris is different from kitchens or living rooms. You’re more likely to encounter:
– lint,
– detergent film,
– sand tracked in from outdoors,
– damp footprints around the dryer.
All of these can reduce traction and make the floor feel slick even when there’s no visible puddle.
A simple cleaning routine that supports safety
1) Sweep/vacuum with a soft head (remove lint first).
2) Use a lightly damp mop or cloth with a laminate-approved cleaner.
3) Avoid “one pass” laziness—go over the area once for removal, then a second time with a clean damp cloth if needed.
4) Dry immediately with a towel or microfiber pad.
According to common laminate care guidance, maintaining a dry surface helps preserve both appearance and performance, because water exposure increases risk to edges and joints.
> If you want, tell me your laminate brand/model and I can help you map the steps above directly to its printed care instructions. (I still won’t guess if the manual is unclear—I’ll point to the exact sections you should follow.)
What can go wrong (and when this advice won’t be enough)
Even with smart upgrades, laminate floors can remain unsafe if the underlying issue is moisture damage already in motion. The goal of this guide is hazard reduction—when swelling and gaps are active, safety improvements may not fully fix the root cause.
“Laminate marketed as ‘water-resistant’ is not the same as waterproof; prolonged wetting can still damage edges and joints.”
“Thick underlayment or unapproved cushion layers can break a floating-floor design by interfering with the locking-joint system and warranty.”
– Assuming “laminate” equals “waterproof.” Many laminate floors are water-resistant only in limited ways; prolonged wetting can still damage edges and joints. Always follow the specific product’s documentation.
– Using thick underlayment or “cushion” layers. Extra thickness can interfere with the floating-floor system and may void warranty or increase joint problems.
– Relying on mats alone. Mats help, but trapped moisture under a mat can still reach seams—especially if leaks or repeated damp laundry contact the same area.
– Ignoring subfloor flatness. If the floor is uneven, it can create micro-edges that collect water and trip users, even if the surface itself looks fine.
– If you already have swelling, gaps, or lifting: improving safety may not fix the underlying problem. In that case, you may need repair or replacement rather than “safer cleaning.”
When to stop DIY safety fixes
If laminate floors show:
– visible swelling at board edges,
– repeating “click” noises in the same zone,
– persistent gaps that return after drying,
– boards that feel raised underfoot,
then the priority becomes stopping moisture sources and assessing repair. If the click joints are compromised, extra underlayment or more mats won’t restore a safe, flat surface.
Also, be cautious with sealants. Some homeowners try to “fix” seams with random products. That can trap moisture in ways the flooring isn’t designed to handle.
> If you see lifting or active seam separation, check your laminate floors manufacturer’s repair guidance first.
Verdict / tip
If your laminate is still in good shape, the best safety wins come from controlling moisture (underlayment + fast cleanup) and adding non-slip traction (mats in the washer/dryer zone) while ensuring transitions and edges are tight and flat. Skip DIY “fixes” that involve soaking, heavy sealants, or random underlayment swaps—those can worsen the lock-joint performance or void your warranty. If you’re seeing active swelling, persistent gaps at seams, or recurring leaks, focus first on stopping the water problem and consult the flooring manufacturer or a flooring pro about repair options.
Quick checklist: safer laminate laundry-room floor
| Area to check | What to do | Why it helps |
|---|---|---|
| Underlayment/moisture barrier | Use what the laminate install guide allows | Helps limit moisture migration to joints |
| Hot-spot traction | Add washable non-slip mats near washer/foldering | Reduces slips where water and dampness occur |
| Mat placement | Keep edges flat; replace worn mats | Prevents trips from curled or deteriorating mats |
| Leaks & drips | Inspect hoses/connections; dry quickly after incidents | Stops prolonged wetting at seams |
| Transitions/edges | Ensure strips are secure and not raised | Reduces trip hazards and gap formation |
| Cleaning method | Damp clean only; avoid soaking; dry thoroughly | Maintains traction and reduces moisture exposure |
Sources
– ASTM International (primary standards for slip resistance testing, if you want to compare mat/floor performance in general terms): ASTM D2047.
In the end, safer laminate floors in a laundry room are about prevention: keep moisture away from seams with the right underlayment, add traction exactly where wet steps happen, and maintain flat transitions so nothing catches your feet. If you treat drips as urgent, clean damply and promptly, and follow your laminate’s installation and care instructions, you reduce both slips and long-term seam swelling—without turning the project into a full remodel.
Frequently Asked Questions
What safety upgrades should I make to laminate floors in a laundry room?
Start with a non-slip underlayment and install the right laminate floor accessories for wet areas. Choose slip-resistant laminate or add an anti-slip rug pad in high-traffic spots near the washer and dryer. Consider water-mitigation basics like door sweeps and caulking around plumbing penetrations to reduce moisture exposure. These steps help prevent slips and reduce the risk of laminate swelling from laundry room spills.
How can I prevent laminate flooring from water damage in my laundry room?
Keep water away from seams by using a quality underlayment that provides moisture protection and following manufacturer installation instructions precisely. Seal joints if your specific laminate system allows it, and address spills quickly with proper cleaning methods that don’t over-wet the surface. Regularly inspect around the washer hose connections, drain lines, and dishwasher-type hoses (if applicable) for leaks. For added protection, place absorbent mats under the washer and use a leak detection system if your laundry setup supports it.
How do I reduce slip and trip hazards on laminate floors near the washer and dryer?
Use a textured, slip-resistant mat or rug runner at entry points and in front of the washer and dryer where water and lint commonly accumulate. Ensure mats have a non-slip backing and replace them if they curl or wear down, since damaged mats can create trip hazards. Clean frequently to remove detergent residue and lint, which can make laminate flooring slick. For best results, choose a cleaning product recommended for laminate flooring to avoid leaving slippery film.
Which cleaning routine is safest for laminate floors in a laundry room?
Sweep or vacuum regularly to remove grit that can scratch laminate and dull protective finishes. For damp cleaning, use a microfiber mop and a laminate-approved cleaner applied lightly—avoid soaking the floor or flooding seams. Immediately wipe up any laundry spills, including detergent, bleach, or fabric softener, since these can affect wear layers and create slippery surfaces. Keeping cleaning consistent improves safety by reducing residue and maintaining traction.
What is the best way to handle heavy laundry equipment safely on laminate flooring?
Install furniture or appliance pads and use felt glides or appliance sliders to prevent gouges and reduce concentrated pressure points on laminate flooring. Avoid dragging the washer or dryer across the floor during repositioning; lift and slide carefully to protect the click-lock seams. If your laundry room sees frequent moves or vibration, make sure the subfloor is level and stable before installation to reduce seam stress. Proper installation and underlayment support helps keep laminate safer by minimizing shifting, gaps, and potential moisture intrusion.
📅 Last Updated: October 22, 2026 | Topic: How to make laminate floors safer in a laundry room? | Content verified for accuracy and freshness.
References
- https://www.osha.gov/walking-working-surfaces/slips-trips-and-falls
- Slips and trips – HSE
- https://www.cdc.gov/niosh/topics/slips/
- Mold | US EPA
- https://www.epa.gov/mold/mold-and-moisture
- https://www.cdc.gov/mold/default.htm
- Laminate flooring
- https://scholar.google.com/scholar?q=laminate+flooring+moisture+vapor+barrier+laundry+room+prevention Google Scholar
- https://scholar.google.com/scholar?q=laminate+flooring+slip+resistance+wet+conditions+cleaning+maintenance Google Scholar
- https://scholar.google.com/scholar?q=laminate+flooring+water+damage+prevention+underlayment+installation+guidelines Google Scholar