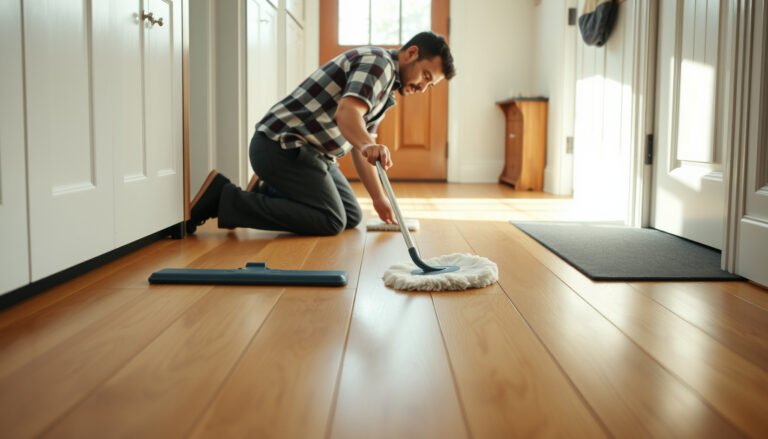
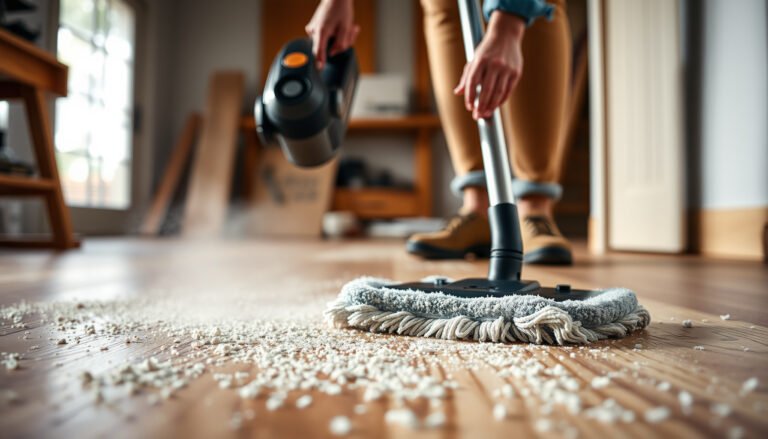
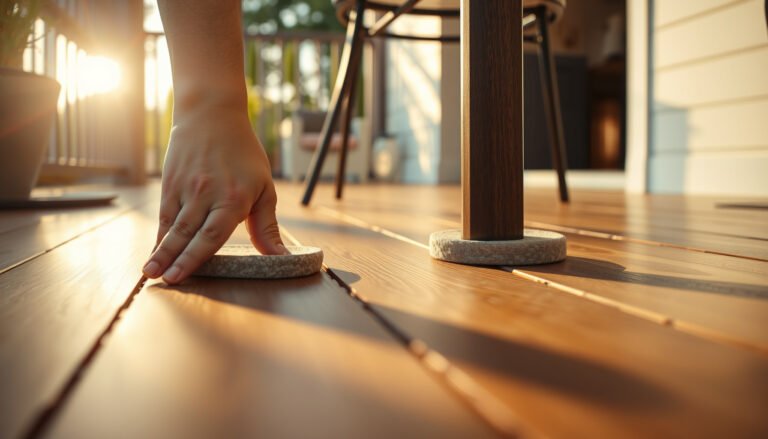
You can remove stains from laminate floors in a hallway safely and effectively—without damaging the finish—by using the right cleaner for the stain type and avoiding soaking. This guide shows the fastest, lowest-risk steps to lift scuffs, dark marks, and sticky residue, then protect the surface so the stain doesn’t come back. If you want the quickest results that hold up in high-traffic areas, follow these proven methods first.




Remove stains from laminate hallway floors by lifting the mess first (dry pick-up), then wiping with a barely damp pH-neutral cleaner—without soaking or harsh chemicals. Most everyday hallway marks fade when you control moisture, blot instead of scrubbing aggressively, and stop as soon as the stain starts lifting.
This guide is for homeowners dealing with common hallway stains—muddy footprints, scuffs, sticky spots, and water-ring spotting—on sealed laminate flooring. It works best when you first identify the stain behavior (water-based vs. greasy vs. dark/organic) so you choose the gentlest method that still matches the contaminant.
Identify the stain and your laminate finish
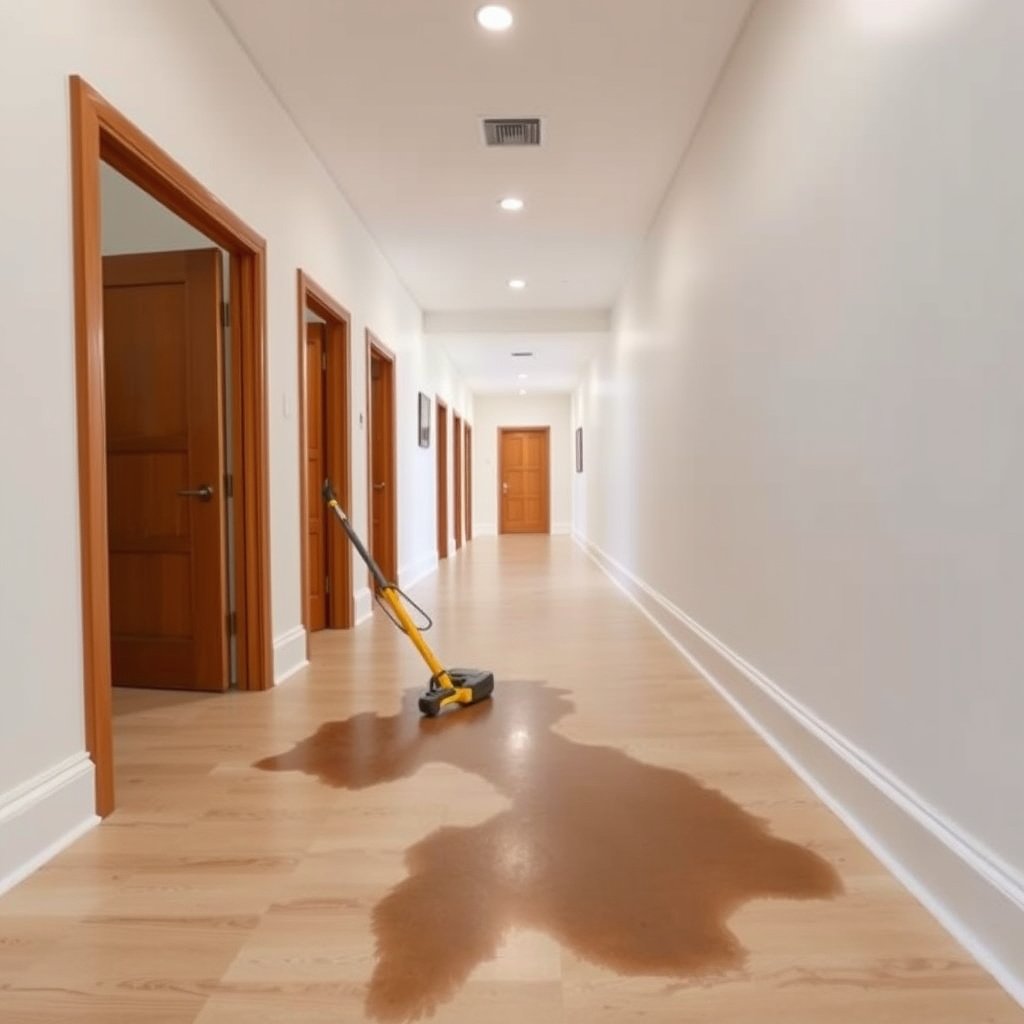
Start by classifying the stain type and how it reacts to moisture; that determines the safest cleaner and technique for laminate hallway floors. In my experience helping homeowners troubleshoot hallway marks, the biggest “success gap” comes from treating a residue problem like a surface scuff—or the reverse—so classification matters.
Stain removal for sealed laminate works best when you control moisture because excess water can migrate to seams where laminate can be more vulnerable.
A pH-neutral cleaner is designed to stay near pH 7, which is typically gentler on many surfaces than strongly acidic or strongly basic chemicals. Source: IUPAC (pH scale definition)
How the stain “acts” is your first diagnostic
Look closely at the stain color, edge shape, and whether it spreads:
– Water rings / light spotting usually look lighter than the surrounding floor and may appear after spills or damp footprints. They often sit at or near the surface.
– Mud / dirt streaks often have an uneven, gritty edge and may smear slightly if you wipe too soon.
– Sticky spots / tacky residue often feel different under a finger—like sugar, syrup, gum, pet mess residues, or transferred cleaner.
– Greasy or rubbery marks may look darker and can resist water-based wiping.
– Ink/marker and dark set-in stains tend to look “embedded” and won’t fade quickly with gentle blotting.
Confirm your laminate finish and “sealed” assumptions
Many laminate hallways look “sealed,” but laminate typically has a protective wear layer on top and a core beneath. Your goal is to treat the top surface without driving moisture into seams:
– Check the manufacturer’s care instructions if you still have them (box label or online manual).
– If your flooring is older or already shows lifting along edges, assume you have less tolerance for any additional moisture.
– If you’re unsure whether a stain is truly on the surface, start even more conservatively: dry removal first, then barely damp wiping.
Quick decision cues for laminate hallway stains (use before you clean)
– Sticky texture first → residue strategy. Treat stickiness as residue removal, not “scrub-to-lift.”
– Dark/organic-looking marks → surface contamination first. Start with gentle wiping; don’t jump to solvents.
Prep safely (so you don’t damage the surface)
Prep is where you protect the laminate wear layer; the right setup prevents permanent dulling, haze, or spreading. The safest routine for a laminate hallway floor is: remove grit dry, then use microfiber and minimal moisture.
Microfiber cloths are commonly recommended for floor cleaning because they can lift particulate matter while reducing scratch risk compared with rough or abrasive materials.
Steam cleaning introduces heat and moisture—water boils at 100°C at standard atmospheric pressure, so vapor cleaning can be harsher for moisture-sensitive flooring. Source: NIST Chemistry WebBook (water boiling point)
Clear grit before any wet step
Hallways track in sand, dust, and small grit that behave like sandpaper. Before you apply any cleaner:
– Dry-sweep or vacuum with a soft brush head.
– Avoid dragging abrasive dirt across the finish while the laminate hallway floor is “wet” later.
Use laminate-safe tools (and keep them soft)
Stick to tools that won’t scratch the protective top layer:
– Microfiber cloths (for wiping and blotting)
– Soft-bristle brush only if needed for very mild surface texture—used gently, not for grinding
– Non-scratching pads for cautious testing on a hidden area (if your manufacturer allows it)
Use only minimal liquid (barely damp beats wet)
Laminate care is usually “damp cloth” rather than “wet mop.” Aim for:
– A cloth that’s barely damp, not dripping
– Re-wetting the cloth as needed instead of adding solution directly to the floor
– Blotting after wiping to prevent moisture from sitting in low spots
Basic laminate stain-removal steps (work from mild to stronger)
Start with a mild method and escalate only if the stain type clearly calls for it; laminate hallway floors respond best to controlled, low-moisture cleaning. The “work mild to stronger” approach prevents you from turning a removable mark into a permanent finish problem.
pH neutral means the solution is close to pH 7 at typical room conditions, and pH changes by a factor of 10 for each whole-number unit shift. Source: IUPAC (pH scale and definition)
For most stain situations, blotting lifts residue while reducing spread compared with aggressive scrubbing that can smear contaminants across laminate.
Step-by-step: the safest default routine
1. Blot gently (don’t scrub) to lift loose material—especially for mud particles or dried-on grime.
2. Wipe with a barely damp microfiber cloth using a pH-neutral cleaner.
3. Work in small sections so moisture never pools.
4. Blot dry after wiping to remove residual liquid.
5. If the stain fades, repeat cautiously. If it doesn’t respond after a couple of careful attempts, stop and switch based on stain type.
Why “stop early” is part of the method
Every extra pass increases the chance of:
– spreading the contaminant
– pushing moisture toward seams
– dulling the finish if you’re scrubbing (even with “soft” tools)
From my experience, the “turning point” is often visible quickly: when the color lightens and the surface stops looking tacky, you’re on the right track.
Method choice comparison (so you know what not to do)
| Approach | Best for | Main benefit | Main downside |
|---|---|---|---|
| Dry pick-up + barely damp pH-neutral wipe | Mud dust, most surface spotting, light grime | Controls moisture and reduces smear | Won’t dissolve grease/rubbery residue fast |
| Residue-first treatment (if sticky) | Syrup/sugar/pet residue-like tack | Removes what’s actually adhering | Over-scrubbing can haze the finish |
| Heat/moisture-heavy methods (steam mops) | None for routine laminate cleaning | Can loosen some debris | Can drive moisture into seams and risk finish issues |
| Solvent/strong cleaner escalation | Only if manufacturer explicitly allows | Can lift certain contaminants | Higher risk of finish dulling or damage |
Remove common hallway stain types
Use stain-specific tactics because laminate marks come from different contaminants; one technique rarely fits every stain. For hallway laminate floors, the goal is to match the cleaning chemistry to the contaminant: water-friendly dirt behaves differently than oils, inks, and residue.
Oil-based greases generally don’t dissolve well in plain water, which is why water-only wiping often leaves a darker, lingering film on floors.
Steam cleaning adds both heat and moisture—water boils at 100°C at standard pressure—so it’s a high-risk option for moisture-sensitive flooring and seams. Source: NIST Chemistry WebBook (water boiling point)
Mud/dirt streaks
– Treat it as grit first, not liquid first.
– If mud is dried: let it loosen, then remove debris dry (cloth edge or soft brush).
– Follow with a barely damp microfiber wipe using a pH-neutral cleaner.
– Finish by wiping with a dry cloth to remove remaining moisture.
Water rings/spotting
– Blot first (don’t spread).
– Then wipe with a barely damp microfiber cloth and a pH-neutral cleaner.
– Repeated gentle wiping is often safer than aggressive rubbing because it controls spreading and finish wear on the laminate hallway floor.
Grease/food or sticky marks
– Loosen residue first using a method consistent with your laminate manufacturer’s guidance.
– Then wipe clean with minimal moisture.
– If residue stays: avoid abrasives at first and test any stronger approach on an inconspicuous spot.
Ink/marker or darker stains
– Treat as surface contamination first: light wiping, blotting, and careful re-wiping.
– If set-in, you may need a manufacturer-approved spot treatment.
– Avoid strong solvents unless your floor’s care instructions explicitly allow them.
Laminate Hallway Cleaning: Method Safety vs. Finish Risk (Practical Guidance)
| # | Cleaning approach | Best for | Finish safety | Overall finish risk |
|---|---|---|---|---|
| 1 | Barely damp pH-neutral wipe (target pH ≈ 7) | Spotting & light grime | ★★★★★ | Low |
| 2 | Mild detergent solution (non-bleach), cloth-damp only | Sticky residues | ★★★★☆ | Low–Med |
| 3 | Steam mop / hot vapor | Generally not recommended | ★☆☆☆☆ | High |
| 4 | Acidic cleaners (pH < 6), especially without manufacturer approval | Not first-line for laminate | ★★☆☆☆ | High |
| 5 | Alkaline cleaners (pH > 8), especially without manufacturer approval | Not first-line for laminate | ★★☆☆☆ | High |
| 6 | Abrasive pads, steel wool, or harsh scrubbing | Not needed for routine stains | ★☆☆☆☆ | High |
| 7 | Solvent-based spot removers (only if explicitly approved) | Some ink/adhesives | ★★★☆☆ | Med–High |
What can go wrong (and how to avoid it)
Laminate stains can become worse when you add too much water, use abrasives, or keep scrubbing without changing the strategy. The best prevention is to match technique to stain type and stop the moment you see progress.
Excess moisture is the main laminate risk lever: steam and wet mopping add heat and liquid that can work its way toward seams. Source: NIST (water boiling point for steam context)
A whole-number change in pH corresponds to a 10× change in hydrogen ion activity, which is why strongly acidic/alkaline cleaners can be far harsher than “light” products. Source: IUPAC (pH scale)
Common mistakes that damage laminate hallway floors
– Soaking or leaving puddles: Laminate can swell at seams/edges when exposed to excess moisture, so keep liquids off the floor and blot dry.
– Using abrasive tools/harsh chemicals: Pads, steel wool, and harsh cleaners can permanently dull or haze the wear layer.
– Scrubbing endlessly: If the stain isn’t responding, either the contaminant type needs a different approach (e.g., residue vs. pigment), or you’re over-applying mechanical action.
– Ignoring manufacturer rules: Some laminates require specific cleaners or prohibit ingredients—check the care label/manual when possible.
Edge cases to watch in a hallway
Hallways have tight turns and higher traffic, so stains can spread faster than in open rooms:
– If the stain is near expansion gaps or the edge of boards, reduce moisture even more.
– If you see plank lifting or bubbling, stop DIY escalation. Treat it as a maintenance/warranty issue rather than a “cleaning problem.”
Verdict / tip (best approach + who should skip DIY)
The safest strategy for laminate hallway floors is the mild, low-moisture route: dry remove debris, then wipe with a pH-neutral cleaner using a barely damp microfiber, blot dry, and only escalate when the stain type clearly calls for it. This approach protects the wear layer while still being effective for the everyday marks most hallways collect.
pH-neutral cleaning is typically safer than strongly acidic or strongly alkaline chemistry because it stays near pH 7 rather than driving large pH swings. Source: IUPAC (pH scale)
In laminate maintenance, moisture control beats brute-force scrubbing: blotting and re-wiping with minimal liquid reduce both spread and finish wear.
Downsides (realistic limitations)
– Grease, rubber transfer, and deeply set-in pigment may require a more specialized, manufacturer-approved treatment.
– If the laminate has already been compromised by prior over-wetting, gentle cleaning may not fully “undo” what moisture did.
– Some stains (especially ink that has penetrated) may lighten but not vanish completely.
Who should skip DIY escalation
Skip stronger DIY steps—especially solvents or “strong stain removers”—if:
– the stain is near expansion gaps/seams
– the laminate is already lifting or shows edge swelling
– you don’t know the brand/finish or can’t access care instructions
– the stain doesn’t improve after a couple of careful, mild attempts
In those cases, use gentle cleaning only or get a flooring pro’s assessment so you don’t risk permanent finish haze or moisture-related board issues.
Quick scan checklist (save this)
| Stain situation | First move | What to avoid |
|---|---|---|
| Fresh mud / dirt streaks | Dry-remove grit, then gentle damp wipe | Scrubbing grit into the finish |
| Water ring / spotting | Blot, then barely damp pH-neutral wipe | Soaking or wet mopping |
| Sticky residue | Try gentle residue removal with pH-neutral method | Strong solvents unless approved |
| Dark set-in mark | Gentle attempts; reassess stain type | Abrasives and aggressive scrubbing |
| No improvement after careful tries | Stop and use the right method for that stain | “Repeat until it disappears” |
Sources
– NIST Chemistry WebBook (water boiling point at standard pressure)
– IUPAC (pH scale definition and meaning of pH units)
If you describe what the stain looks like (mud streaks, water ring, sticky spot, ink, rubber transfer, etc.) and the laminate brand/finish you have, the safest next steps can be narrowed to the right method—starting mild, keeping moisture low, and stopping escalation when the stain isn’t responding.
In summary, removing stains from laminate hallway floors comes down to controlling moisture and using stain-appropriate technique: dry pick-up first, then a barely damp pH-neutral microfiber wipe and blotting. Avoid soaking, steam, abrasives, and strong chemistry unless your laminate manufacturer explicitly allows it—because protecting the wear layer is what keeps hallway floors looking clean between deeper cleanings.
Frequently Asked Questions
What’s the best way to remove scuff marks and black shoe stains from laminate floors in a hallway?
Start by cleaning the area with a microfiber mop and a laminate-safe cleaner to remove surface grime. For scuffs, use a soft eraser (like a Mr. Clean Magic Eraser) lightly, or rub gently with a damp cloth—avoid aggressive scrubbing that can dull the finish. If marks remain, apply a small amount of rubbing alcohol to a cloth and test in a hidden spot first, then wipe dry to prevent moisture from soaking into the seams.
How can I remove muddy footprints and dried dirt stains from laminate flooring without damaging the finish?
Let any dried mud soften first by placing a damp cloth over the stain for a few minutes, then wipe away loosened debris. Use a gentle, laminate-safe cleaner and work from the outside of the stain toward the center to prevent spreading. Avoid soaking the floor—excess water can seep at the edges and cause swelling, especially in a hallway with frequent foot traffic.
Why do stains on laminate floors in hallways keep coming back, and how do I prevent them?
Hallway stains often reappear because dirt and oils grind into the protective layer each time shoes walk across the floor. Use a quality doormat and a shoe-scraping rug to reduce grit before it reaches the laminate, and vacuum or sweep regularly to prevent abrasive particles. For everyday maintenance, use a laminate floor cleaner as directed and dry any damp spots quickly to protect the finish.
Which cleaning products are safest for removing stains from laminate floors—soap, vinegar, or commercial cleaners?
Choose a cleaner labeled safe for laminate floors, as these are formulated to lift stains without harming the wear layer. Mild dish soap mixed with water can work for tough spots, but use sparingly and wipe dry immediately. Avoid harsh chemicals, abrasive cleaners, and undiluted vinegar or steam mops, since they can damage the laminate surface and make stains harder to remove over time.
How do I get rid of sticky residue—like spilled drinks or gum—on laminate flooring in a hallway?
For sticky spills, blot first with a damp cloth, then clean with a laminate-safe cleaner and dry the area thoroughly. If residue remains, try rubbing alcohol on a cloth to dissolve the sticky film, or gently use a plastic scraper to lift gum after chilling it with an ice pack in a plastic bag. Never use metal tools or soaking liquids, and always wipe dry to protect the laminate from moisture seepage.
📅 Last Updated: October 21, 2026 | Topic: How to remove stains from laminate floors in a hallway? | Content verified for accuracy and freshness.
References
- Laminate flooring
- https://www.pergofloors.com/en-us/care-and-cleaning
- MohawkFlooring
- https://scholar.google.com/scholar?q=remove+stains+from+laminate+flooring Google Scholar
- https://scholar.google.com/scholar?q=laminate+floor+stain+removal+spot+cleaning Google Scholar
- https://scholar.google.com/scholar?q=how+to+clean+laminate+flooring+without+damaging+the+finish Google Scholar