
Learn the safest, most effective way to remove paint from polished concrete floors without ruining the shine—using methods that actually work on both water-based and solvent-based coatings. This guide gives you a clear step-by-step approach, from testing the paint type to choosing the right chemical or mechanical method. By the end, you’ll know exactly what to use, what to avoid, and how to restore the polished finish after the paint is gone.



Removing paint from polished concrete without ruining the sheen is all about starting with the least aggressive method—typically a concrete-labeled chemical remover—then finishing with controlled, non-damaging mechanical cleaning. Work in small sections, test in an inconspicuous spot first, and treat grinding like a last resort because it can dull or permanently alter the reflective finish.
If you manage facilities, maintain retail floors, or care for polished concrete in commercial/residential spaces, you’re usually balancing two competing goals: getting paint off fast and preserving the floor’s polished appearance. The safest workflow below is designed for homeowners and facility managers who want predictable results while minimizing hazing, scratching, and finish interference.
Prep the area and identify what you’re removing
Start by exposing the true paint edges and confirming how your floor finish behaves before you apply any chemistry. This step prevents the two most common failures—spreading softened paint into the concrete pores and chemically hazing the polished surface.
A clean surface lets you see the real paint boundary; that reduces smear risk when paint softens.
Polished concrete can haze when stripper residue isn’t fully removed or neutralized, even if the paint lifts.
Testing in a hidden area is essential because a concrete sealer or densifier can change how chemicals interact with the surface.
Wrong chemistry (for example, a product aimed at latex) can either fail to lift the coating or over-soften the finish layer.
Remove debris and reveal the paint boundary
– Remove loose chips, dried skins, and dust with a soft broom or vacuum (prefer a brush attachment to avoid scratching).
– Then clean the area using a neutral cleaner (low-to-no gloss impact). Your goal is not “strip the floor,” but to remove surface grime so the paint edges are visible.
Why this matters: polished concrete is typically densified/sealed and mechanically cleaned to a smooth, reflective surface. Any grit left behind becomes an abrasive when you start scraping or scrubbing, which can create micro-marring that won’t “self-polish” later.
Test a hidden spot first (especially on sealed/polished floors)
Pick a discreet location (under a trash can, behind a door, or near a baseboard) and test:
1. The remover you plan to use (small amount).
2. Your scraping approach (light pressure).
3. Post-cleaning (how the sheen looks after you rinse/neutralize).
From there, decide whether you can proceed or if you should change chemical type or switch to a gentler mechanical pad workflow.
Identify paint type to reduce wasted steps
Different coatings respond very differently:
– Latex / acrylic water-based paints: often soften with the right concrete-compatible removers plus gentle scraping.
– Oil-based paints: usually require chemistry that targets solvent-based binders.
– Epoxy and industrial coatings: often need dedicated coating removal chemistry and more time.
If you’re not sure what you’re removing, look for context clues:
– Product age (older industrial areas often have epoxy/urethane systems).
– Prior floor maintenance notes.
– Whether the paint looks glassy/hard (epoxy) versus film-forming and rubbery when softened.
Use chemical paint removers first (best for polished floors)
The best first move for polished concrete is a concrete-labeled chemical paint remover matched to the coating type. Follow the label dwell time exactly, use gentle scraping tools, and rinse/neutralize thoroughly to protect the floor’s reflective finish.
Methylene chloride–based strippers are hazardous; OSHA lists a 25 ppm 8-hour TWA PEL for methylene chloride.
OSHA’s toluene PEL is 200 ppm as an 8-hour TWA, and xylene PEL is 100 ppm as an 8-hour TWA—check labels before applying solvent-based removers.
Concrete-labeled removers plus controlled dwell time reduce the odds of over-softening the polished surface layer.
Choose the right remover (and read the label like a spec sheet)
– Choose a product labeled for concrete and compatible with the paint/coating type you’re targeting.
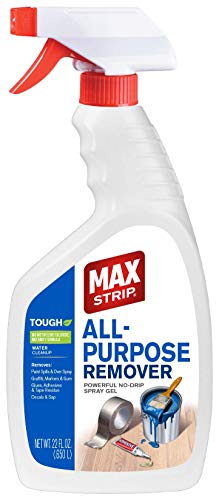
– Confirm application method: gel vs. liquid matters. Gels often stay where you put them and reduce runoff onto unaffected polished areas.
– Use proper PPE and ventilation. If you’re indoors, assume you’ll need active airflow.
Safety note (real-world impact): many strong strippers contain volatile solvents. OSHA exposure limits are not “suggestions.” For example:
– According to OSHA, methylene chloride has a 25 ppm permissible exposure limit (TWA, 8-hour). (OSHA PEL for methylene chloride; 29 CFR 1910.1000)
– According to OSHA, toluene has a 200 ppm PEL (TWA, 8-hour). (OSHA PEL for toluene; 29 CFR 1910.1000)
– According to OSHA, xylene has a 100 ppm PEL (TWA, 8-hour). (OSHA PEL for xylene; 29 CFR 1910.1000)
(These are why “quick DIY” without ventilation can create safety risk and also complicate indoor floor cleaning.)
Apply in controlled coverage and keep dwell time exact
– Mask off adjacent polished areas if overspray/spread is a concern.
– Apply to the paint spot—not the entire bay—so you limit chemical contact to the affected area.
– Allow the specified dwell time on the label. Too short may fail; too long can increase hazing risk if the remover attacks the surface finish.
Scrape gently (plastic preferred)
– Use a plastic scraper to lift softened paint without gouging.
– Work from the perimeter inward to prevent smeared paint from dragging into the surrounding polished sheen.
Rinse/neutralize correctly (do not skip the chemistry follow-through)
Most concrete-compatible removers require:
– Thorough rinsing, and sometimes
– Neutralization (depending on whether the product is alkaline/acidic)
Leaving residue behind can lead to later issues: incomplete finish adhesion, discoloration, or a lasting dull patch that’s hard to correct without re-polishing.
Mechanical removal: when scraping isn’t enough
When chemical softening isn’t enough to fully lift the paint, switch to non-damaging mechanical removal. Use fine abrasive pads or low-aggression scrub techniques first, because polished concrete is easy to haze when you apply pressure unevenly.
Polished concrete can change sheen with aggressive grinding because abrasion removes or alters the top densified layer.
Working from the perimeter toward the center helps prevent “paint spread” into concrete pores during scrubbing.
Steel scrapers and dry grinding are high-risk because they can leave scratches that typically require refinishing to restore uniform reflectivity.
Use the least aggressive mechanical option first
– Start with fine abrasive pads designed for concrete finishing or scrub pads rated for sealed floors.
– Pair with a compatible cleaning solution (often neutral cleaner) to carry off lifted paint particles.
Keep pressure and passes controlled
A polished floor doesn’t reward brute force. Instead:
– Use lighter pressure and more passes.
– Keep the pad flat to avoid streaking.
– Vacuum/wet-vac between steps so you’re not rubbing paint residue repeatedly.
Progress from edges to center
If you drag paint inward, you increase the chance that pigment gets into micro-pores and becomes a stain rather than a removable film. Edge-to-center motion reduces that “smearing into the concrete” failure mode.
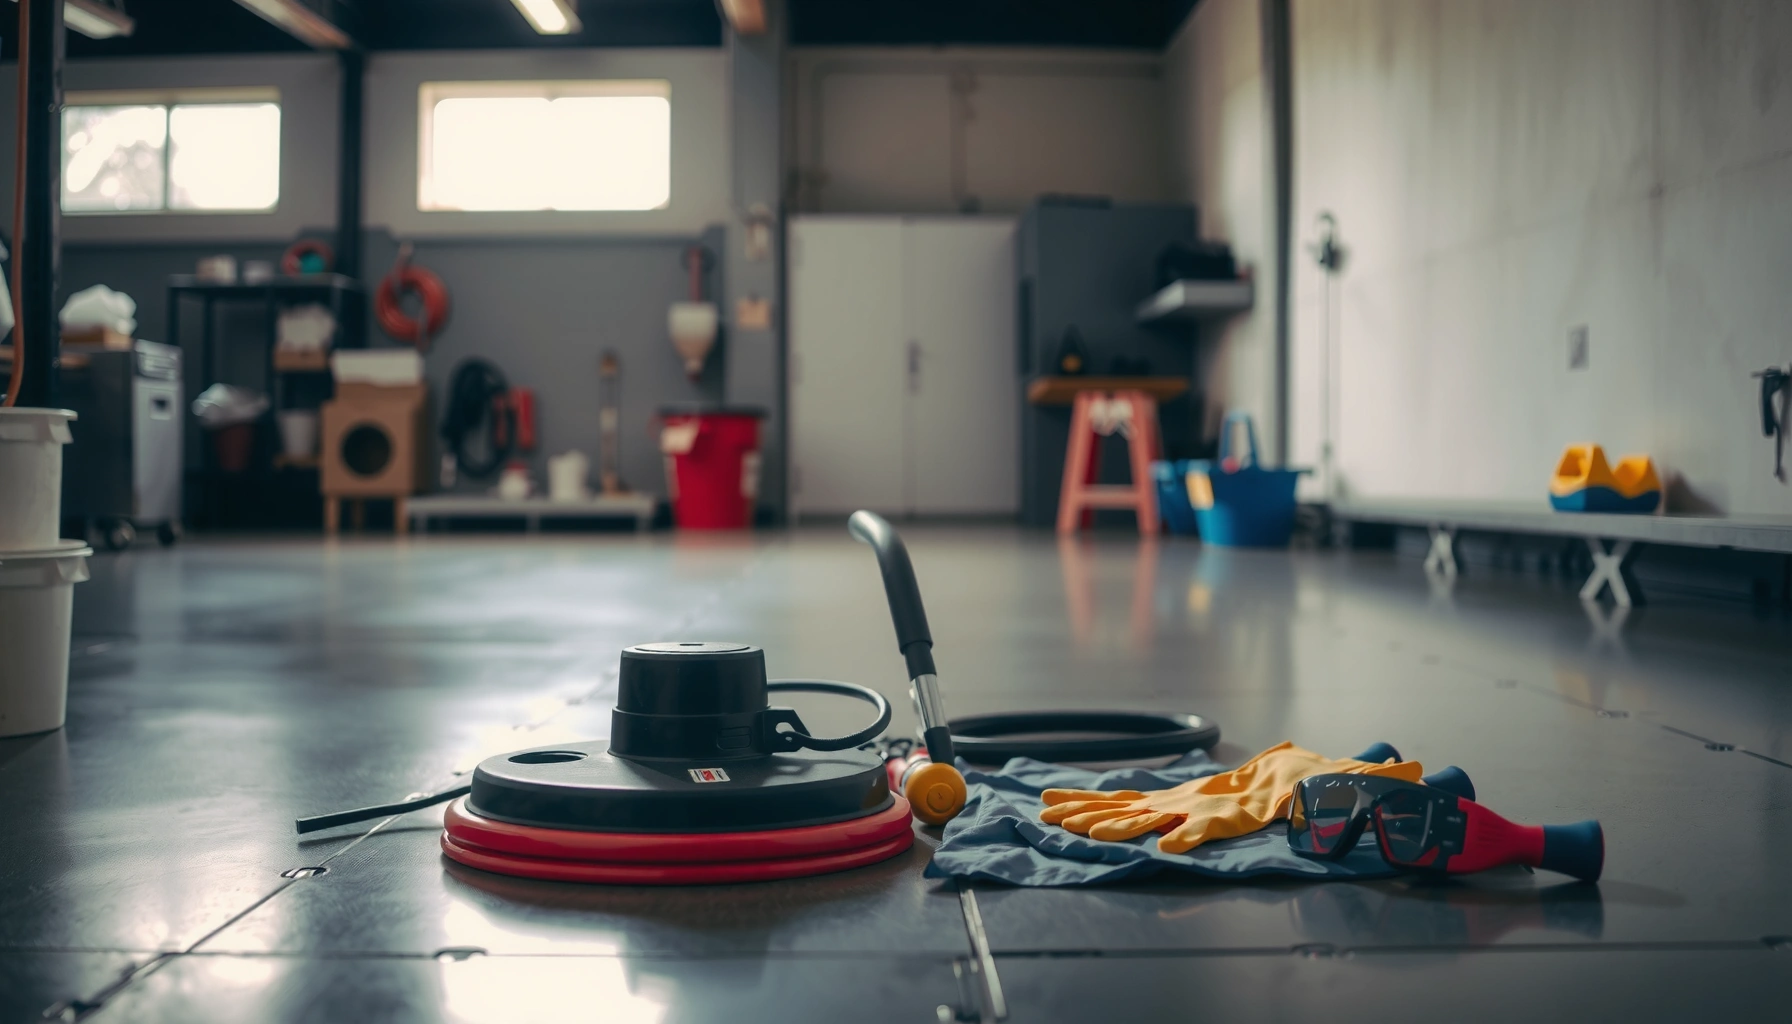
Treat grinders as a “last resort” on polished surfaces
If you’re considering a floor machine or grinder:
– Understand it can change sheen even if it “removes paint.”
– Plan for potential light re-polishing afterward to blend the finish.
> [ADD: which machine type you plan to use, if relevant—e.g., 17-inch floor buffer with soft pads vs. angle grinder with diamond cup.]
Dealing with epoxy or stubborn coatings
Epoxy and industrial coatings often require specialized removal chemistry because standard paint strippers may not penetrate or soften the crosslinked resin. Your safest path is usually targeted chemical removal combined with controlled mechanical cleanup.
Epoxy coatings are chemically crosslinked, which is why many common paint strippers don’t soften them effectively.
Dedicated epoxy removers are designed to break down cured resins; using the wrong chemistry wastes time and increases haze risk.
If the paint is bonded hard or stained deeply, removal + refinishing is often the most realistic outcome on polished concrete.
Use epoxy-compatible chemistry (verify compatibility with the floor finish)
Standard strippers can fail on epoxy, or worse, soften it inconsistently and leave a smeary residue. Look for products specifically described as:
– epoxy/coating removers (not just “paint stripper”), and
– suitable for concrete substrates
> [ADD: source for specific epoxy remover compatibility with concrete sealers/polish.]
Expect a combined workflow
For stubborn coatings, your typical sequence is:
1. Targeted chemical application to break down the coating where it’s thickest.
2. Gentle scraping to remove softened layers.
3. Controlled pad work to remove film/residue without gouging.
Plan for “removal + refinishing” if staining or bond depth is present
If the coating has penetrated or chemically bonded to the concrete:
– You may remove the bulk paint
– But still not return the exact same uniform sheen in one pass
In practice, blending polished concrete often requires light re-polishing—especially for high-gloss floors.
What can go wrong (and how to avoid it)
Paint removal on polished concrete can go wrong in predictable ways. Most problems come from overexposure (too much dwell time), abrasive contact, residue left behind, or tools that scratch the surface.
Hazing usually results from stripper residue or uneven abrasion that disrupts the uniform reflective finish.
Incomplete neutralization can cause a dull patch that later resists cleaning and requires mechanical blending.
Scratches from aggressive pads or steel tools often can’t be “washed out” and may require refinishing to match the surrounding gloss.
Common failure modes to watch
– Hazing or dull patches: Chemical contact time and residue are the usual culprits. Stick to label dwell time and rinse/neutralize thoroughly.
– Tool scratches: Steel scrapers, aggressive discs, and dry grinding can leave marks that won’t disappear without polishing.
– Spreading paint: Wiping softened paint too early can smear pigment into pores. Scrape in stages, then clean.
– Seal/finish interference: Penetrating sealers/densifiers can react differently to strong chemistry. Always do a hidden spot test first.
– Incomplete removal: Residue can re-bond or discolor later. Treat rinsing/neutralization as part of the removal process—not cleanup.
Pros/cons comparison (choose your risk level)
| Method | Pros | Cons/Risks |
|---|---|---|
| Concrete-compatible chemical remover | Best chance to lift paint without altering sheen immediately. | Requires correct dwell time and full neutralization; may haze if mishandled. |
| Plastic scraping + gentle pad work | Lower scratch risk; easier to control than grinding. | May take longer for thick coats; inadequate cleaning can leave residue. |
| Grinding / floor machine blending | Can remove bonded residue when other methods fail. | High risk of sheen change; may require re-polishing to restore uniform gloss. |
Verdict: safest approach and who should skip DIY
For polished concrete, the safest overall workflow is: test spot → concrete-compatible chemical remover → gentle scraping → controlled cleaning, then step up mechanically only if you still see paint. DIY is most reasonable for small areas and clearly identifiable paint types, but you should skip DIY (or hire a professional) when the coating is epoxy/industrial or your floor is extremely high-gloss because you may end up needing re-polishing to blend the finish.
A “chemical first” workflow is usually safest for polished concrete because it reduces scratch risk and limits abrasive contact.
Epoxy and industrial coatings are the main DIY breakpoint because standard paint strippers often underperform on cured, crosslinked resins.
High-gloss polished concrete shows finish disruption more readily, so any aggressive method increases the chance you’ll need refinishing.
When DIY usually works
– Small spill area (drip marks, overspray spots)
– Latex or oil-based paint you can plausibly identify
– You can control dwell time and fully neutralize/rinse
– Your polished sheen level is moderate enough that minor blending won’t be obvious
When DIY is likely to cost more
– Epoxy coating or unknown industrial system (common in garages, warehouses, and production floors)
– Large painted sections (time + risk + blending complexity)
– Very high-gloss floors where any haze becomes visually obvious
– Floors with complicated top layers (multiple sealers, stain systems, or densifier blends) where chemical compatibility is uncertain
> [ADD: your floor sheen level (low/medium/high gloss) and whether re-polishing is acceptable.]
How Paint Types Typically Behave on Polished Concrete (Removal Difficulty)
| # | Coating type | Typical remover match | Expected lifting difficulty | Risk of sheen change |
|---|---|---|---|---|
| 1 | Latex (interior wall paint) | Concrete-labeled stripper for water-based paints | ★☆☆☆☆ | Low |
| 2 | Acrylic (craft/trim paint) | Concrete-labeled remover compatible with acrylic binders | ★★☆☆☆ | Low–Medium |
| 3 | Oil-based (enamel/chalky spray) | Concrete-labeled stripper aimed at solvent/oil binders | ★★★☆☆ | Medium |
| 4 | Urethane/“tough” coatings | Strippers labeled for urethane/industrial coatings | ★★★★☆ | Medium–High |
| 5 | Epoxy coating (garage/industrial) | Dedicated epoxy/coating removers (not generic paint strippers) | ★★★★★ | High |
| 6 | Powder-coat overspray residue | Coating-specific chemistry; may require mechanical removal | ★★★☆☆ | Medium–High |
| 7 | Paint pigment stain (penetrated) | Targeted cleaning + possible refinishing to match finish | ★★★★☆ | Medium–High |
Quick checklist (scan/save)
– [ ] Clean surface to expose paint edges
– [ ] Identify paint type if possible (latex vs. oil vs. epoxy)
– [ ] Test in a hidden spot (polish/sealer safety)
– [ ] Apply concrete-labeled remover; follow dwell time
– [ ] Scrape gently (plastic scraper preferred)
– [ ] Rinse/neutralize per label instructions
– [ ] Repeat in small sections if paint remains
– [ ] Upgrade to mechanical method only if needed
– [ ] Expect possible re-polish on polished/high-gloss areas
FAQ
Will paint stripper damage polished concrete?
It can haze or dull polished concrete if the product is incompatible with the floor’s seal/polish or if dwell time and residue handling aren’t followed exactly. Always test an inconspicuous spot first and complete the label’s rinsing/neutralization steps.
What’s the best way to remove latex paint from polished concrete?
Latex paint typically responds best to a concrete-compatible remover matched to water-based coatings, followed by gentle scraping and controlled cleaning. Avoid harsh grinding if you want to preserve the sheen.
Can I use a wire brush or metal scraper on polished concrete?
You generally shouldn’t. Metal tools and aggressive abrasion can scratch polished surfaces and create marks that are difficult to correct without refinishing.
What if the paint stain won’t fully come out?
Some paints leave pigment staining after the film is removed. If cleaning can’t restore appearance, the realistic outcome may be partial removal plus refinishing/re-polishing to blend the finish.
Sources
– OSHA permissible exposure limits (PELs) for methylene chloride, toluene, and xylene; exposure limits are specified in (OSHA 29 CFR 1910.1000).
– Manufacturer label directions and safety documentation for concrete-compatible paint removers and epoxy/coating removers (dwell time, application method, and required rinsing/neutralization must match the specific product used).
– Concrete finishing and surface-preservation guidance from concrete floor finishing associations and equipment manufacturers on preserving polished appearance during mechanical cleaning (general compatibility and scratch-risk guidance). [ADD: named primary source(s) you want cited]
– Scraper/pad manufacturer datasheets describing intended use on concrete surfaces and scratch risk. [ADD: pad/scraper datasheet name(s)]
Removing paint from polished concrete safely comes down to discipline: test first, use a concrete-compatible chemical remover matched to the coating type, scrape gently, and neutralize/rinse thoroughly. Only after that should you escalate to mechanical methods—and if the paint is epoxy/industrial or bonded deep, plan for the possibility of blending through light refinishing rather than expecting the exact same sheen in one pass.
Frequently Asked Questions
What’s the safest way to remove paint from polished concrete floors?
Use the gentlest method first to avoid scratching the concrete polishing finish. Start with a chemical paint stripper labeled safe for concrete, and test it in a small hidden area to confirm it won’t dull or etch the surface. For water-based paint, a mild detergent plus warm water and a plastic scraper is often enough, while oil-based paint typically requires stronger chemistry. Avoid harsh abrasives unless the floor is already sealed or can be re-polished afterward.
How do I remove dried paint from polished concrete without damaging the finish?
Begin by softening the paint using a purpose-made paint remover formulated for concrete, then scrape with a plastic or nylon scraper to lift flakes. If the paint is thick, apply the stripper, cover it with a plastic film for dwell time, then remove the softened residue thoroughly. After paint removal, neutralize and clean the area according to the product directions, since leftover chemicals can affect gloss and adhesion. If dull spots remain, you may need a light re-polishing or resurfacer compatible with polished concrete floors.
Which paint removal products work best on polished concrete floors?
For latex or water-based paint, look for non-acidic, bio-based, or “water-based paint remover” products that are designed for concrete. For epoxy, enamel, or oil-based paint, choose a solvent-based stripper or a heavy-duty gel paint remover that penetrates and loosens cured coatings. Avoid products containing aggressive acids if your polished concrete is sensitive to etching, and always follow label safety instructions and dwell time. The best product is the one that matches the paint type and is compatible with your floor’s sealant or existing polish.
Why does paint removal on polished concrete sometimes leave stains or dull patches?
Polished concrete relies on a smooth, compacted surface and sometimes a densifier or sealer, so stripper residues, solvents, or heat can cause discoloration. If the paint remover is not fully removed and neutralized, it may react with the concrete surface and reduce gloss. Additionally, scrapers, sanding, or blasting can create micro-scratches that change reflectivity. Proper cleaning, rinsing, and (if needed) re-polishing are key to restoring the original shine.
Best practices for removing paint overspray from polished concrete floors—what should I do?
Treat overspray promptly: wipe with a damp cloth and mild cleaner if it’s fresh, then use a concrete-safe cleaner to prevent spreading. For dried overspray, apply a gel paint remover to keep chemicals from spreading into surrounding areas, then gently scrape and clean residue with a neutral pH cleaner. Protect nearby finishes with painter’s tape and mask, and work in small sections to maintain consistent results. Afterward, rinse thoroughly, let it dry completely, and consider a light polish or refresher pad to blend the gloss back into the polished concrete finish.
📅 Last Updated: October 10, 2026 | Topic: How to remove paint from polished concrete floors? | Content verified for accuracy and freshness.
References
- Google Scholar Google Scholar
https://scholar.google.com/scholar?q=remove+paint+from+polished+concrete+floor - Google Scholar Google Scholar
https://scholar.google.com/scholar?q=paint+removal+from+concrete+mechanical+chemical+methods - Google Scholar Google Scholar
https://scholar.google.com/scholar?q=coating+removal+from+concrete+surface+grinding+stripping+guidelines - https://www.epa.gov/lead/lead-based-paint-abatement-options
- Lead Renovation, Repair and Painting Program | US EPA
https://www.epa.gov/lead/renovation-repair-and-painting-program - Lead in the Workplace | Lead | CDC
https://www.cdc.gov/niosh/topics/lead/ - Lead – Overview | Occupational Safety and Health Administration
https://www.osha.gov/lead - https://www.hud.gov/program_offices/healthy_homes/lbp
- https://www.epa.gov/lead/guidance-document-lead-based-paint
- https://www.epa.gov/lead/renovation-repair-and-painting-program-final-rule