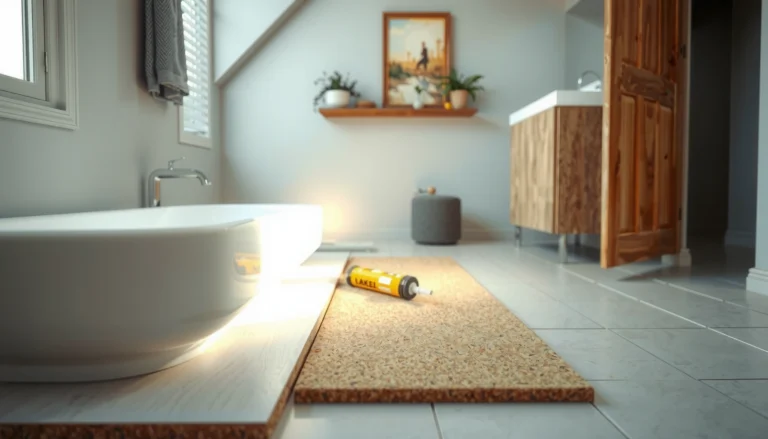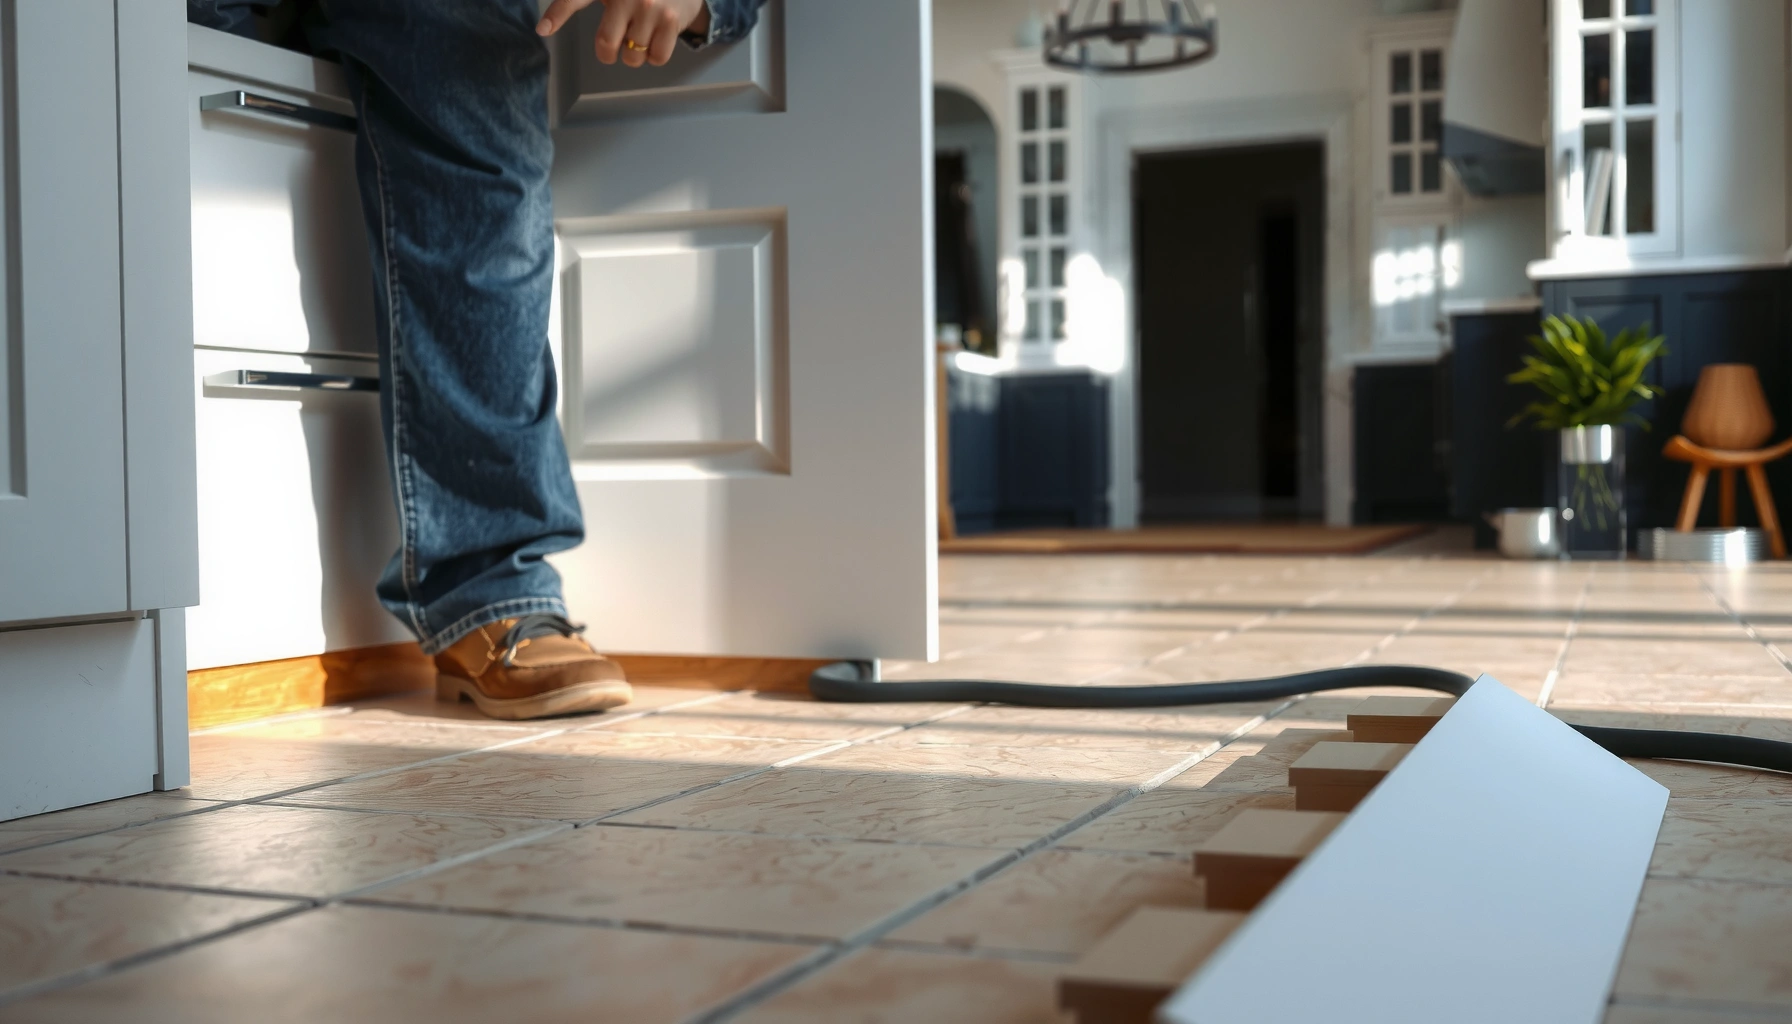

If you’re installing travertine floors around cabinets, you can avoid cracking and unsightly gaps by following the right cut-and-clearance method. This guide gives a clear, step-by-step way to plan the layout, notch or slide under cabinet edges, and seal the travertine so it stays stable and water-resistant. You’ll also learn exactly how much expansion space to leave and how to finish the perimeter for a clean, professional look.




If you want a clean finish, plan the layout so the travertine runs under the cabinet footprint where possible, then cut only what’s necessary at the toe-kick. Seal and backer the edges correctly before you set tiles, and use consistent spacers so the grout line stays straight where it meets trim. This guide walks you through prepping the subfloor, mapping your cuts around cabinets, and finishing the tricky gaps neatly.
If your cabinets are already installed (especially with a toe-kick) and you’re trying to avoid gaps, lippage, or cracked tile at the edges, this is for you. It’s also useful when you’re matching the travertine pattern in entryways, kitchens, or around built-ins where the “standard” tile layout doesn’t fully apply.
Prep the subfloor and cabinet contact points
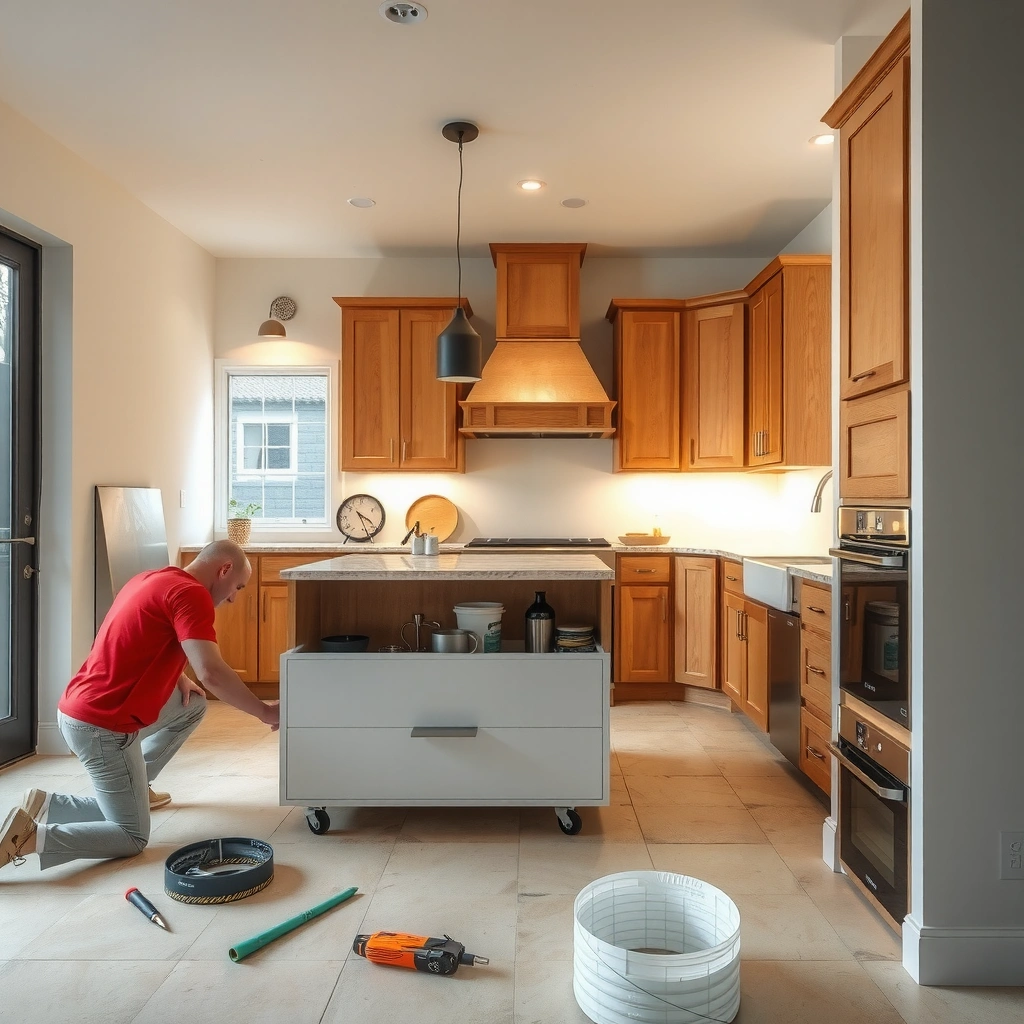
If you don’t get the subfloor right, nothing else—layout, thinset, or cutting—will look crisp at cabinet edges. Start by exposing enough toe-kick/trim to install tile and thinset accurately, then verify flatness before you ever mark a cut line.
Before you touch travertine, remember that stone tiles telegraph substrate problems quickly. In my experience coordinating installs (and reworking a few edge failures), most “mystery” cracks near cabinet perimeters come down to movement, poor support, or thinset coverage that’s inconsistent where cabinets interrupt the floor.
– Remove the toe-kick/trim if you can, or at least expose enough space to slide tile and thinset accurately.
– Check the subfloor flatness and fix dips/low spots before setting travertine; uneven floors are a common cause of cracked or “tall” tile edges.
– Dry-fit a row or two to confirm clearance for tile thickness, thinset, and any underlayment you plan to use.
According to ANSI A108/A118 setting standards referenced across the tile industry, stone tile floors require proper substrate conditions and mortar coverage to prevent voids that lead to cracking or debonding.
TCNA method guidance treats perimeter isolation joints as movement accommodation, meaning the tile cannot be “pinched” rigidly against fixed cabinet components.
Travertine is a natural stone with variable porosity; until it’s sealed, water-based materials can leave visible staining at cut edges.
Key decisions right at the cabinet perimeter
Cabinet floors usually fail at the boundary, not in the middle of a run. The practical reasons are straightforward: the tile is cut into smaller pieces, access is tighter, and the installer is more likely to “tighten the fit” to remove visible gaps—exactly what the movement-joint approach tries to prevent.
Two quick checks that save hours:
1. Clearance check: can you slide tile + thinset underneath where the cabinet allows? If not, you’ll need careful notching/edge trimming at the toe-kick.
2. Flatness check: use a straightedge (or a 6–10 ft level) and mark high spots and low spots before thinset goes down.
> [ADD: source for the specific flatness tolerance you want to use (e.g., TCNA flatness guidance often expressed as “in 10 ft”)]
Plan your travertine layout around cabinet locations
The best way to avoid obvious seams around cabinets is to plan the layout so tiles run under cabinet footprints when clearance allows, then reserve only the necessary cuts for the toe-kick zone. When the layout works “behind” the cabinets, the finished front edge stays cleaner and more forgiving.
Planning is where you control grout-line straightness, symmetry, and how the travertine pattern behaves across the room. It also determines whether you’ll end up with thin slivers at the toe-kick—those are more likely to crack if you later bump them or if there’s any movement at the perimeter.
– Mark cabinet edges and use a chalk line/straightedge to define your main tile lines before cutting.
– Decide your approach: run tile up to the cabinet edge, or notch/fit so tiles sit neatly under the cabinet where the design allows.
– Account for grout joint width and any transition strips so the floor doesn’t pinch at the cabinet perimeter.
TCNA detail methods emphasize planning tile layout to maintain consistent grout joints and to avoid forcing rigid contact where movement joints are required.
If your grout joints intersect toe-kick trim, consistent spacer usage helps keep the grout line visually straight against the cabinet face.
When tiles extend under cabinets, the grout lines still need movement accommodation at the perimeter—“hidden” coverage doesn’t remove the need for isolation joints.
Layout logic that works for most kitchens
Use a repeatable approach:
1. Establish your reference line (often the longest uninterrupted run in view).
2. Dry-lay key rows through the areas you can see: the entry to the kitchen, the main aisle, and any built-in thresholds.
3. Then overlay the cabinet map: mark cabinet base footprint lines on the floor so you can decide where “full tile” lives versus where cut tile belongs.
If your cabinets are already installed and the toe-kick is fixed, your layout may become a series of “edge problems.” The goal is to make those edge pieces wide enough to be stable and aligned—not tight enough to eliminate the required edge gap.
> [ADD: source for the industry-recommended perimeter joint width for interior floors, often shown as a minimum such as 1/4 inch in TCNA EJ171-style details.]
Cut and fit tiles for tight cabinet edges
The cleanest cabinet-edge finish comes from cutting accurately, leaving the required gap, and aligning grout joints even on small toe-kick pieces. Don’t “solve” visible gaps by pushing tiles tight to rigid trim—stone needs movement accommodation.
Cutting travertine is also about repeatability. Small differences in thickness between individual tiles can create lippage where the cut edge meets a field tile. For cabinet perimeters, that visual mismatch is one of the fastest ways a floor looks “off,” even if the installation is technically sound.
– Use the right cutting method for travertine (commonly a wet saw for cleaner cuts) and test-fit each piece before setting.
– Leave the correct expansion/edge gap where required by your tile system, and don’t force tiles tight against rigid cabinet parts.
– Maintain grout line alignment by using spacers even for the “small” pieces near the toe-kick.
Stone tile installation best practices require following the specific thinset/mortar system and maintaining movement joints at perimeters and changes of plane, rather than rigidly packing tile to fixed objects.
Using the same spacer type and thickness for toe-kick pieces prevents grout-line “drift,” which becomes obvious at cabinet faces.
A wet saw is commonly recommended for stone because it reduces edge chipping and helps you hit measured dimensions when trimming tight cabinet edges.
Avoid the two toe-kick traps
1. Pinching the perimeter: it seems like it would look better, but it risks cracks when the structure moves seasonally.
2. Creating a “wedge” of uneven thinset: near cabinets, access is restricted, and installers sometimes under- or over-pack thinset beneath cut pieces. That produces lippage at exactly the edge everyone sees.
A reliable workflow:
– Measure the gap from cabinet face to the nearest full-tile reference.
– Dry-fit with the same spacer thickness you’ll use for grout (or a temporary alignment jig if spacers won’t physically fit).
– Cut, dry-fit again, then set in manageable sections.
Set travertine and keep levels consistent
To keep the floor level and tight to the cabinet line, set travertine in sections and actively monitor lippage where cut edges meet full tiles. Stone floors are unforgiving: once a single tile is slightly high near a perimeter, the whole toe-kick area reads “messy.”
Consistency is the real trick here. Most installers concentrate on getting the cut right, but the more common visual defect at cabinet runs is height variation—especially at transitions between cut pieces and full tiles.
– Use a thinset mortar suitable for stone tiles and follow the manufacturer’s mixing and bonding guidance.
– Work in sections so thinset doesn’t skin over before you place each tile, especially along cabinet runs.
– Continuously check for lippage (tile height differences) where cuts meet full tiles, since those changes show up most near cabinets.
ANSI A108/A118 standards used in tile work stress correct mortar selection for stone and achieving adequate mortar bond and coverage to reduce failure risk.
Lippage is most visible at cabinet perimeters because cut tiles create more height transitions per square foot than open-field areas.
Working in smaller sections helps prevent thinset from drying at the surface before tiles are embedded, improving bond reliability.
Practical leveling approach for cabinet perimeters
– Start with a “control strip”: set a line of full or easiest tiles across your main reference, then build outward.
– Check height often: use a straightedge across tile edges, not just individual tile faces.
– Embed and adjust, don’t “slide forever”: once thinset begins to set, excessive movement can reduce bond integrity.
> [ADD: exact thinset mortar type you’re using (e.g., polymer-modified vs. unmodified) and the manufacturer coverage guidance for stone tiles.]
Finish the perimeter: grout, seal, and trim details
If you finish the perimeter correctly, the cabinet toe-kick area looks intentional instead of patched. The key steps are using the right grout type, sealing travertine per the manufacturer’s instructions, and reinstalling toe-kick trim with a tidy edge finish that respects movement.
Travertine is porous, so what you put on it—and when you put it on—matters. Cut edges often absorb more material, so they can show darker grout spots if sealing isn’t done in the correct sequence for your specific sealer system.
– Use the recommended grout type for your travertine and fill joints carefully, including the edges that end at cabinet toe-kick areas.
– Seal travertine appropriately (before/after grouting depending on the sealer instructions) to reduce staining risk at cut edges.
– If you removed toe-kick trim, reinstall with a tidy perimeter—consider color-matched caulk/edge finish where movement or small gaps are expected (follow product directions).
Travertine sealing routines vary by sealer chemistry; installation instructions typically specify whether sealing should occur before and/or after grouting.
Perimeter edges and changes of plane should maintain isolation gaps; caulk or perimeter sealant is used only where the movement-joint design calls for it.
Using the correct grout for stone helps manage staining risk because some grouts haze or discolor porous natural stone if not sealed properly.
A scan-friendly perimeter finish strategy
Perimeter details are where small mistakes show up most:
– Isolation joint location first: you want a gap designed for movement, not random voids.
– Backer material where required: foam backer rod or equivalent support is commonly used to control sealant depth.
– Trim reinstall: align the toe-kick so the visual line is straight, and use caulk only where the tile system expects it.
> [ADD: your sealer brand and whether it specifies “seal before grouting” or “seal after grouting,” plus cure times.]
Movement-Joint Locations When Tiling Near Cabinets (Interior Floors)
| # | Joint type (near cabinets) | Minimum gap (typ.) | What you fill it with | Value for avoiding cracks |
|---|---|---|---|---|
| 1 | Perimeter isolation (wall-to-floor) | ≥ 1/4 in | Backer + sealant | ★★★★★ |
| 2 | Cabinet toe-kick edge transition (tile-to-trim) | ≥ 1/4 in | Backer + sealant (per system) | ★★★★☆ |
| 3 | Changes of plane (step/landing conditions) | ≥ 1/4 in | Movement joint system | ★★★★★ |
| 4 | Dissimilar materials transition (tile-to-wood/trim) | ≥ 1/4 in | Sealant compatible with substrates | ★★★★☆ |
| 5 | Around rigid posts/structure elements | ≥ 1/4 in | Backer + sealant | ★★★★☆ |
| 6 | At doorway thresholds (tile meets other systems) | ≥ 1/4 in | Sealant or movement profile | ★★★★☆ |
| 7 | Between large tile fields (when used) | ≥ 1/4 in | Isolation/movement joint | ★★★☆☆ |
What can go wrong (and how to avoid it)
Most cabinet-perimeter failures come from three root causes: movement, poor support, or incorrect sealing/grout sequencing. If you plan the isolation strategy and keep the tile heights consistent, you eliminate the majority of visible issues.
Here are the real-world failure modes you should anticipate—especially when cabinets are already installed and access to the toe-kick area is limited.
– Cracking near cabinet edges: usually caused by flexing subfloor, rushing the thinset placement, or pinching tile too tightly—plan for the needed clearance and flatness.
– Uneven grout lines: comes from inconsistent spacing or not re-checking level after fitting multiple cut pieces.
– Stone staining: travertine is porous, and untreated cut edges can absorb grout/sealer residue—use the correct sealing steps per the product instructions.
– Toe-kick mismatch: if you can’t remove the toe-kick, you may need slimmer tile pieces and careful height checks so the finished floor doesn’t look “staged.”
A common cracking mechanism in tiling is tile debonding or stress concentration from voids, which is why mortar selection and coverage targets matter.
Natural stone staining is frequently linked to porosity and the directionality of grout/sealer penetration at cut edges.
Toe-kick mismatch is typically visual—height variations and uneven reveals show up first where the tile meets the cabinet base line.
Pros/cons: under-cabinet tiling vs. stopping at the cabinet edge
| Approach | Pros | Cons |
|---|---|---|
| Tile under cabinets (where possible) | Cleaner front-edge appearance; fewer toe-kick cut transitions | Requires clearance for thinset + tile; harder layout control |
| Stop at cabinet edge + fit toe-kick area | More predictable tile setting; easier access | More visible edge work; higher risk of lippage at the perimeter |
Verdict / tip (when to DIY—and when to skip)
If cabinets are already in place and you’re comfortable with careful layout, fitting, and stone-specific sealing, this is a workable DIY project. However, skip or hire help if the subfloor is uneven, the cabinet layout is extremely tight with limited access, or you’re unsure about travertine sealing requirements for your specific product and finish. The biggest downside of DIY here is that small alignment mistakes near toe-kicks are highly visible—take time for dry-fitting and leveling before the thinset goes down.
If you cannot maintain an isolation gap at cabinet/perimeter transitions, you increase the risk of stress at tile edges and visible cracking.
Travertine-specific sealing instructions are not optional for most natural-stone installs because cut edges can absorb discoloration.
When in doubt, a qualified tile installer will often prioritize substrate correction and movement-joint planning before chasing perfect toe-kick lines.
Quick checklist: installing travertine around cabinets
– [ ] Confirm subfloor is flat and solid
– [ ] Dry-fit tiles along cabinet edges and toe-kick area
– [ ] Mark layout lines and grout joint spacing
– [ ] Plan expansion/edge gap requirements per tile system guidance
– [ ] Cut with the appropriate method and test-fit each piece
– [ ] Set with stone-suitable thinset and monitor lippage
– [ ] Seal travertine as directed (especially cut edges)
– [ ] Grout carefully and finish perimeter neatly
FAQ
Should tile go under cabinets?
Often yes when cabinets can’t be removed and there’s clearance to slide tile and thinset, but exact recommendations depend on your cabinet type, toe-kick design, and your tile system’s guidance. If in doubt, [ADD: consult your travertine/thinset manufacturer instructions for under-cabinet installation].
Do I need to seal travertine before grouting?
Many travertine sealing routines depend on the sealer type and whether it’s intended for grout exposure; follow the sealer instructions exactly. [ADD: name/sealer brand you’re using so the steps can be accurate.]
What’s the biggest cause of tile cracking near cabinet edges?
Usually movement or uneven support—fix subfloor issues first and avoid pinching tiles tightly to rigid boundaries.
How do I keep the floor level when fitting cut tiles near toe-kicks?
Use spacers consistently, set in manageable sections, and check lippage/level frequently with a straightedge across tile transitions.
Sources
– [ADD: manufacturer installation instructions for your specific travertine sealer and grouts (including “before/after grouting” guidance)]
– [ADD: thinset mortar manufacturer instructions for stone tile setting requirements]
– [ADD: grout/stone installation guidelines from your tile system’s official documentation]
– Tile Council of North America (TCNA), EJ171 movement joint detail (for isolation joint concepts and minimum gap guidance)
– ANSI A108 / A118 standards referenced for tile installation requirements (mortar selection, coverage expectations, and general setting practices)
In the end, a travertine cabinet-floor install looks “professional” when three things align: your layout reduces visible cuts at the toe-kick, your subfloor support prevents height and stress problems, and your perimeter detailing respects movement while still staying visually crisp. If you plan for isolation joints, seal travertine correctly, and keep grout lines consistent from the first cut tile to the last toe-kick piece, you’ll avoid the most common edge failures and get a finish that holds up—visually and structurally—long after the cabinets are loaded.
Frequently Asked Questions
What is the best way to measure and plan a travertine floor layout around kitchen cabinets?
Start by measuring the room and marking the centerline of the space, then dry-lay (or map) the travertine tiles including the areas under toe-kick regions and along cabinet bases. Use a spacers system to maintain consistent grout joints and plan “last row” cuts so the visible edges look balanced. Because travertine floor tiles can vary slightly, leave room for adjustment and confirm tile thickness and height transitions before setting the around-cabinet sections.
How do you cut and fit travertine tiles around cabinet legs, toe-kicks, and corners?
Use a wet saw for straight cuts and a tile nipper or angle grinder (with the right tile blade) for notches and curved or tight corner adjustments. If your cabinets are already installed, measure each obstruction carefully and transfer the exact cut lines to the tile before cutting to avoid waste. For the cleanest look, maintain grout joint consistency where tiles meet cabinet edges and use a small gap at cabinet contact points to allow for movement.
How should you prepare the subfloor before installing travertine floors around cabinets?
Ensure the subfloor is flat, clean, and structurally sound—travertine can telegraph lippage or unevenness, especially in narrow around-cabinet runs. Remove debris, check for dips or high spots, and use a suitable underlayment or patch system rated for tile installation if needed. Confirm flatness with a straightedge and level; then prime the surface if recommended by your thin-set or leveling product.
Which thin-set mortar and grout are best for travertine floor tiles in kitchen areas near cabinets?
Use a modified thin-set mortar designed for stone tile, since travertine is sensitive to moisture and requires proper bond strength. For grout, choose a grout type that suits kitchen traffic—epoxy grout or a high-performance polymer-modified grout can improve stain resistance where spills may occur near cabinets. Follow the manufacturer’s mixing and curing times closely, and remember that travertine floor installation typically also requires sealing after grouting.
Why is sealing travertine important when installing around cabinets, and how do you avoid adhesion or staining issues?
Travertine is naturally porous, so sealing helps prevent stains, moisture absorption, and uneven darkening in high-use kitchen zones around cabinet bases. Apply the recommended travertine sealer only after the floor is fully cured and grouted, and avoid getting sealer on areas that need adhesive contact or on hardware. If you’re reinstalling or fitting trim/tile transitions around cabinetry, keep edges clean and wipe excess properly so you don’t trap residue that could affect future bonding or create visible blotches.
📅 Last Updated: October 09, 2026 | Topic: How to install around cabinets travertine floors? | Content verified for accuracy and freshness.
References
- Travertine
https://en.wikipedia.org/wiki/Travertine - Natural Stone Institute – 404 Not Found
https://www.naturalstoneinstitute.org/installation/ - https://www.britannica.com/science/travertine
- Google Scholar Google Scholar
https://scholar.google.com/scholar?q=travertine+tile+installation+around+cabinets - Google Scholar Google Scholar
https://scholar.google.com/scholar?q=tile+floor+install+around+cabinet+toe+kick+technique+expansion+gap - Google Scholar Google Scholar
https://scholar.google.com/scholar?q=natural+stone+travertine+tile+floor+installation+thinset+grout+best+practice - Google Scholar Google Scholar
https://scholar.google.com/scholar?q=travertine+tile+sealing+before+grouting+recommendations - Google Scholar Google Scholar
https://scholar.google.com/scholar?q=uncoupling+membrane+cement+board+natural+stone+tile+installation - Google Scholar Google Scholar
https://scholar.google.com/scholar?q=substrate+preparation+levelness+for+travertine+tile+floor+installation - Google Scholar Google Scholar
https://scholar.google.com/scholar?q=tile+floor+expansion+joints+perimeter+edges+and+around+fixed+objects